
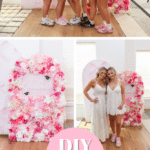
If you’ve been wondering how to make a floral arch at home — one that actually looks like it came from a professional florist — this is the tutorial you’ve been waiting for. No glue gun, no wire, no flowers falling out halfway through the party.
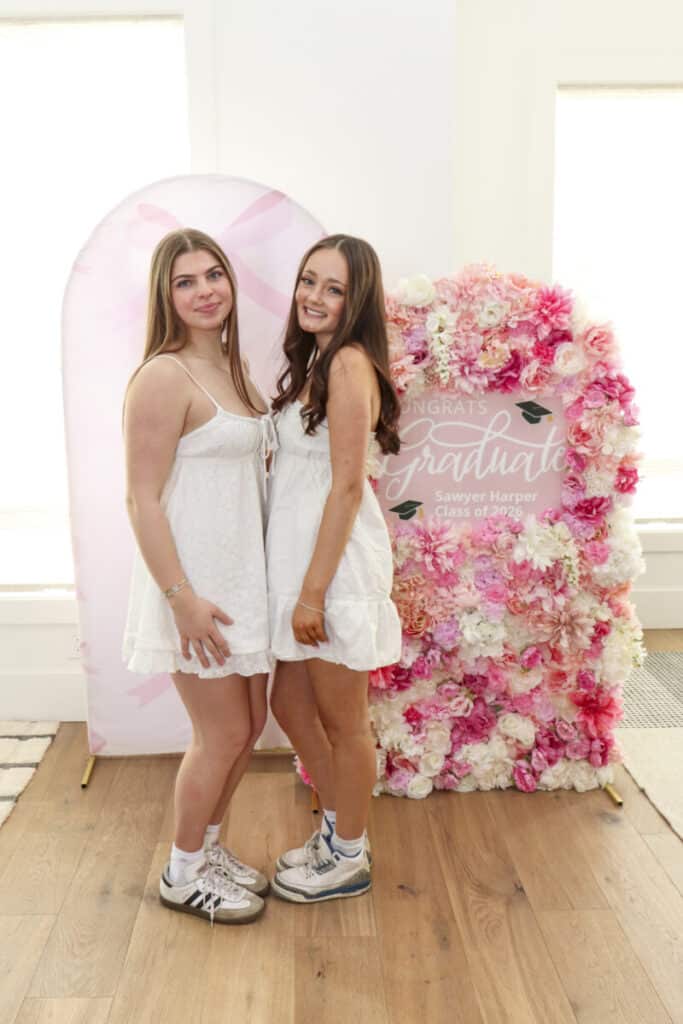
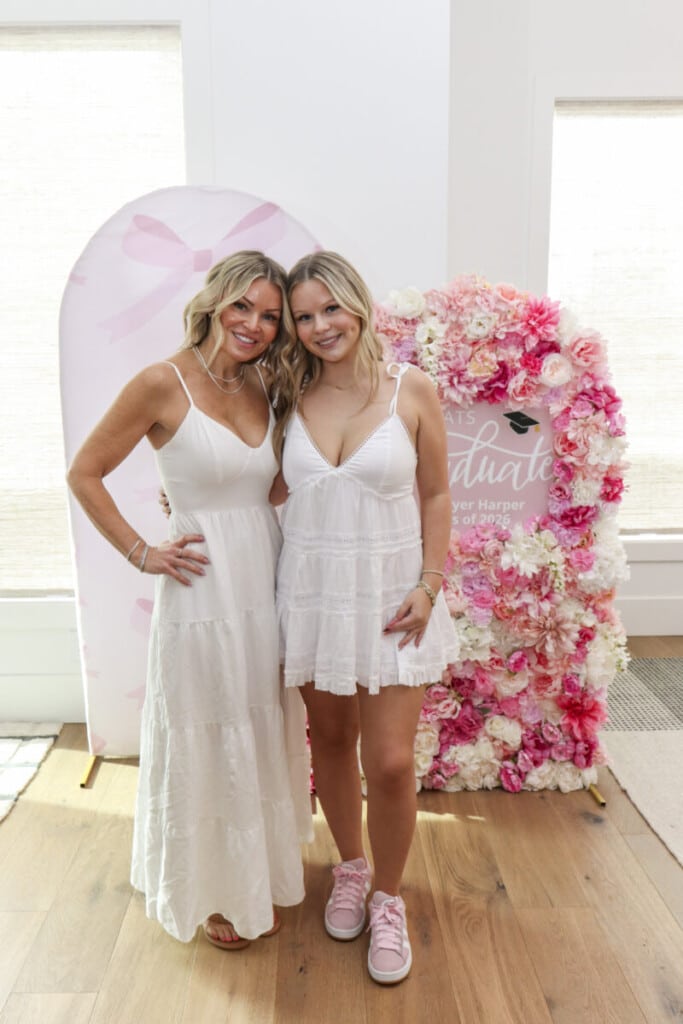
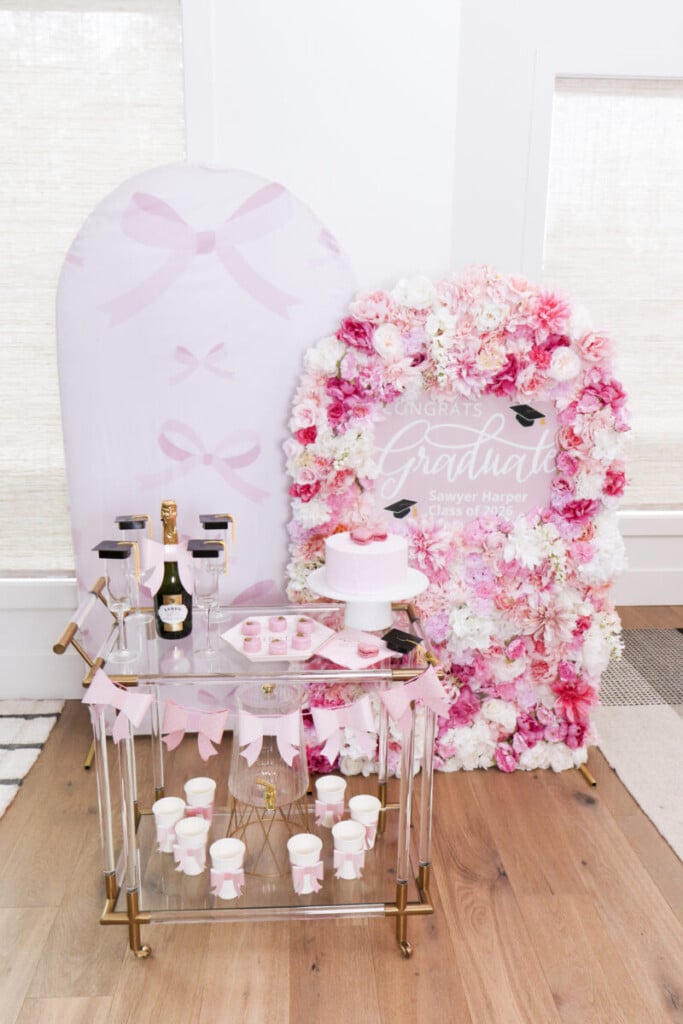
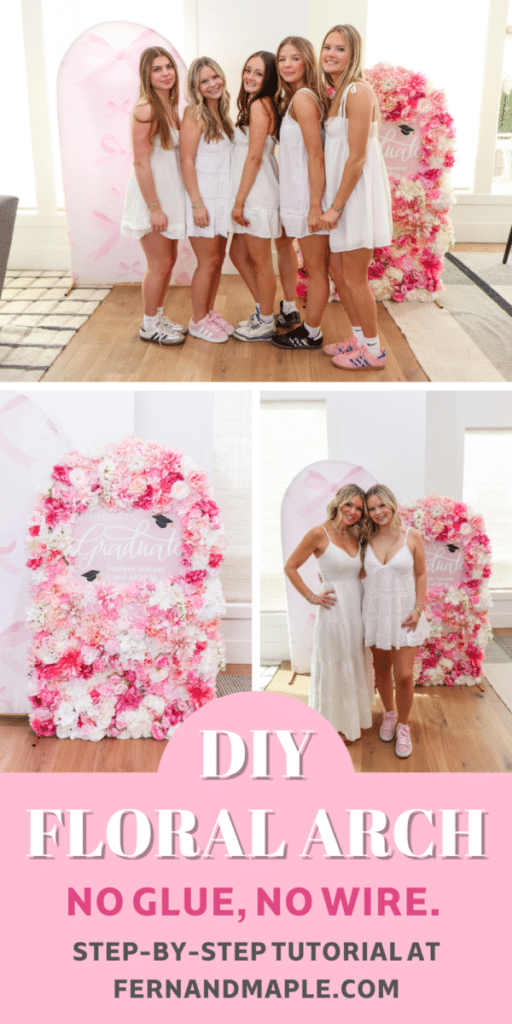
I threw this graduation party for my best friend’s daughter Sawyer. When I stepped back and saw the finished DIY floral arch backdrop standing in the room I genuinely could not believe I had made it. A full floral arch, covered edge to edge in pink blooms! It was styled to match her pink and black 2026 graduation party and it matched perfectly. It looked like something you’d hire from a professional stylist — and the florals came in under $300 in total. Shop the Michaels sales, stack your rewards points, and you can bring that well under $250.
It’s all about technique!
The technique that makes it work is so simple I wish someone had told me about it years ago. Once the stems are on, they stay put. And with 315 stems woven across the frame, the result is so full and lush that any individual quality differences between stems completely disappear.
This tutorial is for you!
If you’re planning a graduation party backdrop, a bridal shower backdrop, a birthday — honestly any celebration that deserves something beautiful and memorable — this DIY floral arch tutorial is for you. Let me walk you through exactly how I made it.
I sourced everything for this project primarily from Michaels and Amazon — you’ll find my full shopping list at the bottom of this post, or shop directly through my LTK here: DIY Floral Arch Shopping List
Watch the Full Tutorial
Before we get into the step-by-step, here’s the full tutorial reel so you can see exactly how it comes together from start to finish. Sometimes seeing it in motion makes all the difference!
Don’t forget to save this post for later — and follow along at fernandmaple.com for more DIY party ideas and party inspiration!
What You’ll Need
For the frame:
- Metal arch frame (The arch pictured is 3ft by 5ft)
- Wire grid panels Grid Panels
- Zip ties
- Wire cutters or strong scissors
For the florals:
I used a 3ft by 5ft arch, heres what I used across a total of 315 stems
I used a mix of Michaels and Amazon florals throughout. All Michaels stems are from the Ashland range — watch for sales & coupons (25-40% off) and always stack your rewards points
Michaels – primary stems:
- Shop this Selection of Florals
- 57 peonies — mix of 20″ Peony Bush by Ashland ($4.99), 21″ Light Pink Peony Bush by Ashland ($5.49), 21″ Pink Peony Deluxe Bush by Ashland ($8.49) and other similar stems
- 66 dahlias — mix of 18″ Dahlia Bush by Ashland ($4.99) and 12″ Dahlia Bush by Ashland ($0.99) and other similar stems based on availability
- 63 roses — mix of 15.5″ Tea Rose Bush by Ashland ($4.99), 19″ Deluxe Pink & Cream Cabbage Rose Bush ($9.99), and 8″ Rose Bundle by Ashland ($5.49) and other similar stems based on availability
- 13 large hydrangea stems — White Hydrangea Bush by Ashland ($10.74) and other similar stems based on availability
- 8 wisteria/snapdragon stems — 17″ White Wisteria Bush by Ashland ($9.99) and Pink Wisteria Bush by Ashland ($9.99) and other similar stems based on availability
- 40-50 small filler blooms — 10.5″ Ranunculus Bush by Ashland ($1.99) and 13″ Rose & Baby’s Breath Bush by Ashland ($1.99) and similar based on availability
Amazon – additional stems:
- 68 carnations — Royal Imports Artificial Carnations Silk Faux Flowers ($23.00)
- Additional dahlias — TINGE TIME Artificial Flowers 20pcs Silk Dahlia ($4.70) and Artificial Dahlias 6PCS Fake Pink Flowers ($18.00)
For the sign (graduation version):
- Graduation lawn sign
- Hole punch or skewer
- Zip ties
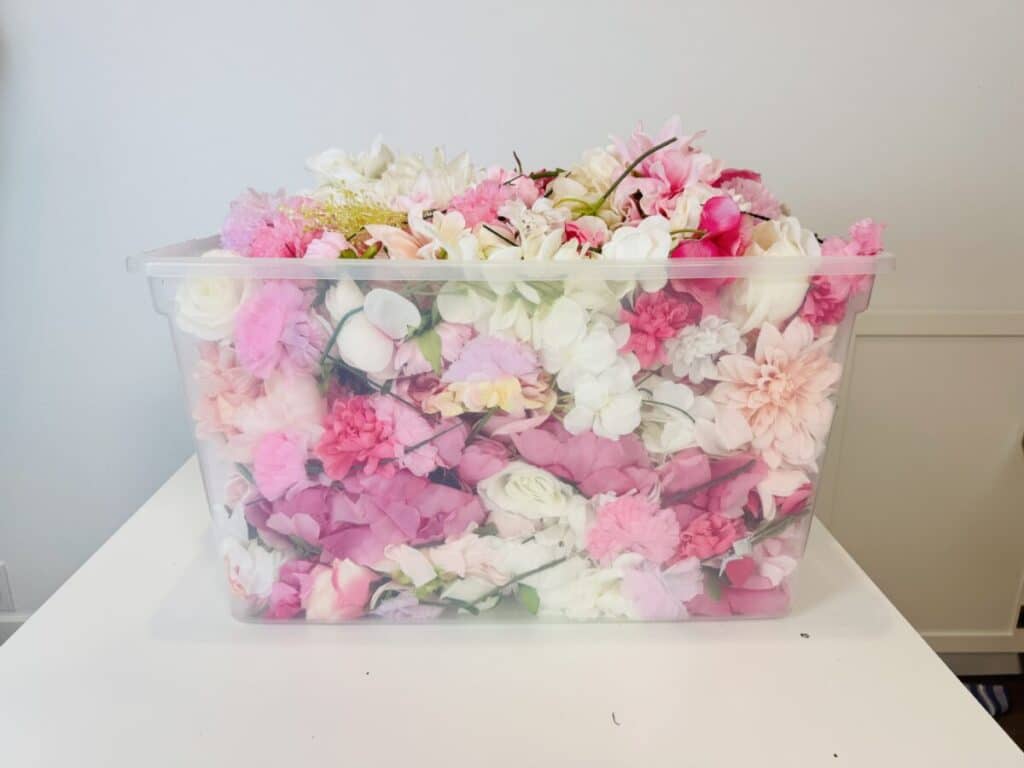
TIP: Always buy slightly more florals than you think you need. Once you start weaving them in it is very easy to keep going until every gap is filled — and you will not want to stop to make a Michaels run. The good news is any leftover stems don’t go to waste — faux florals can be stored and reused for future projects. I store all of mine together in a single plastic storage tub and pull from them whenever I need them.
Three Ways to Build Your Floral Arch — At Any Budget
You don’t have to use individual stems to create a full, lush faux floral arch. Here are three approaches depending on your budget and how much time you want to spend:
Option 1 – Full stem method (what I did):
Purchase individual faux floral stems or bushes and weave them one by one through the grid panels. Maximum fullness and complete control over your colour palette. 315 stems sounds like a lot but the weaving goes faster than you think, and the result is stunning. Mix your quality levels strategically — use better quality stems at the top and most visible areas, and cheaper stems as fillers in the gaps. I used very low quality carnations as gap fillers and they disappear completely once everything is woven together.
Option 2 — Green panel base method:
Use 12×12 faux greenery panels as your base layer on the grid – Greenery Panels, then thread individual florals through for colour and depth. The greenery does the gap-filling work which means you need significantly fewer individual stems. Great middle-ground option that reduces cost and time without sacrificing the finished look.
Option 3 — Flower panel base method:
Start with faux flower panels from Amazon – Hydrangea Panels or Silk Flower Panels as your base (trim to fit arch just like I do with the blank panels). Next, thread additional individual stems through to add depth, dimension and a more premium finish. This is the most budget-friendly starting point — the panels do the heavy lifting and the added stems elevate the overall look. Perfect if you’re working with a tight budget or a tight timeline.
How to Make the Full Stem Floral Arch
Not a reader? Jump back up to the video tutorial above — it walks through every step in real time!
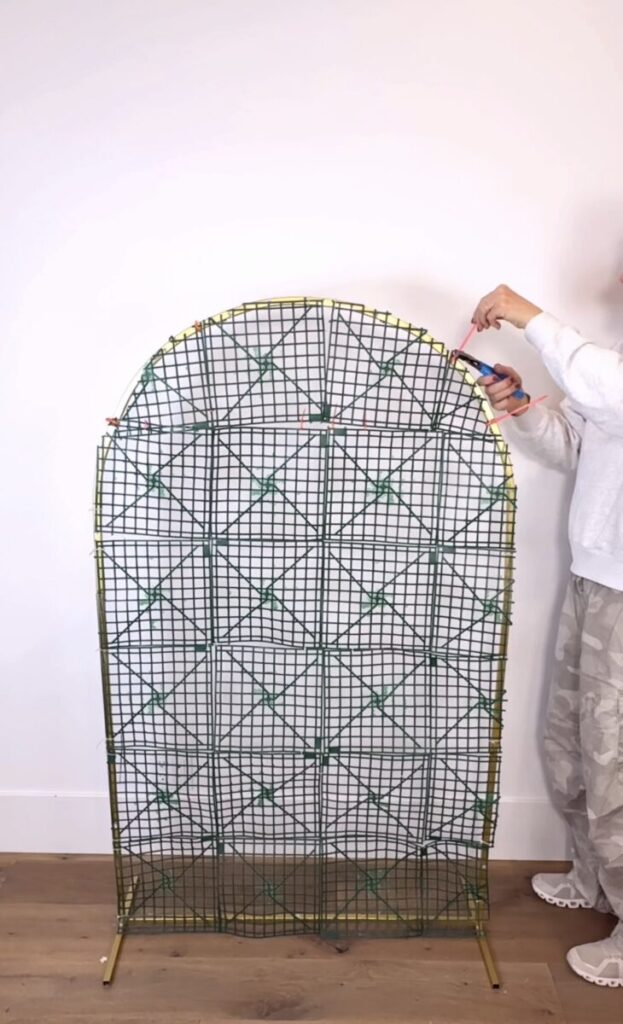
Step 1: Build the Frame
Set up your metal arch frame on a flat surface. These usually come in two curved pieces that slot together at the top — follow the instructions for your specific frame as they can vary slightly by brand.
Once the arch is standing, attach the wire grid panels using zip ties
First, start at the bottom. Connect 4 panels together (use zip ties if you have any issues with the connectors). Pull the four panels across the base of the arch and secure onto the frame with zip ties — one at each corner and one in the middle if the panels feel loose. Work your way up row by row. The straight panels will go on easily. When you reach the curved top of the arch you’ll need to cut a few panels to follow the curve of the frame. Measure the panel against the arch, mark where it needs to be trimmed, and cut. It doesn’t need to be perfect — the florals will cover every edge entirely once you’re done.
Once all panels are in place, do a final pass with zip ties to make sure everything is secure, then trim any excess zip tie tails cleanly.
Tips & Notes:
Work row by row from the bottom up — it keeps the structure stable as you build and means you’re only cutting the panels that actually need to fit the curve at the top.
A note on panel quality: I used budget-friendly grid panels and honestly you might raise an eyebrow when they arrive. They feel flimsy on their own. But once you zip tie them together onto the arch frame they hold completely and do the job beautifully. You can absolutely buy sturdier, better quality panels but the cheaper ones work just fine and keep your costs down significantly. Don’t let the unboxing moment put you off.
Step 2: Attach the Graduation Sign
This step is specific to the graduation version of this DIY party backdrop. If you’re making this for a bridal shower or birthday, consider a custom sign that fits the occasion. Swap in whatever sign you’d like to add to the centre of your arch.
If not, skip ahead to step three but remember to purchase additional florals to fill the space that no longer has a sign.
Hold your graduation lawn sign against the grid to find your position — I went dead centre, roughly one third of the way up the arch. Punch holes in each corner of the sign using a hole punch or skewer. Thread a zip tie through each hole and attach directly to the grid panel behind it. Trim the excess zip tie tails and you’re ready for the fun part.
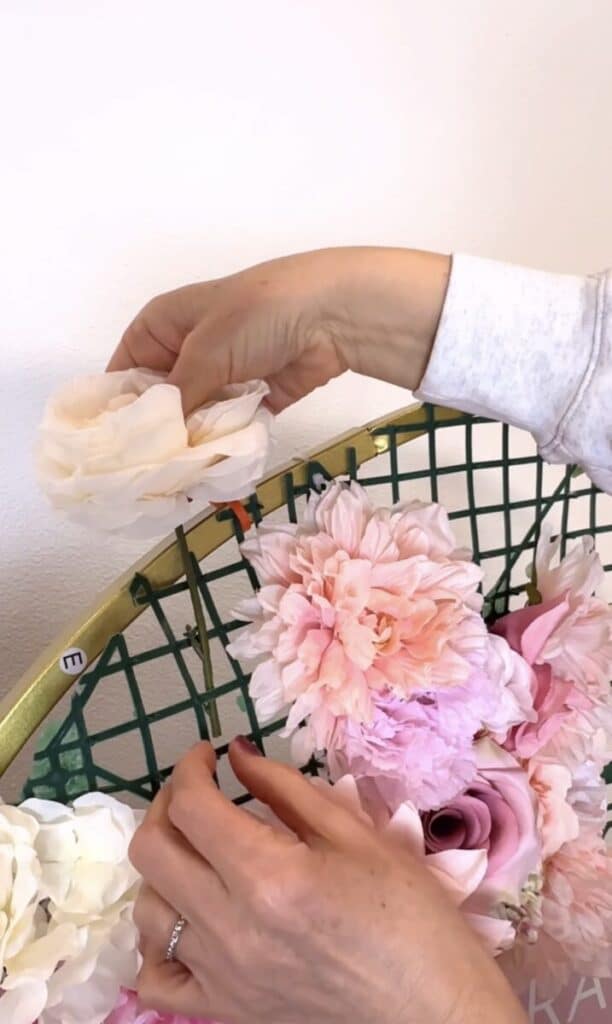
Step 3: Add the Florals
This is where the magic happens — and where the technique that makes this whole DIY floral arch backdrop work comes in.
There is no glue involved. No wire, no floral foam, no complicated rigging. The way the florals attach to the grid is what keeps them secure, and once you try it you’ll understand immediately why it works so well.
The Technique:
Push the stem through one of the grid squares from the front. Then loop it back through the adjacent square (that could be below it or to the left or right depending on which way you want the stem to go). That’s it. The stem is now locked into the grid and it will not fall out — not during the party, not when someone bumps the arch, not at all. The grid holds it completely.
Tips for the Best Result
Notes: You can weave it through a square that is a few away from the one it goes in first for bigger stems and heads. You can also trim stems to make them easier to weave.
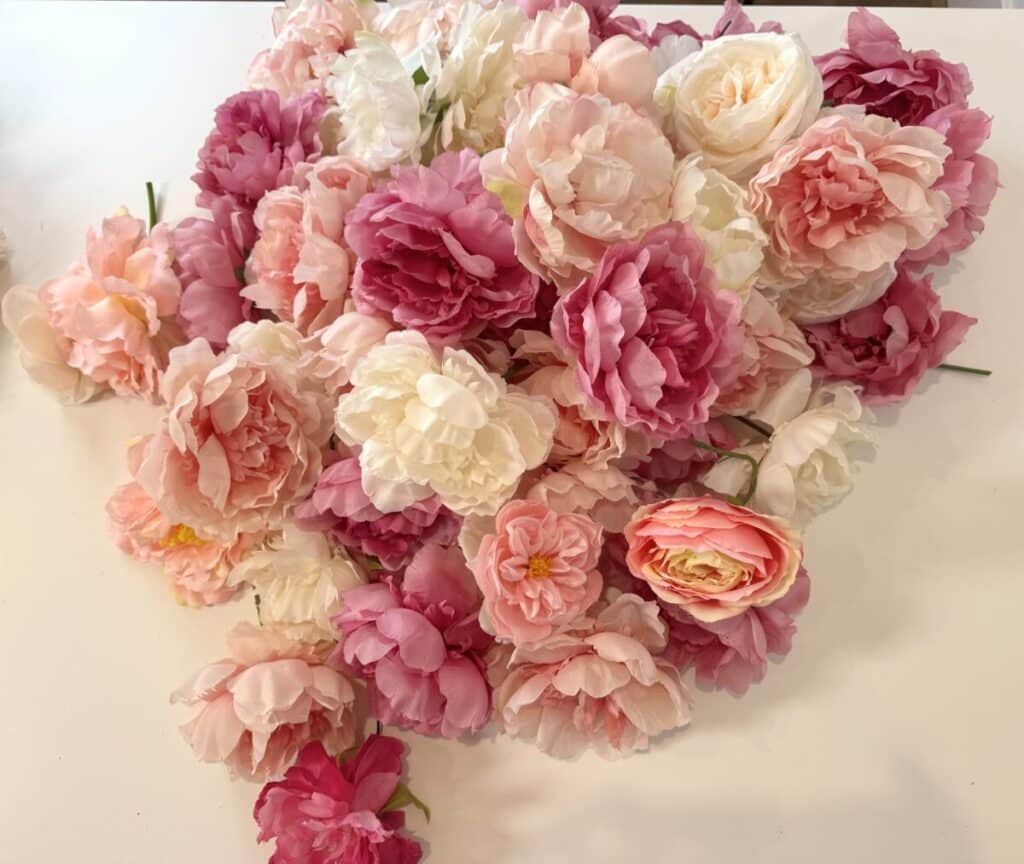
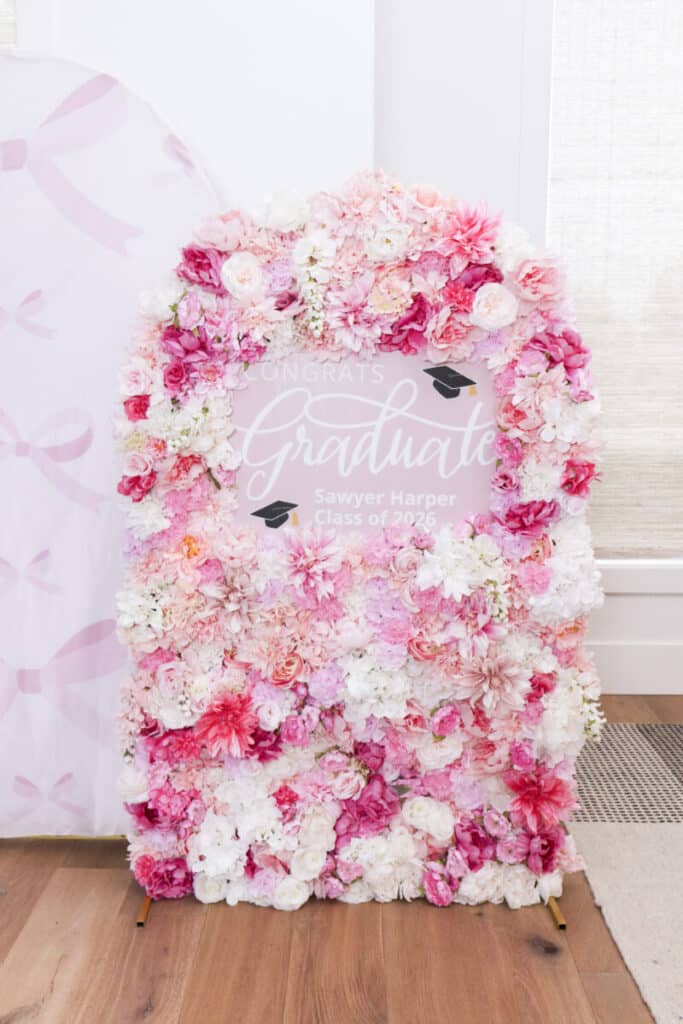
I used a mix of white and pink peonies, dahlias, roses, carnations, hydrangea, wisteria and small filler blooms — 315 stems in total. The variety of flowers and sizes gives it depth and stops it from looking flat. These were sourced primarily from Michaels using the Ashland range, with additional carnations and dahlias from Amazon.
Next, start at the base and work your way up and outward. Begin with the larger blooms to establish the overall shape and coverage, then fill in with medium florals and finish with filler stems to cover any gaps.
A few things I learned making this faux floral arch:
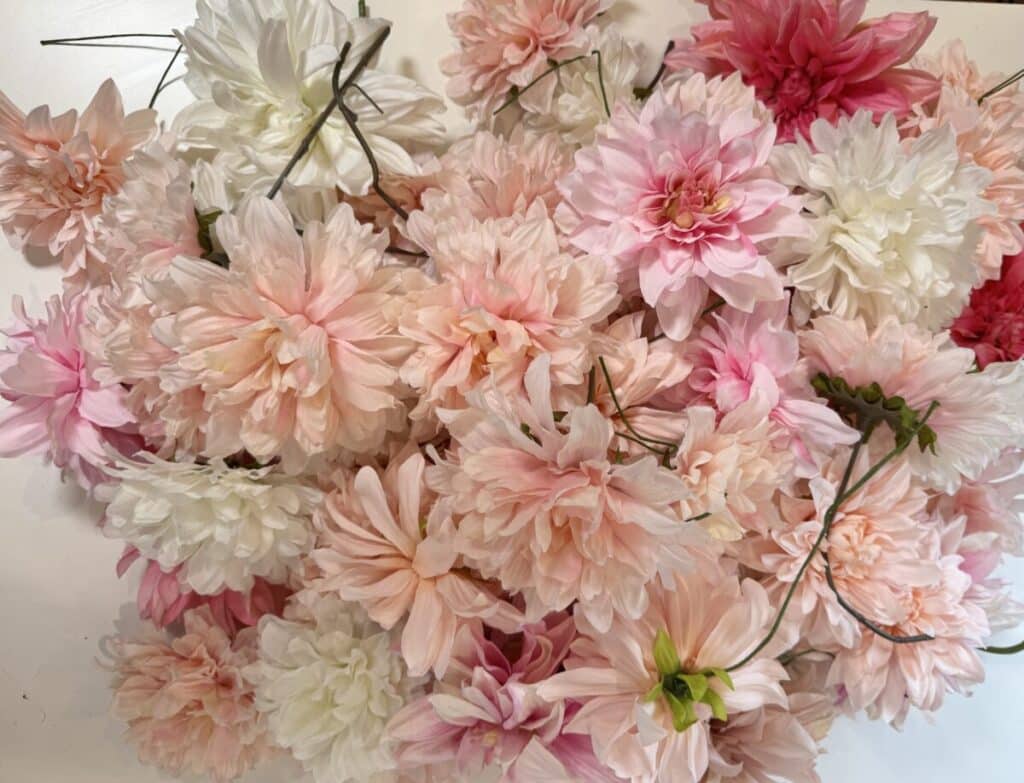
You don’t need the highest quality stems. With 315 stems woven together the overall effect is so full and lush that any individual quality issues completely disappear. I used very low quality carnations as gap fillers throughout and reserved the better quality dahlias for the more visible areas near the top of the arch. Mix your price points and put your budget where it will actually be seen.
Here is a close up of the floral mix so you can see how incorporating some lower quality stems don’t impact the overall quality look & feel.

Vary your stem angles. Not every floral needs to face directly forward. Angling some stems slightly to the left, right, or upward creates a more natural, full look rather than a flat wall of flowers.
Work in sections. Focus on one section at a time — base left, base right, up the sides, across the top. It makes the process feel more manageable and you’ll get a more even result. Crank up the music, watch a show and get in a rythm and this process goes quicker than you think.
Step back regularly. What looks sparse up close often looks full from a few feet away. Step back frequently before adding more stems.
The top of the arch is the trickiest part. The curve means your stems need to be angled carefully to sit flat against the grid. Use shorter stems or break longer ones down if needed.
Keep weaving until the entire frame is covered. It goes faster than you think — and the moment the last section fills in and you step back to see the full DIY floral arch for the first time is genuinely one of the most satisfying moments in any party project I’ve done.
The Finished Backdrop
Once every panel is covered, finally do one last check for sparse patches, trim any stray stems, and step back to take it all in. This DIY floral arch backdrop is completely reusable. Store it carefully after the event and bring it out again for the next celebration. Swap the sign or change the florals to suit the colour scheme. You’ll have a brand new backdrop for a bridal shower, a birthday, or next years graduation season.
Alternatively you can remove the florals and store those in a storage tub to use again for other projeccts – use them over and over!
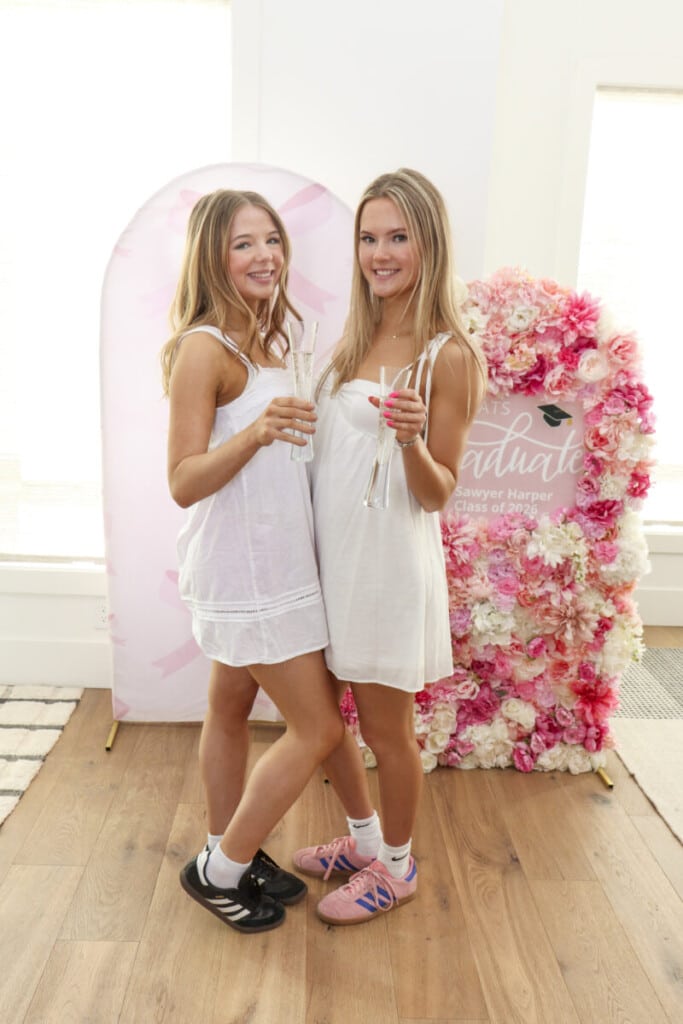
For Sawyer’s graduation party the arch was the centrepiece of the whole setup, providing the backdrop to the perfect cake cutting and “cheers” moment — pink and black throughout, with a candy bar, a memory box craft table, and personalised details that made the whole set-up feel intentional and elevated. Every single guest commented on it, and the photos in front of it are ones her mom is going to keep forever.
Frequently Asked Questions
Your questions answered – time & materials
Can I use real flowers instead of faux? You could use real florals for a one-day event, but faux florals are the better choice here. Real floral stems are likely to break rather than bend. Faux florals hold their shape on the grid, so they won’t wilt during the party. The whole arch is also completely reusable — so you can swap the florals out for the next occasion and you have a brand new backdrop.
How long does it take to make? The frame assembly is straightforward and moves quickly. The florals take longer — put a good playlist on and enjoy the process. It took me 2 sessions of approx 2 hours to add the florals and the result is absolutely worth the time.
Can I use a different frame size? Yes — the technique works on any size metal arch frame. A larger frame just means more panels and more florals. The weaving method is the same regardless of size.
How many stems do you need for a full arch? I used 315 stems (on a 3ft by 5ft arch with a sign in the center) in total across peonies, dahlias, roses, carnations, hydrangea, wisteria and small filler blooms. This gave a very full, lush result. If you’re using the green panel or flower panel base method you’ll need significantly fewer individual stems.
Where can I buy the supplies? Everything is linked in the supply list above and in my LTK shop. The arch frame and grid panels are on Amazon, the faux florals are from Michaels and Amazon, and the graduation sign is from Oriental Trading.
Your questions answered – cost
Do I need to buy expensive grid panels? No — I used budget-friendly panels and they work perfectly once zip tied together onto the arch frame. You might be surprised when they arrive because the panels feel flimsy on their own. Don’t be put off. They hold completely once secured with zip ties, so keep your overall costs down significantly.
How much does it cost? The florals came in under $300 in total. Shop the Michaels sales, stack your rewards points, and you can bring that well under $250. Using the green panel or flower panel base methods reduces floral costs further.
Your questions answered – uses
Can this backdrop be used for other occasions? Absolutely. Swap the graduation sign for a birthday balloon, a bride-to-be banner, or a name sign and this same arch works for bridal showers, birthdays, engagements, and Mother’s Day. The frame and florals are fully reusable.
Shop the Full Supply List
Shopping List for this DIY Floral Arch & more of my graduation posts over on my LTK storefront:

For the full pink and black graduation party this backdrop was part of — candy bar, memory box craft activity, personalised details and more — head here my Pink and Black Graduation Party
You Might Also Like
For more graduation party ideas check out my Baseball-Themed Graduation Party. And for more DIY backdrop ideas head to my 25 Creative Materials for DIY Party Backdrops.
Happy Partying!
As a blogger, I sometimes receive compensation and/or products in exchange for my styling and crafting services. I also may earn a small commission from any sales that result from affiliate links on this page. As always, all project ideas and any opinions expressed here are my own. For further information on our disclosure policy please check out our disclosure page.
PIN FOR LATER:
Planning a graduation party, bridal shower, or birthday and want to come back to this DIY floral arch backdrop tutorial? Save this post to your party planning board so you can find it when you need it.


Leave a Reply