
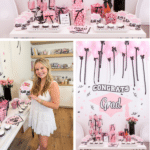
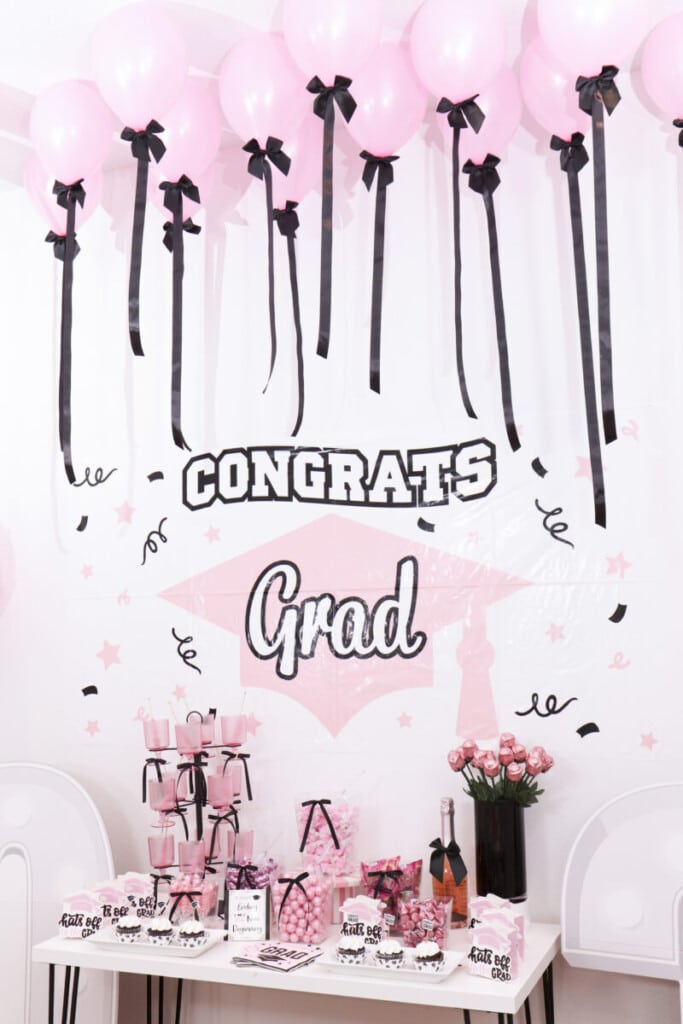
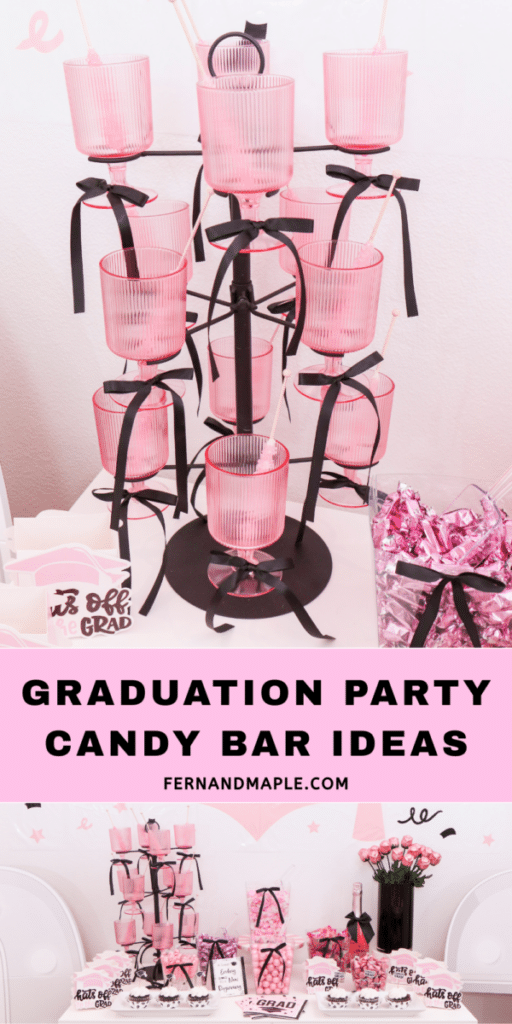
If you’re planning a graduation party candy bar and want it to look like it was styled by a professional — not just a table with some candy on it — the secret is in three things: a consistent color palette, a mix of heights, and details that make it feel specific to the person being celebrated.
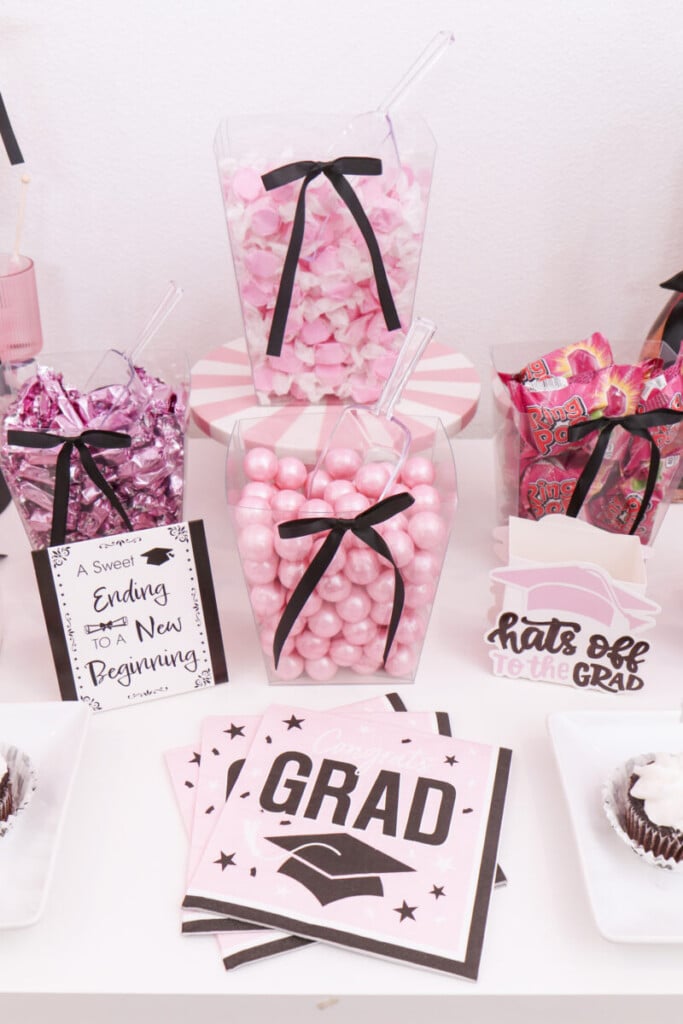
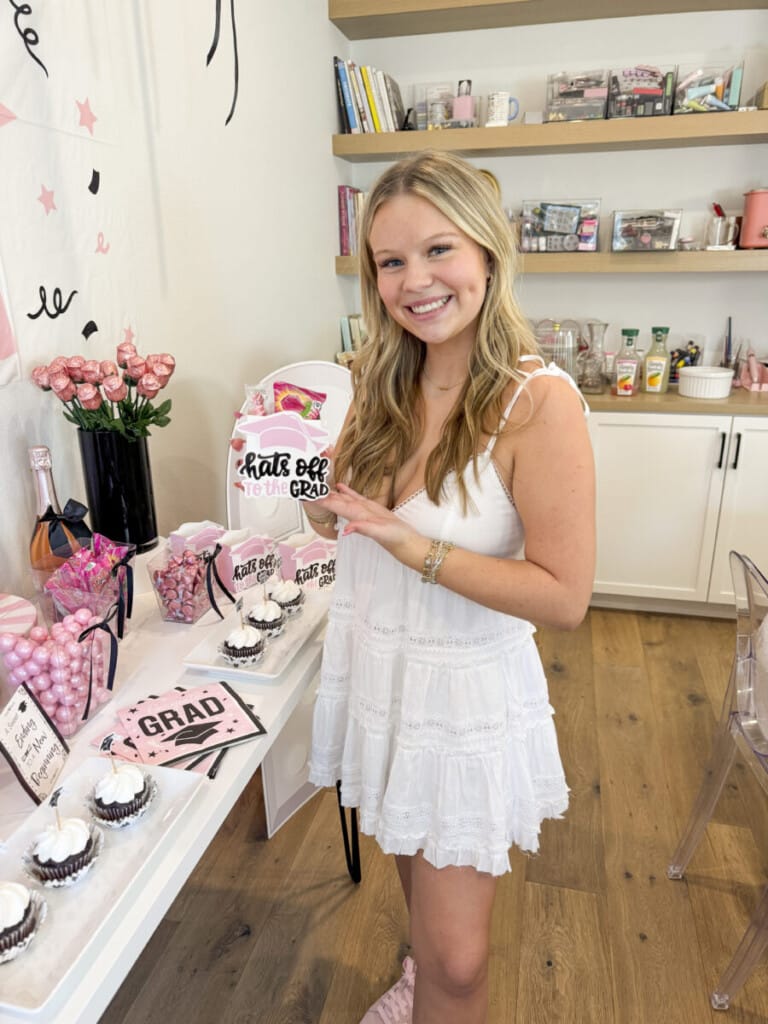
This candy bar was part of Sawyer’s pink and black graduation party, and it was the element every single guest walked straight to when they came into the room. I shopped predominately at Oriental Trading for this project and you’ll find my full shopping list HERE. Every detail was chosen to feel intentional and completely Sawyer’s — from the chocolate roses in the black vase to the pink gumballs in clear buffet containers tied with black bows.
Here is exactly how I styled it, and how you can recreate it for your own grad.
Watch the Candy Bar Reel
Before we get into the styling breakdown, here’s the reel so you can see the full candy bar in action — the details, the styling and the girls enjoying every element of it. Sometimes seeing it all come to life makes all the difference!
Don’t forget to save this post for later — and follow along at fernandmaple.com for more DIY party ideas and party inspiration!
What You’ll Need
For the Memory Boxes
The Candy Containers and Display Pieces
- Pink ribbed glasses $24
- Black drink tower $30
- Clear candy buffet containers in varying heights – set of 6 $11
- Black vase (approx 10″ H x 5″ W) – $30
- Pink striped cake stand or similar (approx 5″ H)
- White serving plates – $30
- Clear candy scoops (set of 3) – $7
The Candy — All Pink to Match the Theme
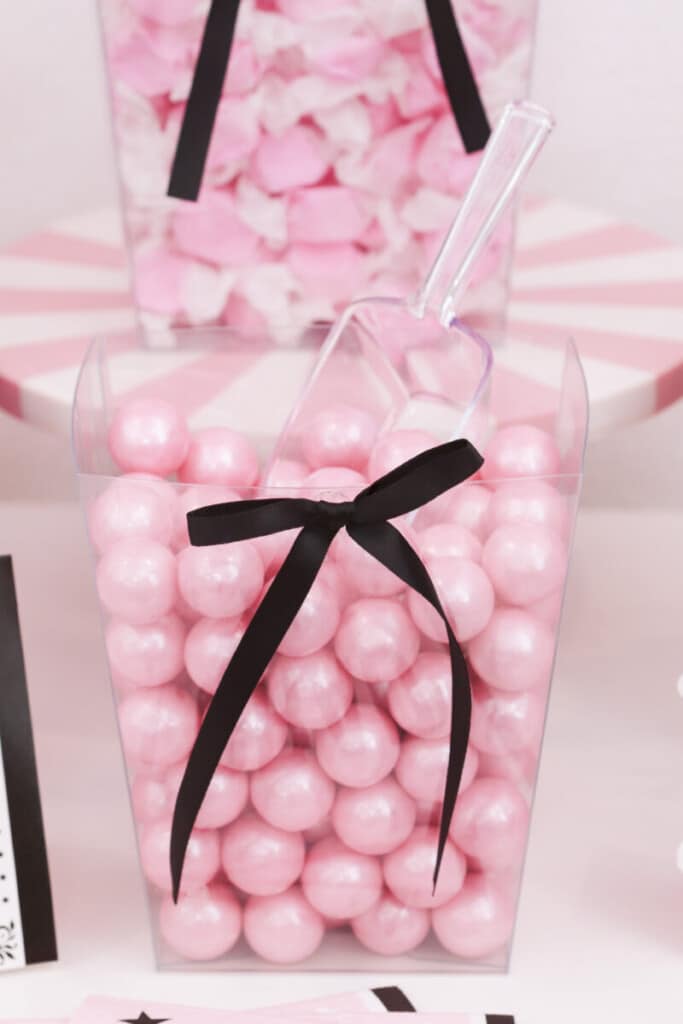
- Pink gumballs — $25
- Pink ring pops or alternatively — $18
- Pink salt water taffy — $15
- Pink Hershey’s kisses — $40
- Pink foil wrapped caramels — $11
- Pink mini twisty lollipops — $4
- Pink chocolate roses or alternatively — $20
- Pink rock candy — $15
I bought my candy from Oriental Trading and Amazon. Both are good sources for color coordinated candy for candy buffets. The total candy cost was $150
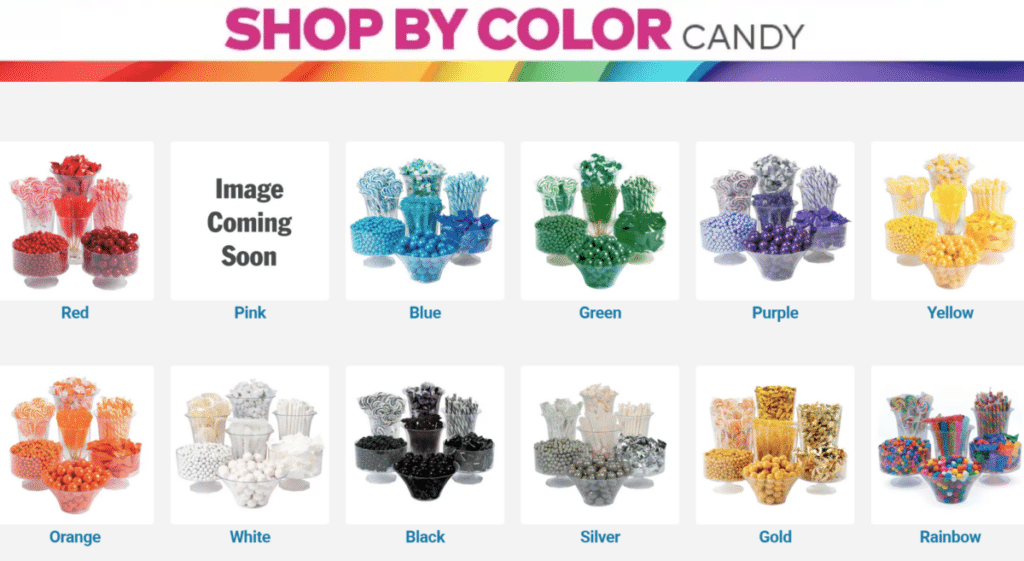
Check out an even more extensive range of PINK candy buffet supplies HERE. I’ve listed some other PINK candy favorites that you may want to add to a larger candy buffet selection:
- Pink M&M’s (these can be personalized with text and images too!) – $40
- Pink starbursts – $18
- Laffy taffy – $13
- Pink buttermints – $20
- Pink jellybeans – $15
- Pink lollipops – $10

The Graduation Details
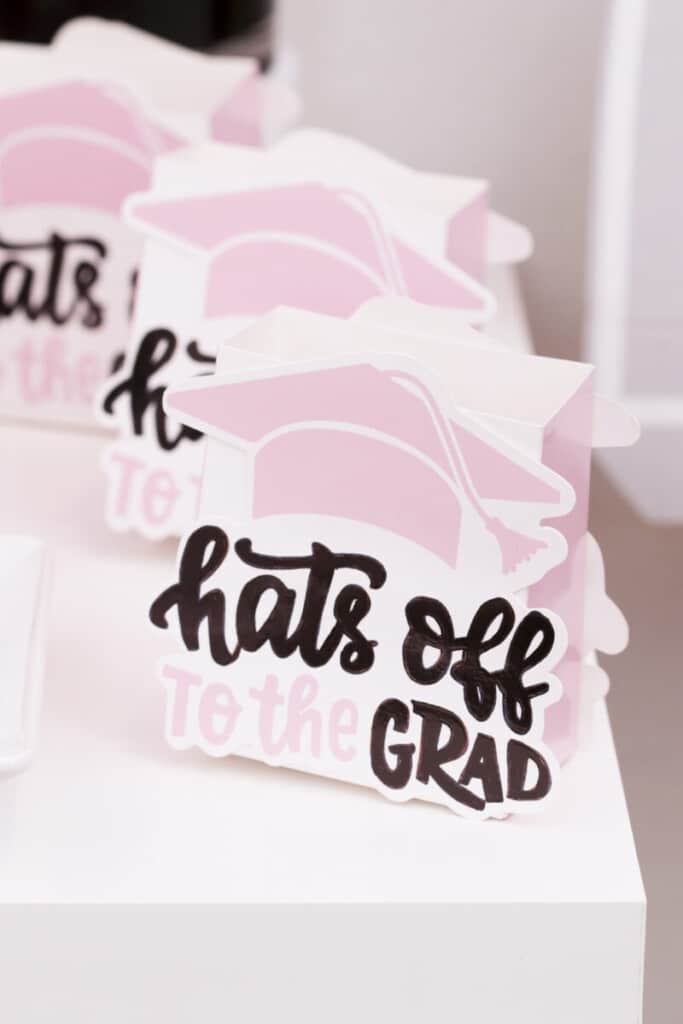
- “Hats Off to the Grad” favor boxes ** — $12
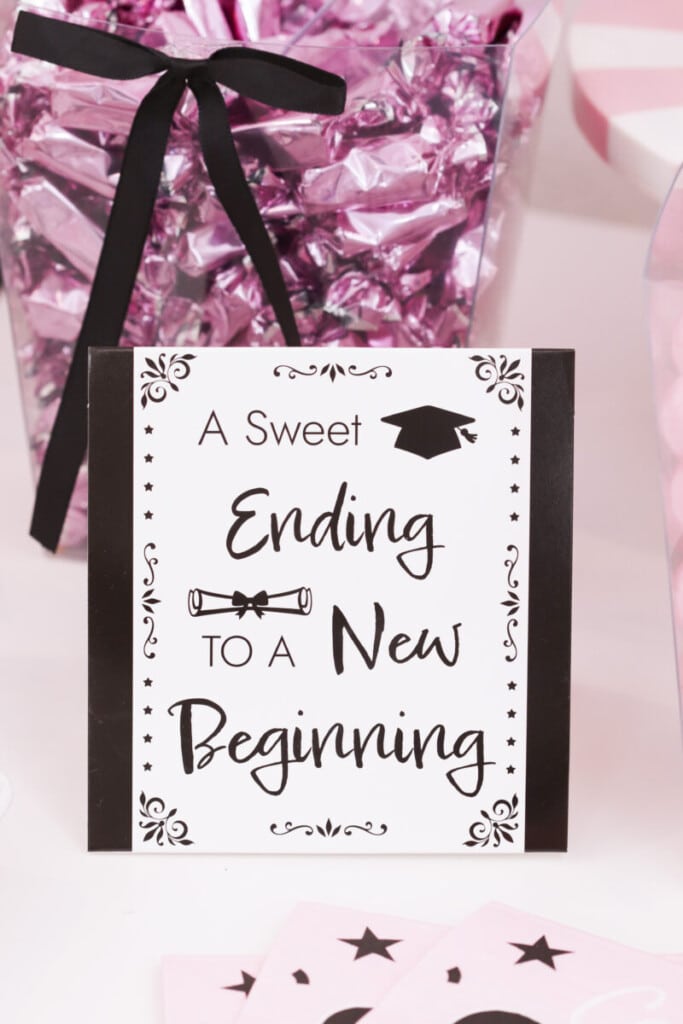
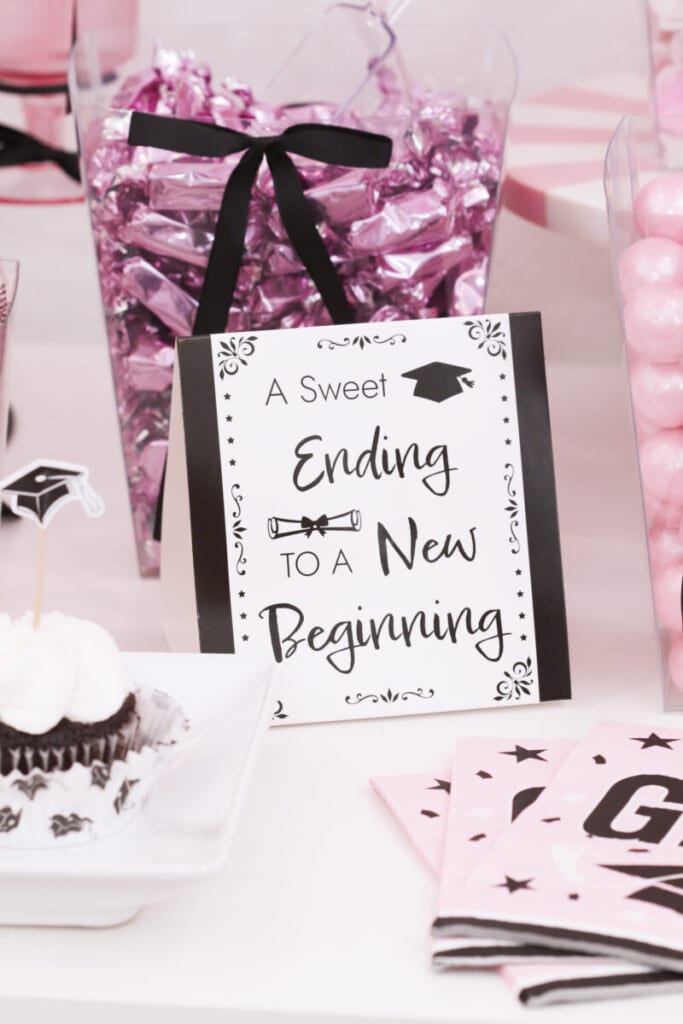
- “A Sweet Ending to a New Beginning” & other grad candy bar signs — $7
- Graduation napkins
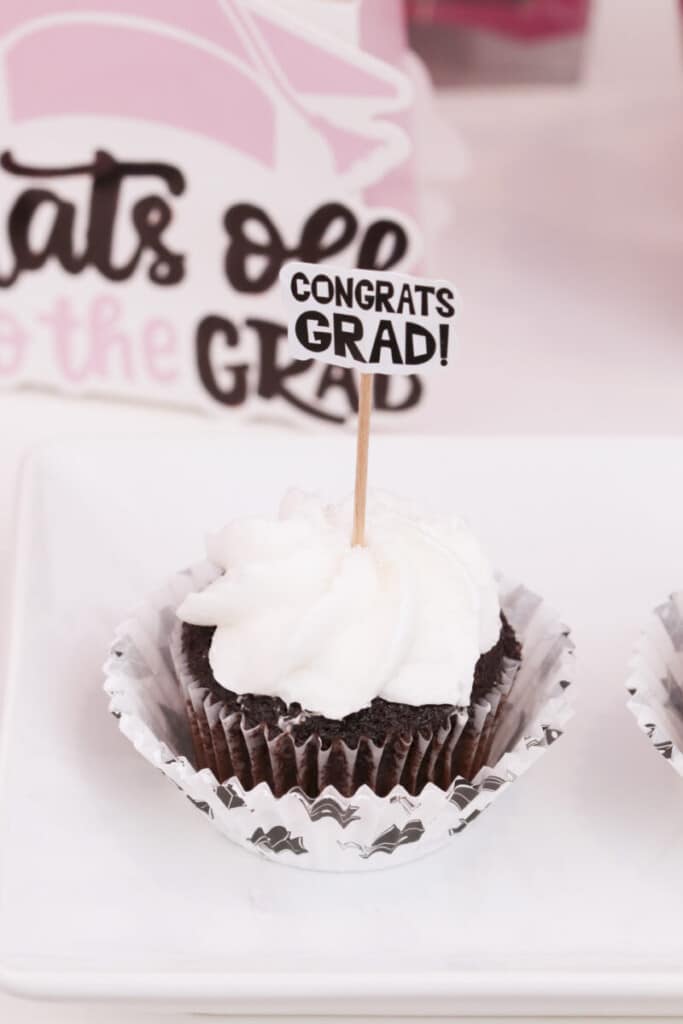
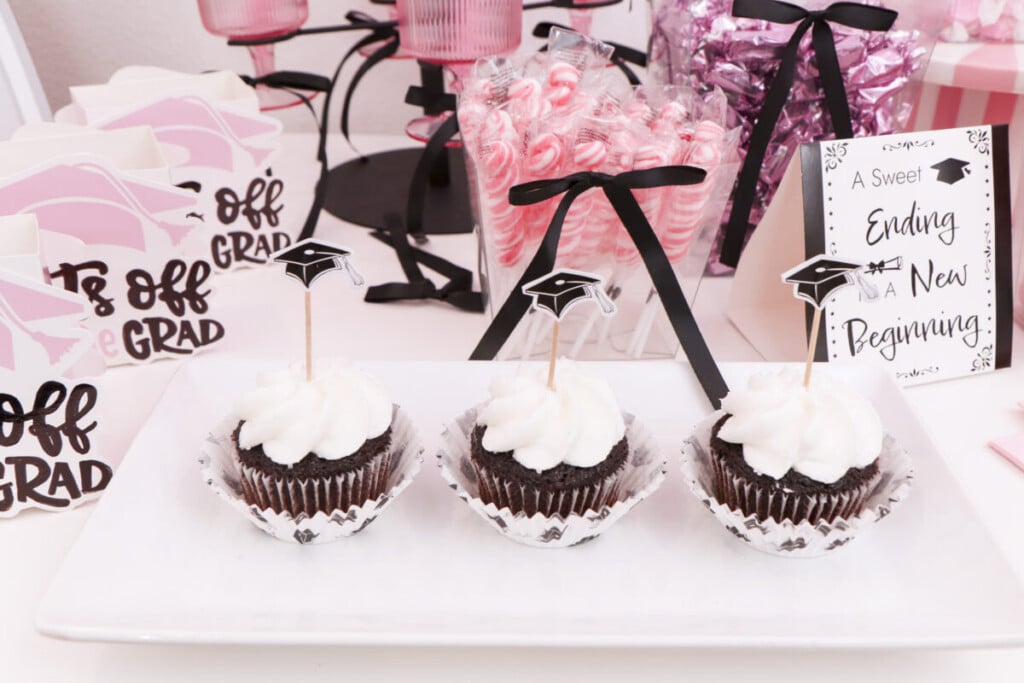
- Graduate themed cupcake wrappers & toppers — $6
- Black bows (for the candy containers & glasses)
- Black ribbon (for the balloons) – $7
- Black bows (I cut up this garland to get the larger balloon bows) – $14
**DIY note: I used a black marker to update the gold writing to black for this party
Additional Items
- Rosé, champagne or non-alcoholic bubbles for the glasses in the tower
- Chocolate cupcakes — store bought or homemade
Tip: Buy slightly more candy than you think you need. Containers should be filled to the top for the best visual effect — a half empty jar never photographs well and guests will take more than you expect.
How to Set Up the Candy Bar
Step 1 — Frame the Space First
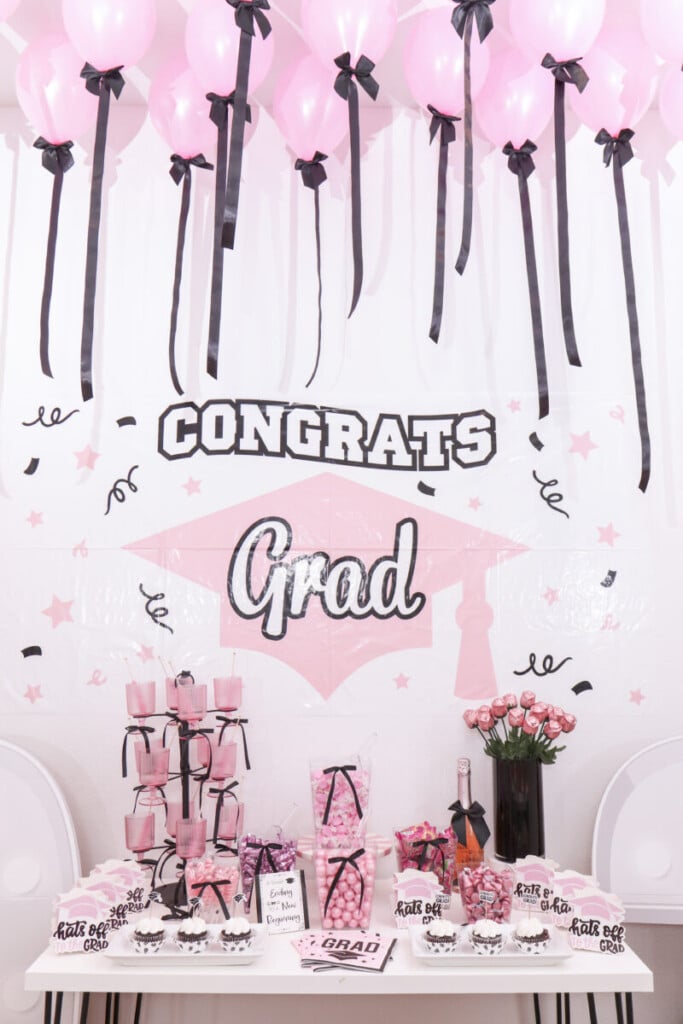
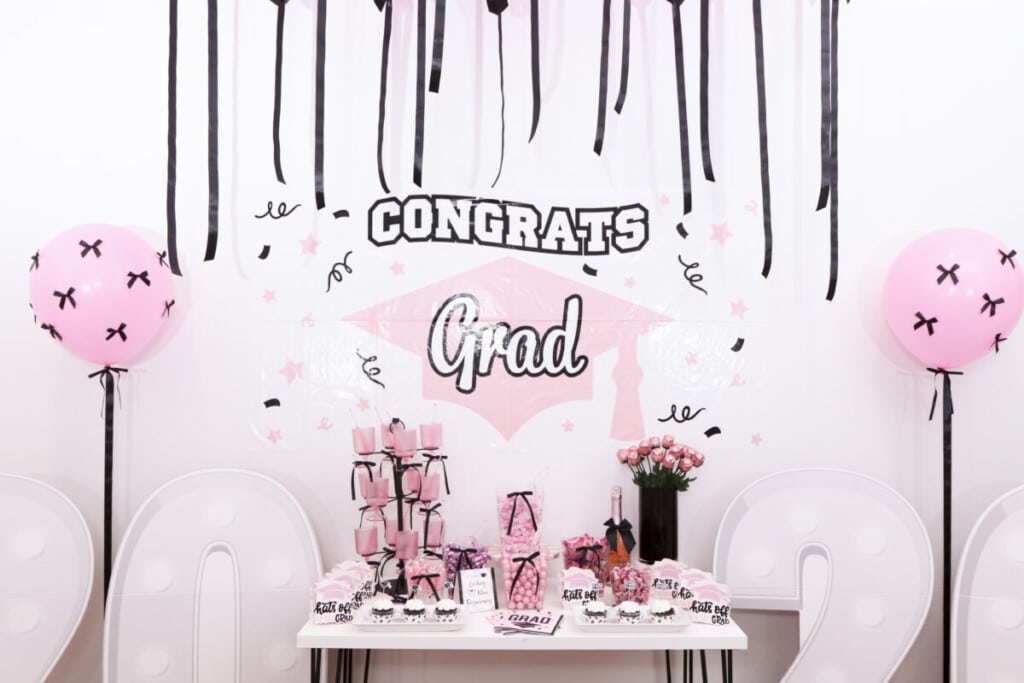
First, before any candy goes on the table, set up your backdrop and framing. For this graduation party candy bar the space was anchored by a large pink Congrats Grad banner framed by large pink balloons with black ribbon tails and bows all over them. Then, above it I added pink balloons onto the ceiling with black ribbon tails hanging down — each finished with a bow at the top. To secure these to the ceiling use a large glue dot or alternatively, fold masking tape and attach to the ceiling.
Additionally, oversized 2026 marquee number cardboard standups sat on either side of the candy bar table, instantly making the whole area feel like a real celebration moment. The framing is what makes a candy bar feel like a destination in the room rather than just a table against a wall. Get this right first and everything else falls into place around it.
Step 2 — Plan Your Heights
Next, establish your height levels before placing a single container of candy. Furthermore, this is the most important styling decision you’ll make — get the heights right and the table looks abundant and styled from every angle.
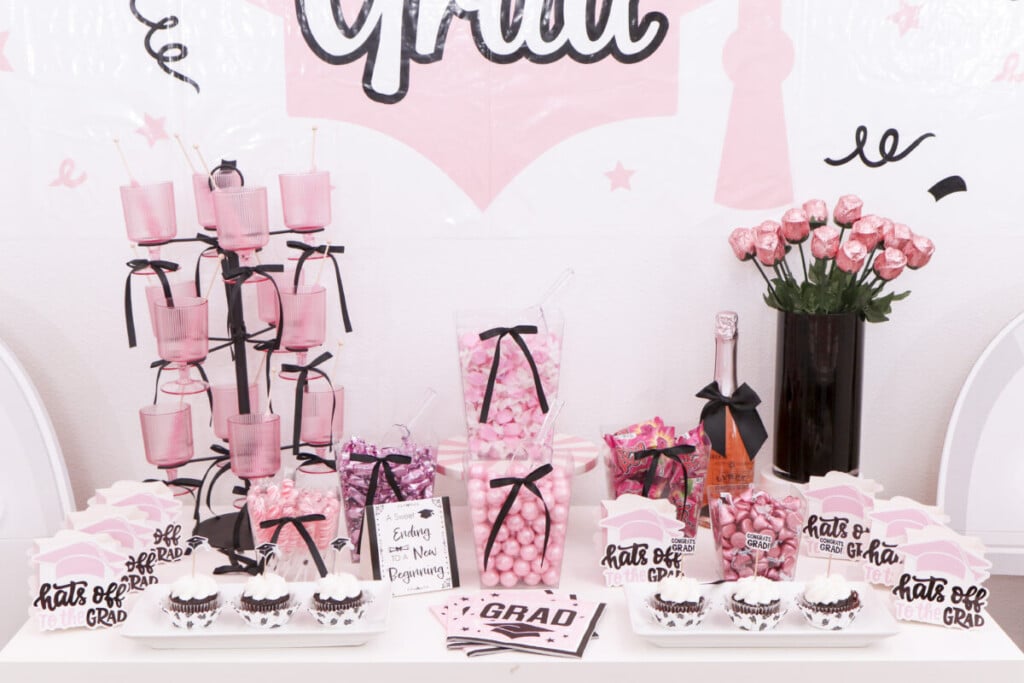
For this candy bar I used five distinct height levels:
- Tallest — the pink glass tower on the tower stand, positioned on the left
- Tall — the black vase of chocolate roses on the right, with the rosé bottle beside it.
- I added the rose bottle next to the vase to create a similar width to the drinks tower on the left.
- You’ll also see I elevated the vase slightly with a white riser to bring it more in line with the tallest item on the left.
- Both of these small changes creates balance across the table so that the eye sees symmetry.
- Mid-height — the center candy vessel is elevated on the pink striped cake stand so that the drop between either side of the table is softer
- Medium levels — the clear candy containers are staggered in height across this level to avoid a straight line of similar containers. These are also placed at slight angels to each other, again to avoid a straight line. This slight variation provides interest to the eye.
- Lowest levels — this level is also staggered slightly the white cupcake plates ar the lowest and the favor boxes stand slightly taller at each side. The napkins at the front are at table level. This transitions the eye to each level without a dramatic drop.
As a result of these staggered levels the eye travels naturally across the table from left to right and from front to back. It takes in every element without the table feeling flat or crowded.
Step 3 — Place Your Hero Elements First
Then, once your heights are planned out, place your hero elements first — the pieces with the most visual impact that anchor everything else around them.
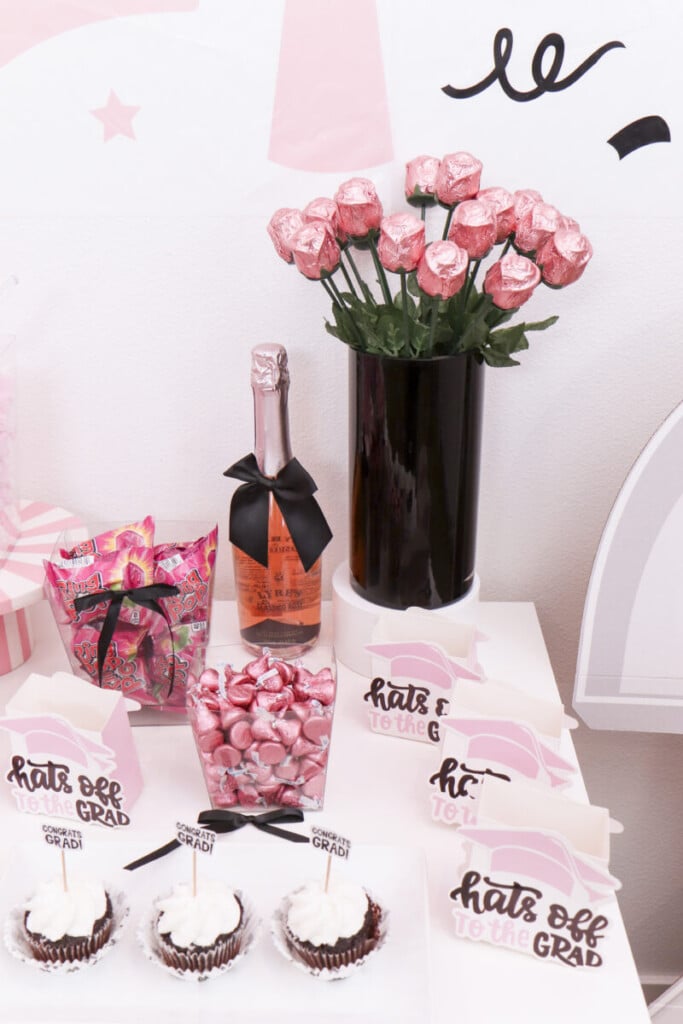
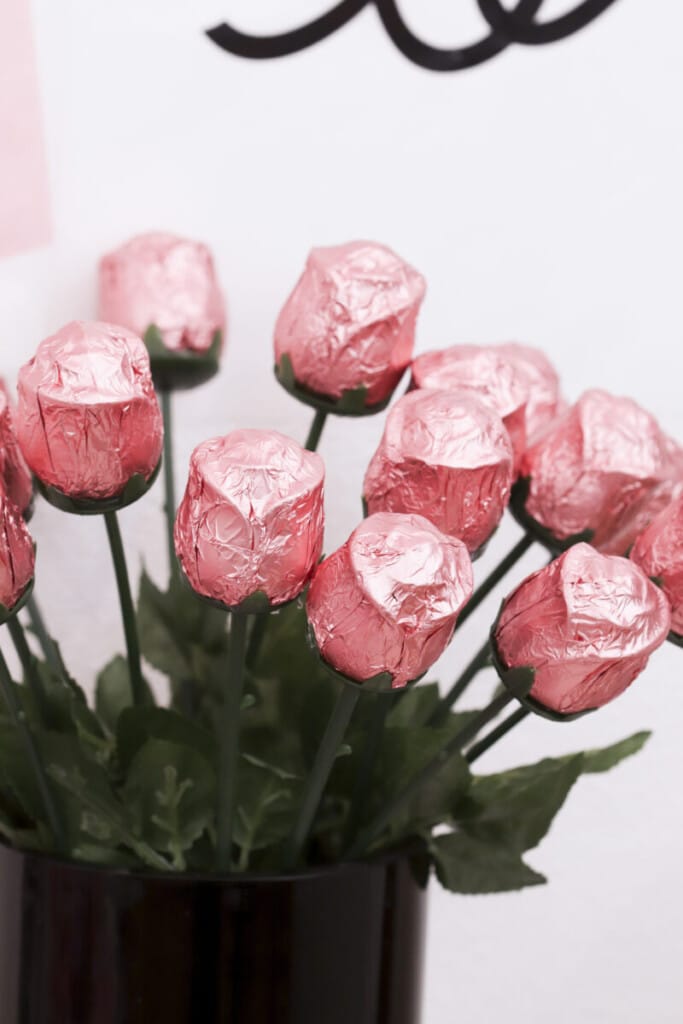
The Chocolate Rose Vase
The black vase of pink chocolate roses on the right side of the table was the most unexpected element of this whole candy bar — and the one every guest commented on first. Additionally, it doubled as a gift the grad could enjoy after the party. Place the roses one by one, fanning them out to get more width. The contrast of pink against the black vase is striking.
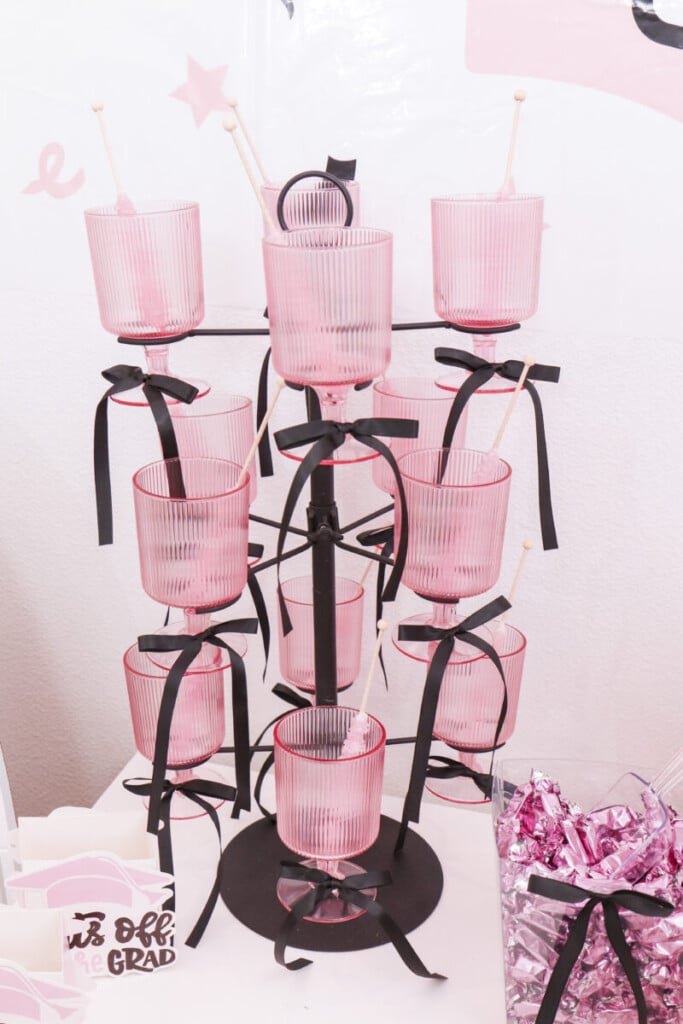
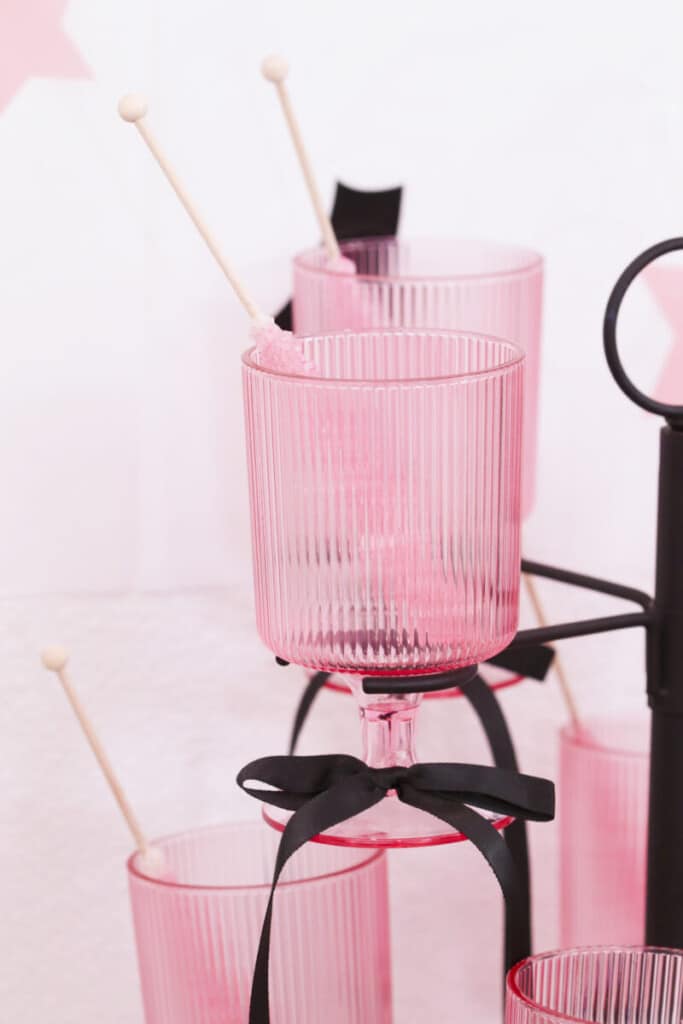
The Pink Glass Tower
On the left, the black glass tower holding pink ribbed glasses — each one tied with a black bow and containing a pink rock candy stick — this was the element that made people stop and ask where I found it. The girls loved the rock candy stirrers too! Place the glasses onto the stand before adding the candy sticks.
Step 4 — Fill Your Candy Bar Containers
Next, fill each candy containter to the very top — abundance is the goal here, not restraint. I kept every candy variety entirely within the pink color palette so the overall effect reads as cohesive rather than chaotic.
Here is how I distributed the candy across the five containers. I was careful to consider affordability when selecting which candy went into which container.
- Center container on cake stand — pink salt water taffy, in the largest container. This is most visible from the front. This candy is also the most affordable per pound which is why I used it to fill the largest container.
- Center container in front of the cake stand — gumballs, again in the largest size container. Nothing obscures the view of this container, it is front in center. So I picked these as they photograph beautifully and the uniform round shape looks stunning in a clear container. These are also an affordable option for the larger containers.
- Container left of center — pink foil wrapped caramels, in the medium sized container. These provide a brighter pop of color to the side of the more uniform taffy & gumball combination.
- Container right of center — pink ring pops, again in the medium containter to match the caramels. These also paired beautifully in terms of color with the caramels.
- Small container left — pink mini twisty lollipops. These came in a smaller pack of 12 so to look full I picked the smallest container.
- Small container right — pink Hershey’s kisses. These are the most costly candy so I chose the smallest container to keep costs down. I would use the same size if I was using M&M’s which are similarly priced.
Next, add a scoop where required. Finally, add a black bow to each container using a strong glue dot.
Step 5 — Add the Graduation Details
Then, once the candy is in place, layer in the graduation-specific details that make this feel like a party rather than just a pretty sweet table.
The Sign
The “A Sweet Ending to a New Beginning” sign sits front and center between the two cupcake plates. It’s the emotional anchor of the whole table — every guest who reads it feels the occasion. Place it slightly angled rather than flat against the table so it’s readable from a standing position.
The Favor Boxes
The “Hats Off to the Grad” favor boxes sit on either end of the front of the table, framing the table on each side. Additionally they serve a practical purpose — guests can fill them with candy to take home, which keeps the table looking tidy as the party progresses.
Don’t be afraid to make adjustments to party products. I loved these boxes and the pretty pink color. Unfortunately, they came with rose gold writing. I used a paint pen to color the words in black to match the party color palette.
The Cupcakes
Chocolate cupcakes in graduate themed wrappers with Congrats Grad toppers sit on white plates on either side of the center. The white plates keep the look clean and let the grad elements on the wrappers and toppers stand out.
Step 6 — The Black Bows, The Finishing Touch
Finally, step back and do one last pass to check the black bow details are complete. This is the thread that ties the whole candy bar together — and throughout this party it appears at every scale, from the balloon columns in the backdrop to the individual containers and crates on the table.
Check every vessel has its bow attached at the front. Add a bow to the rosé bottle beside the vase. As a result, the black bow detail connects the candy bar visually back to the backdrop, the balloons, and the bows on the craft table — making the whole space feel like one cohesive, considered setup rather than separate elements that happen to be in the same room.
Styling Tips for Your Graduation Party Candy Bar
Fill containers to the top. A half-empty containter never photographs well and guests notice. Always buy more candy than you think you need and top up between waves of guests.
It helps to work from tallest to shortest. Place your tallest elements first and build down — it’s much easier to adjust shorter pieces around anchored tall ones than the other way around.
Odd numbers of containers always look better than even. Three or five reads as more natural and balanced than two or four. Furthermore, varying the container shapes — tall and narrow, short and wide — adds visual interest that identical containers can’t achieve.
Keep your candy palette tight. Every candy on this table was pink. That constraint is what makes it look styled rather than like a general candy selection. Additionally, limiting your palette means you can mix candy types freely without the table looking chaotic.
Step back regularly. What looks sparse up close often looks full from a few feet away. Step back after placing each new element before deciding whether to add more
Frequently Asked Questions
How much candy do you need for a graduation party candy bar?
Always buy more than you think you need — vessels should be filled to the top and guests will take more than you expect…this is your shortcut 👇
🎓 Plan ¼ to ½ lb of candy per guest
🍬 That’s about 1–2 handfuls per person across all varieties
➕ Add 20% extra
(because teens + self-serve = they will take more 😅)
💡 Pro tip:
It’s not just how much you buy — it’s how you display it:
- Use multiple containers so it looks full
- Keep backup candy to refill during the party
- Shallow jars = fuller look, longer
This keeps your candy bar looking stocked the entire party (not picked over halfway through)
How do you keep a candy bar color palette cohesive?
Choose every candy variety within your party color palette and don’t deviate. For this pink and black candy bar every single candy was pink — gumballs, taffy, kisses, caramels, lollipops and ring pops. Furthermore, using clear vessels means the candy color does the styling work — you don’t need colored containers when the candy itself is your palette.
Shop candy by color HERE
Where can I buy graduation candy bar supplies?
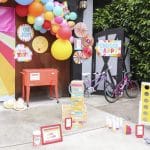
For a group of five girls, I used approximately five book-themed boxes, four crates of shared supplies including letter stickers, stamps and card stock, plus individual trays with glue, scissors, pens and tape. As a result of having everything pre-organized and within reach, the activity ran completely smoothly without anyone needing to wait.
I used Oriental Trading for most of these graduation supplies and Amazon for a few additional items such as the drinks tower. You’ll find my full shopping list HERE Additionally, most of the candy varieties used here are available in bulk on both Oriental Trading and Amazon which keeps the cost down significantly.
Can I style this candy bar in a different color scheme?
Absolutely — the styling approach works in any color palette. However the key principle stays the same regardless of colors: choose your candy to match your palette, use containers at varying heights, and add at least one detail that connects the candy bar to the person being celebrated. Oriental Trading’s graduation range comes in multiple color schemes.
How far in advance can I set up a graduation party candy bar?
You can set up the containers, stand, vase and all non-candy elements the night before. I like to add the candy on the day of the party to keep it fresh and at its best. If you do decide to fill the candy containers the night before, cover open containers with plastic wrap and remove it just before guests arrive.
Shop the Full Candy Bar
Shopping List for this Graduation Candy Bar

Be sure to check out the full pink and black graduation party this activity was part of — Memory book craft activity, floral arch backdrop, personalised details and more — head here: Pink and Black Graduation Party.
To try out the DIY floral arch backdrop tutorial head here: DIY Floral Arch Backdrop — No Glue, No Wire
For the how to set-up the Senior Memory Book craft head here: Graduation Party Craft Activty
You Might Also Like
For more graduation party ideas check out my Baseball-Themed Graduation Party. And for more DIY backdrop ideas head to my 25 Creative Materials for DIY Party Backdrops.
Happy Partying!
As a blogger, I sometimes receive compensation and/or products in exchange for my styling and crafting services. I also may earn a small commission from any sales that result from affiliate links on this page. As always, all project ideas and any opinions expressed here are my own. For further information on our disclosure policy please check out our disclosure page.
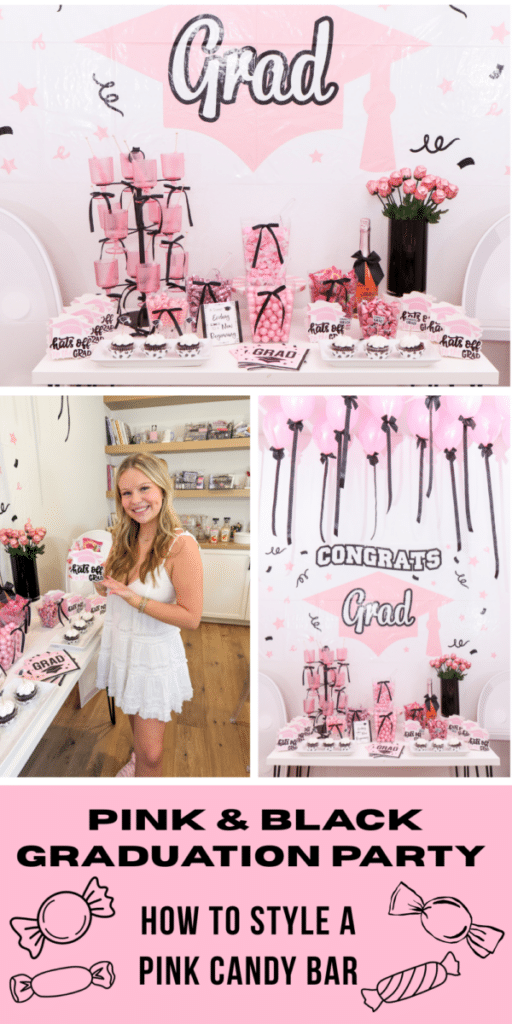
📌 PIN FOR LATER
Planning a graduation party candy bar and want to come back to this styling breakdown? Save this post to your graduation party planning board so you can find it when you need it.


Leave a Reply