I think I might have just as much fun as my kids do when it is birthday time in our house. I just love going all out and seeing the joy on their faces when they get to enjoy the party I’ve styled! A few years ago, my son Harrison wanted “something with nerf guns and some sort of puzzle”. So I decided to create a super fun Spy Themed Birthday Party, and put our young secret agents through intensive secret agent training! Read on to see how I set it all up!
As a blogger, I sometimes receive compensation and/or products in exchange for my styling and crafting services. I also may earn a small commission from any sales that result from affiliate links on this page. As always, all project ideas and any opinions expressed here are my own. For further information on our disclosure policy please check out our disclosure page.
How to Throw a Successful Secret Agent Spy Themed Birthday Party
Invitations
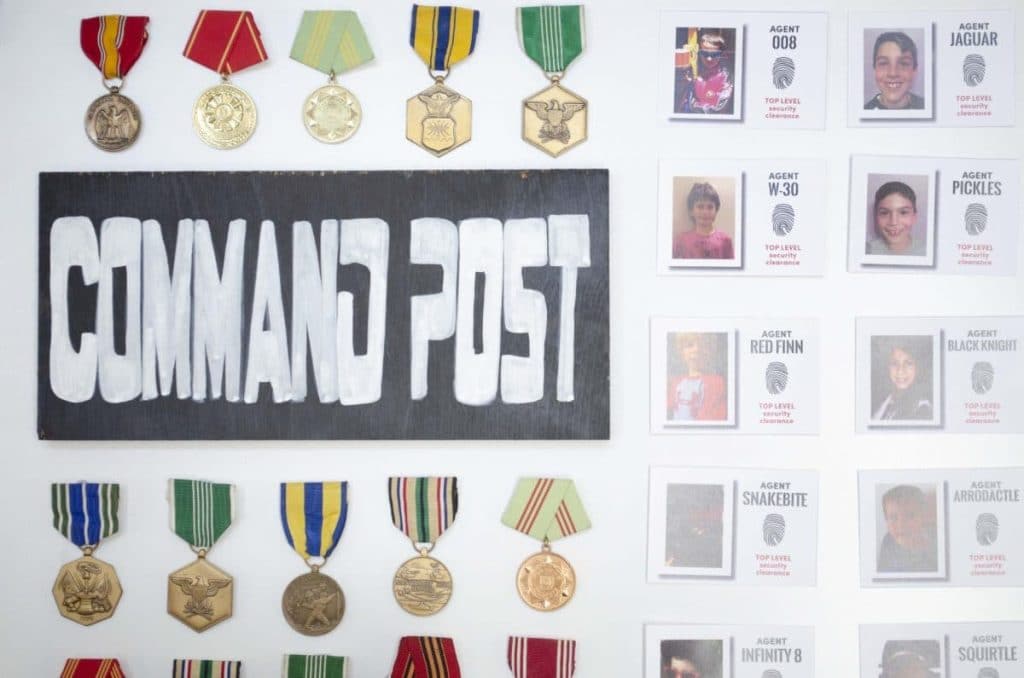
I started with a video invite that got sent to each guest (I used Animoto – you can connect several messages into one clip, which I had play to the tune of the Mission Impossible soundtrack!). In my video invitations, I provided a secret code word to get into the party to make the whole thing feel a bit more mysterious and exclusive, and requested that each guest send me a photo and a spy name. The kids were just brilliant – I had several photos arrive with them totally kitted out in disguise. I used these to create my “Command Post” welcome area and the guest’s ID badges for the party.
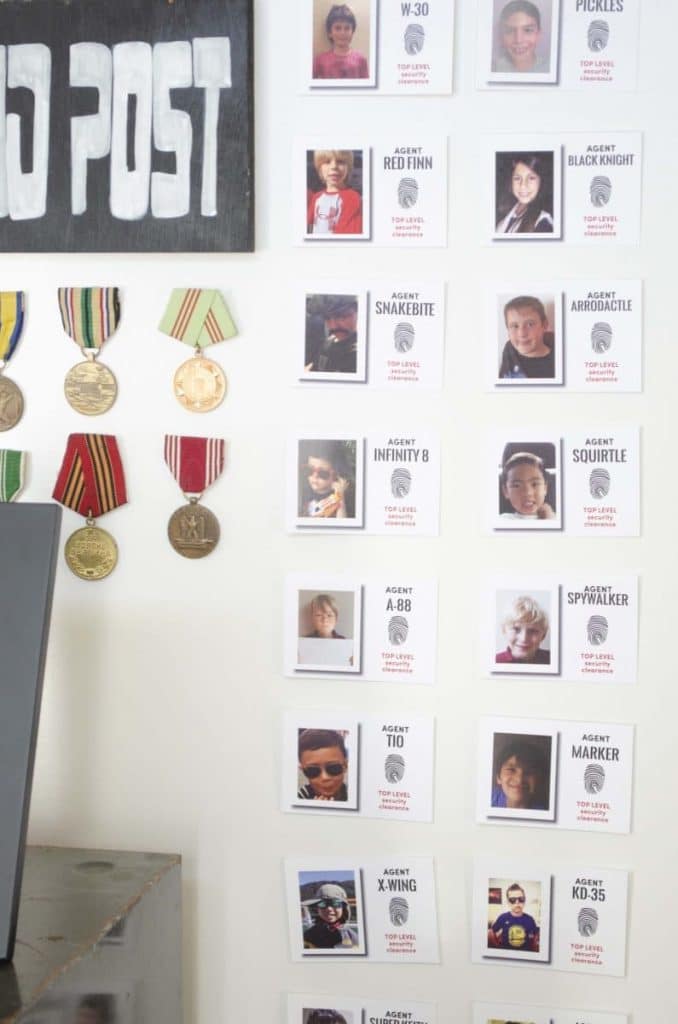
Command Post Welcome Area
To immerse the kids in the experience from the beginning, we had them go through a special check-in process when they arrived with their parent “handlers”. First, we asked for the secret password from the invite.
TIP: This is a great opportunity to get release forms completed if you are using an external NERF provider (more on that later).
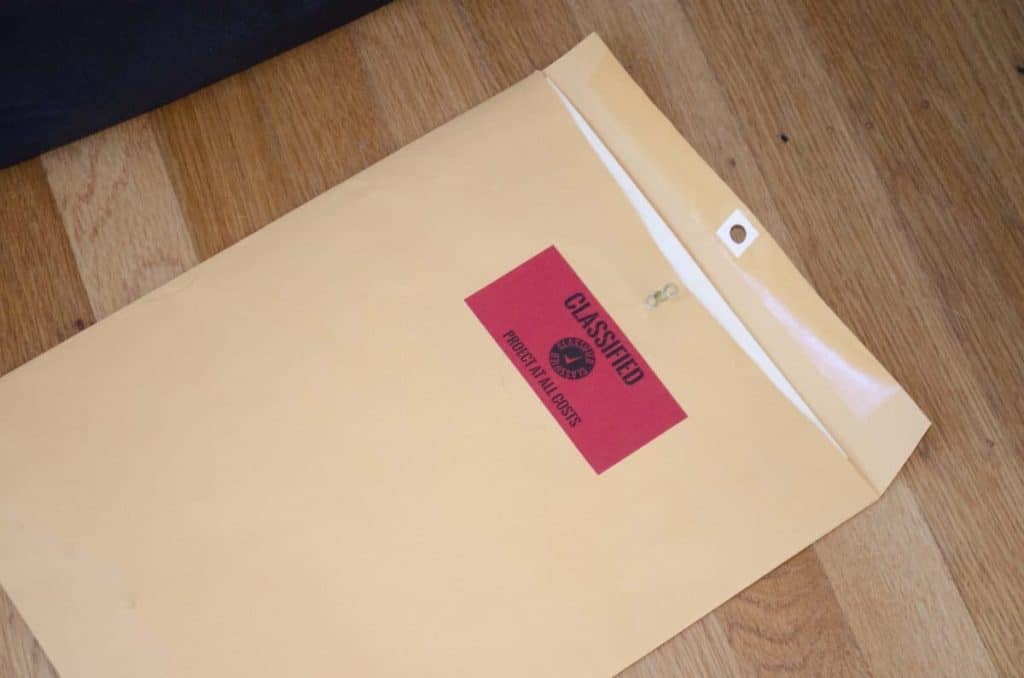
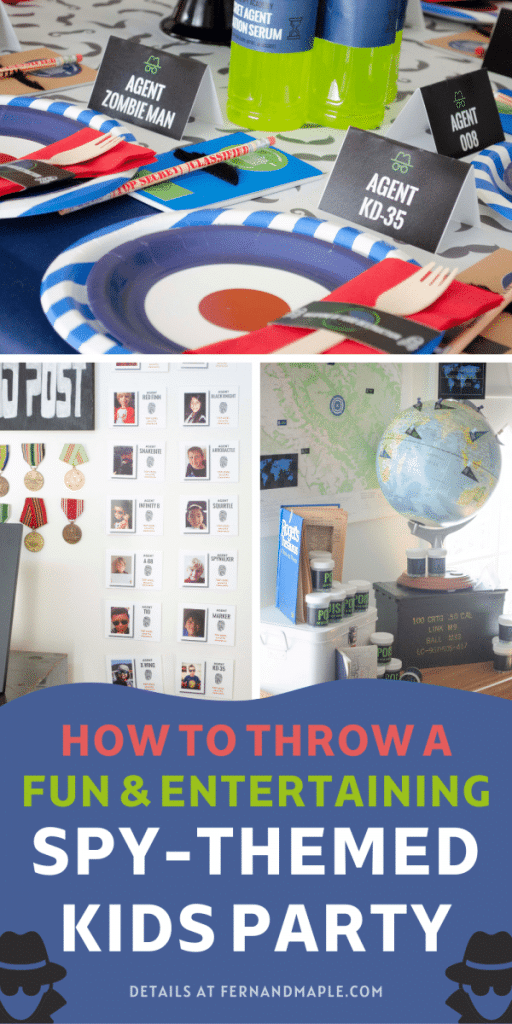
Then, the junior spies were provided with a Top Secret dossier and identification badge, created by Small Moments. The IDs were printed and put into clear plastic pockets with a lanyard. If you don’t have these, a piece of string does just fine! Punch a hole in the card and hang around the children’s necks.
The dossiers were printed, put in a manila folder and then this was placed in a large brown envelope with “top secret” and “classified” stickers on it. These gave them a cover to act out. You can add a personal mission, activities for the day, secret codes…. get creative! These are also fun for kids to take home after to practice their spy craft further.
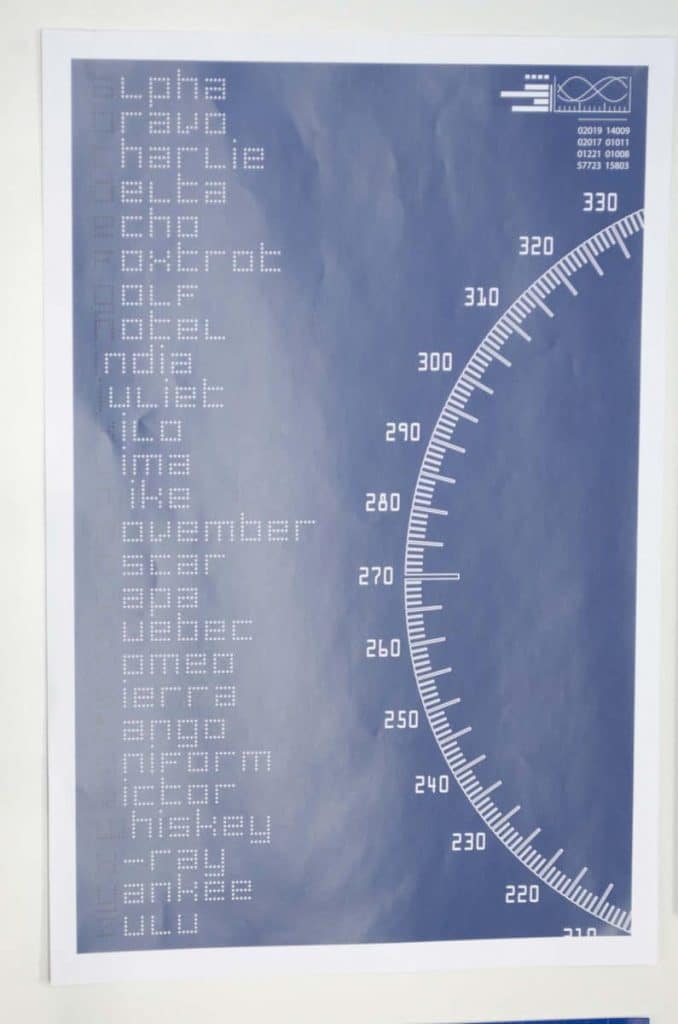
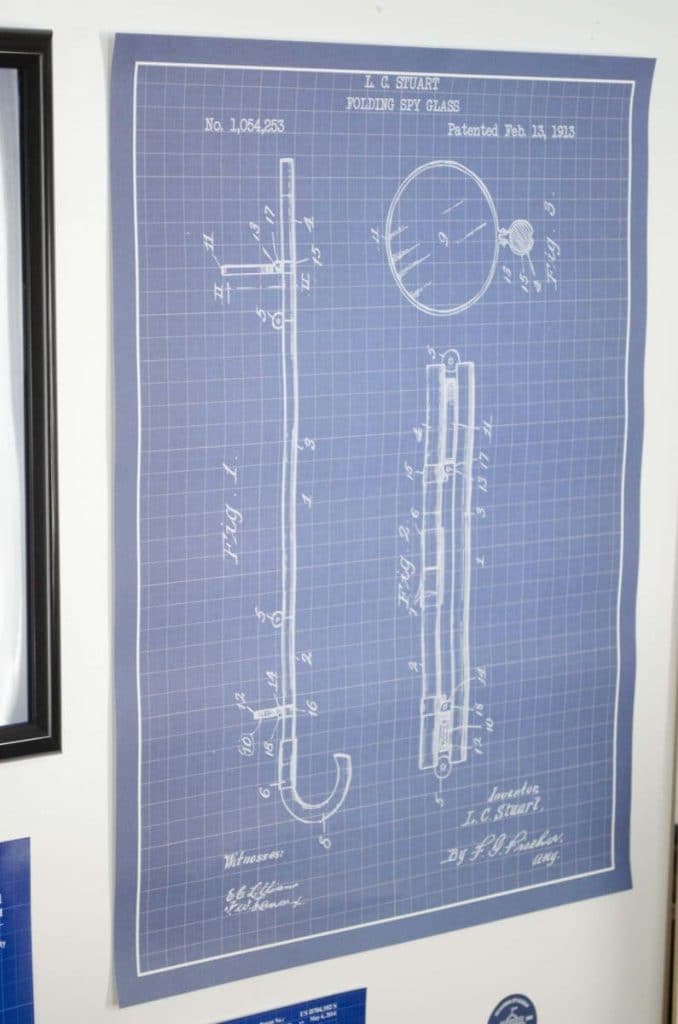
For the registration area, I used a small table that I used for fingerprinting (a non-toxic stamp pad was all I needed and some wet wipes). Behind this, I hung spy signage, used blueprint spy gadgets, and vintage medals I found at a secondhand store on the wall. You can also add spy photos.
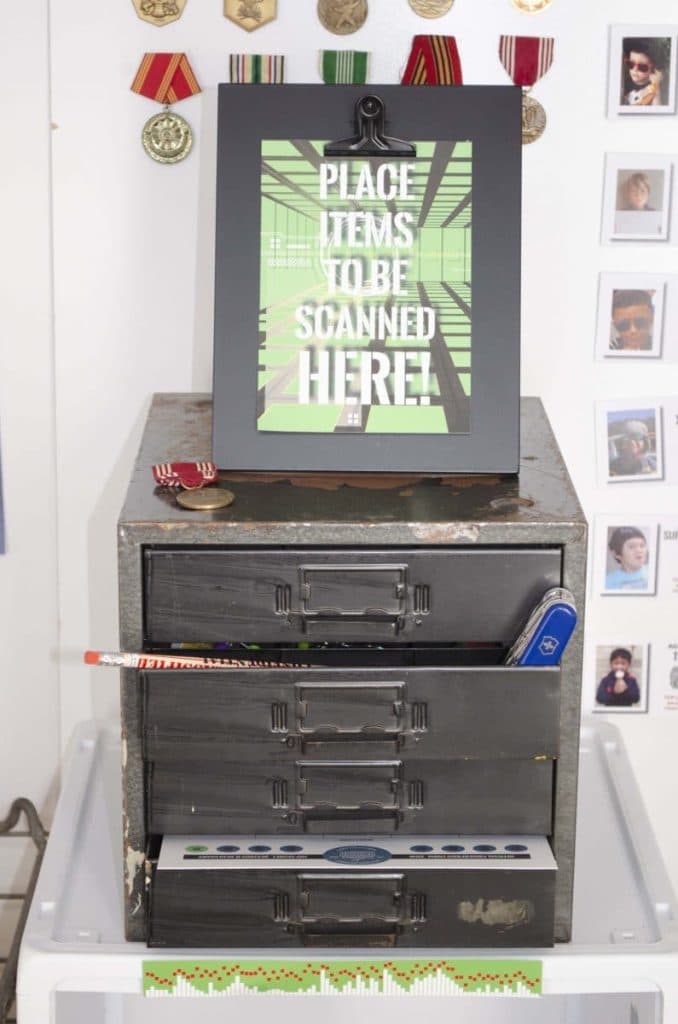
TIP: Any “office” or “bureaucratic” type prop will do to give it the look and feel of a check in. Think wire baskets, filing cabinets, folders and stationery.
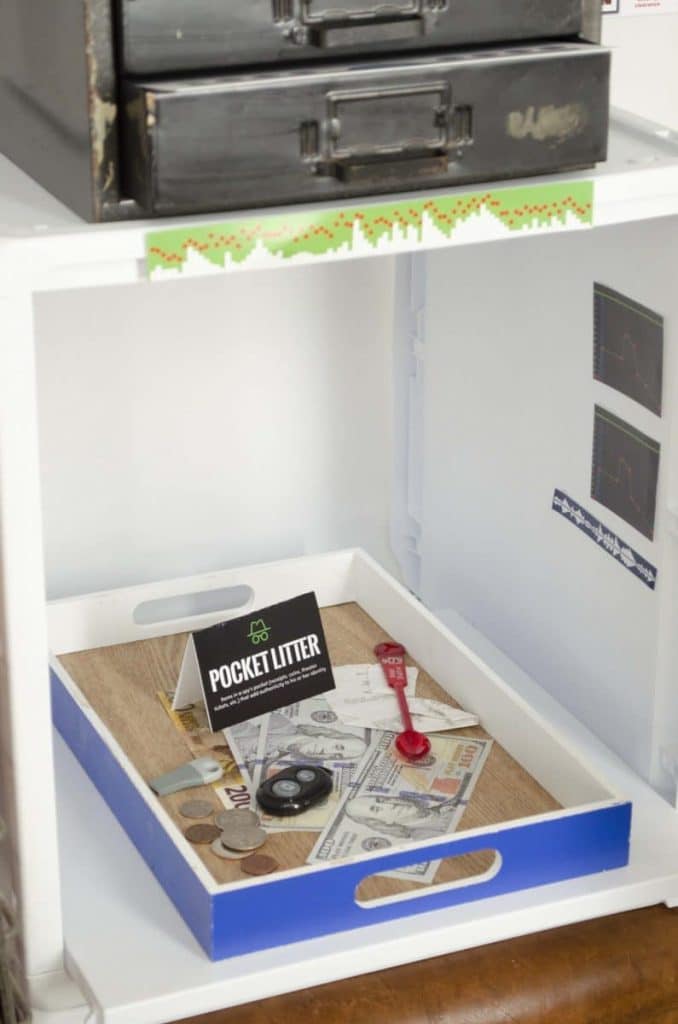
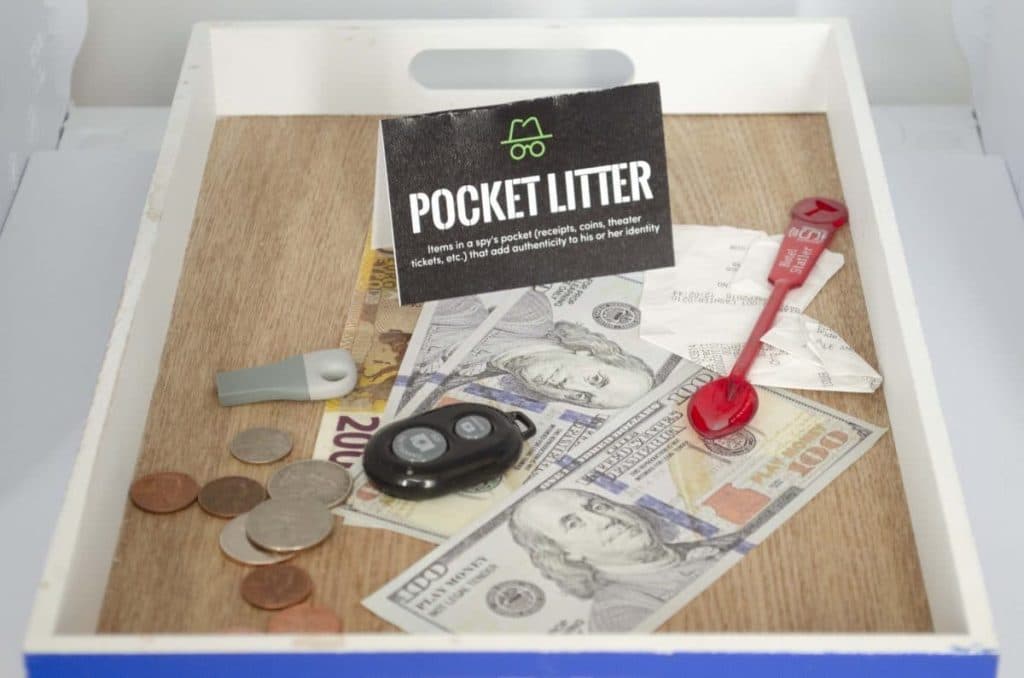
For the final step before moving on to the first step of their spy training, I placed a tray on some shelving, and had the kids empty their pockets for scanning. This was a lot of fun- I made ridiculous sounds effects while “scanning”!
Enemy Briefing Area
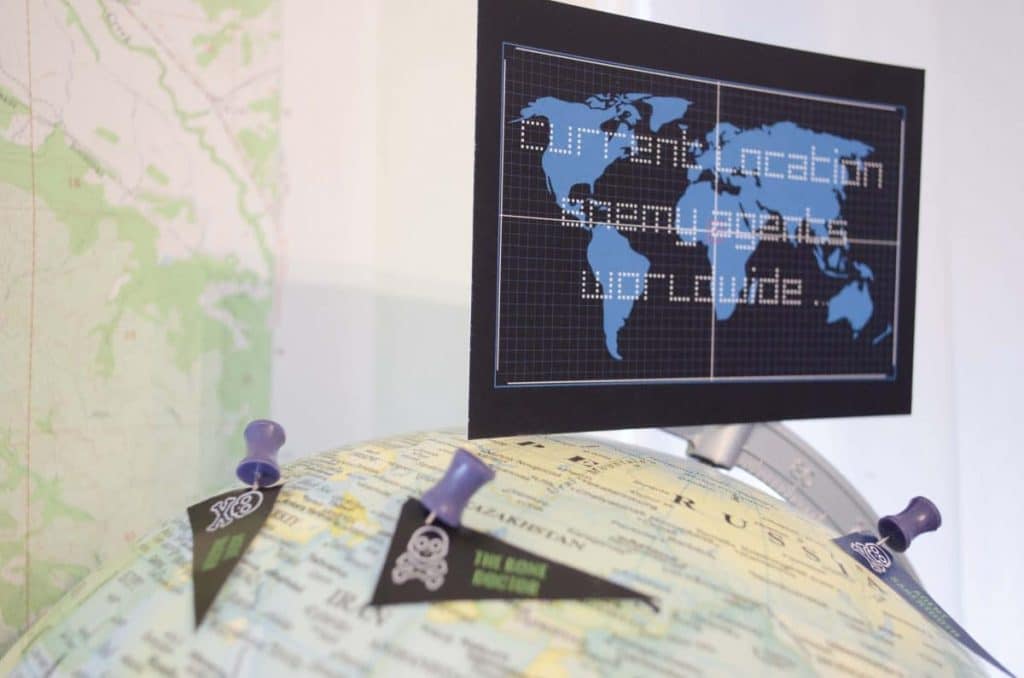
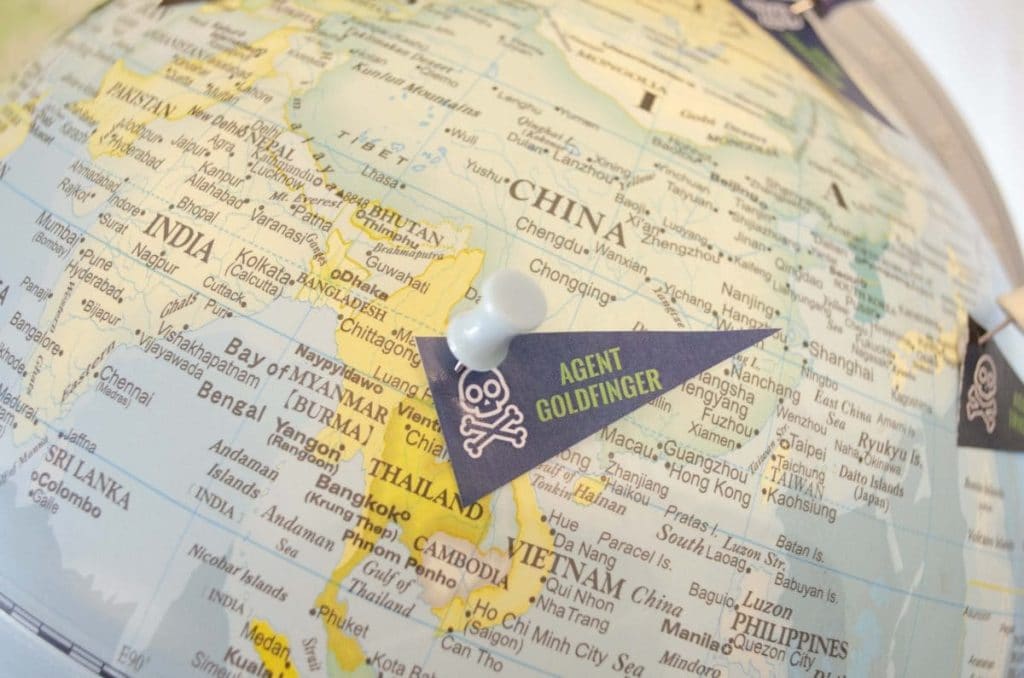
Next, the junior spies received an “enemy briefing”. For this area, the backdrop consists of a map (I used a vintage topographical map, but any map will work).
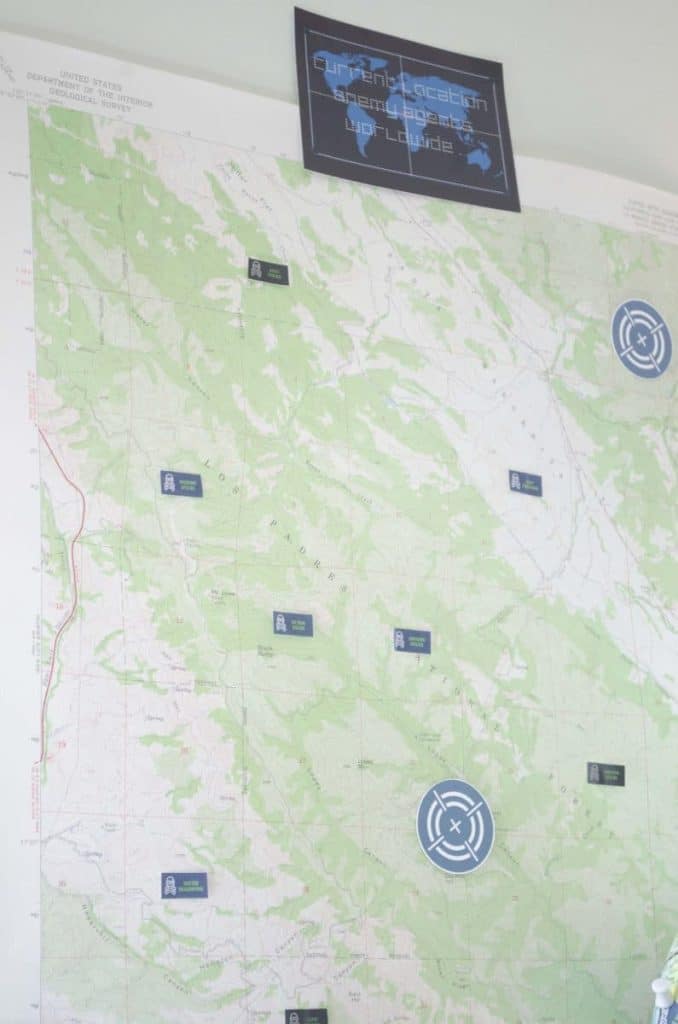
In front of the map, I set up a butler’s table that I usually use as a bar. You could also use a bar cart, if you have one.
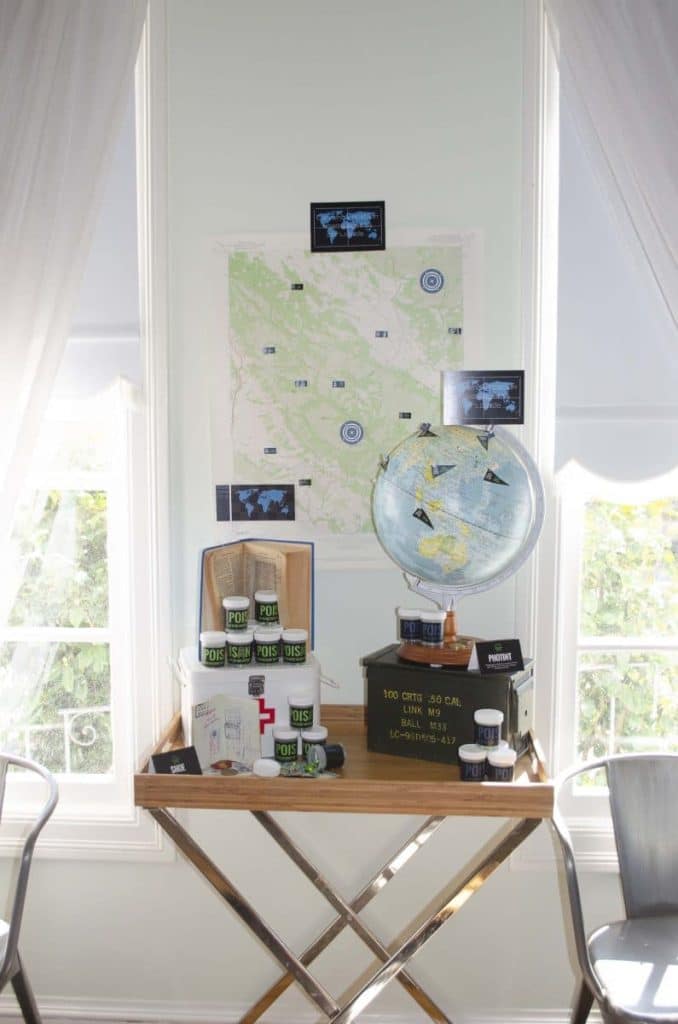
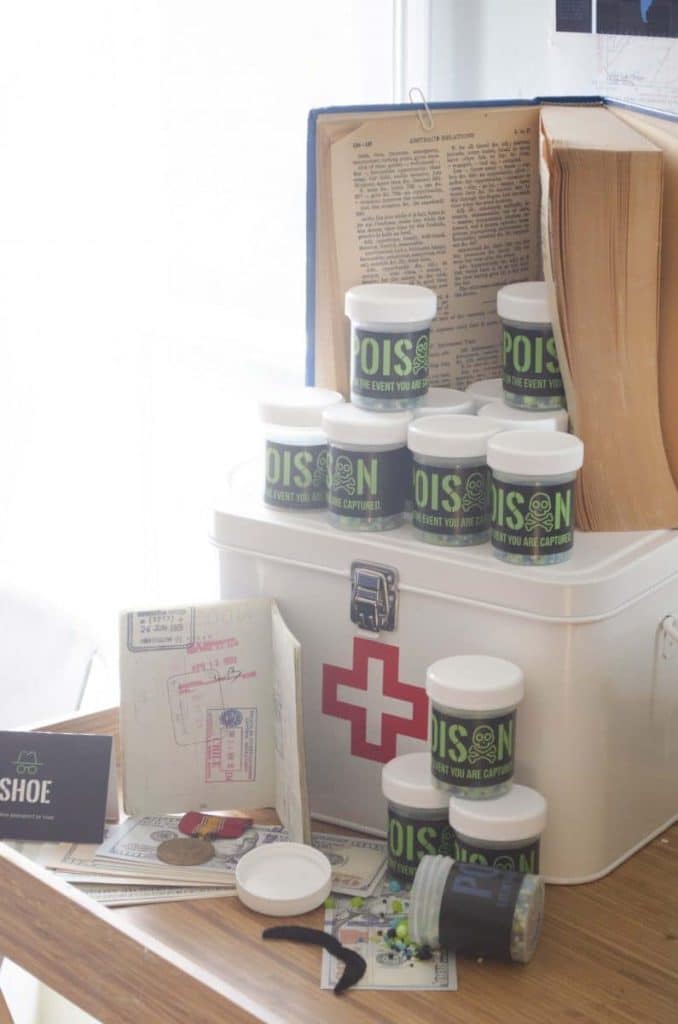
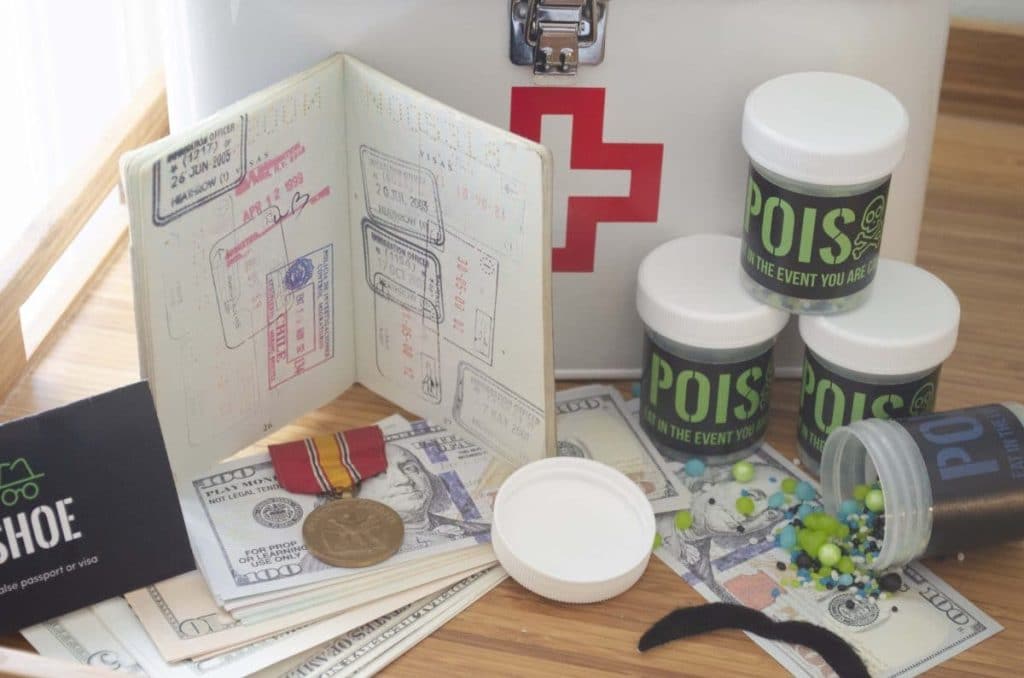
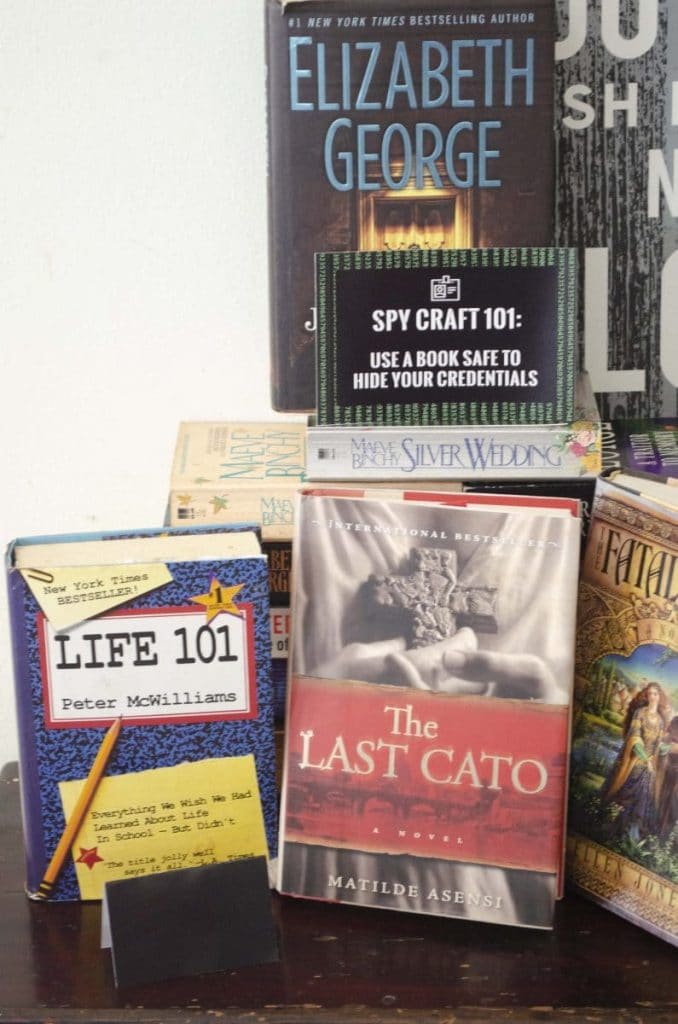
Then, I added props to make the area feel realistic. One is a vintage ammo box, and the other a medical box I have at home (emptied prior to the party). I placed a globe on top of the ammo container, and a book safe with small jars of “poison” inside and around the book safe on top of the medical box. 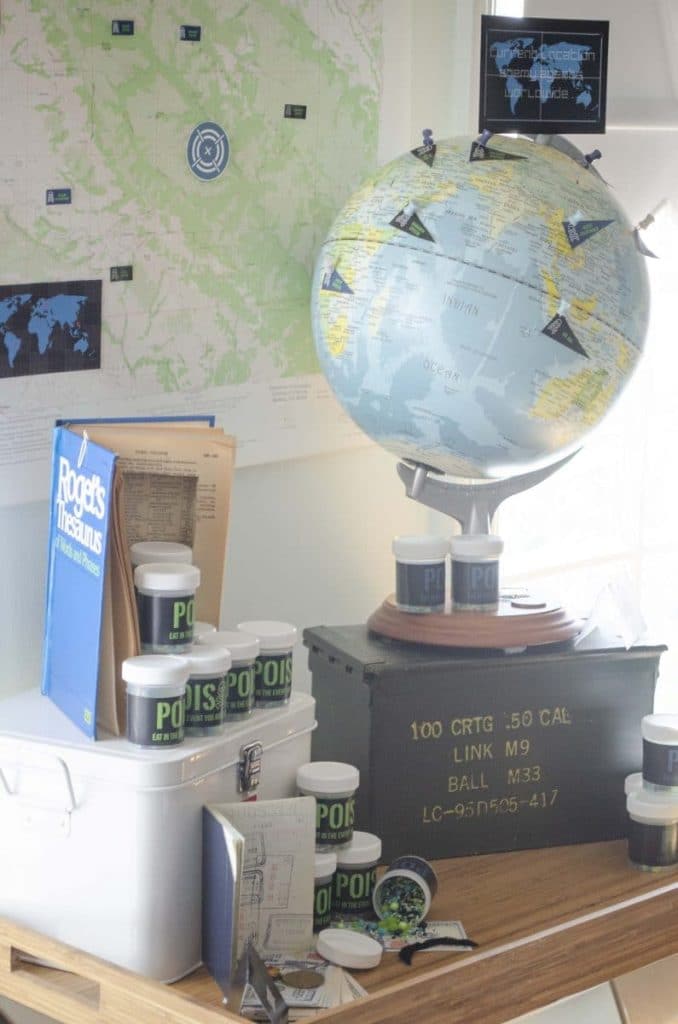
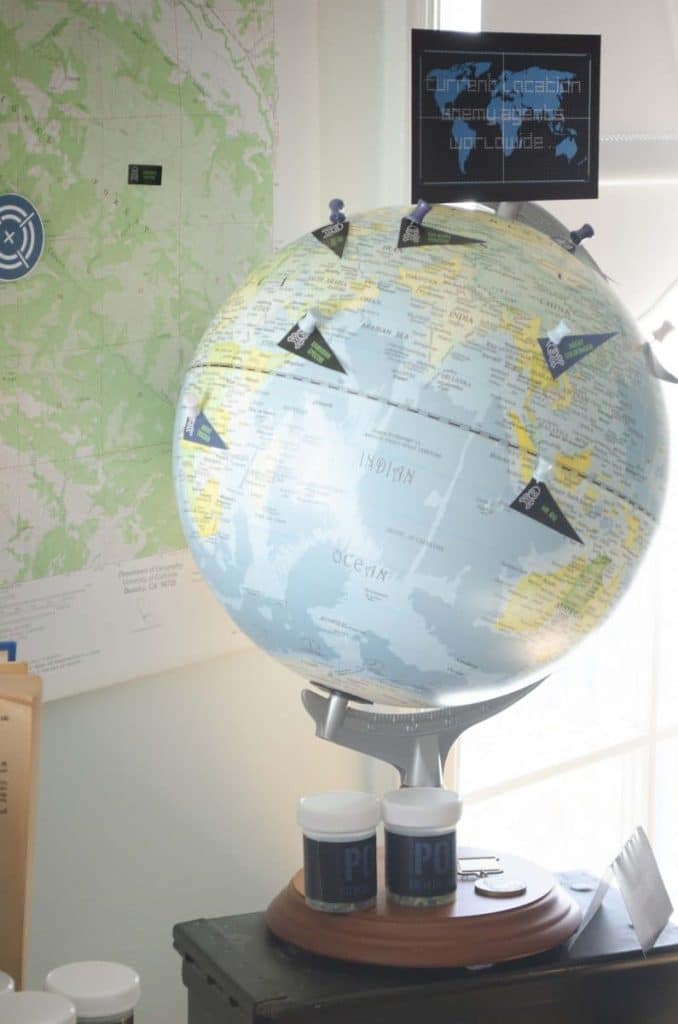
In front of both, I added some fake money, additional poisons, and open passports.
Spy Training Activities
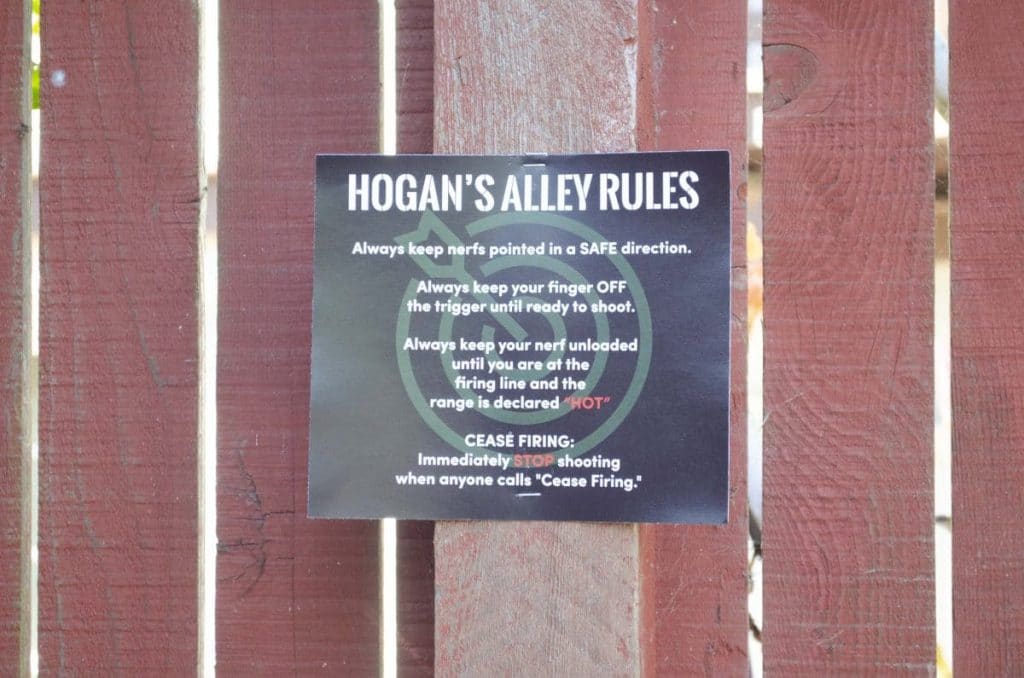
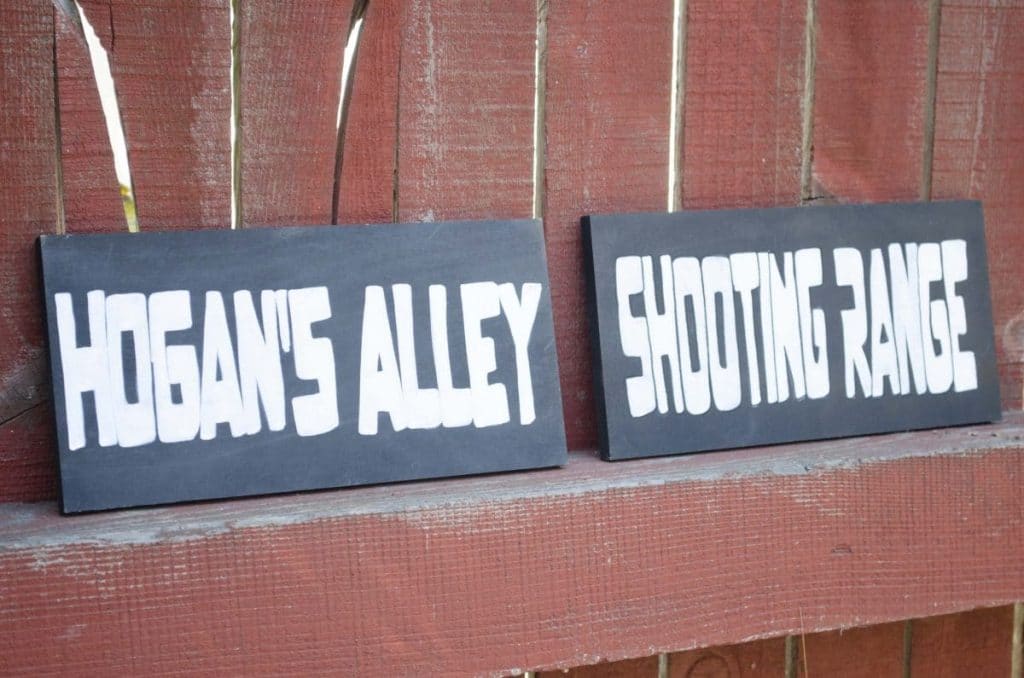
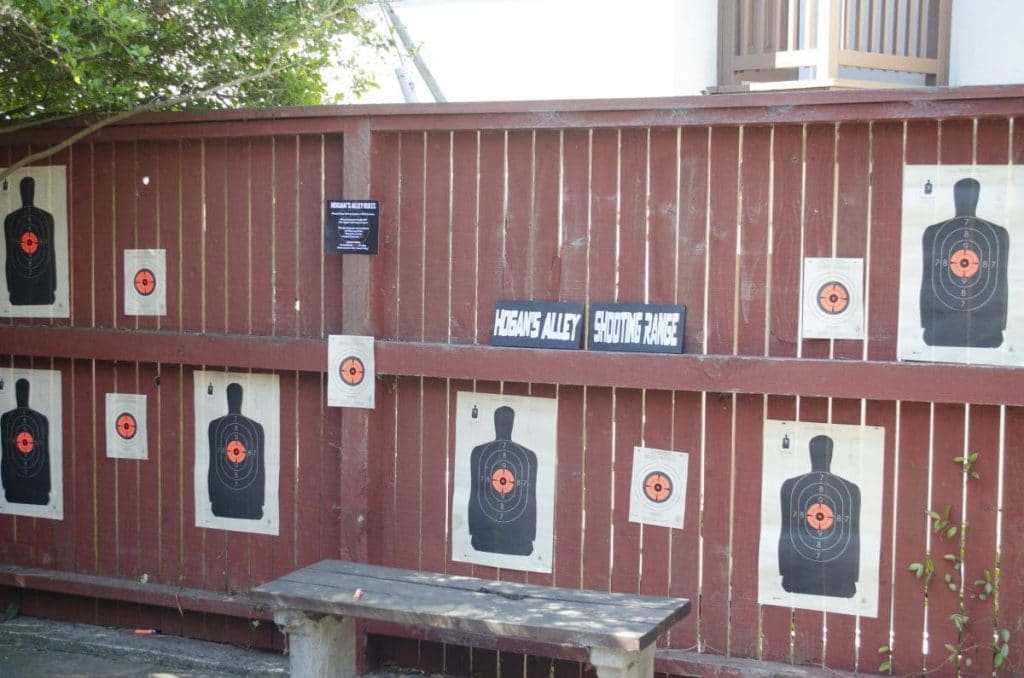
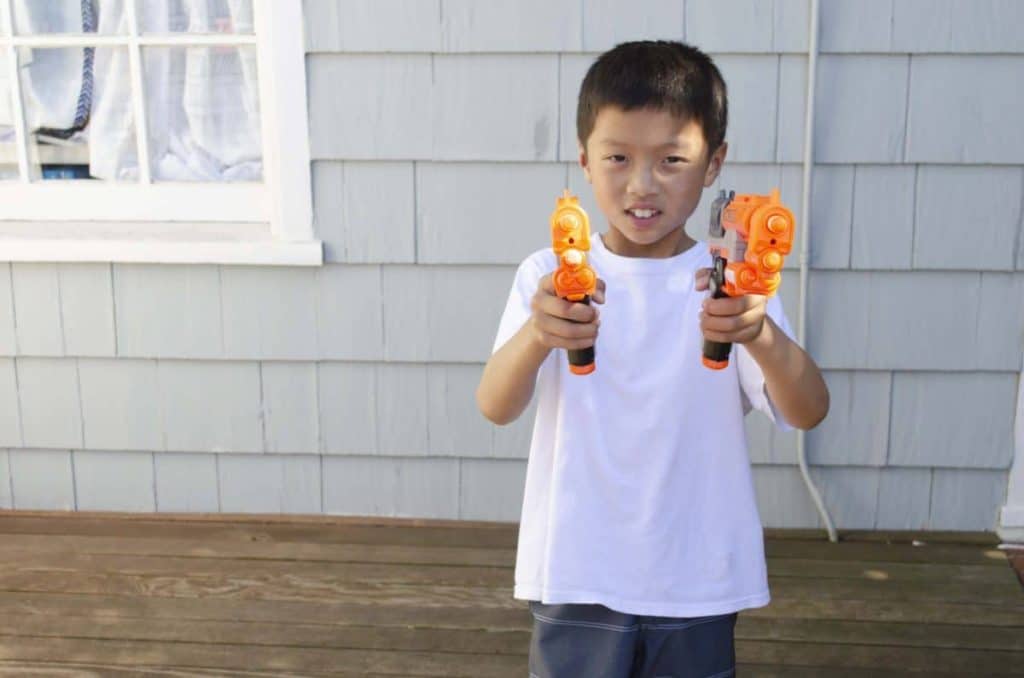
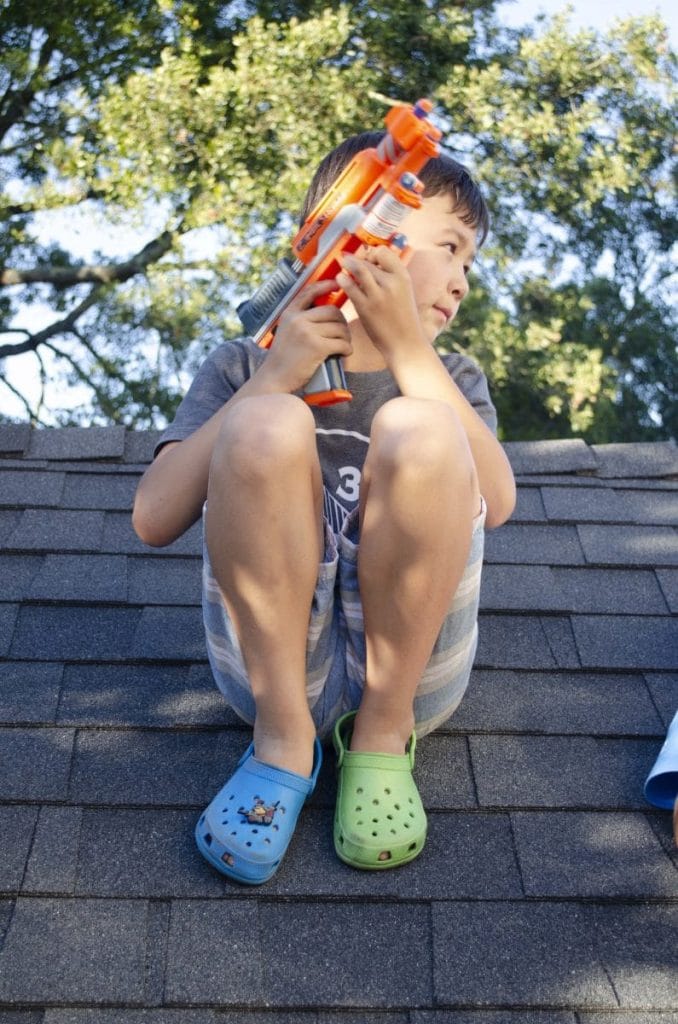
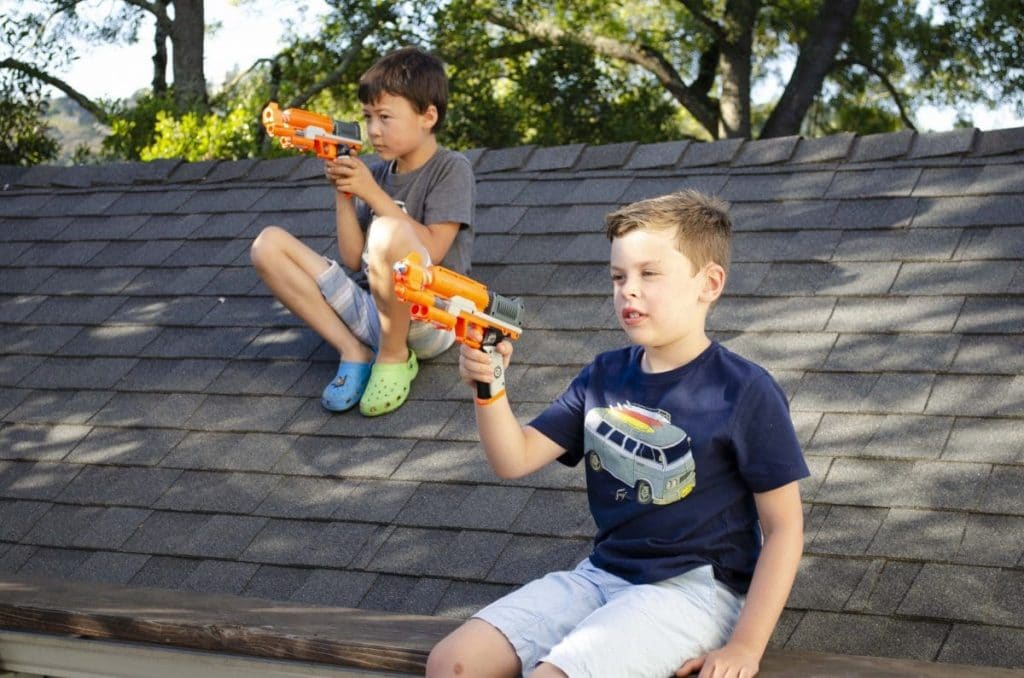
After their briefing, I had to get those spies into training ASAP! First, they headed outside for target practice at “Hogan’s Alley” shooting range (Hogan’s Alley is a training facility at Quantico). For this, you can either provide nerf guns and targets for them to practice on, or hire an external NERF provider to come set up a battle arena! We actually did both. We set up a targets in our backyard for them to practice first, and then had the amazing guys at PlanetXzone set up a battle arena at a nearby park. It was the perfect to entertain the kids. Plenty of spy hydration fluid was provided, and then they were ready to eat!
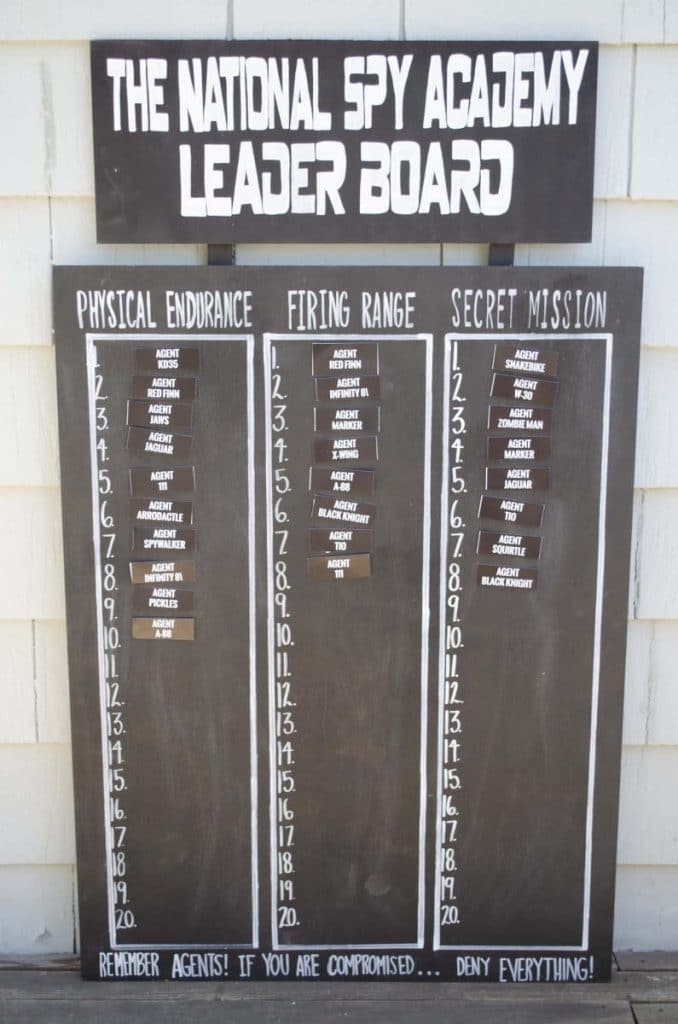
TIP: You can track their progress via a DIY leaderboard- a little competition makes everything a bit more exciting! This one was made for me by Hand & Heart Event Design.
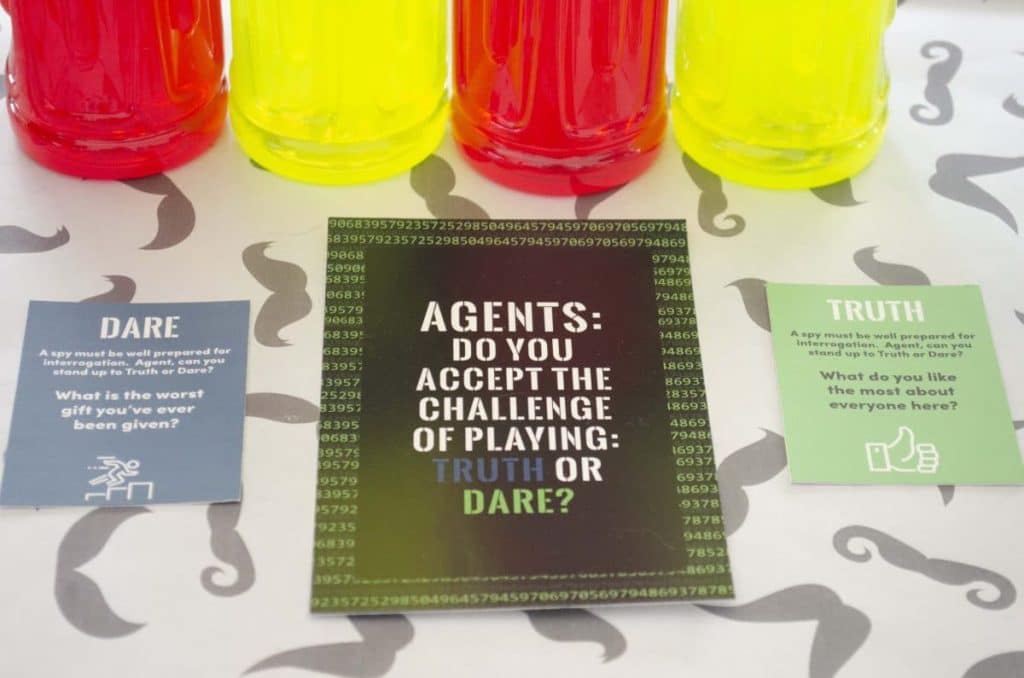
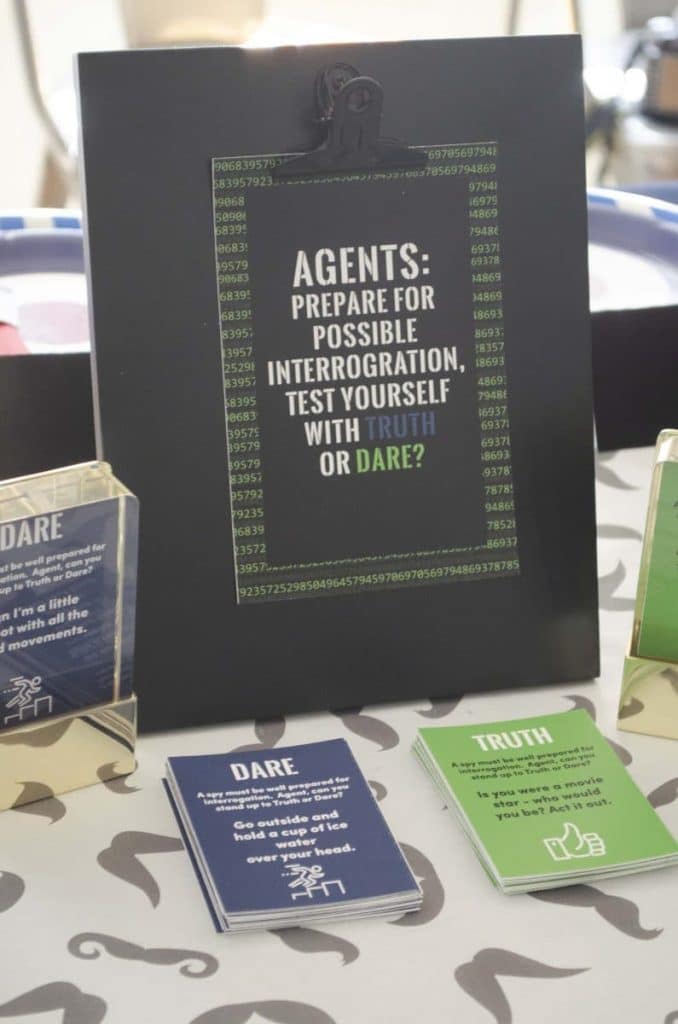
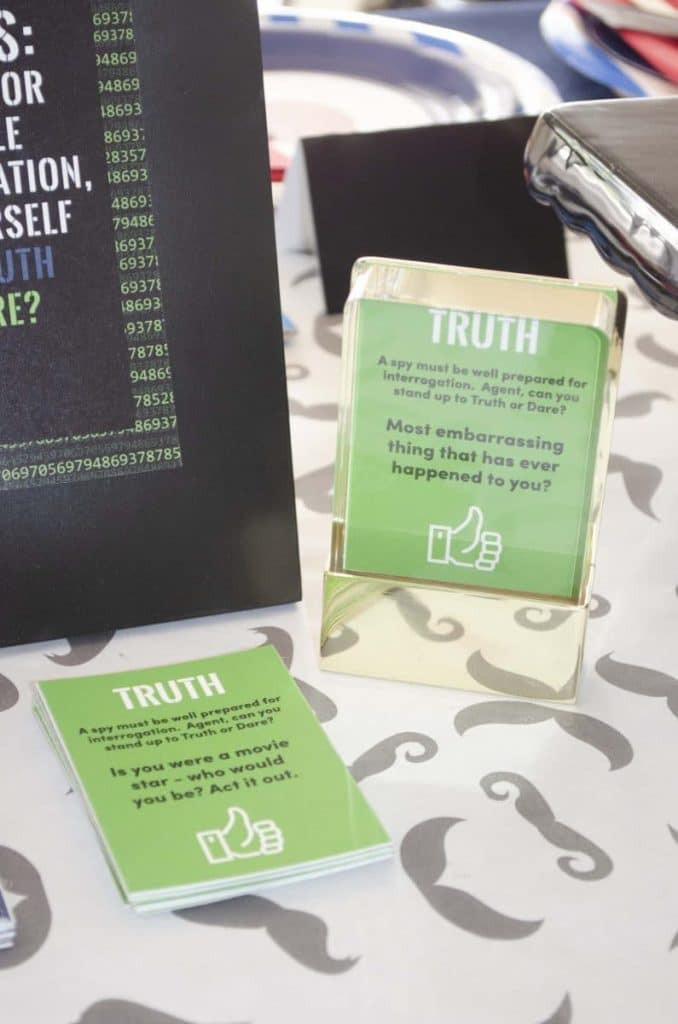
The rest of the party activities were a bit calmer, but still tons of fun. Kim at Small Moments makes the cutest Truth or Dare cards for adults, and she converted them to be kid-friendly for me. This kept them entertained for the longest time and had the parents in hysterics.
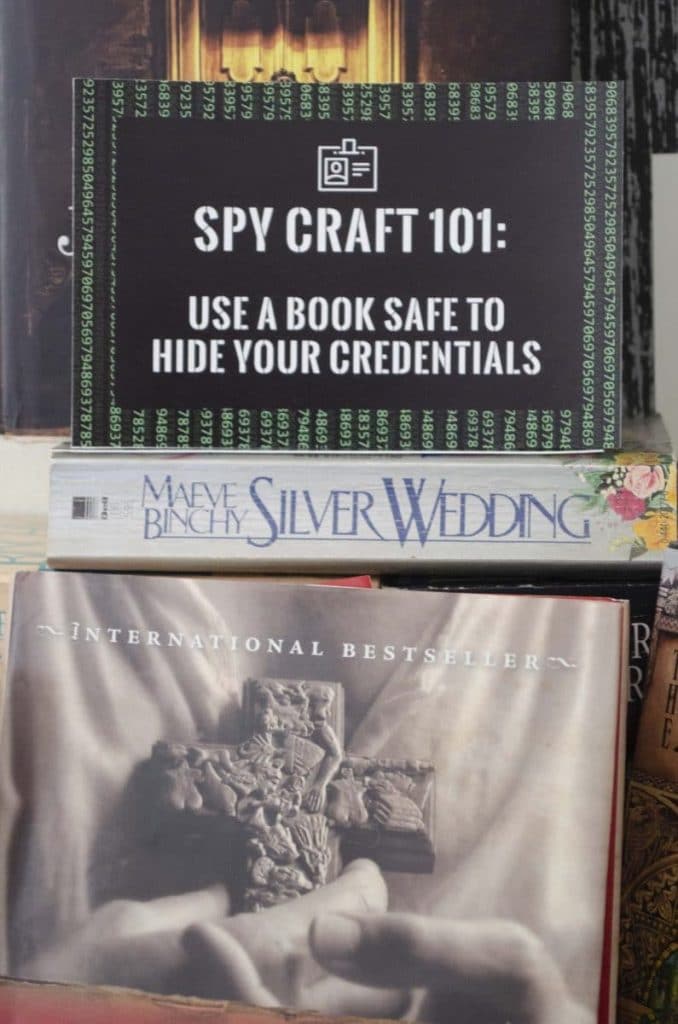
We also provided a craft station where the junior spies could create book safes to hold secret spy items.
You can get more details on all of the Spy Activities HERE.
Spy Training Table Setting
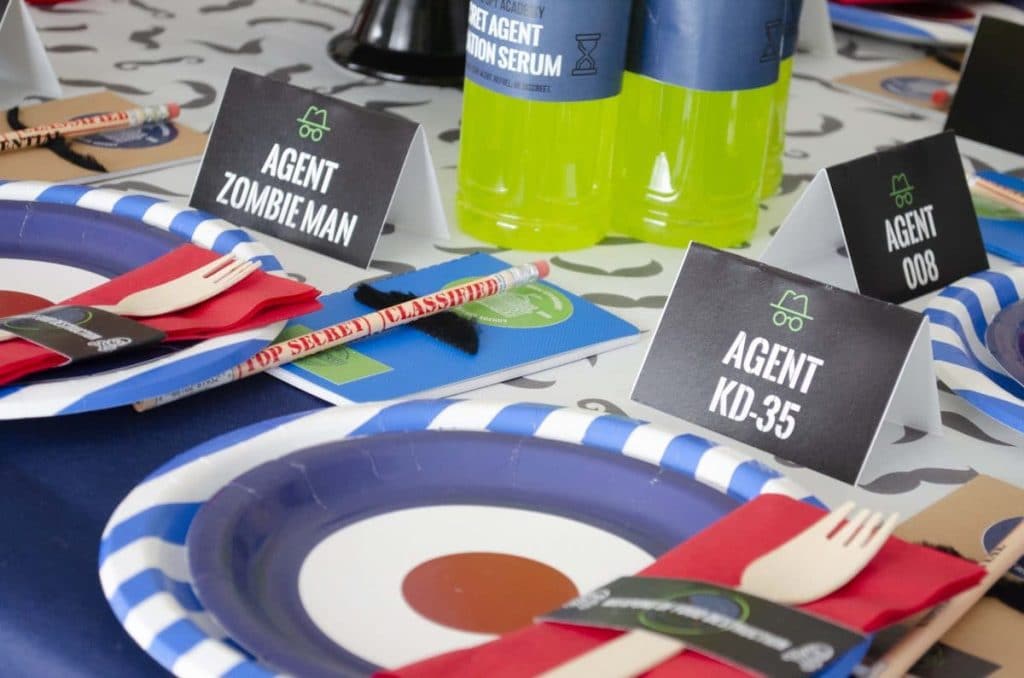
We fed the hungry spies at a table that doubled as espionage training. I used mustache wrapping paper from Monohan Papers as a table runner on top of a blue tablecloth.
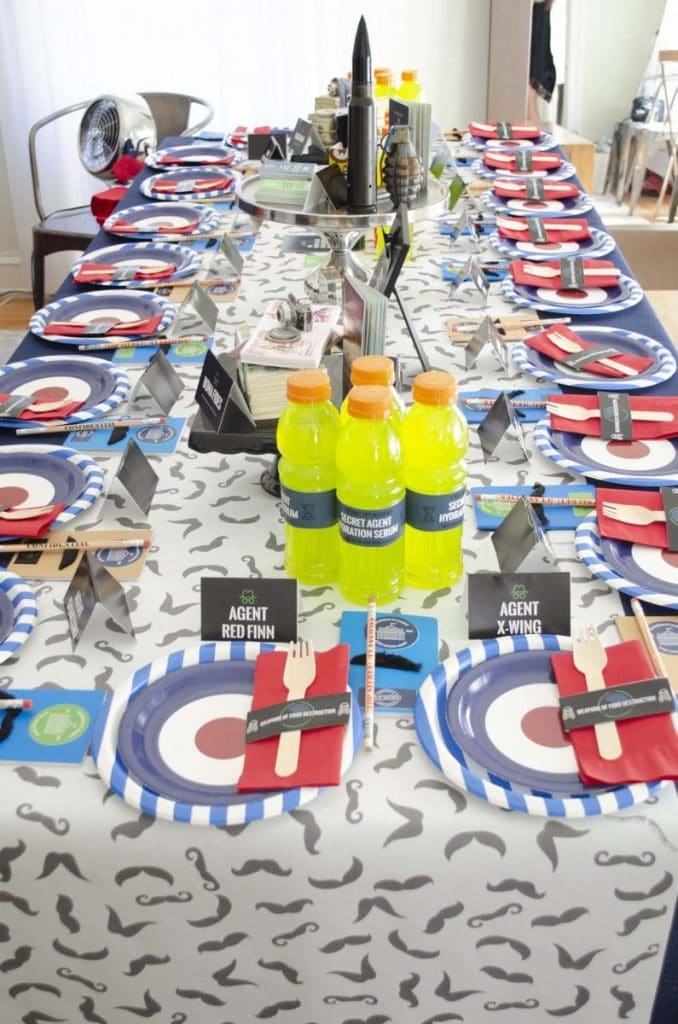
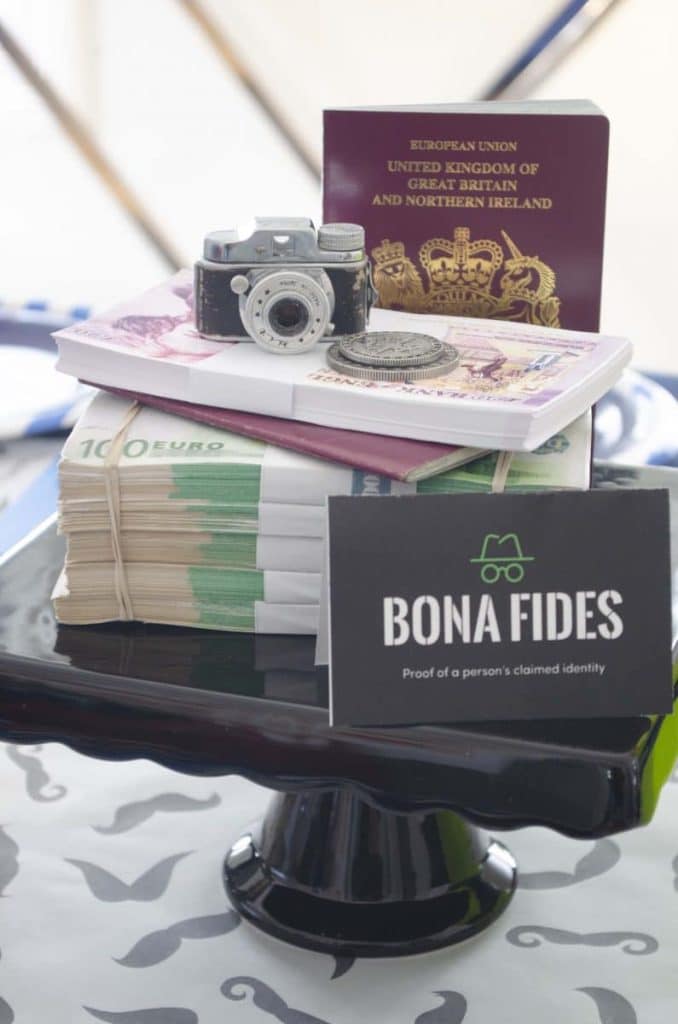
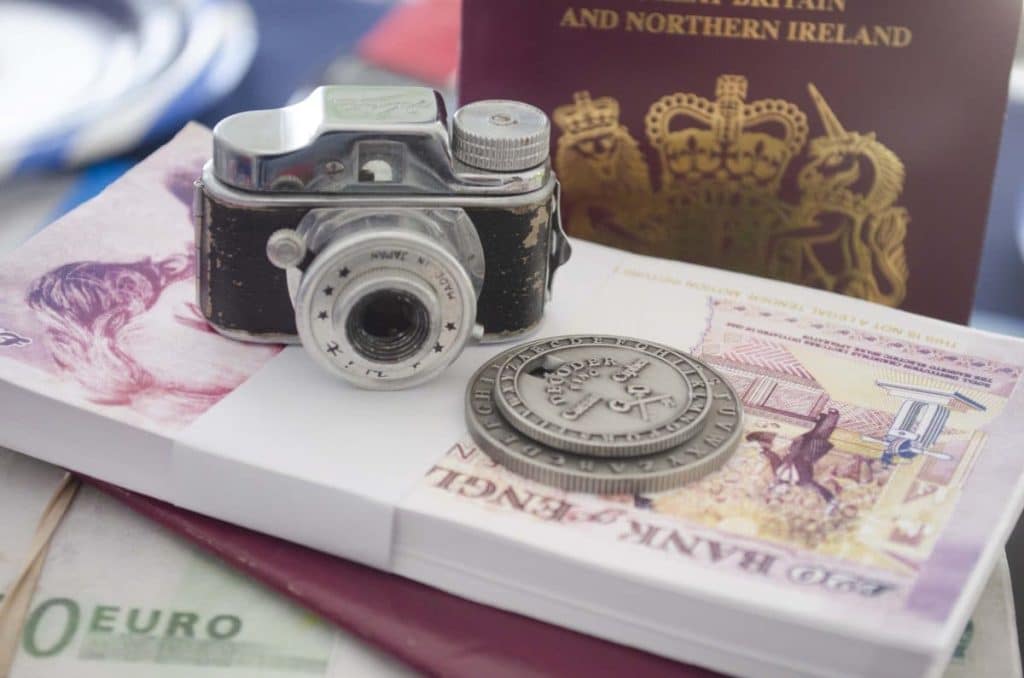
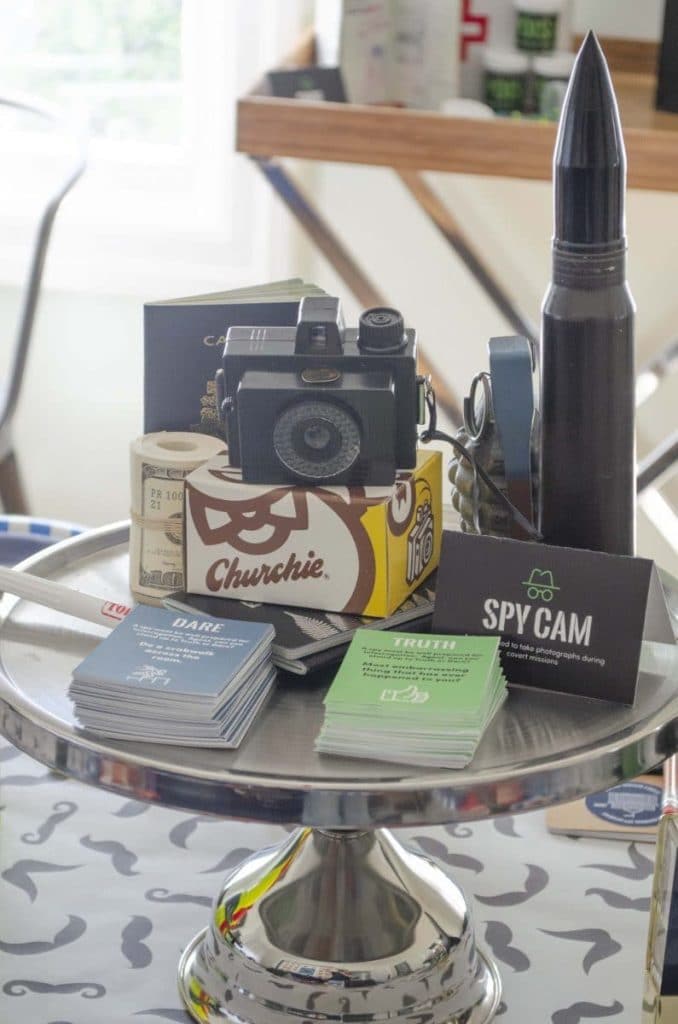
On the table, I placed three centerpieces – black cake stands with vintage cameras & military equipment (all safe of course!) on them, including mini spy cameras, passports, and fake cash.
TIP: If you don’t have cake stands at home, you could stack some books, or use boxes for centerpiece height.
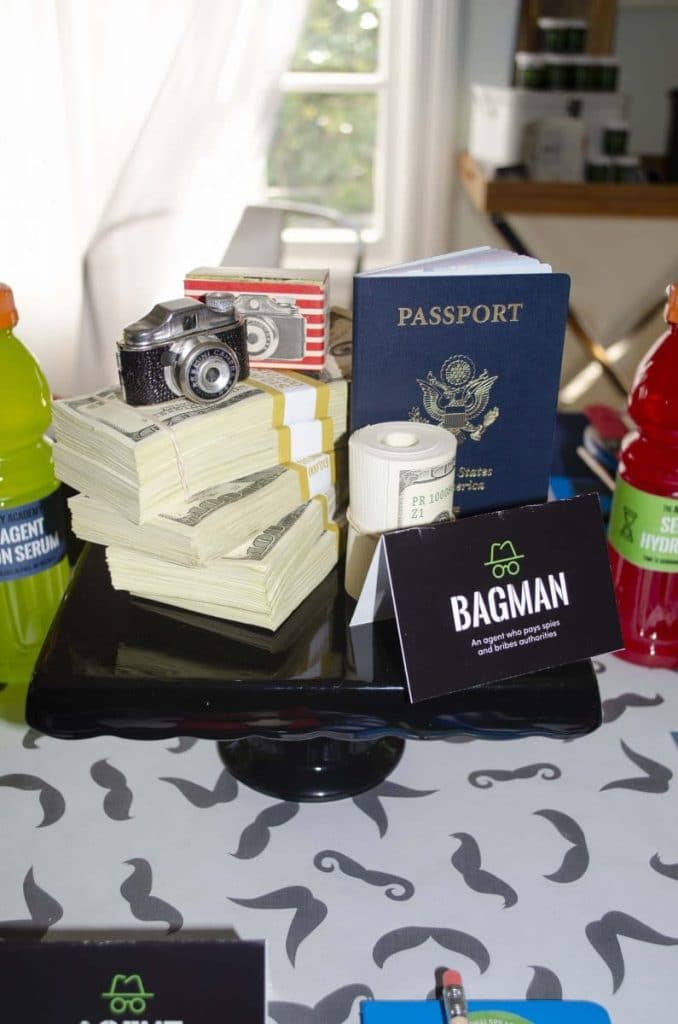
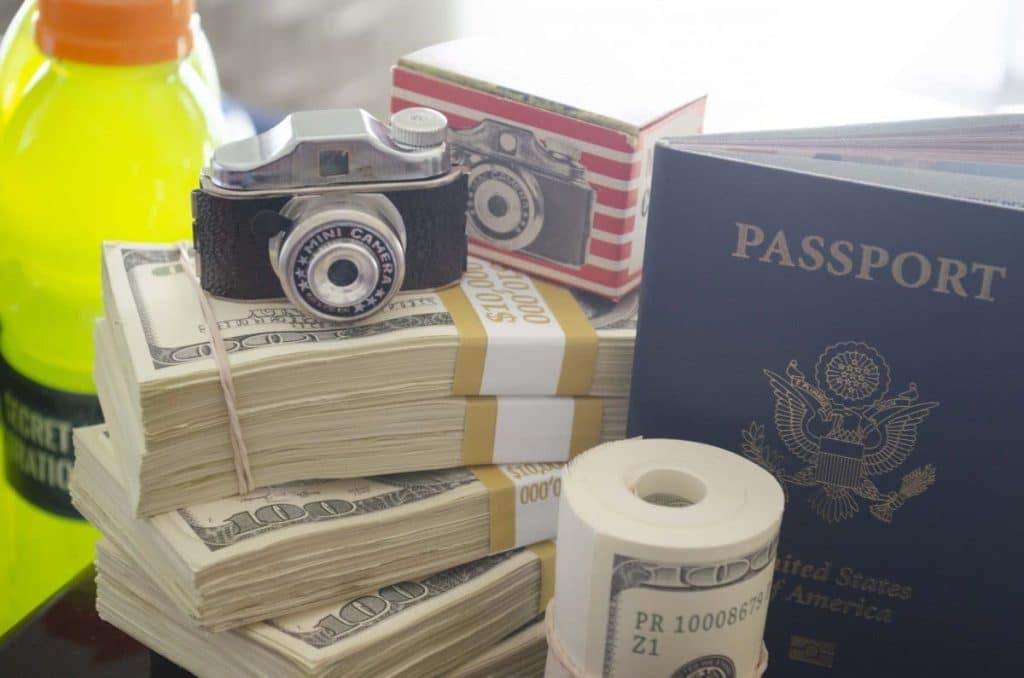
At each end of the table I placed bottles of hydration – I covered these with printed spy labels for more authenticity.
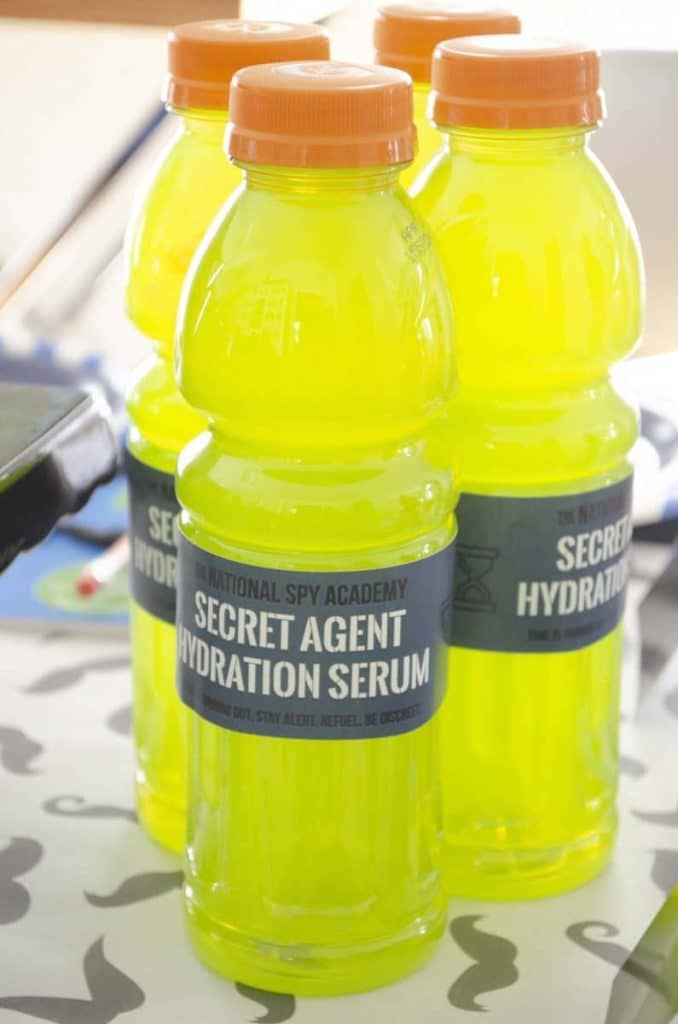
I also put labels and name tags on things, so the kids could learn what everything was called by spies and secret agents. They’ve got to learn the lingo if they’re going to learn to be good spies!
Secret Agent’s Place Settings
I like to layer my place settings to give it additional interest, stacking a smaller plate onto a larger one. For this place setting, I used a blue and white striped plate on the bottom, and then a fun bullseye dessert plate on top to fit in with the firing range theme of the dessert table (more on that in a bit).
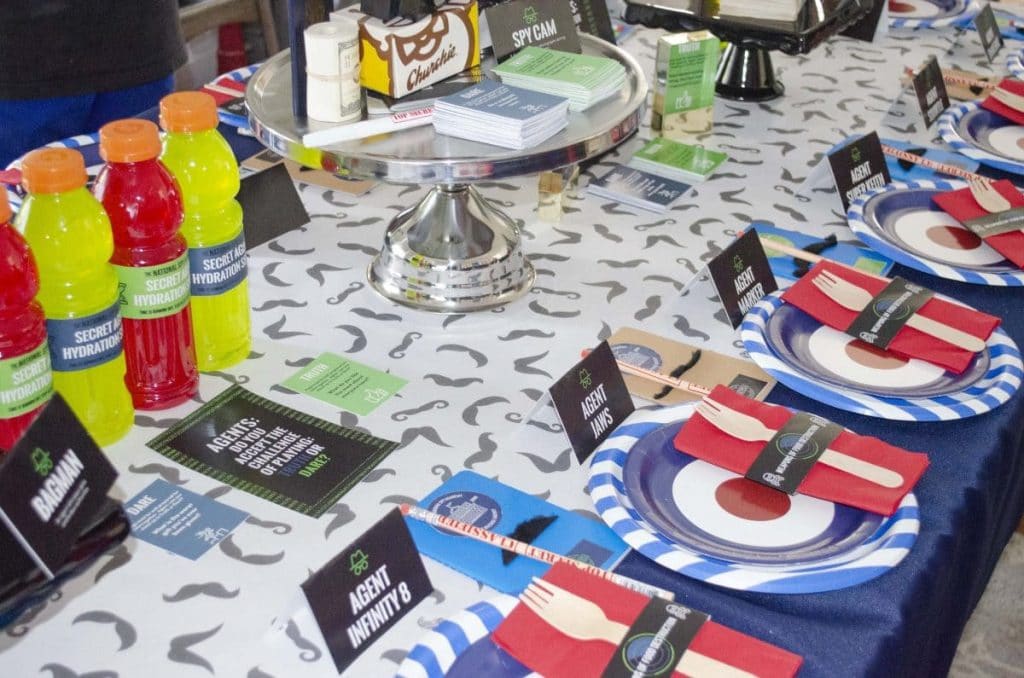
Then, I added a red paper napkin (folded in half), wooden disposable fork, and a spy napkin ring Small Moments designed for me. I printed it on plain letter paper, and cut it out using a scrapbook paper trimmer.
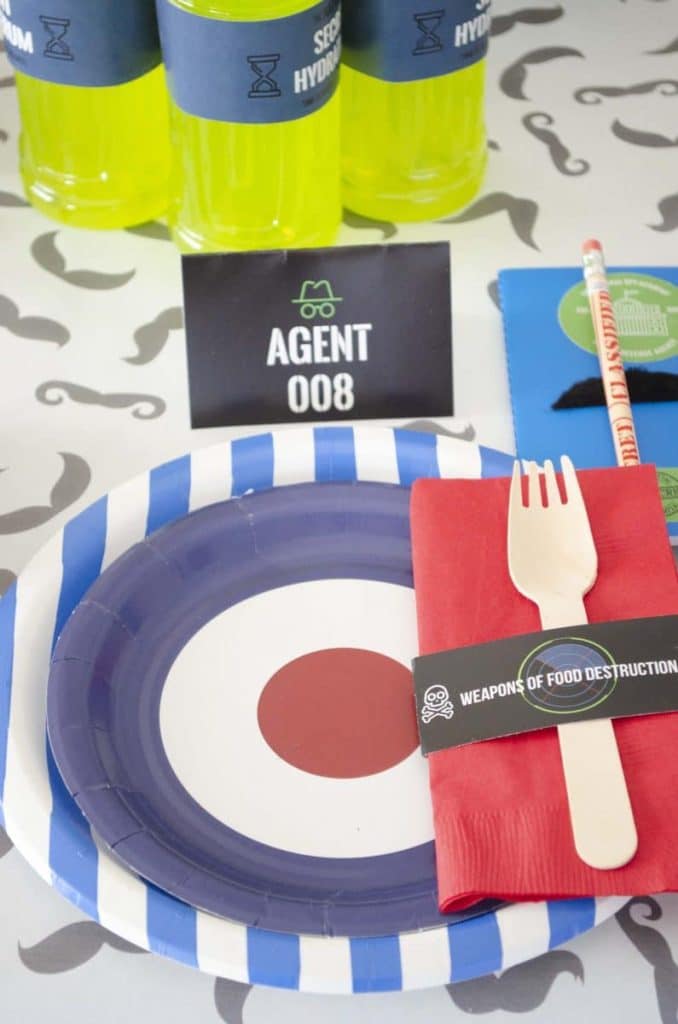
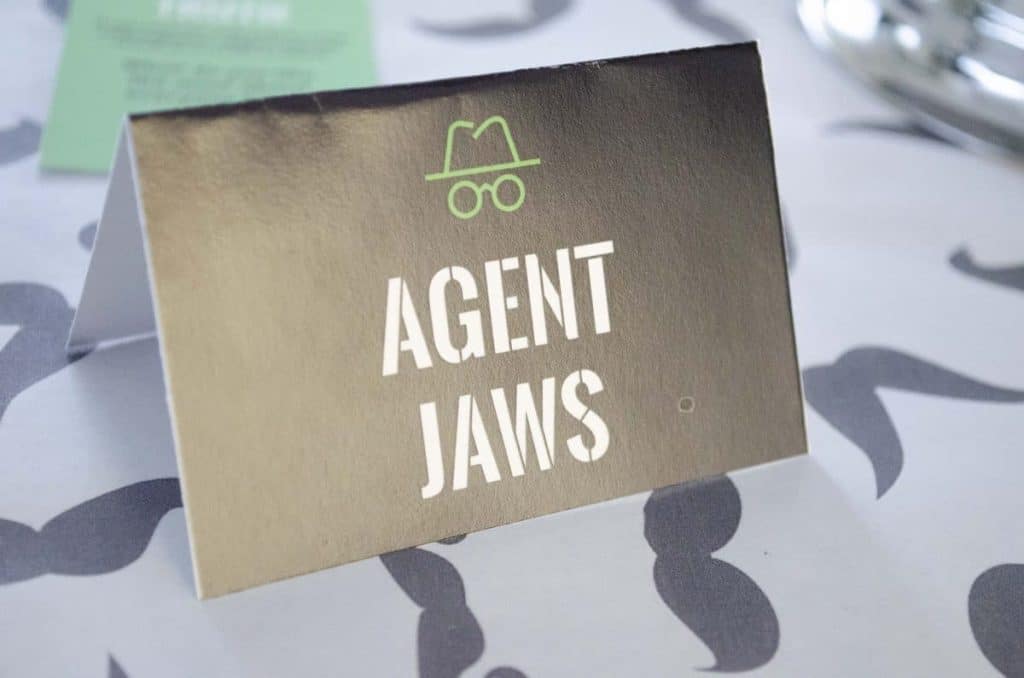
For place cards, I printed out simple tented cards with each child’s “agent name” and a spy graphic on it.
The look and feel for the table focuses on training our junior spies. At each place setting, I had a notebook and top secret pencil for “taking notes”. I also included a fake mustache so they could start learning to disguise themselves! Plus – they make everyone laugh.
Target Dessert Table
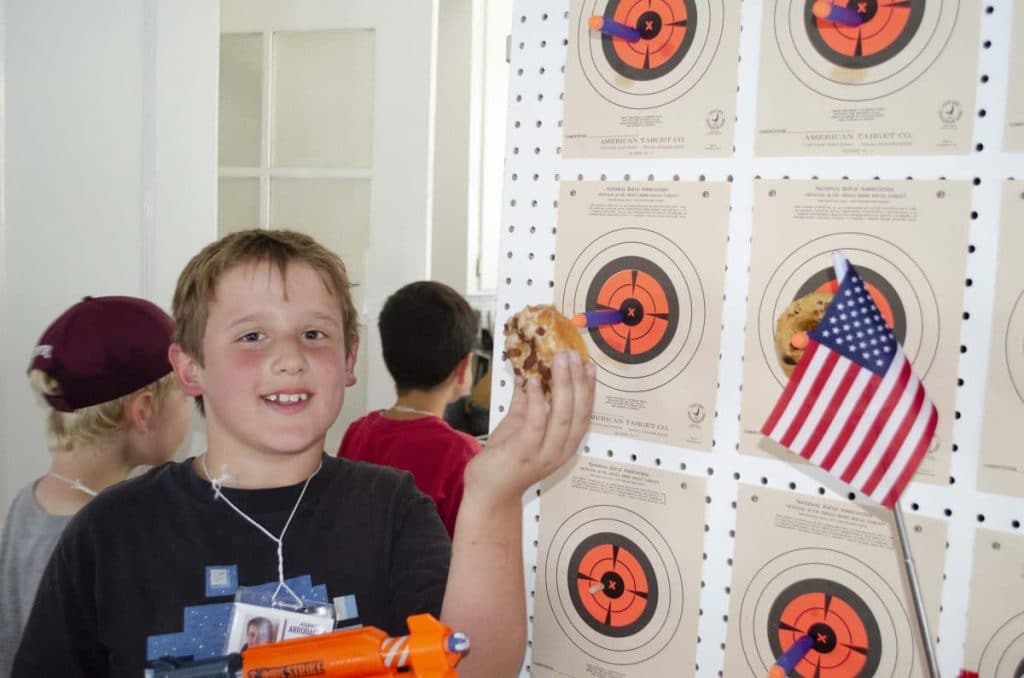
After dinner, it’s time for dessert! The dessert table included a target/rifle scope backdrop. I used a peg board and hung delicious donuts from Dynamo Donuts at the center of each target. This was a favorite amongst the kids. They couldn’t believe they were allowed to take donuts off the wall!
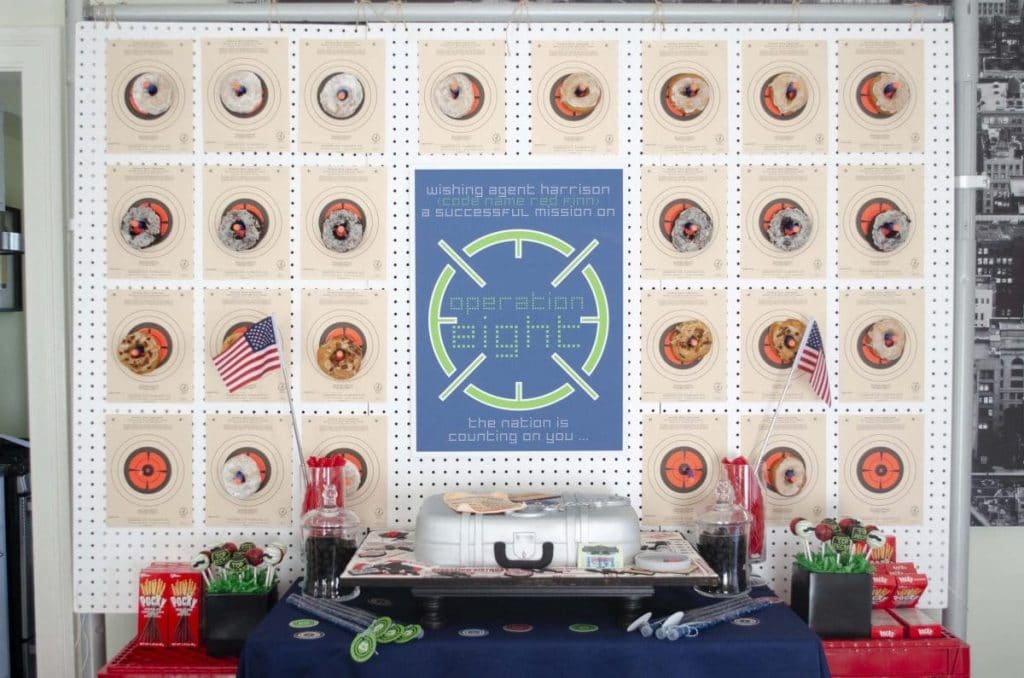
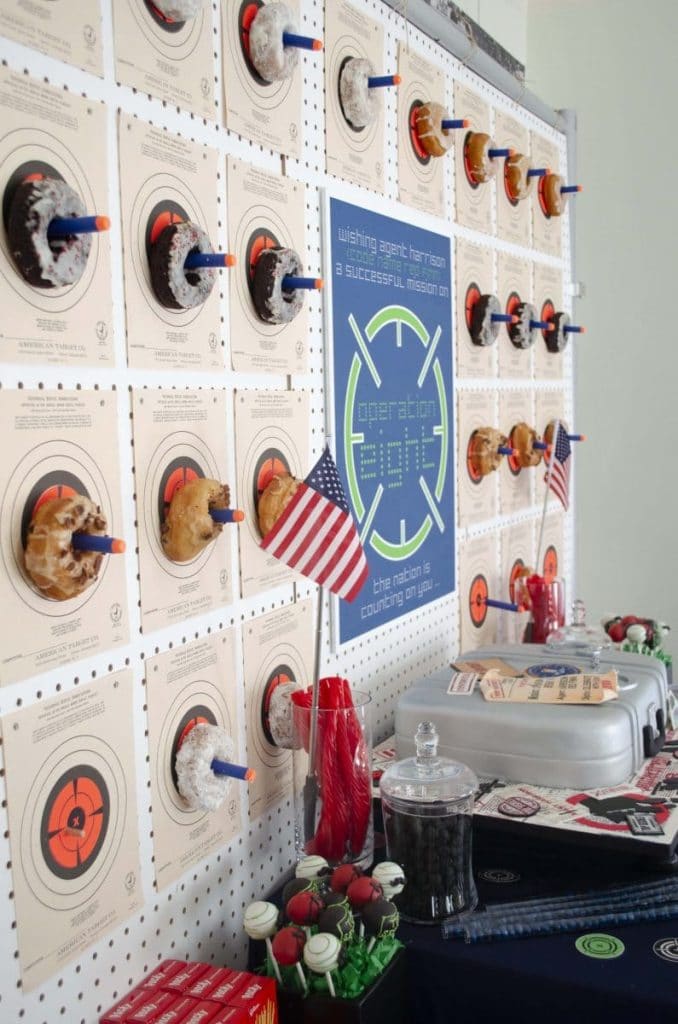
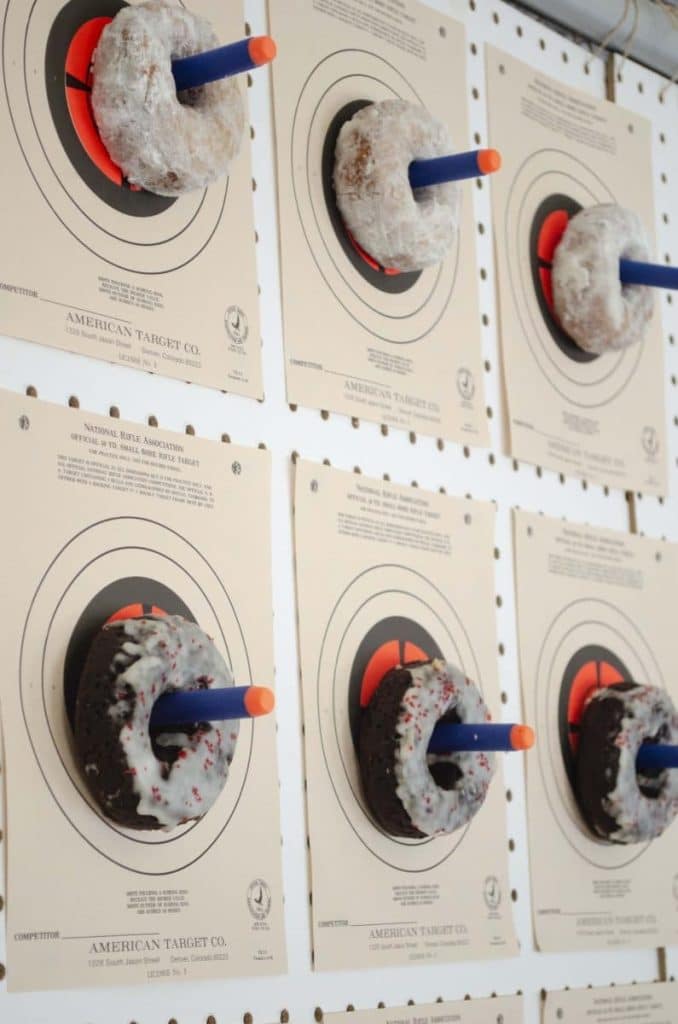
Desserts also included top secret cake pops from Let Them Eat Pops, and the most amazing life size briefcase cake from The Cake Shop – complete with handcuffs, FBI credentials, and detailed paper work.
TIP: I had the cake up on a cake stand – I recommend this, or placing it on top of a prop for height. This draws attention to it over the other desserts on the table.
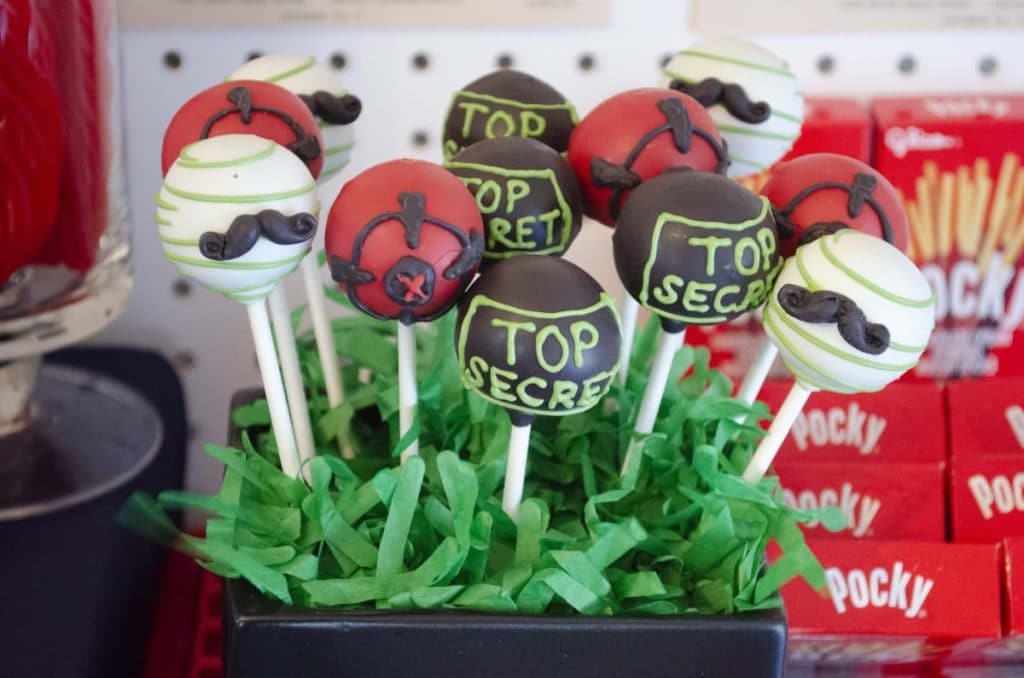
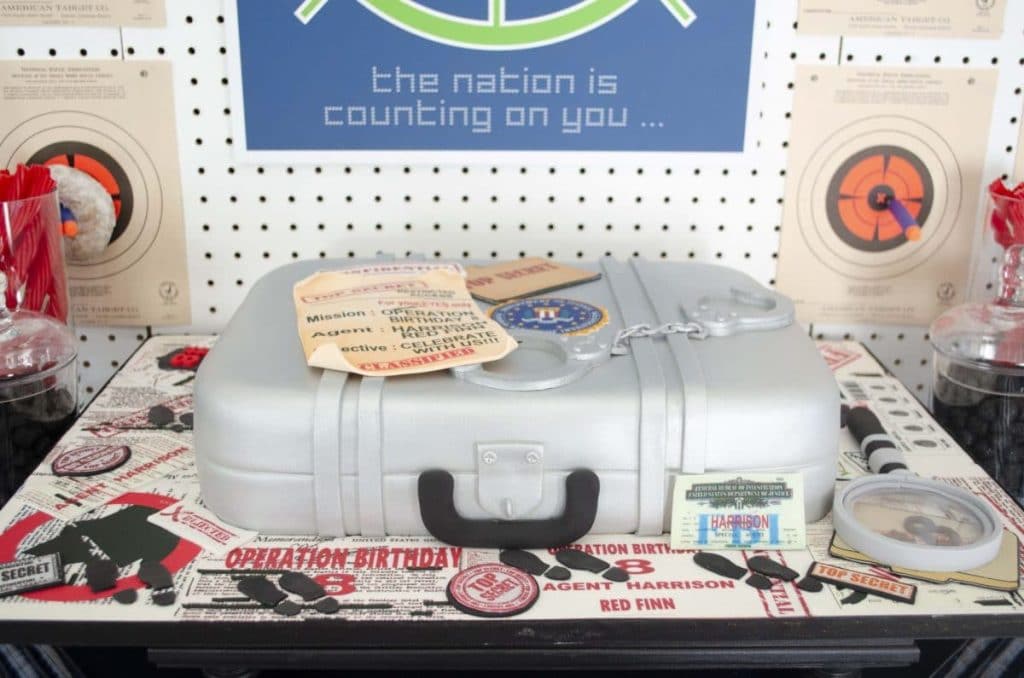
You can get additional details on the dessert table HERE.
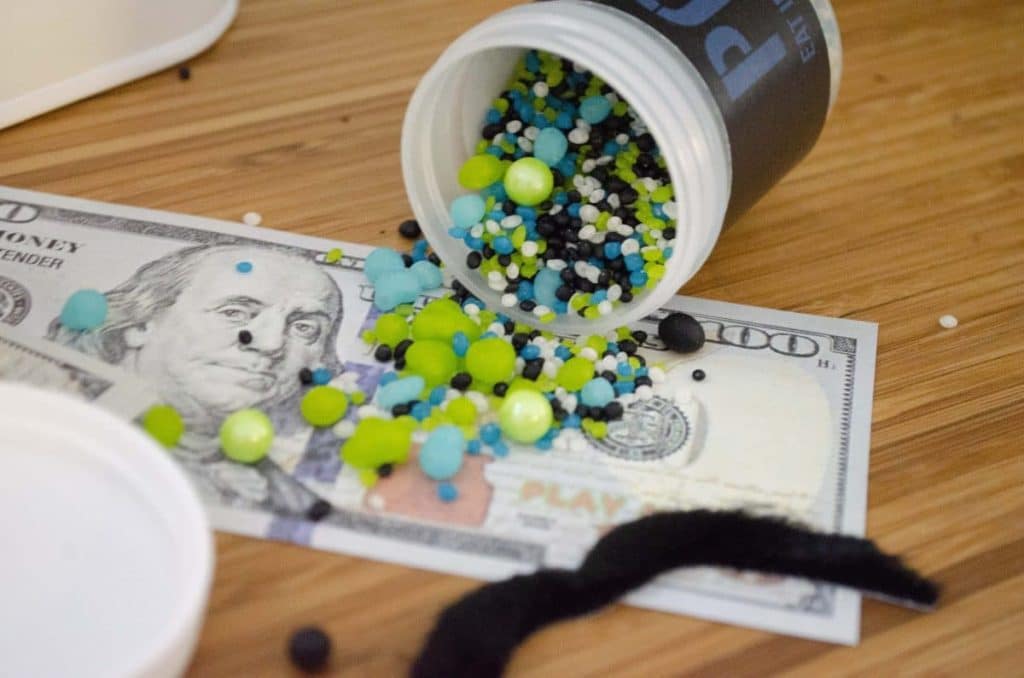
It was then time for their mission (which just so happened to include more treats). They were briefed on the location of the enemy agents, provided code keys, and given their “poison” to take in event of capture (canisters of delicious Sprinklefetti from Sweets Indeed). Then off they went to solve their mission – recovering missing capsules of contagious diseases (jelly beans!).
Art of Disguise Photo Booth
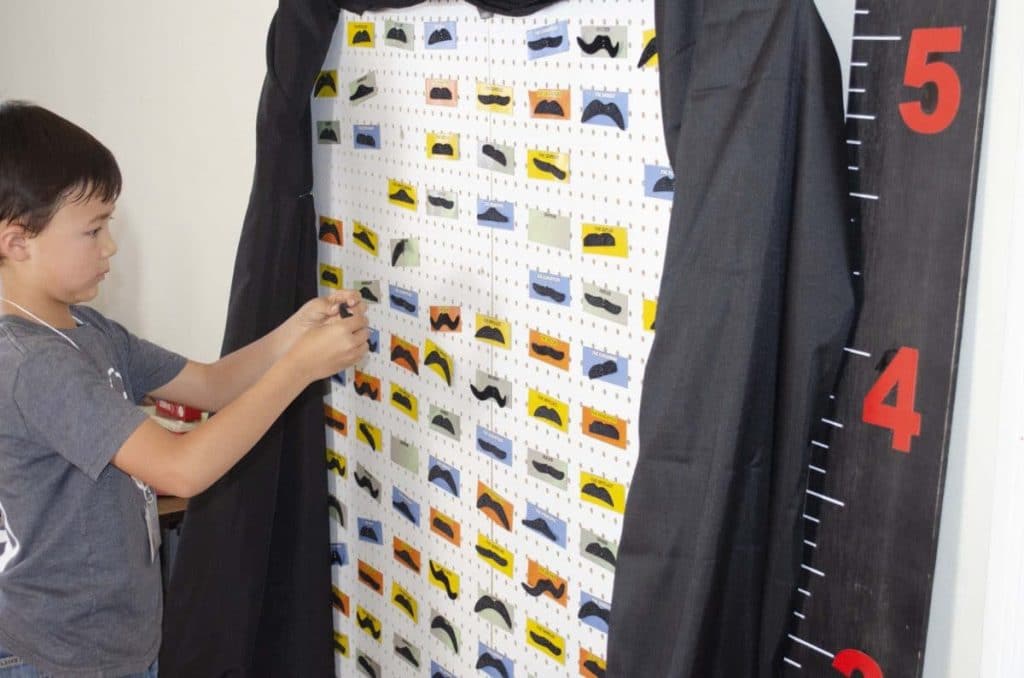
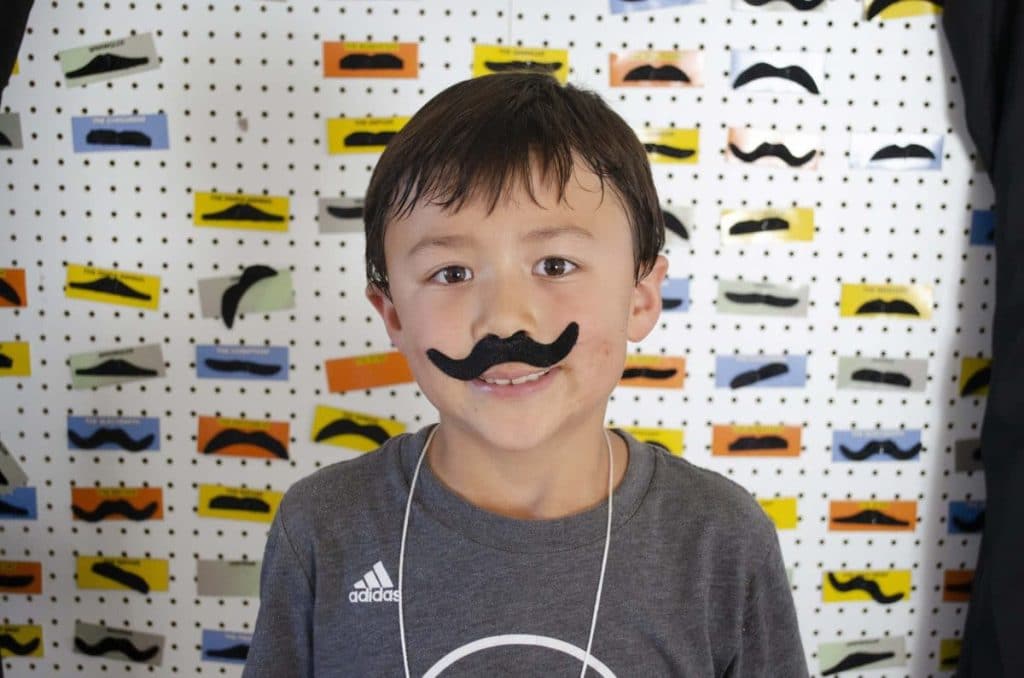
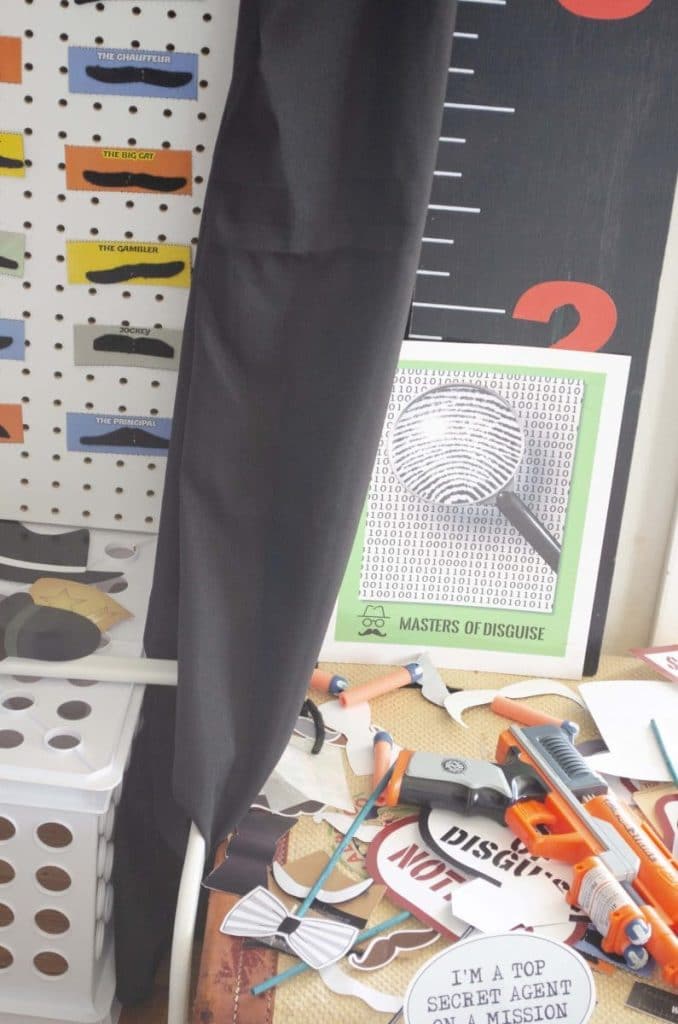
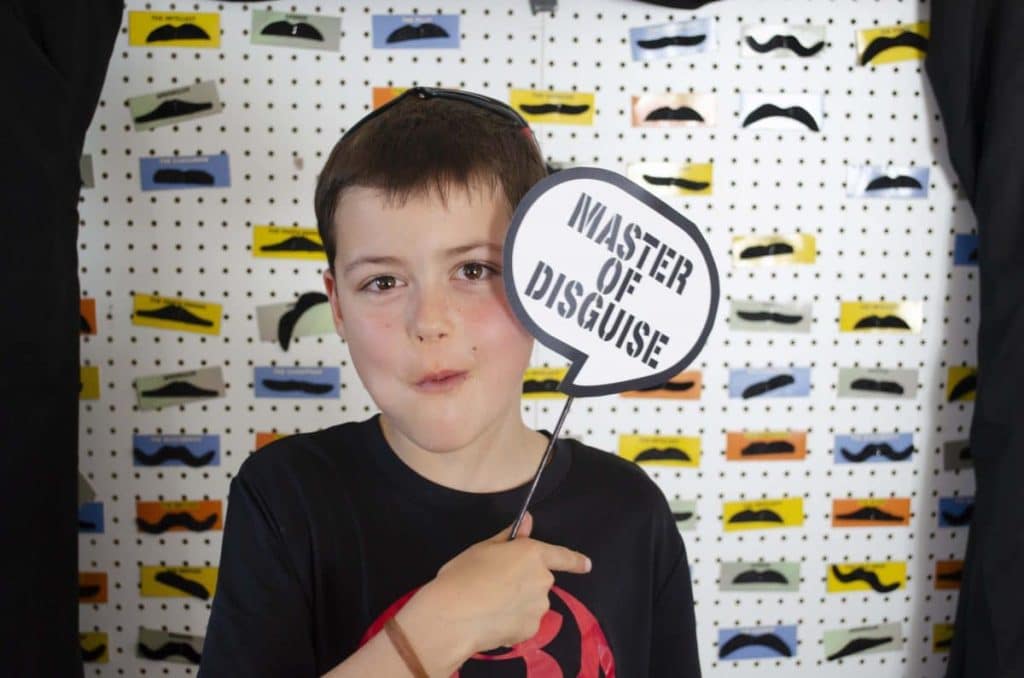
On their return, they received some final training – a photo booth for the art of disguise (and to capture memories!). I used a peg board and fake mustaches as the backdrop. These all eventually ended up on faces! I also provided props from wowwowmeow and You Grew Printables. Get the details on how I set up this Spy photo booth HERE.
Spy Mission Kit Favors
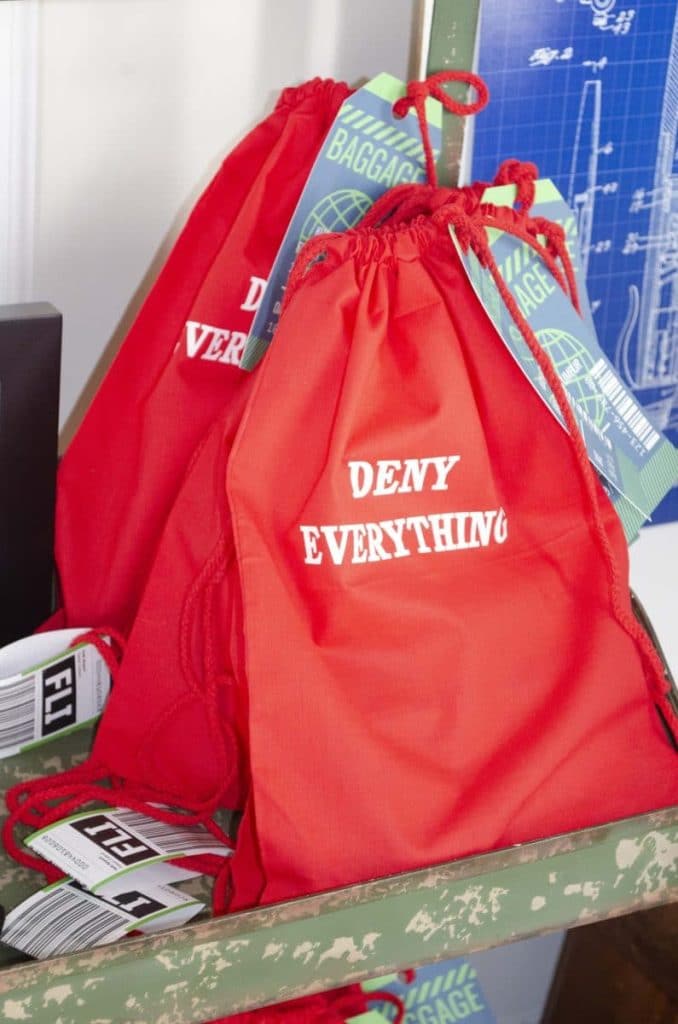
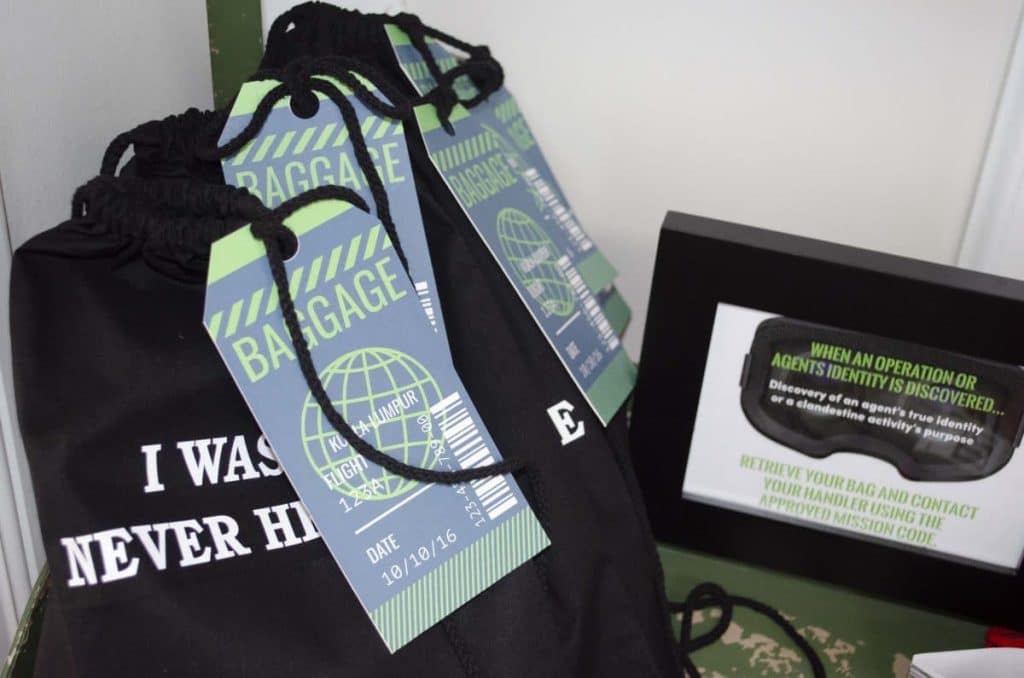
Once all of the Photo Booth photos were taken, all agents had successfully completed their spy training. As proof of their completed mission, and readiness for real life missions, they were given a drop bag full of all necessary spy equipment. You can get all of the details for how to create these Mission Kit favors HERE.
Then, it was back to their handlers! This party was so much fun to create, and even more fun to watch the kids enjoy. What’s your favorite part? I’d love to hear your thoughts in the comments.
More Spy Themed Birthday Party Details
Don’t forget to check out my other posts on the Spy Themed Birthday Party Dessert Table, Spy Themed Birthday Party Photo Booth, Spy Party Mission Kits, and Spy Party Activities, so you have everything you need to create your own amazing Spy Training Party!
Happy (Secret) Partying!
PIN FOR LATER:




Leave a Reply