
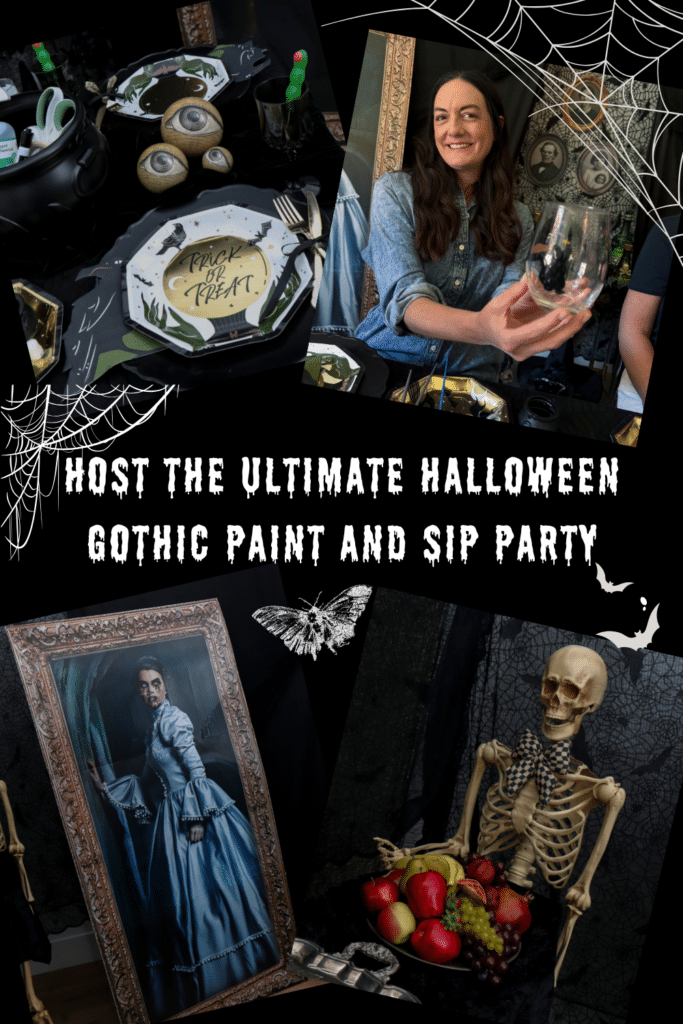
Imagine sitting in a candlelit Victorian drawing room, a paintbrush in one hand and a glass of wine in the other. Old portraits watching quietly from the walls while you paint a design onto a wine glass of your own.
That’s exactly how this gothic paint and sip party felt. Hosted right in my own dining room, turned into a Victorian drawing room for the night. Instead of a canvas, every guest left with a wine glass she’d painted herself.
It’s the same idea behind any paint and sip, just brought home. A glass of wine, a guided project, and enough candlelight, cobwebs and creeping gazes to give the whole night proper spooky Halloween vibes.
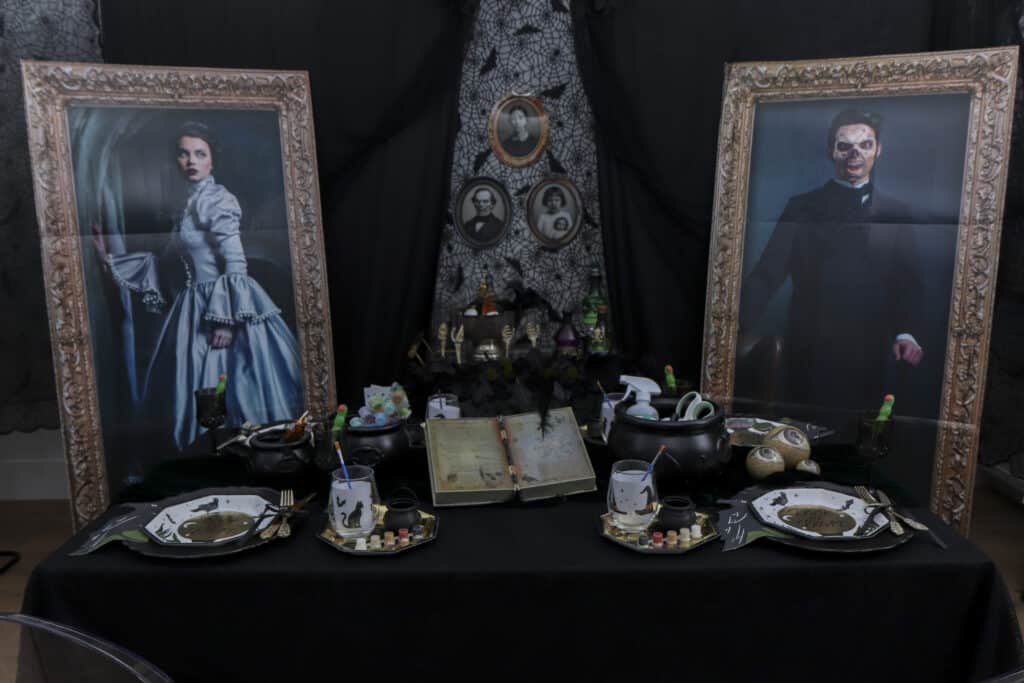
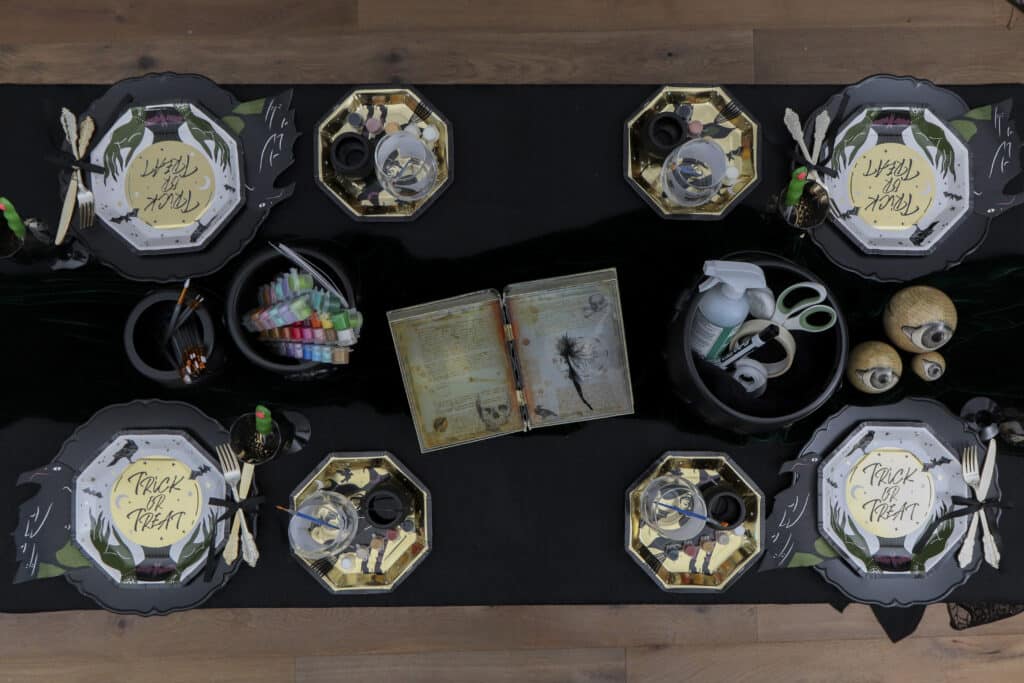
Why a Gothic Paint and Sip Party Works So Well at Home
A gothic paint and sip party is a small-group activity, and small groups are where hosting at home actually beats a studio. You’re not sharing the room with three other birthday parties. You control the lighting, the music and the exact mood, right down to who’s watching over you while you paint.
It also gives guests something useful to walk away with. A canvas is nice, but a glass gets used again & again. Every sip becomes a small reminder of the party.
Watch How the Gothic Paint and Sip Came Together
Before we get into the details here’s the reel so you can see the drawing room setup, the painting stations and the finished glasses in motion — this can make it a lot easier to picture than a photo alone.
What You’ll Need for a Gothic Paint and Sip Party
Here’s the full list of supplies for you to host a gothic paint and sip party. From the painting supplies to the drawing room styling that makes this one feel different from a standard craft night.
Paint kits:
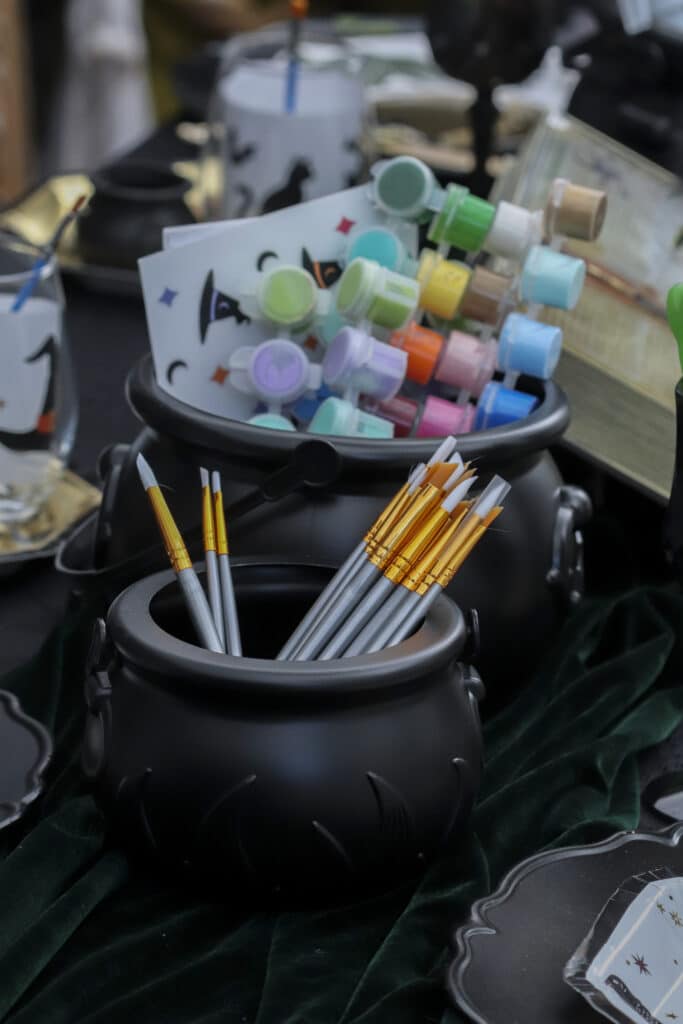
- Glassware and paint: I used a DIY glass painting kit that came with wine glasses, brushes and glass-safe paint in paint pots. This kit is made for 2.
- Painting templates: The kit also comes with 3 templates sised to fit inside the wine glass. The template colors match the paints provided.
- I also added a few extra alternative acrylic glass paint colors in paint pots and extra paintbrushes.
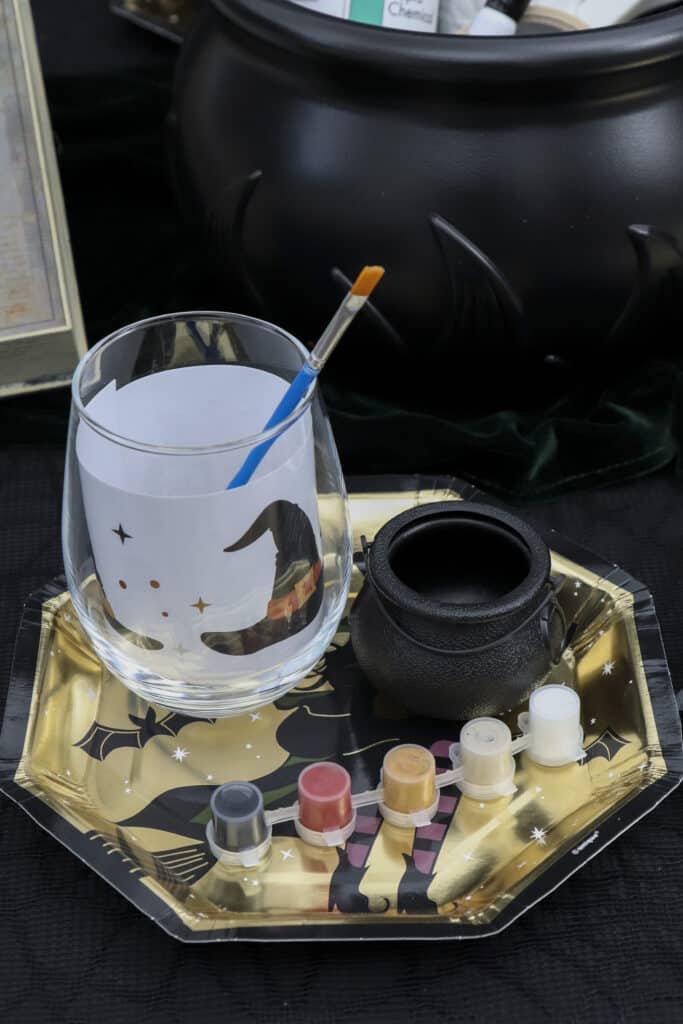
- Rubbing alcohol and a lint-free cloth, for prepping the glass before anyone paints.
- Water pot for washing brushes, I used mini cauldrons!
- Scissors for cutting templates.
- Whiteboard marker for tracing template before painting (optional).
- Tape for attaching template inside glass.
- Cauldrons for holding the additional supplies provided.
Gothic Decor:
- Drawing room styling:
- Lace tablecloths for the walls
- Black draping on photobooth stand for drawing room curtains
- Creepy cloth
- Ornate wall portrait frames
- Large free standing holographic portraits
- Candles or flameless candles,
- Dark tablecloth and jeweltone table runner
- Spell book centerpiece
- Potion bar supplies:
- A bar cart or small side table
- A cauldron-style drink dispenser or champagne bowl
- Potion or apothecary bottles,
- Spooky glassware
- Drinks & Garnishes
- Room mister
- Food station:
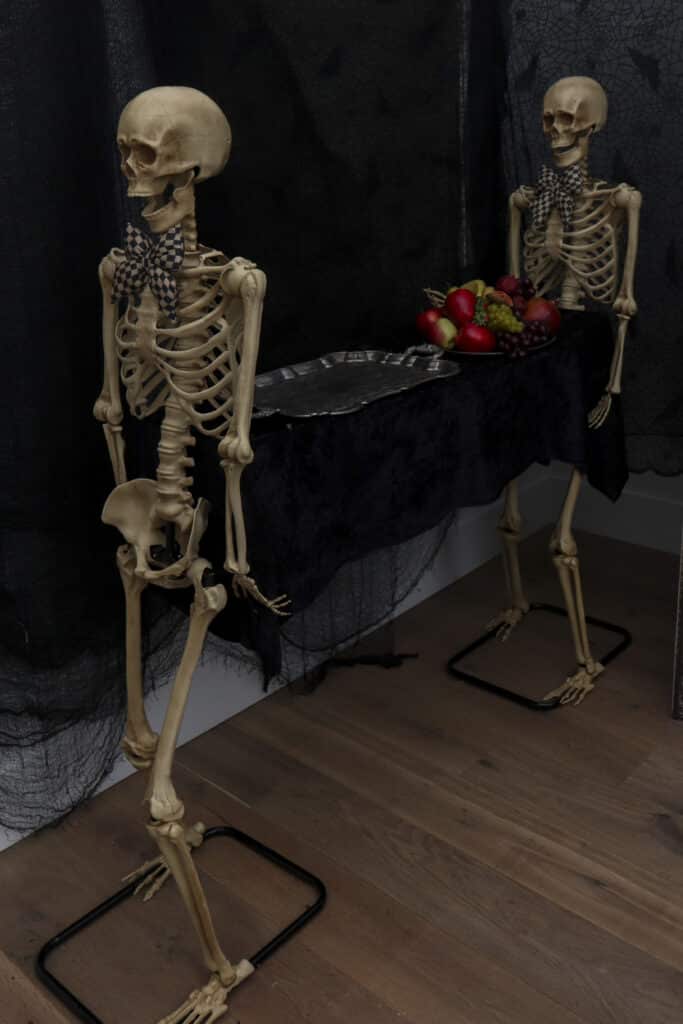
- Skeletons with coffin prop for food service
- Mini coffin serving boxes
- Silver ornate trays
- Appetizer plates
- Place settings (for each guest):
- Plates
- Cutlery
- Glasses
- Napkins
- Charger
How to Set Up a Gothic Drawing Room Paint and Sip
This is the part that turns a room into an actual Victorian era drawing room. None of it is complicated — it’s mostly about what’s on the walls.
Step 1: Drape the Walls Like a Drawing Room
I used lace tablecloths as makeshift wallpaper, hanging them across the largest blank wall in the room. The pattern and the slight sheer catch candlelight in a way that flat paint never could, and it reads as drawing room instantly.
I use thumb tacks and blue-tack to hang them but removable hooks or painter’s tape also hold the fabric in place without damaging the wall. This way it also comes down just as easily as it went up once the party’s over
Step 2: Hang the Portraits That Watch the Room
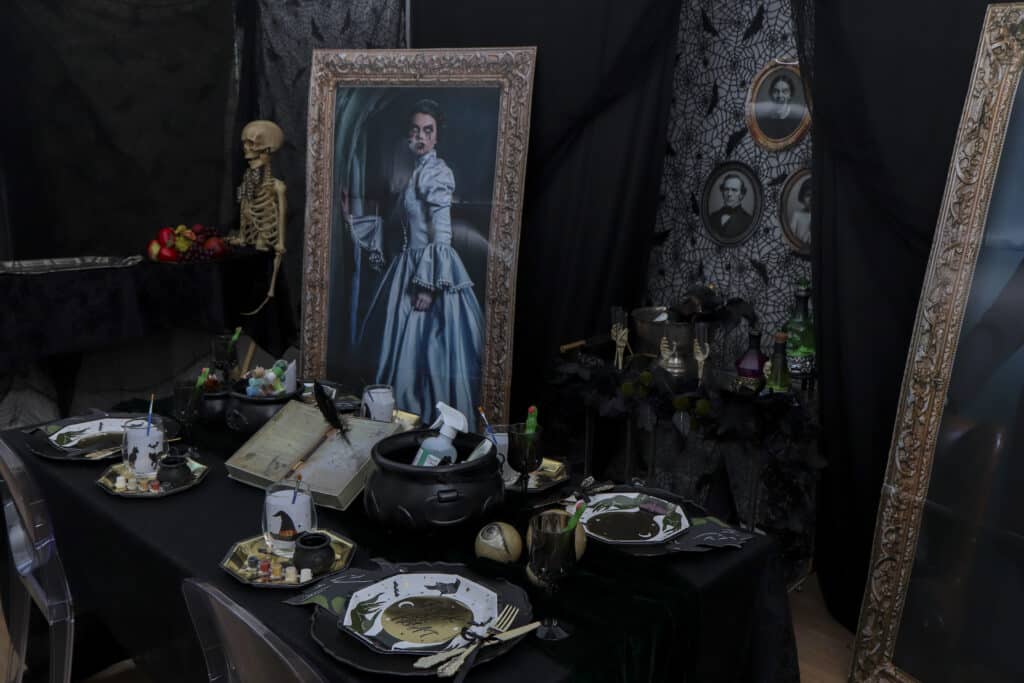
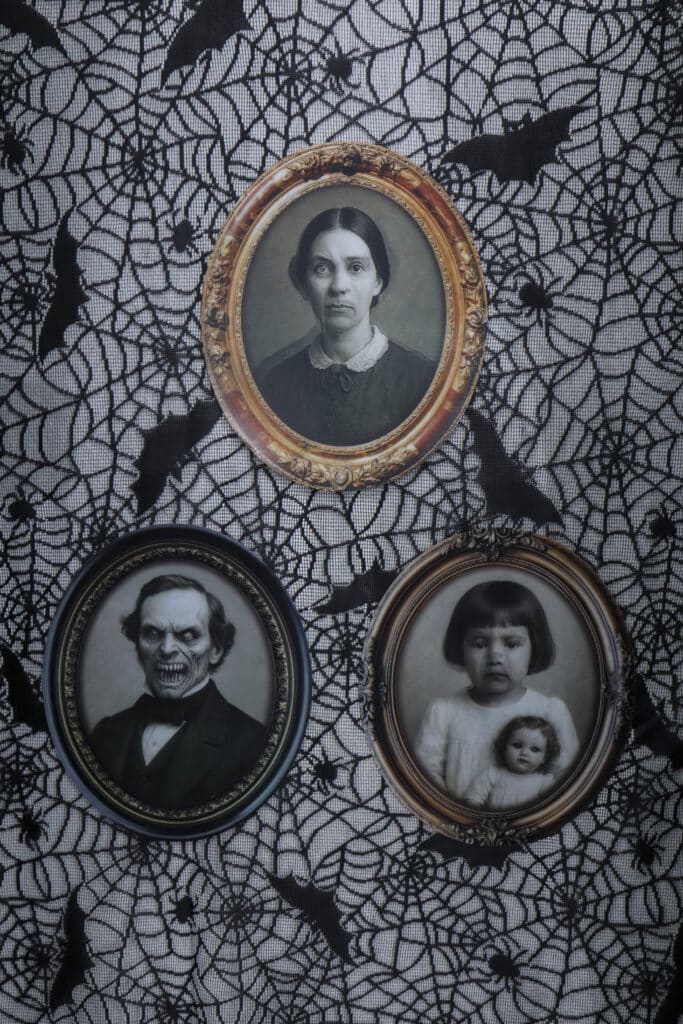
Once the wall has texture, add the wall portraits. I used a lightweight set of three oval-framed Victorian-style portraits. I grouped them close together the way an old drawing room gallery wall would look.
For the real showstopper, though, I brought in two large stand-up portraits. Tall enough to command a corner of the room on their own, but lightweight and foldable, so they store flat and come back out again year after year. Their faces are holographic, shifting slightly as guests walk past, which is exactly the kind of detail that makes people stop mid-conversation and look twice.
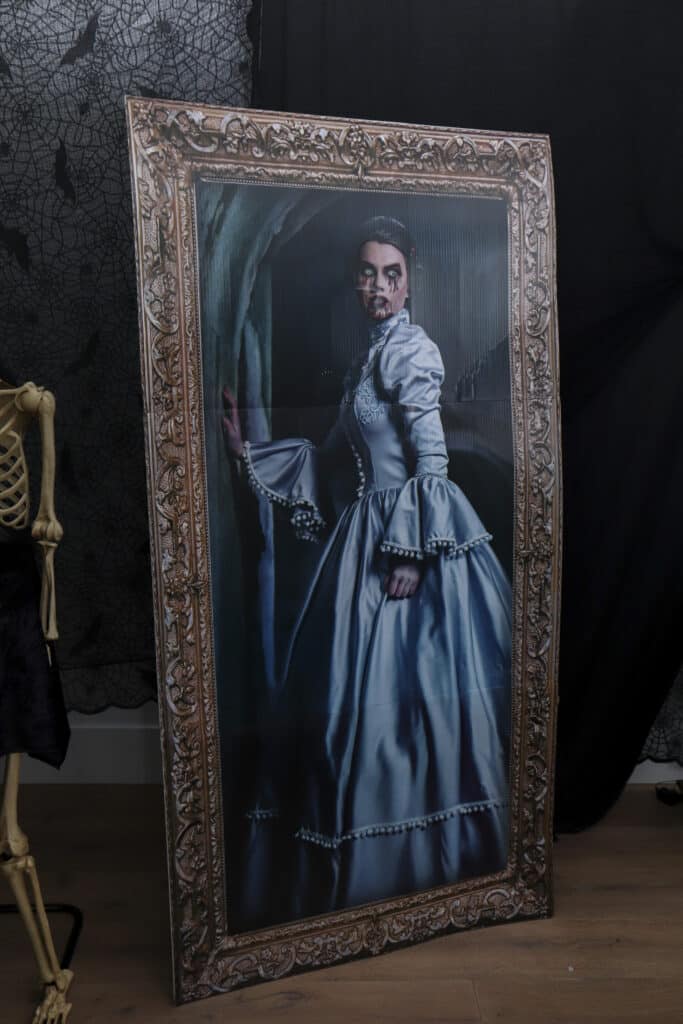
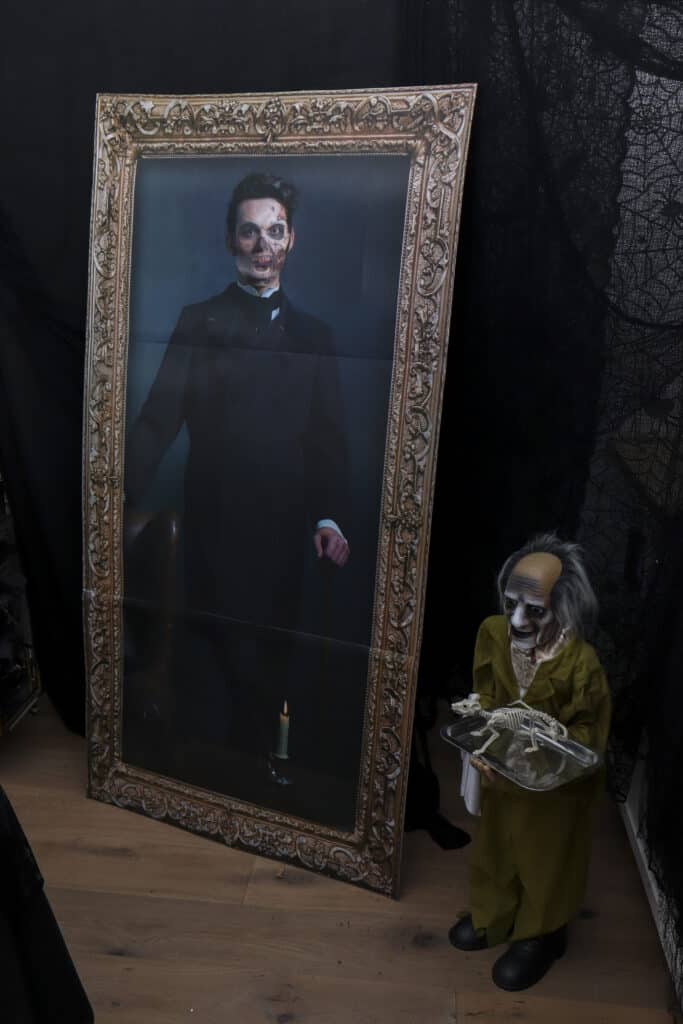
The detail that makes all of it work is placement — hang the wall portraits at eye level and angle the stand-up portraits toward the painting stations, so guests genuinely feel watched from every direction while they paint. It’s a small touch that ends up being the thing everyone comments on.
Step 3: Set Up Painting Stations
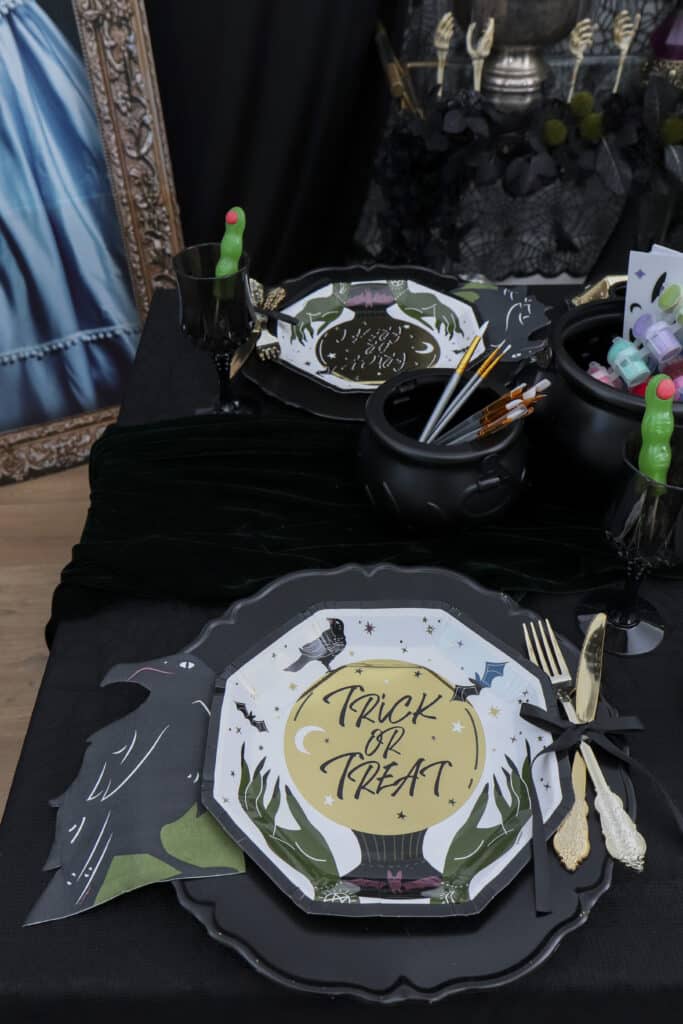
Give every guest her own full setup at the table: A proper eating place setting, plate, napkin and cutlery included. Set this right alongside her glass, template, water cauldron, paint brush and plate paint palette. It’s a paint and sip and a sit-down bite in one spot, so nobody has to juggle two separate areas of the table.
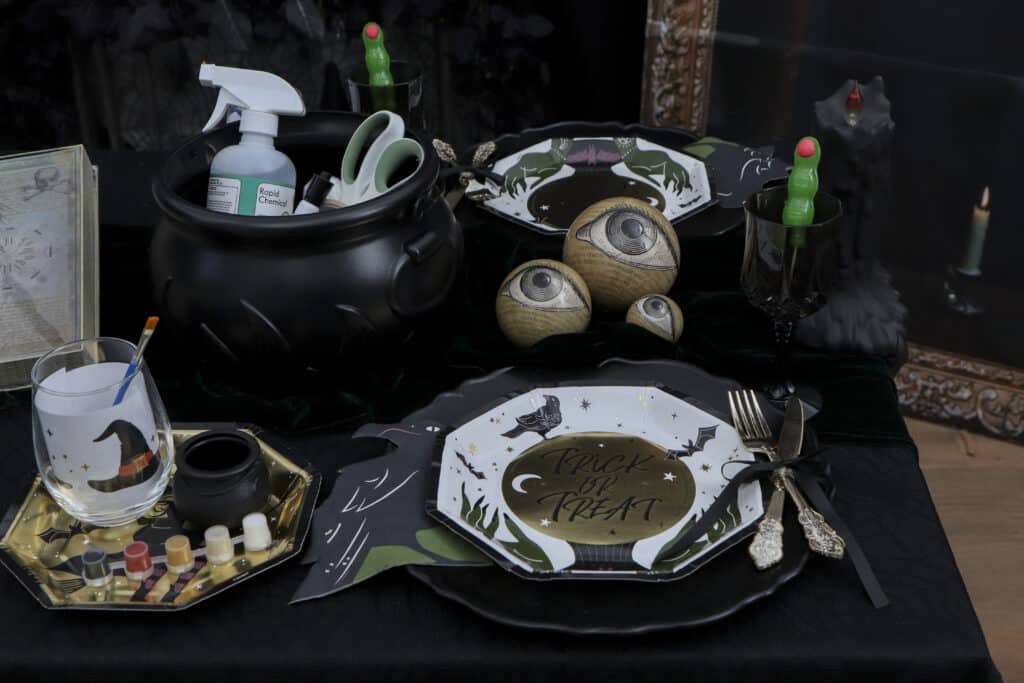
A cleared, well-lit surface matters more than anything decorative here — guests need to actually see what they’re painting, so keep candles nearby rather than directly at each seat.
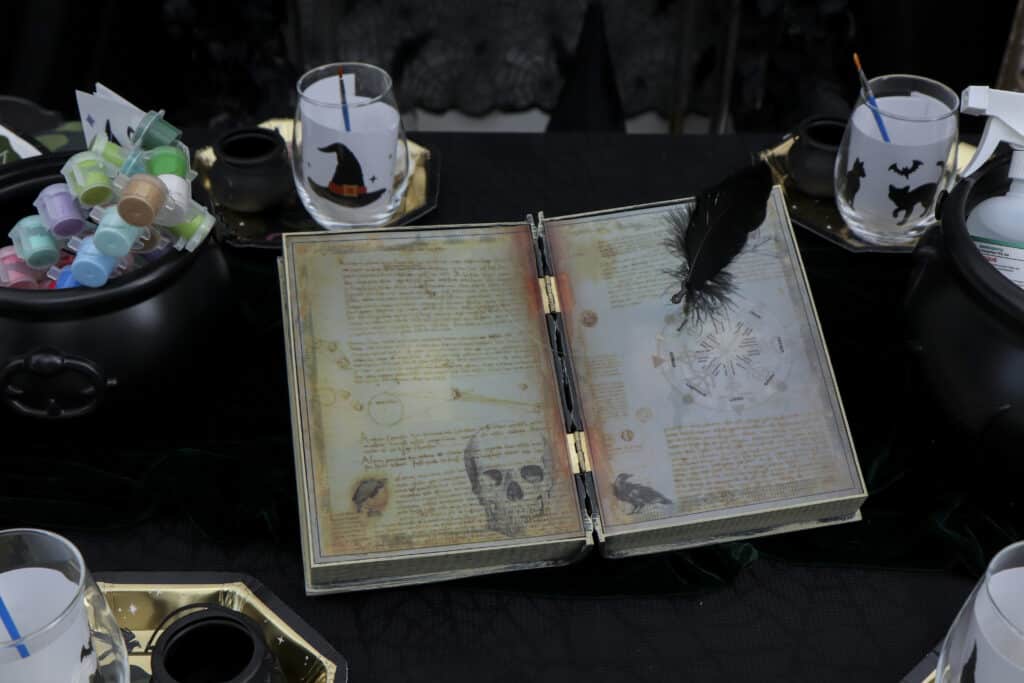
For the centerpiece, I set an old spell book in the middle of the table, left open like it had just been in use. It’s a small touch, but it ties the place settings back to the rest of the room instead of leaving the table looking purely functional.
Step 4: Style a Potion Bar or Bar Cart
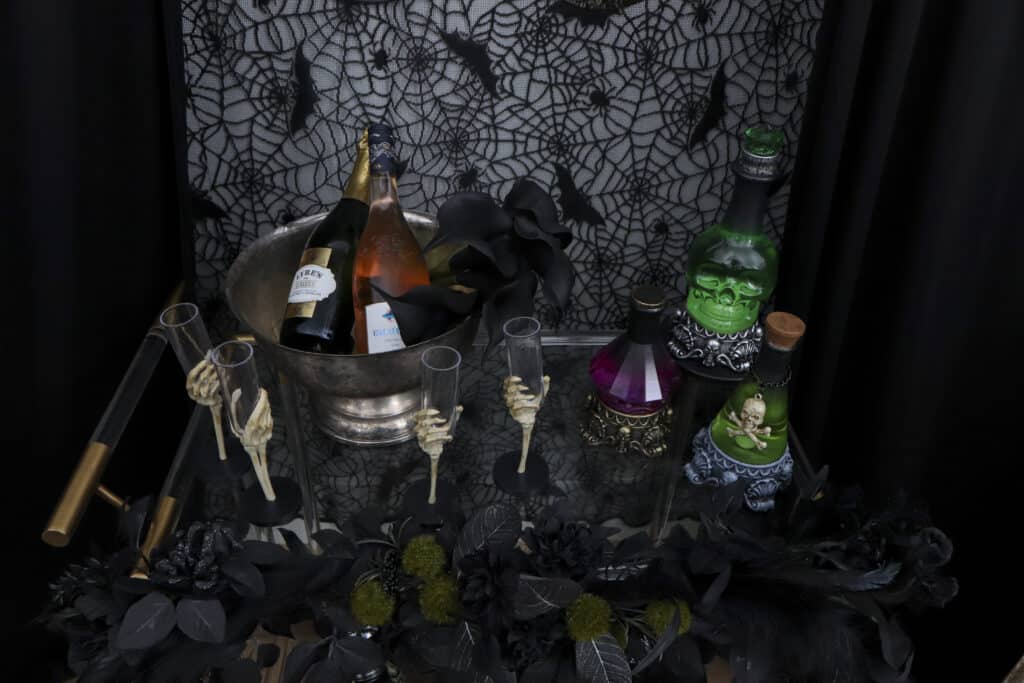
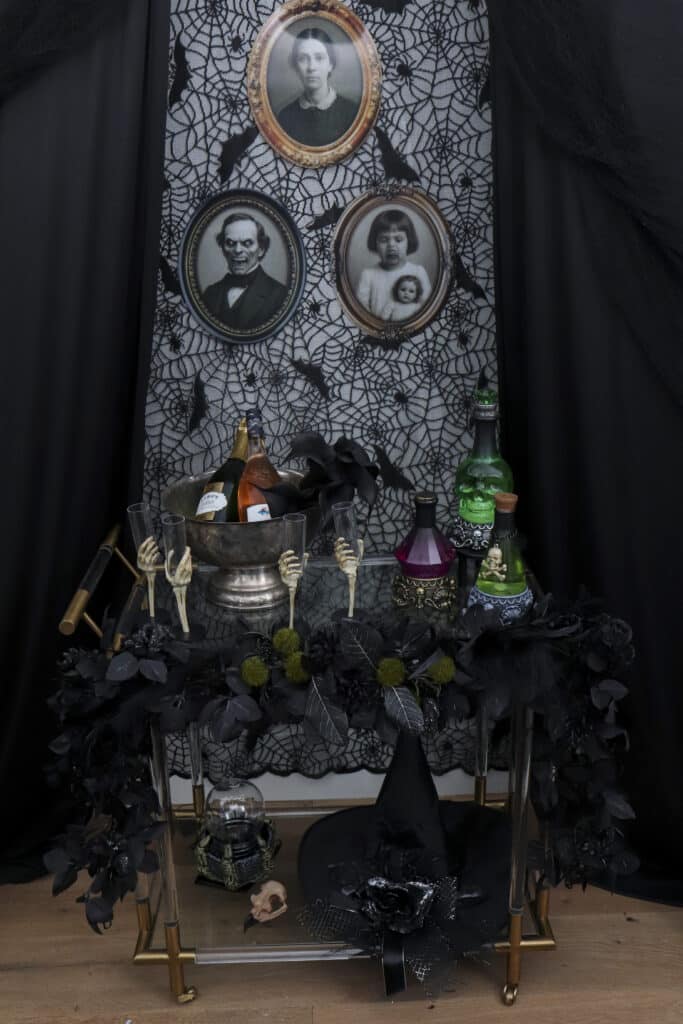
A small bar cart works as a potion bar in almost any party setup, and this one was no exception. I used a vintage champagne bucket for bottles to give that gothic vibe with some fun skeleton hand glasses with it. Then I used a few light up apothecary-style bottles.
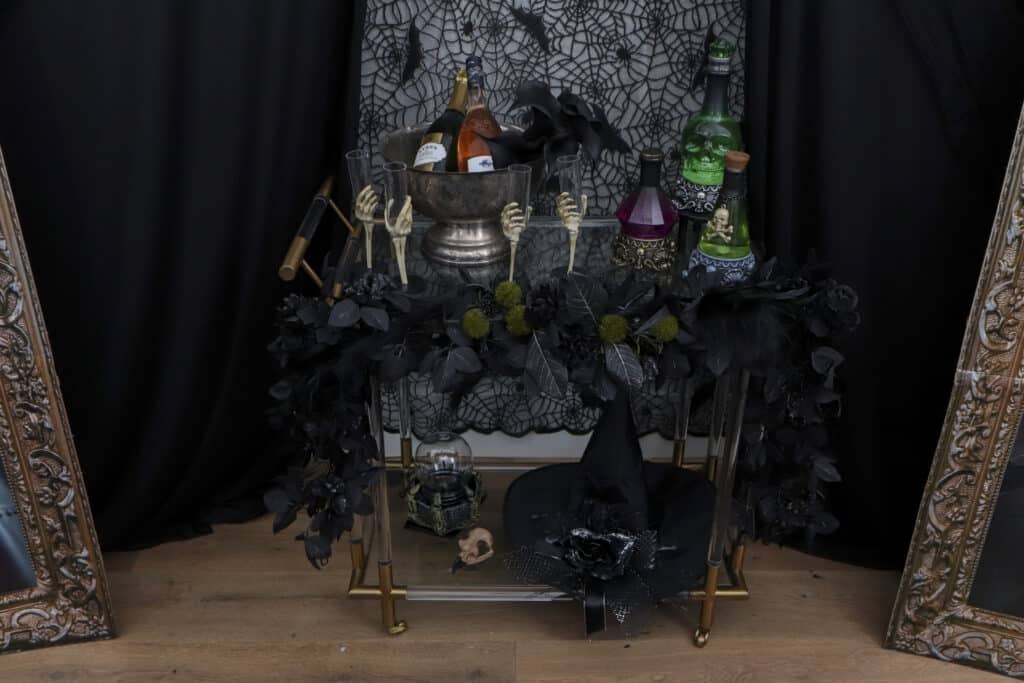
A black floral garland draped over the top of the cart ties it back into the rest of the room’s styling instead of leaving it looking like a standalone bar setup. On the bottom shelf, I added a small mister for a low, creeping fog effect — an easy way to make the whole cart feel alive. Plus a simple witch hat. Neither costs much, but together they do a lot of the theming work!
Keep the actual drinks simple — a bottle pour or a single spiked or non-alcoholic punch, since guests are going to be painting with a brush in one hand. If you are using a dispenser add an old-fashioned tag or a handwritten “potion” label to sell the theme without any extra effort. The same applies for bottles!
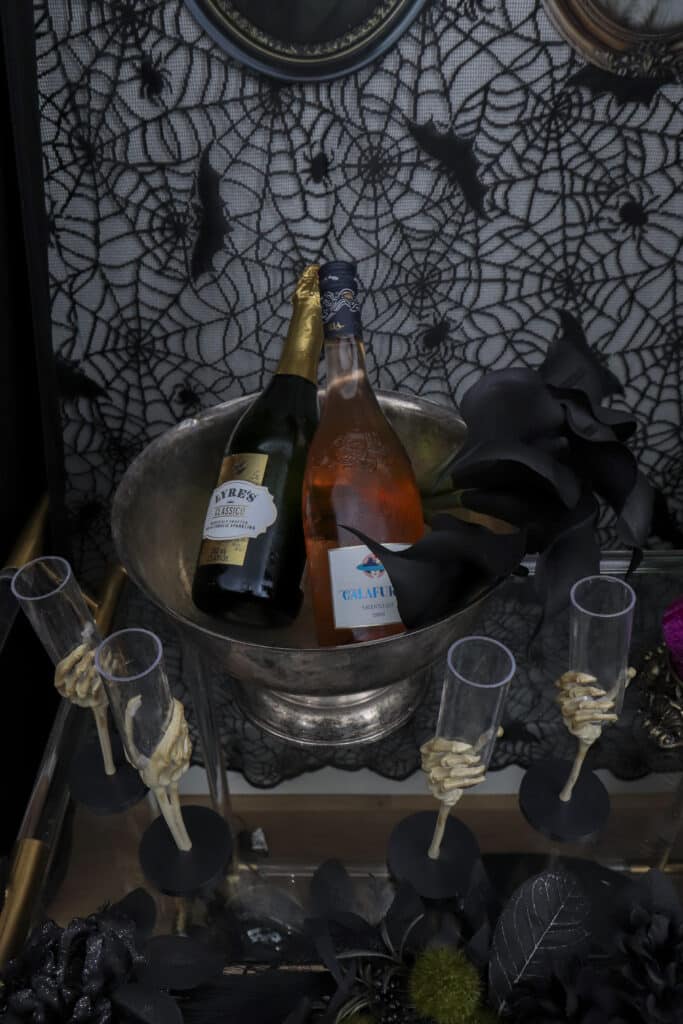
This kind of setup travels well between party themes too, it is all reusable no matter what the rest of the room looks like. Check out my post just on building a potion bar you can restyle again and again HERE (coming soon).
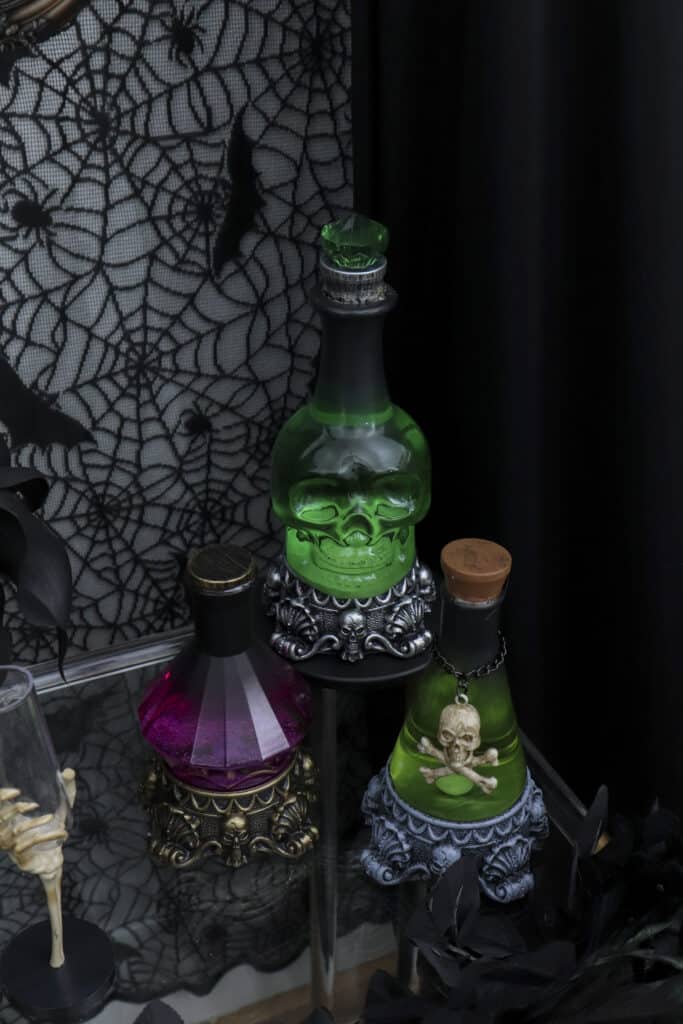
Step 5: Stock the Extras (and a Few Creepy Details)
Use fun vessels like cauldrons near the painting stations, stocked with things guests may need — one with essentials like tape, scissors and rubbing alcohol, one with backup paint colors, and one with extra brushes. Splitting it out this way means guests can grab what they need without digging, and nobody has to ask where anything is.
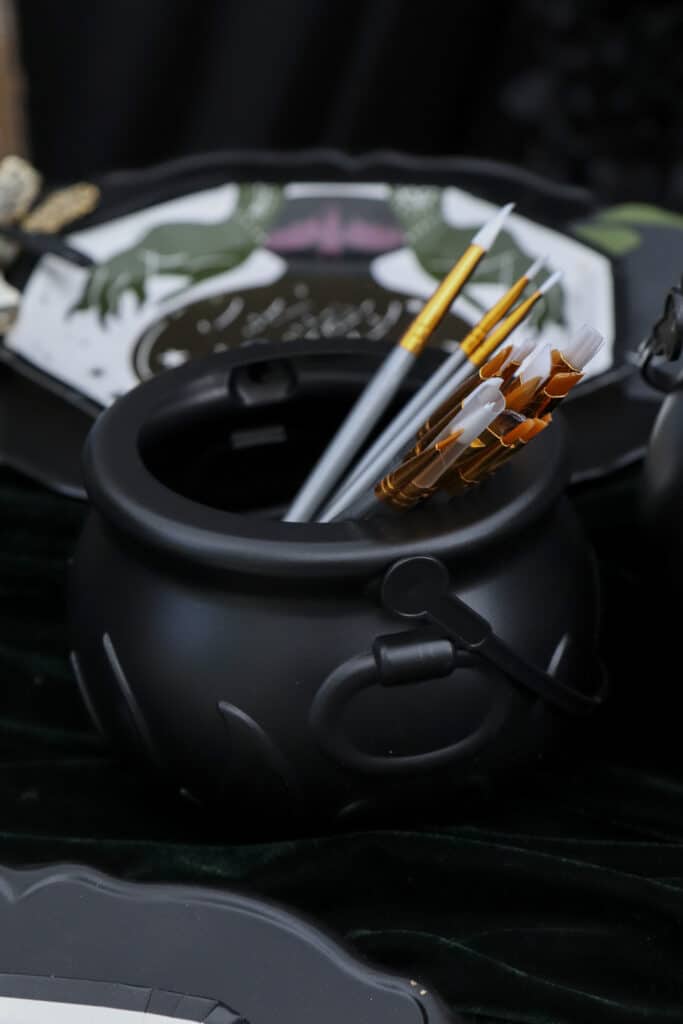
For the table itself, a few creepy accents go a long way without eating into painting space — a couple of fake eyeballs tucked among the cauldrons, a dripping candle or two at the edges of the table. Just enough to keep the theme going without crowding anyone’s elbow room.
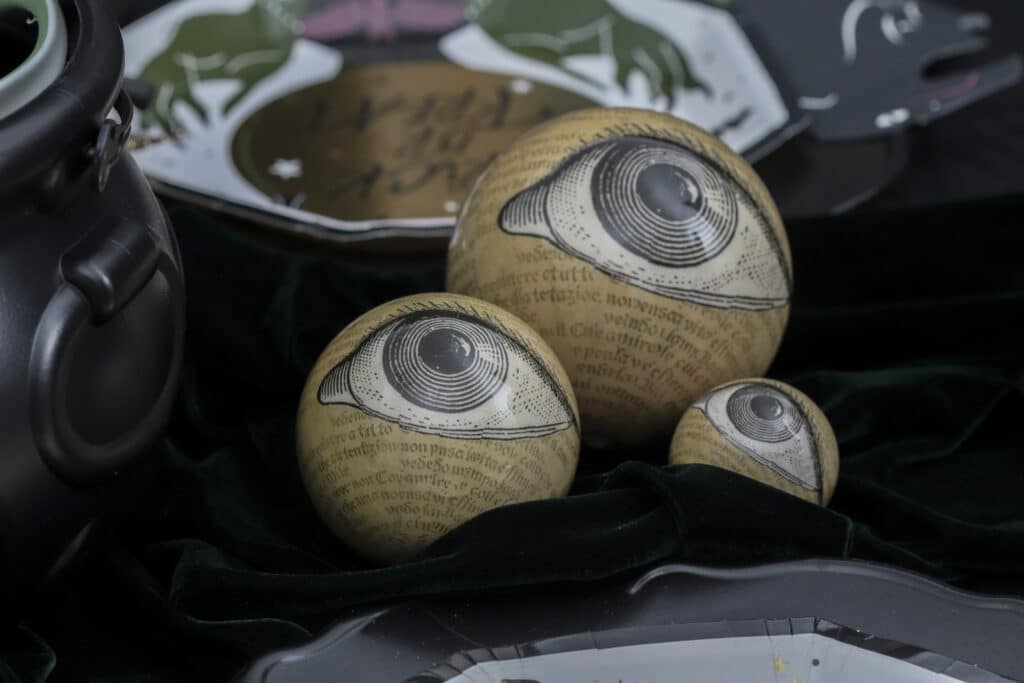
If you’re worried about guests overthinking their choices, labeling each cauldron or tray helps — sometimes just knowing where to look is enough to get people started.
Step 6: Set Up a Skeleton Coffin Food Station
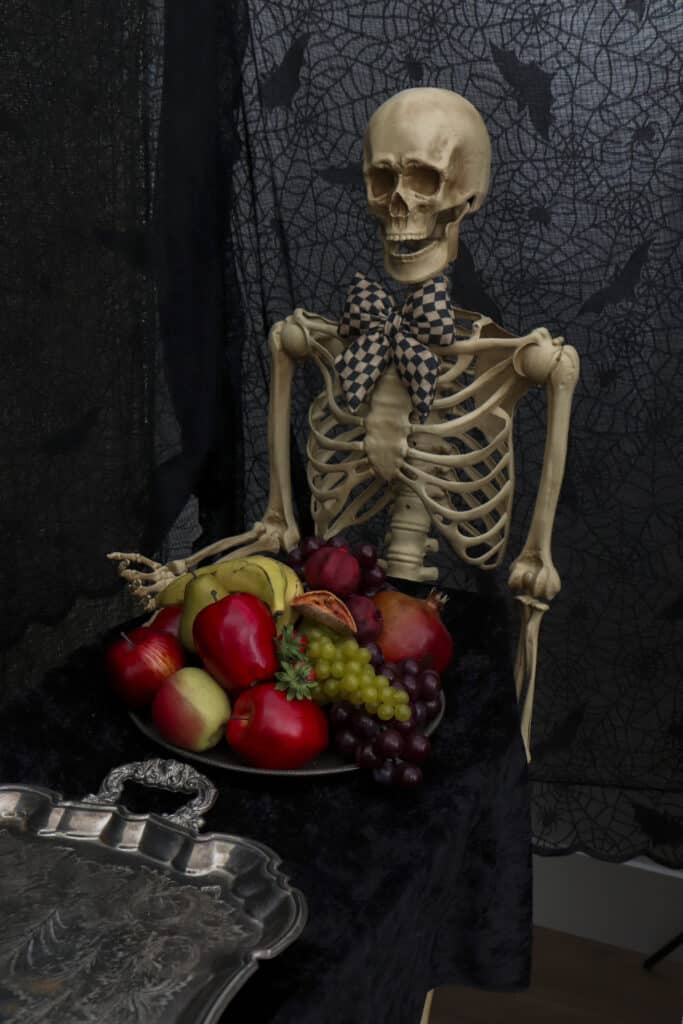
For food, I brought back the skeleton and coffin serving prop I love to use for Halloween parties — a good reminder that Halloween decor is worth buying once and reusing. The coffin works well for holding ice & drinks but here I filled the coffin, covered it with velvet draping and used it to hold finger food.
Keep the food simple and mess-free, since everyone’s hands are going to be near wet paint for most of the night.
How to Paint Your Own Halloween Wine Glass, Step by Step
This is the actual technique behind this glass painting night, and it’s simple enough for complete beginners.
Step 1: Prep The Glass
Wipe the entire glass down with rubbing alcohol and a lint-free cloth before anyone starts painting. Oils from fingers are the number one reason paint lifts off glass later, so don’t skip this step even if the glass looks clean.
Let it air dry completely before moving on — a few minutes is usually enough.
Step 2: Trace or Place Your Template
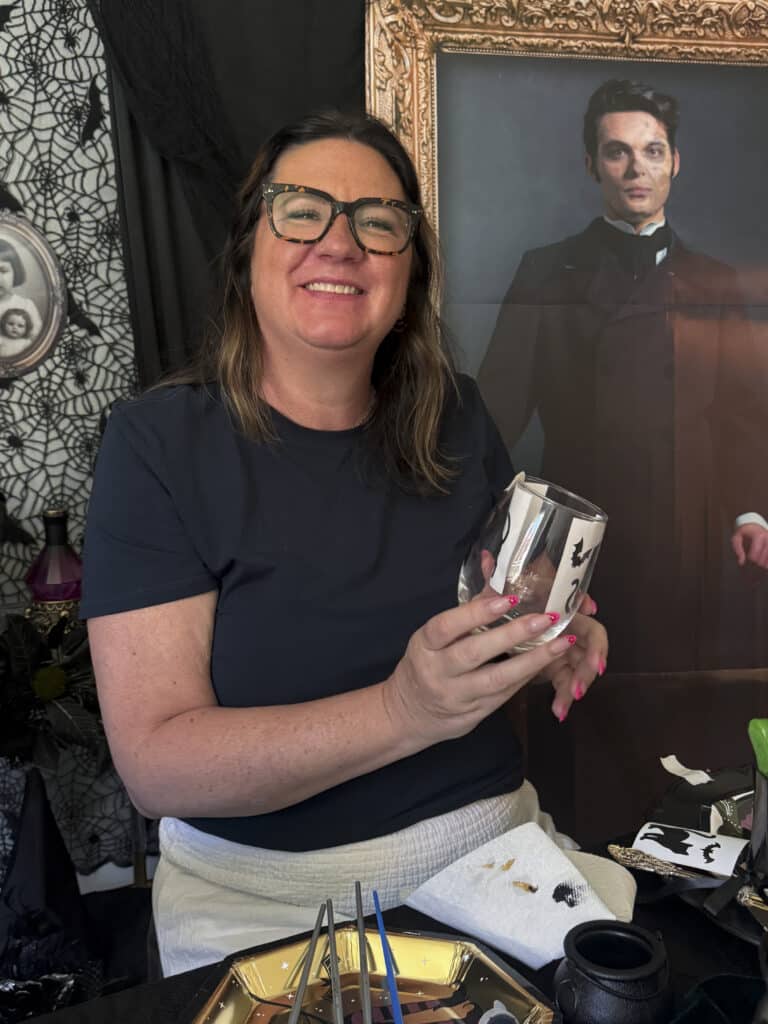
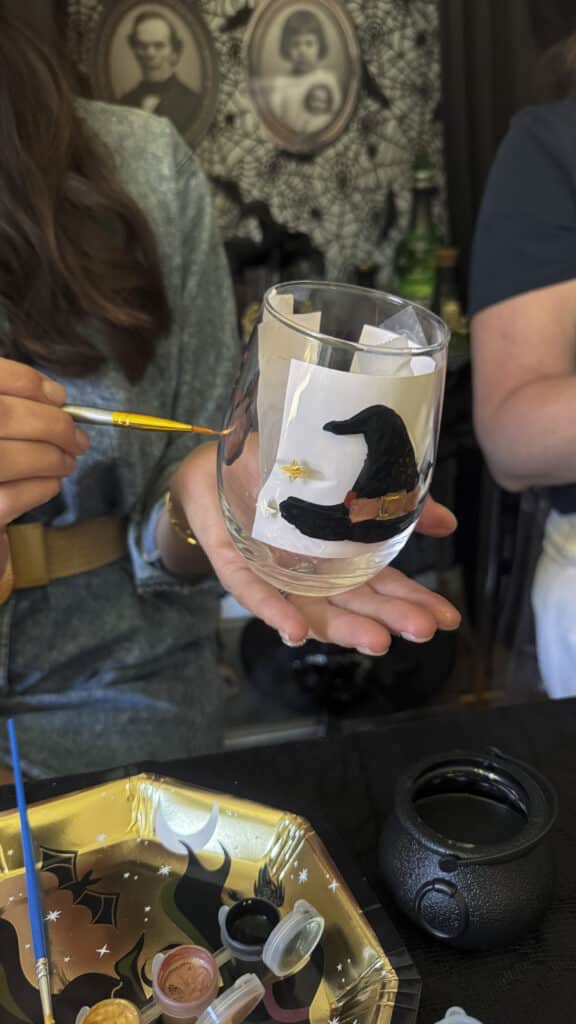
Slide one of the paper templates inside the glass, and tape it as a guide. This gives beginners a clear outline to follow instead of freehanding straight onto curved glass, which is much harder than it looks.
Step 3: Base Coat Your Design
Apply a thin, even base layer of paint within your outline. Thin coats matter more on glass than on canvas, since paint pools and drips easily on a curved, non-porous surface.
Let the base coat dry partially before adding a second layer — rushing this step is the most common reason designs end up patchy.
Step 4: Add Detail and Depth
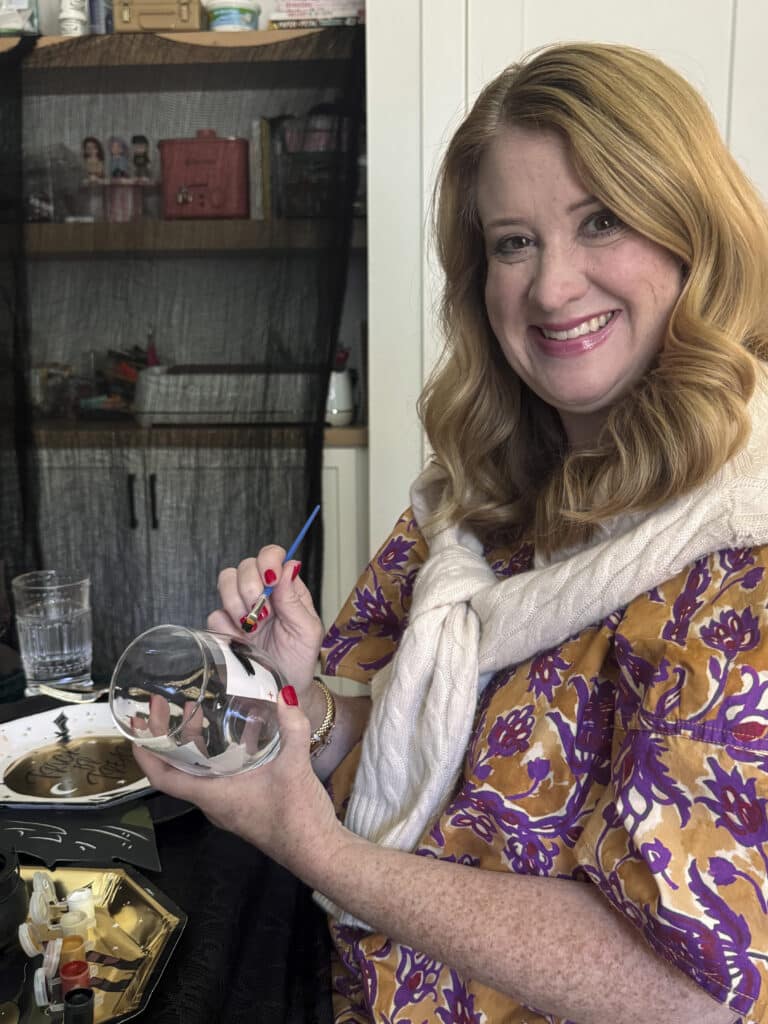
Once the base coat has set, go back in with a fine brush or a paint pen for detail work — outlines, shading or any small accents that make the design read clearly. This is also where each glass starts looking a little different from the next, even with the same template. My guests added text like “Happy Halloween” or their names in addition to the template designs.
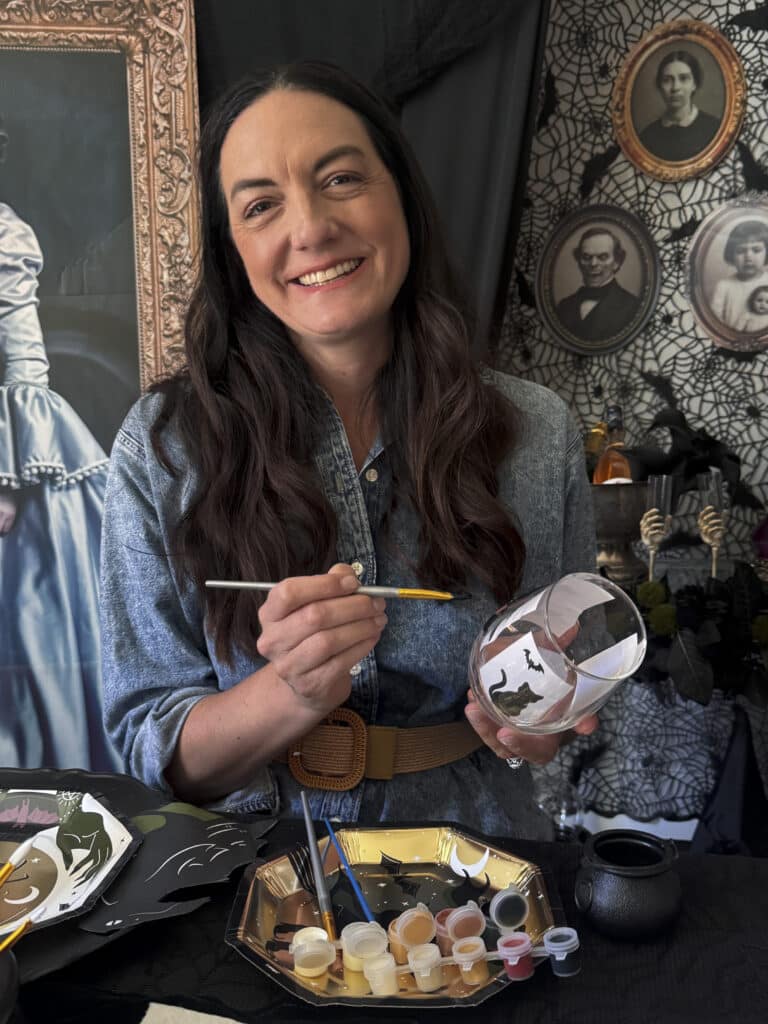
Step 5: Cure and Care for Your Glass
Once the paint has fully dried, carefully slide the template out from inside the glass.
Check your specific paint’s label first, since curing methods vary. Most air-cure over about three weeks before their first gentle hand wash. Some can be oven-cured instead: place the glass in a cool oven, bring it up to temperature, and bake according to the label.
Either way, hand wash only in lukewarm water once cured, skip the dishwasher, and avoid soaking. It’s a small trade-off for a glass that’s genuinely one of a kind.
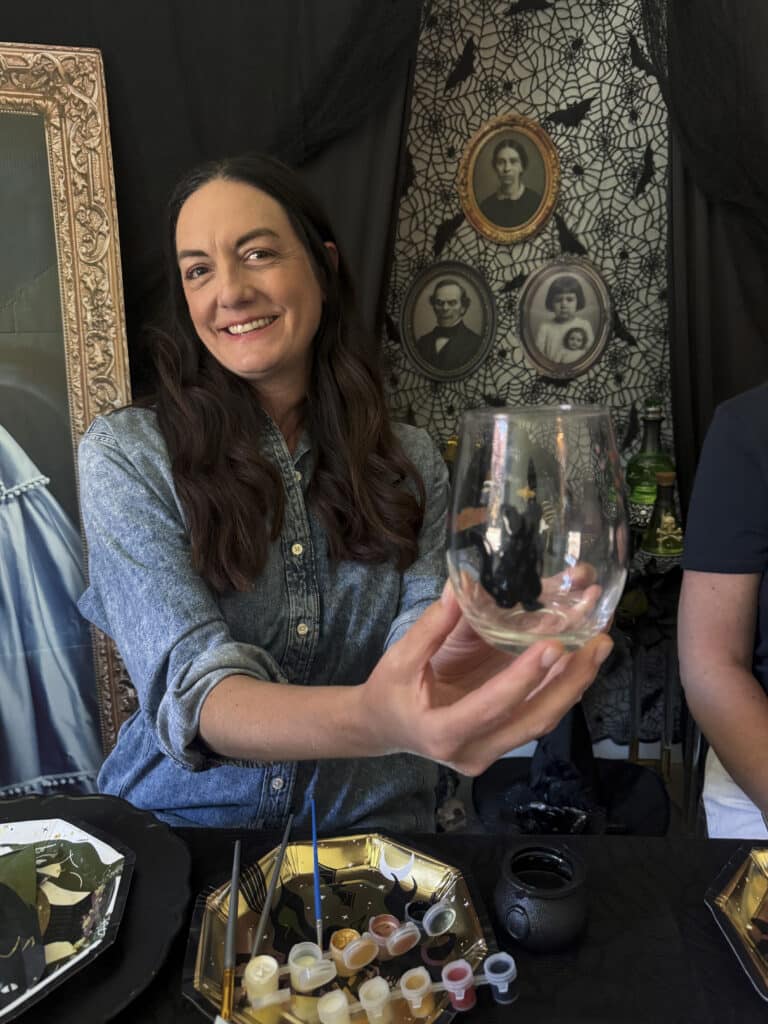
Tips for Hosting Your Own Gothic Paint and Sip Party
- If using candles, keep them nearby in the room, not directly at each painting station — the mood matters, but safety first.
- Confirm your headcount before the party. It’s a lot easier to set out the right number of glasses, templates and seats once than to scramble for an extra glass mid party.
- Consider some brighter lighting or LED lights, guests still need to see their glass clearly.
- Buy a few extra glasses. Someone always wants a do-over, and it’s cheaper than a stressful night.
- Let guests choose from the three templates that come with the kit instead of forcing the design to be completely open. A few set options keeps the pace even and gives everyone some choice, without the room grinding to a halt while someone picks between a hundred ideas or struggles without a template.
- Premix your potion bar drink ahead of time. Nobody wants to be mixing cocktails one-handed with wet paint on the other.
- Set aside a spot for finished glasses to sit undisturbed while the paint sets. A tray near the portrait wall works well, and it doubles as a nice little display before everyone heads home
- Set expectations early that glasses need curing time before guests can use them — send everyone home with care instructions taped to the box.
Gothic Paint and Sip Party FAQs
What supplies do I need for a gothic paint and sip party?
You’ll need a glass painting kit with wine glasses: Glass-safe paint and templates. Scissors, tape and rubbing alcohol for prep.
For the drawing room styling, lace tablecloths, portrait frames and candles do most of the work!
For my full supplies list check HERE.
Can beginners really paint their own wine glass?
Yes. Using a template rather than freehanding makes this approachable for guests who don’t consider themselves artistic, and thin, patient layers matter far more than natural talent
How long does it take for a painted glass to fully cure?
Most air-cure paints need about three weeks before their first gentle wash. Oven-cure paints are much faster, but always check your specific paint’s label rather than assuming.
Is a paint and sip party good for a small group?
It’s actually ideal for one. Unlike a bigger blowout party, a paint and sip works well with as few as four or five guests seated around a single table.
Do I need special paint for glass, or will regular acrylic work?
Use paint labeled for glass or a multi-surface paint pen. Regular craft acrylic can work in a pinch, but it won’t hold up nearly as well to washing or handling afterward
Can I do a paint and sip party without the gothic theme?
Absolutely — the glass painting technique works for any occasion. The drawing room styling is what makes this version Halloween-specific, but the painting steps stay exactly the same for a birthday or a girls’ night.
Shop the Full Party
For a shopping list of party decor supplies visit my full list HERE.
You Might Also Like
You can find the full party set-up where we made brooms here: How to Host a Practical Magic Inspired Witch Party — all the details you need for creating a Practical Magic appreciation or watch party. For a witch-themed potion bar you can drink from while broom making head here: Witch Party Potion Bar (coming soon).
You can find another fun craft filled Halloween party set-up where we made brooms here: How to Host a Practical Magic Inspired Witch Party. For more on witch-themed potion bars you can drink from while painting glasses head here: Witch Party Potion Bar (coming soon).
And for more Halloween ideas check out how to decorate your house with inspiration from my Witch-Themed Halloween Home Entryway.
Happy Partying!
As a blogger, I sometimes receive compensation and/or products in exchange for my styling and crafting services. I also may earn a small commission from any sales that result from affiliate links on this page. As always, all project ideas and any opinions expressed here are my own. For further information on our disclosure policy please check out our disclosure page.
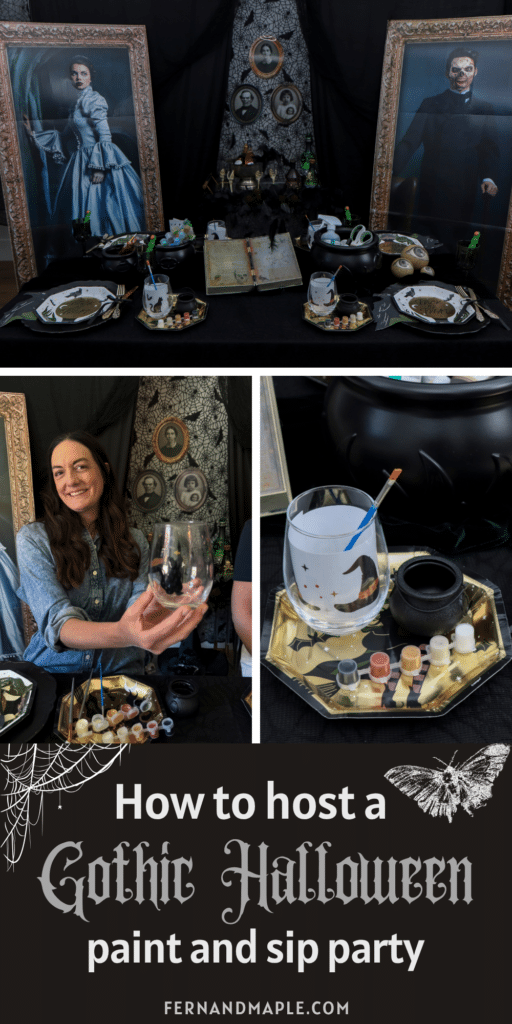
Pin This Gothic Paint and Sip Party Idea for Later
Save this gothic paint and sip party post to Pinterest so you have the full drawing room setup and glass painting technique ready when you need it









Leave a Reply