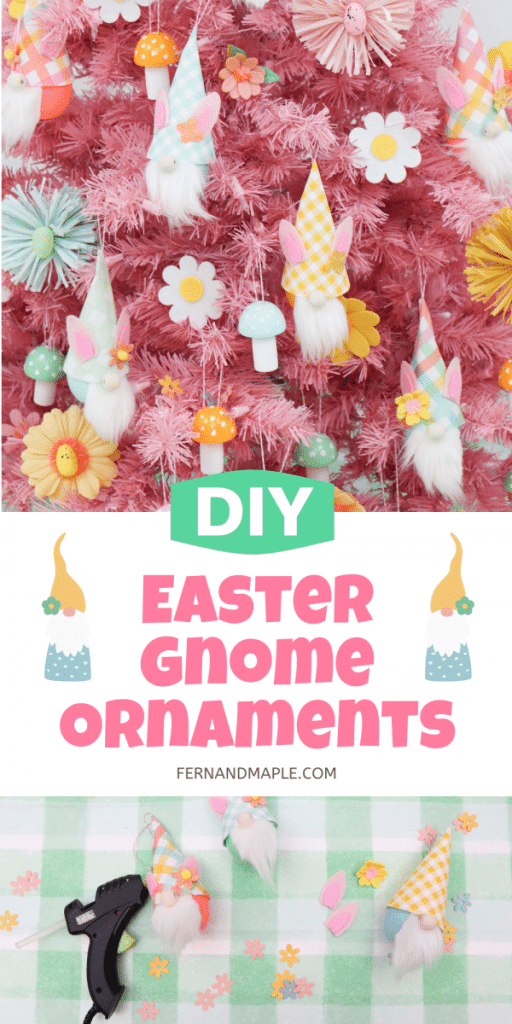
These adorable Easter gnome tree ornaments have been magically transformed into Easter bunnies using a plastic Easter Egg, paper napkins and a few basic craft supplies. Get creative and customize their little hats to match your home or table décor!
I’ve partnered with Treetopia to craft up these little gnomes to decorate an adorable Easter tree, full of pastel colors, tons of Easter eggs, and miniature toadstools! So embrace the Gnome, grab yourself a pretty in pink tree from Treetopia, and read on for all of the DIY Easter gnome step-by-step instructions!
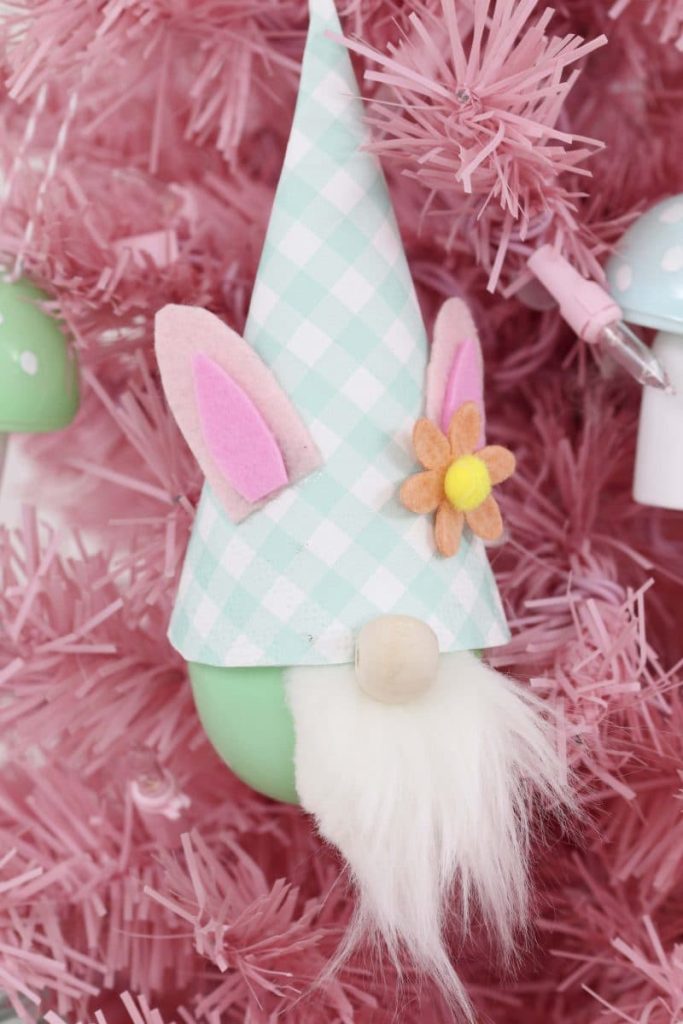
Materials:
- Large Plastic Fillable Easter Eggs (approx. 3” x 2”)
- Faux Craft Fur
- Unfinished Wood Craft Beads (approx. 10mm diameter)
- Spring Plaid or Gingham Paper Napkins
- Stiffened Craft Felt
- Felt Fabric Flower Embellishments (approx. ¾” diameter)
- Bakers Twine
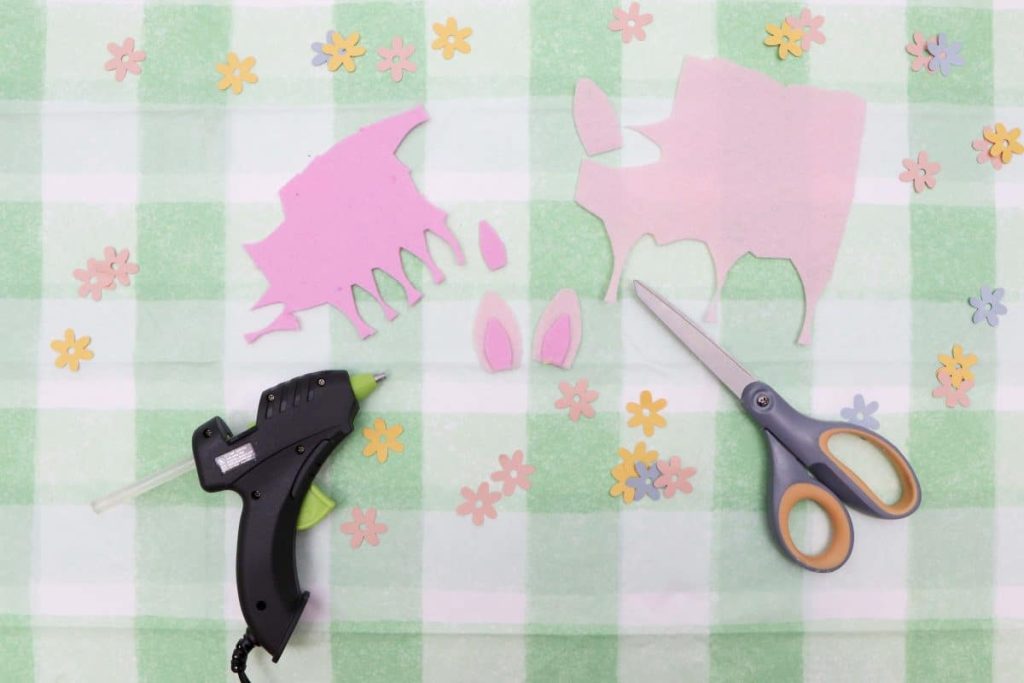
- Scissors
- Hot Glue Gun
Step 1:
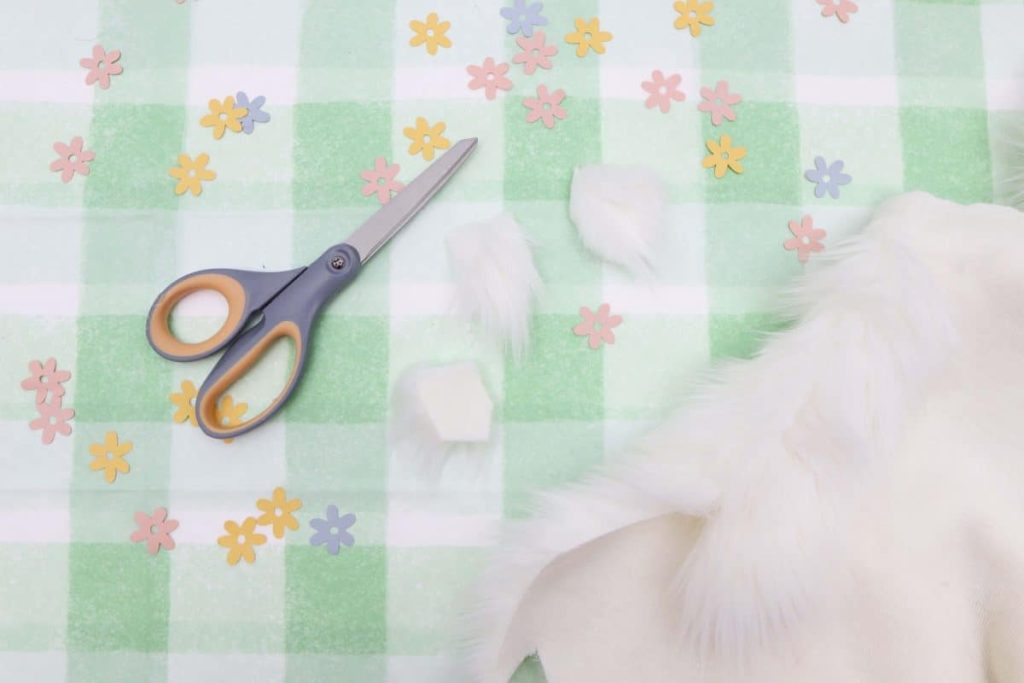
Cut a small gnome beard (pentagon shape) out of craft fur.
Tip: The size should be a little longer than the bottom half of the egg and half as wide.
Step 2:
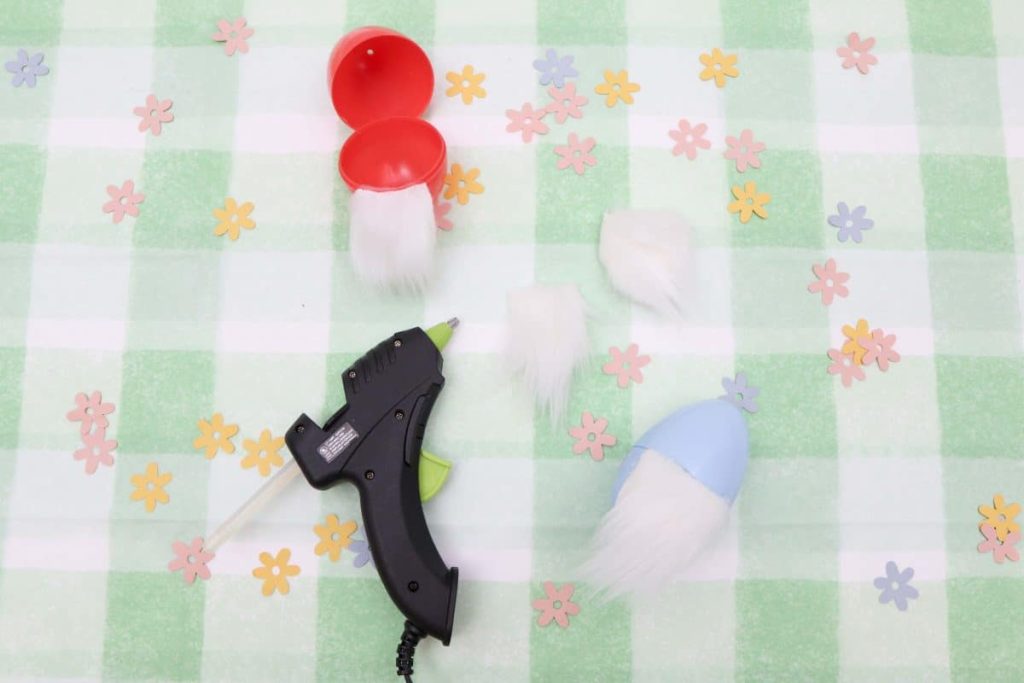
Next, glue the beard to the bottom half of the egg.
Step 3:
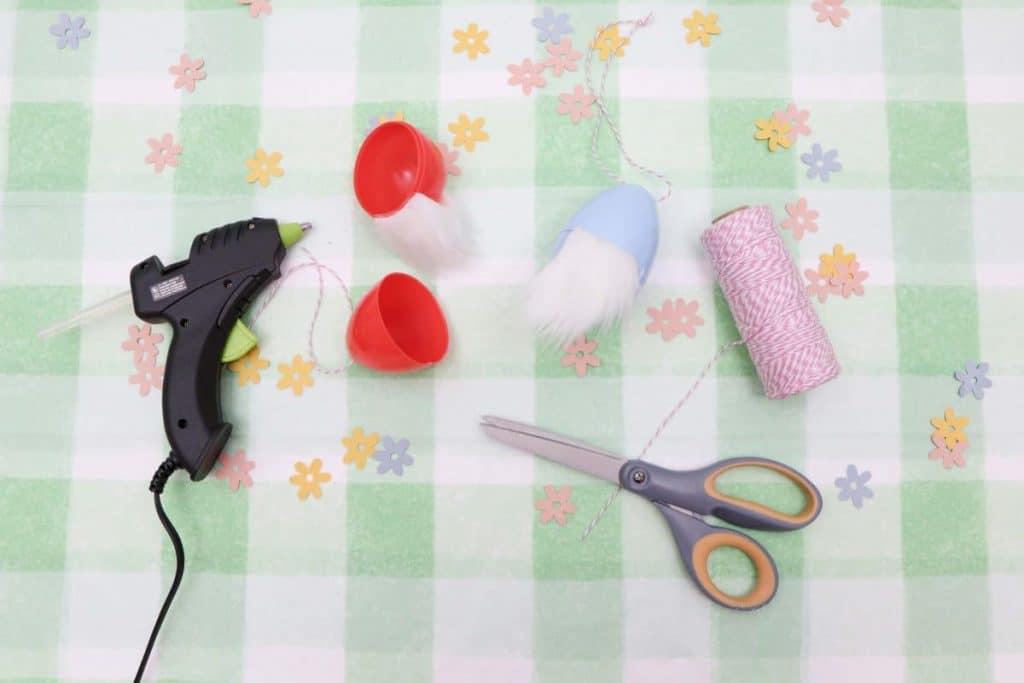
Cut a length of bakers twine and thread through the holes in the top half of the egg & tie to create a hanging loop.
Tip: Make the loop at least double the length of the egg. This way it will reach out of the top of the gnomes hat.
Step 4:
Next, glue the 2 egg halves together.
Step 5:
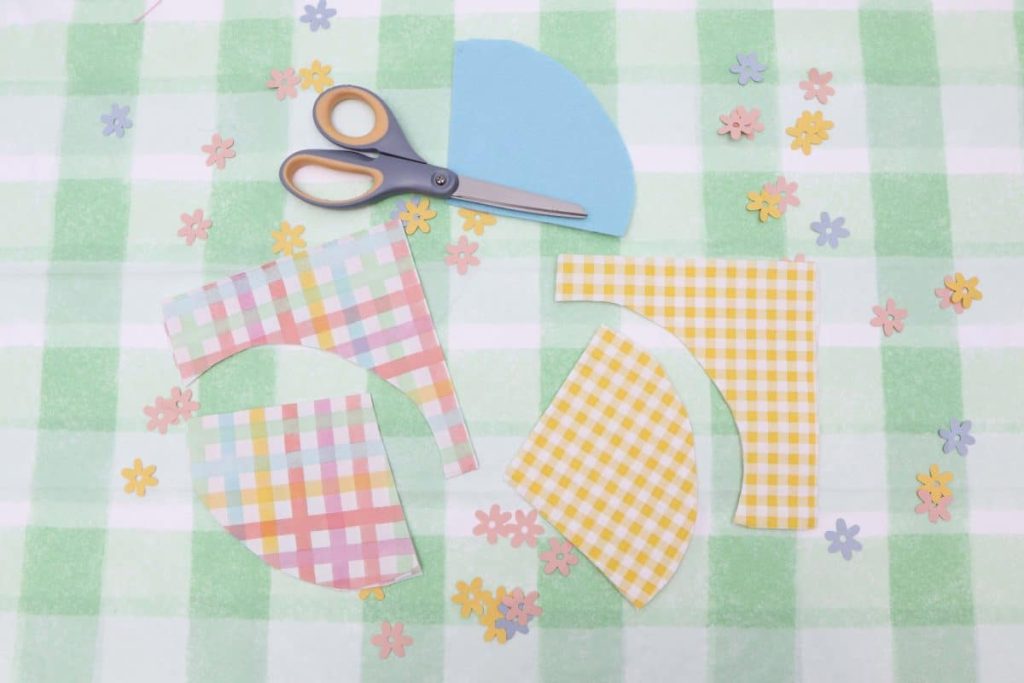
Cut a triangle with an arched bottom out of a paper napkin. When rolled this will make a cone hat shape.
Tip: Once you achieve the ideal cone shape for your egg, make a template out of stiffened felt. This can then be used to cut out the remaining gnome hats.
Step 6:
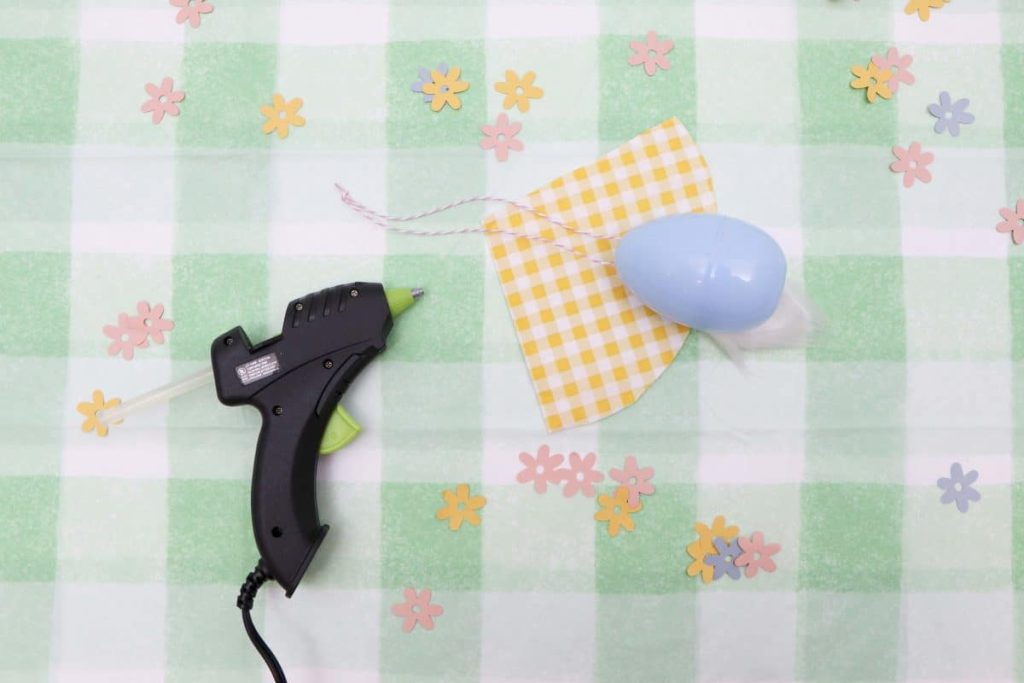
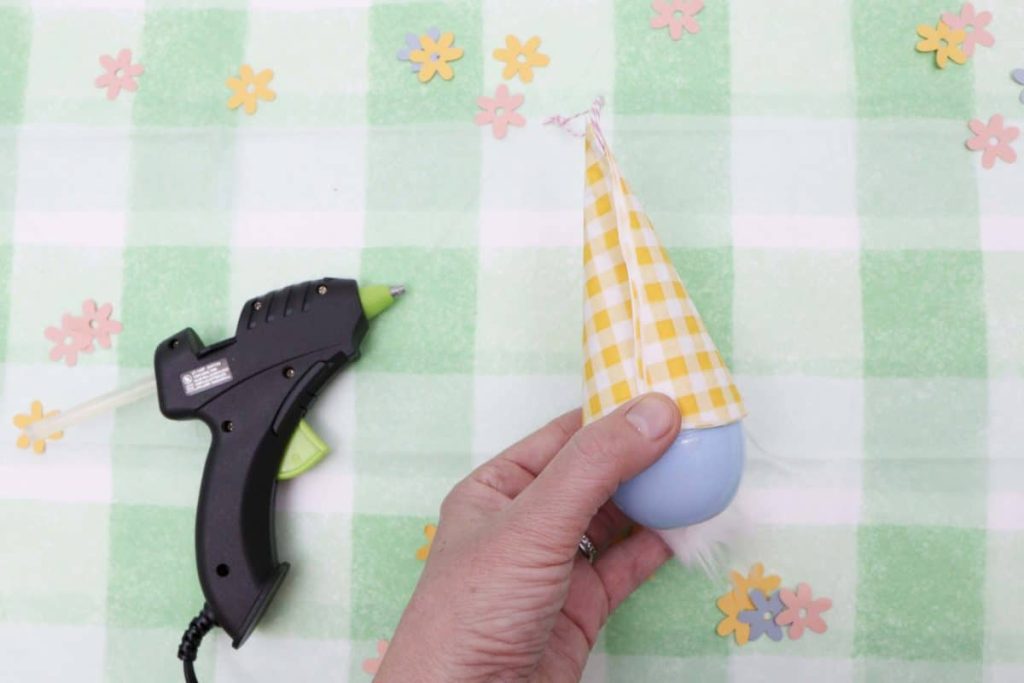
Next, glue the cone hat onto the top half of the egg. Align the bottom of the hat with the beard. Glue in place at the back. You will need to glue each napkin layer.
Tip: Ensure the twine loop comes out the top of the hat.
Step 7:
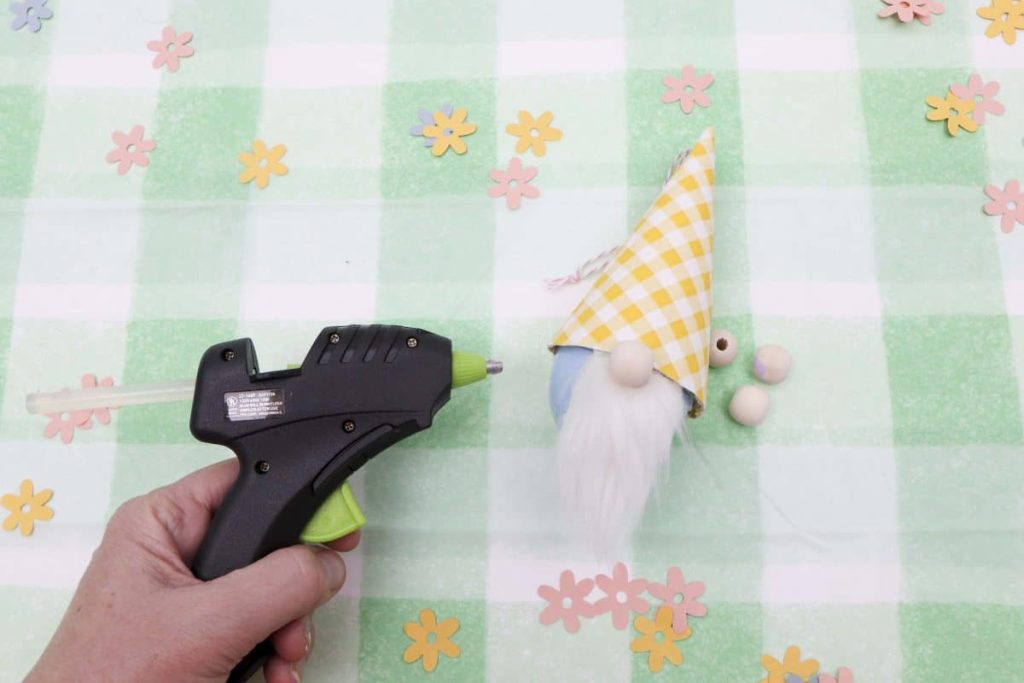
Glue the wood bead to the top of the gnomes beard.
Step 8:
Cut a set of bunny ears out of stiffened felt. Cut the outer ear (approx. 1.5” long) in a light pink and the inner ear (approx. ¾” long) in a darker pink and glue them together.
Tip: Once you achieve the ideal ear shape, make a template. This can then be used to cut out the remaining sets of ears.
Step 9:
Next, glue the ears to the gnome hat.
Step 10:
Finally, glue a small felt flower under one of the bunny ears.
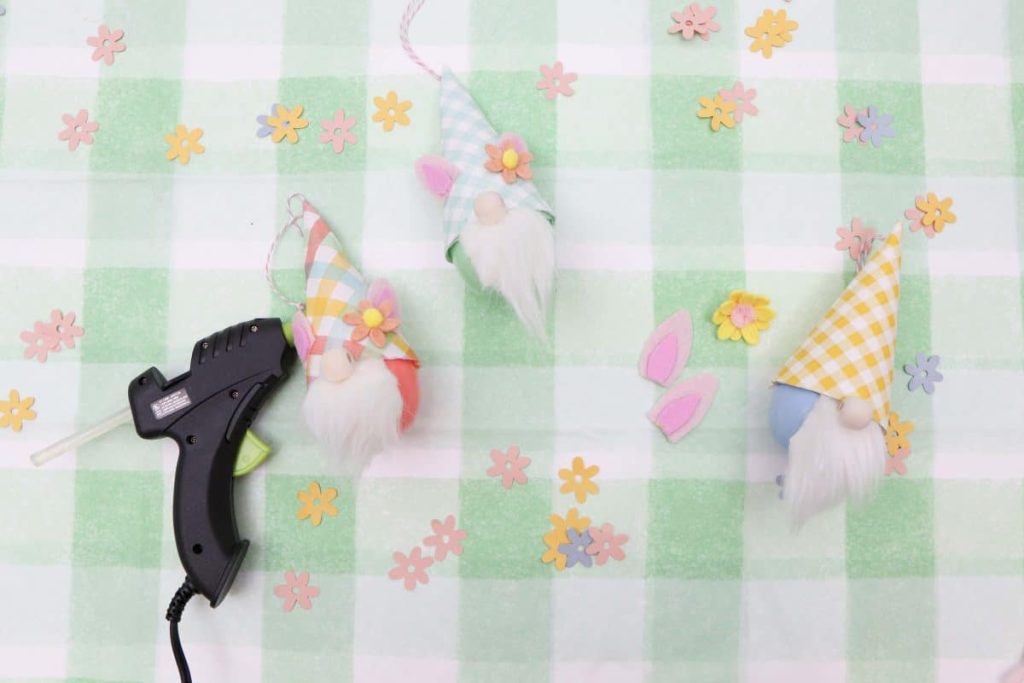
Repeat for the desired number of gnomes and enjoy decorating your Treetopia tree with these little cuties!
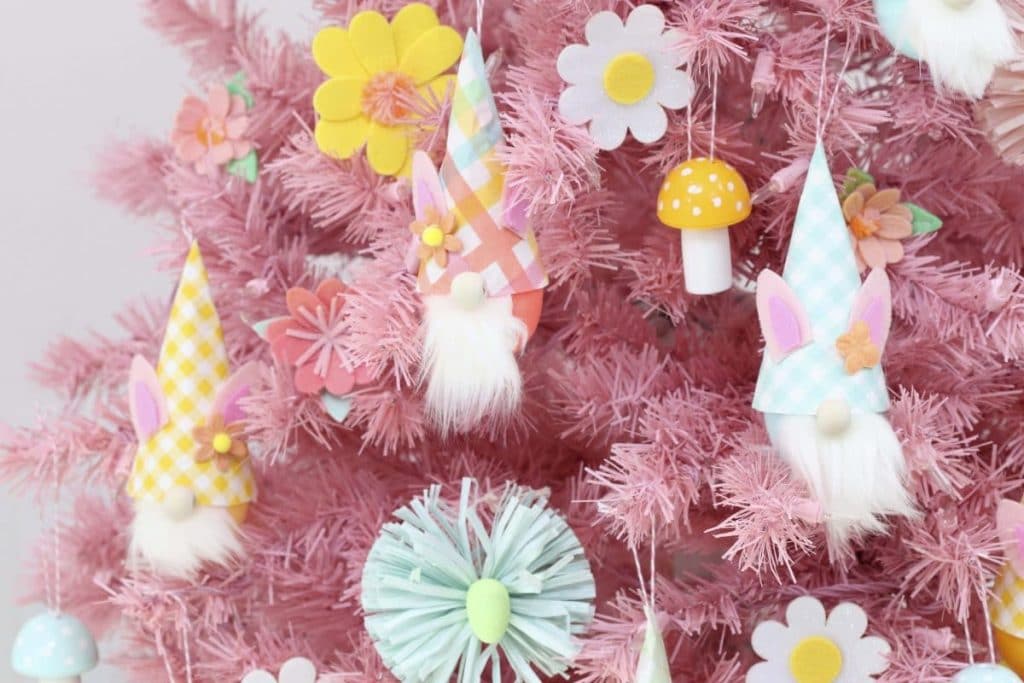
Don’t forget to check out how I decorated the rest of my Gnome-Themed Easter Tree HERE! And see more fun Easter tree ideas from Treetopia HERE.
And if you love gnomes, you’ll definitely want to take a peek at this Punk Rock Gnome Easter Party and this Gnome for the Holidays Party.
Happy Crafting!
As a blogger, I sometimes receive compensation and/or products in exchange for my styling and crafting services. I also may earn a small commission from any sales that result from affiliate links on this page. As always, all project ideas and any opinions expressed here are my own. For further information on our disclosure policy please check out our disclosure page.
PIN FOR LATER:







Leave a Reply