I’ve always been a bit of a rebel. I like the idea of rebelling against norms that don’t fit, whether that be on a societal or individual level. That might be why I’ve often found myself drawn to punk rock style, and why I recently found myself motivated to incorporate this style into one of my new Easter parties – what’s more rebellious than doing a punk rock Easter?! I wanted to keep things fun and cute, which is where the gnome comes in. I was thrilled that my friend Cris from Tiniki Studio wanted to collaborate with me on this idea. She came up with the cutest and coolest Punk Rock Gnome Party printables and her gnome is inspired by ZZ Tops member, Billy Gibbons! Read on to see how I set it all up!
P.S. For an easy list of some similar or alternative products to the ones I used for this party, be sure to check out my Amazon shop!
How to Create a Punk Rock Gnome Easter Party
DIY Backdrop
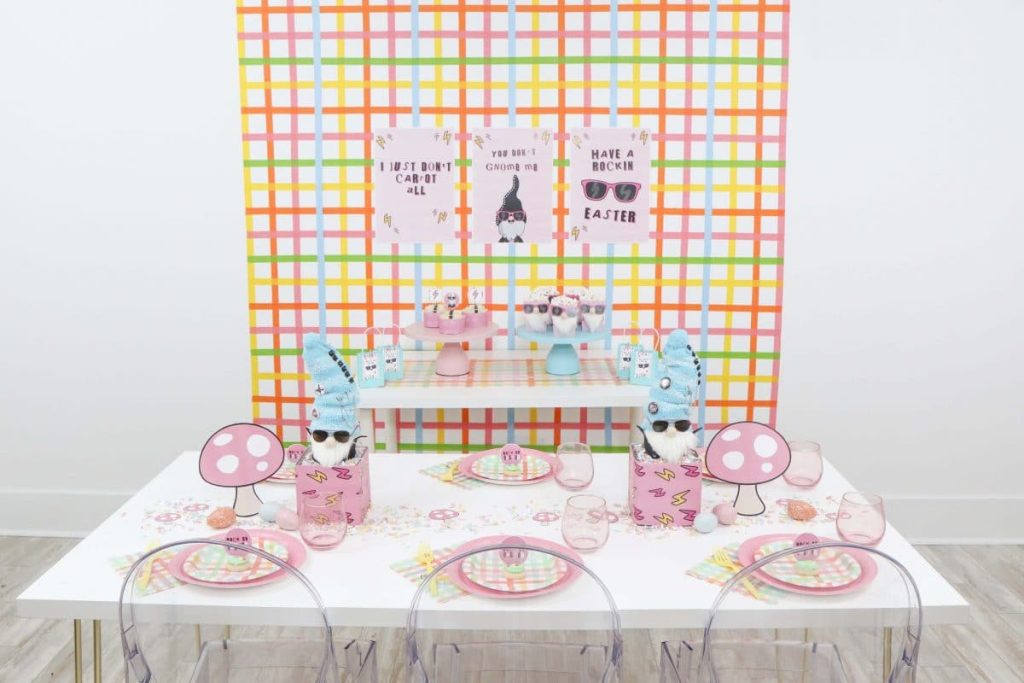
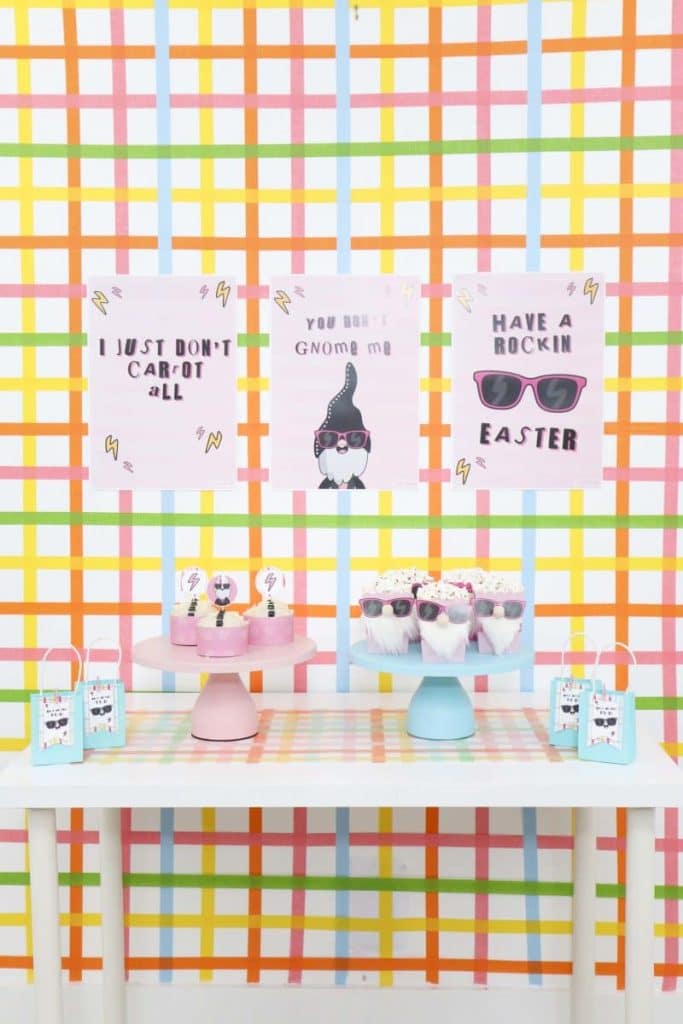
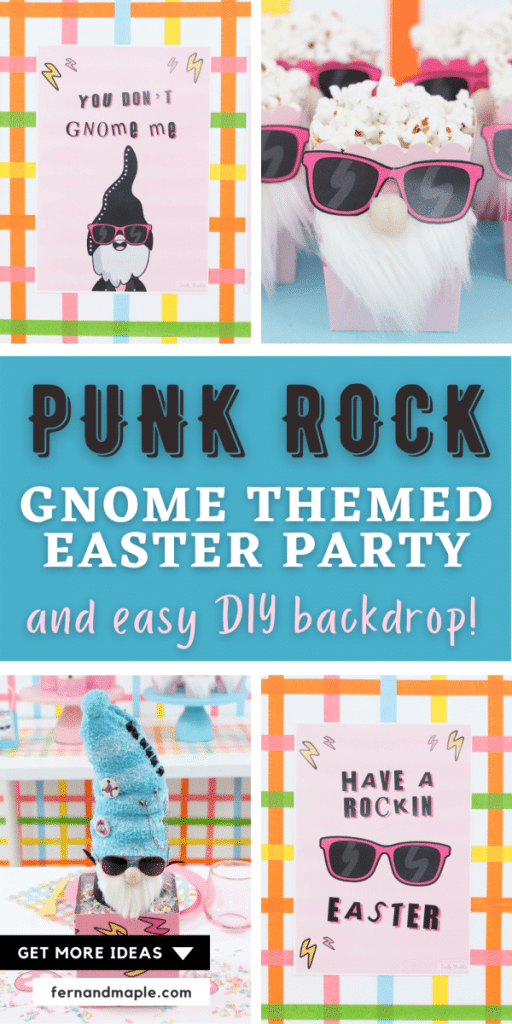
First, I created a fun colorful gingham plaid DIY backdrop using colored masking tape. Plaid is a punk rock clothing staple and I was inspired by colorful gingham Easter dessert plates and napkins that I found at Target. I thought the Spring colors would look fantastic as a larger version of it on my wall.
I started with the vertical lines in a repeating pattern of pink, orange, yellow and blue, using a ruler and a level to make sure the lines stayed mostly straight and evenly spaced out. Then, I repeated that same pattern, also equally spaced, in a horizontal direction over the top of the vertical lines. Voila! An amazing and colorful Easter backdrop.
Here is a quick video showing how I did it.
View this post on Instagram
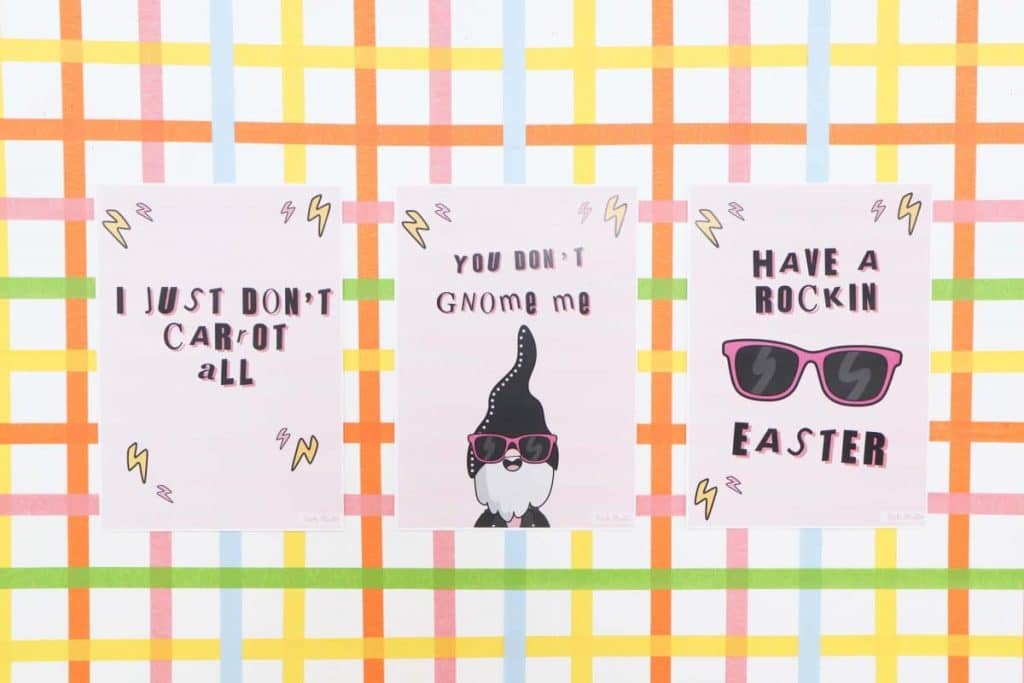
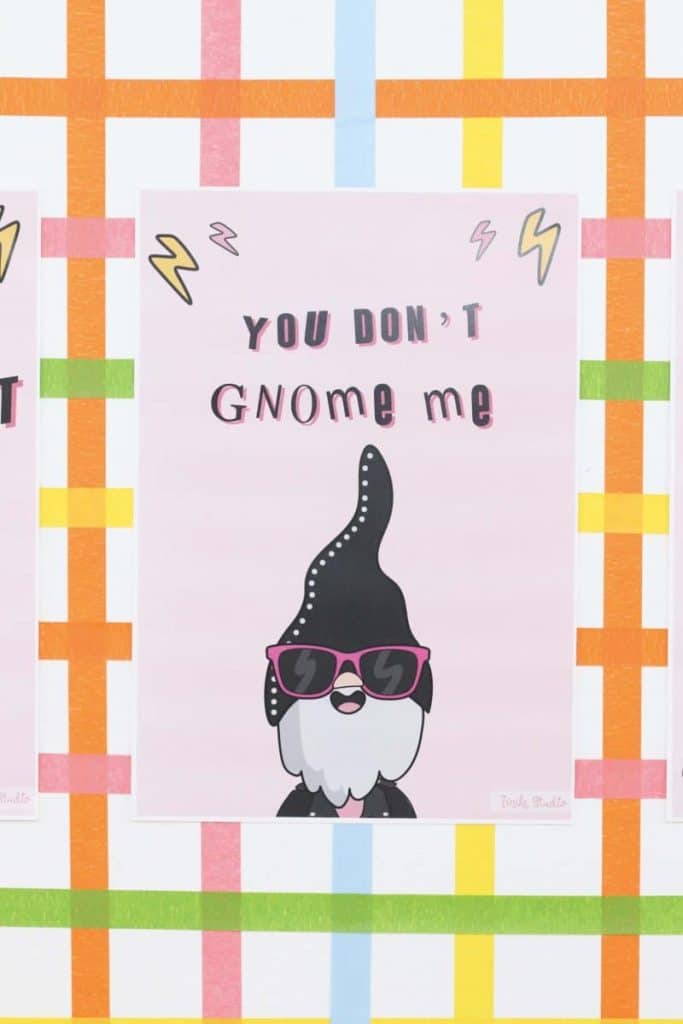
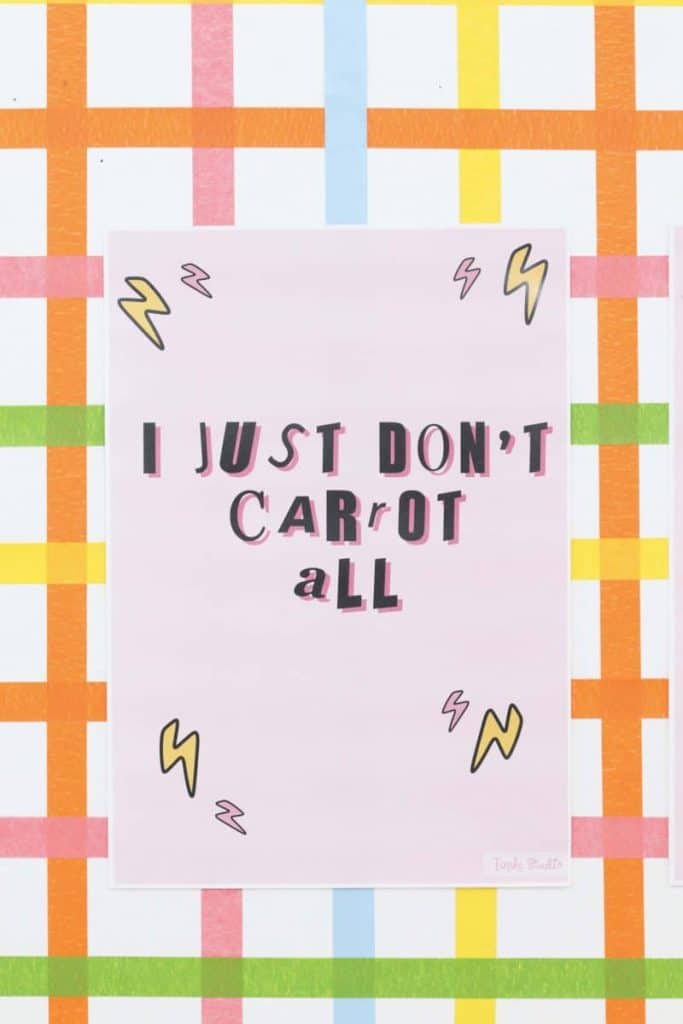
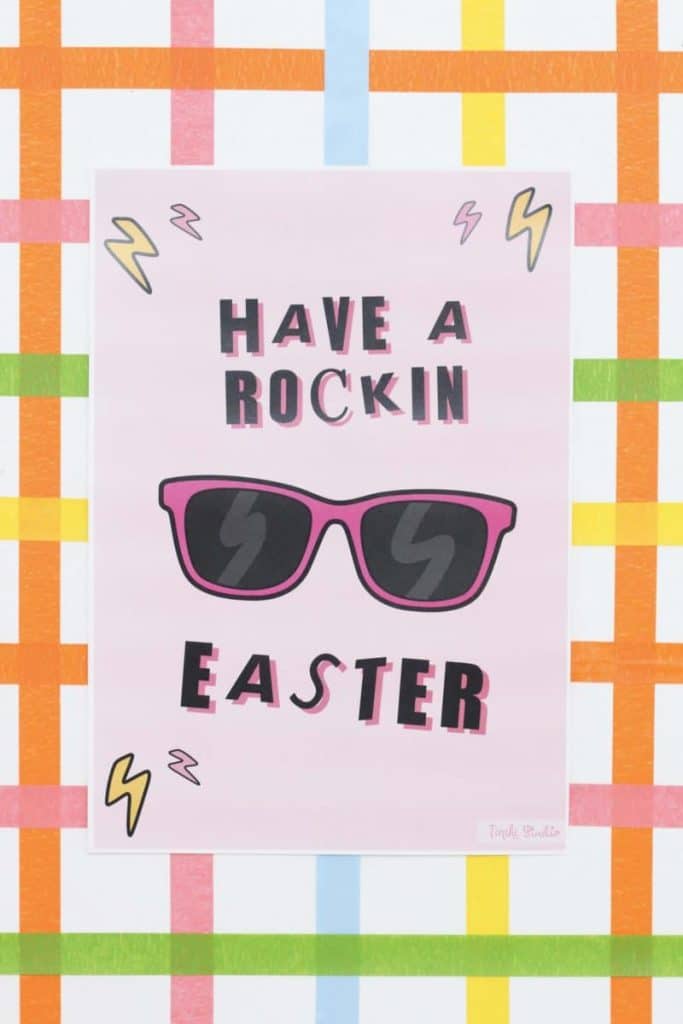
On top of the masking tape, I added three adorable custom printed Punk Rock Gnome Easter signs from Tiniki Studio. They combined three of my favorite things: gnomes, puns, and a bit of rebellious attitude!
Snack & Dessert Table
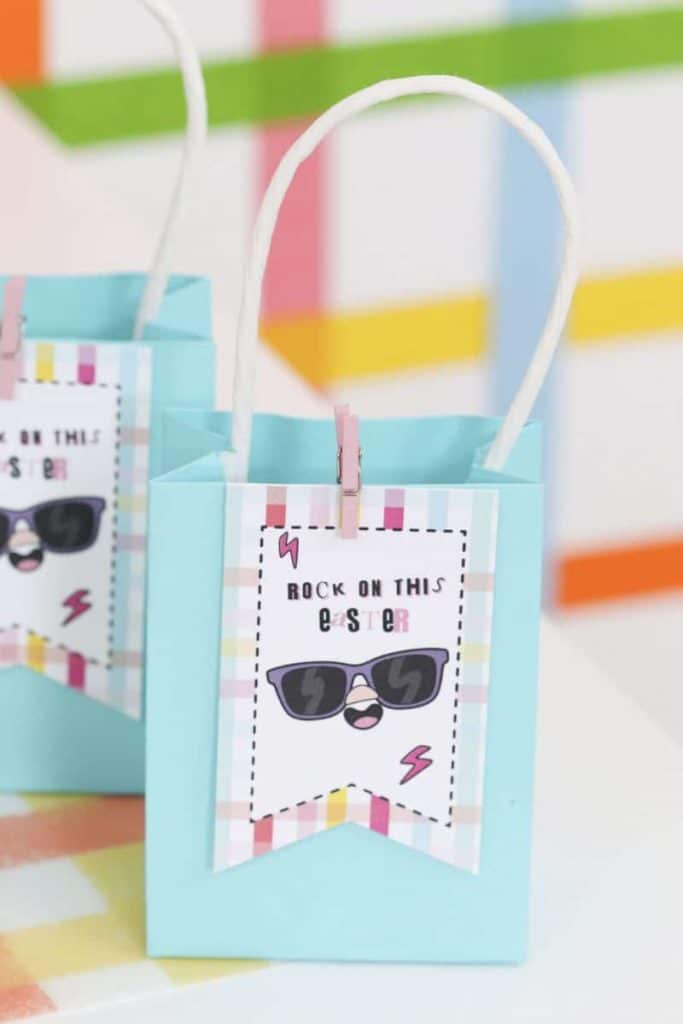
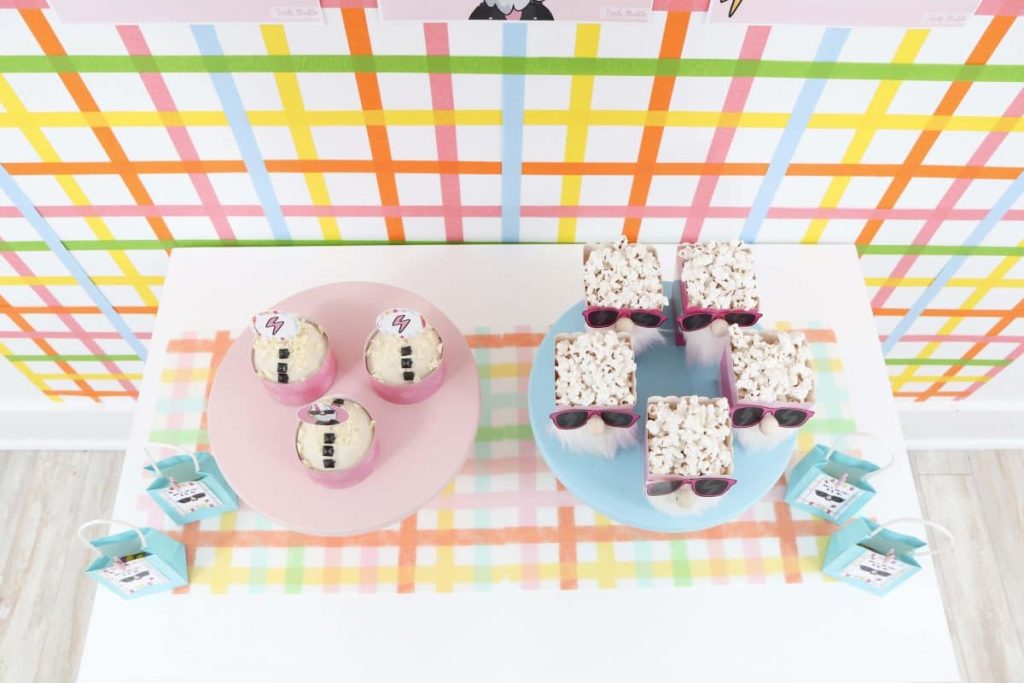
Underneath the backdrop, I set up my snack and dessert table. I used a white table and added a couple of wipe off colorful gingham placemats from the same range at Target. On top of these, I set out a pink and blue cake stand to elevate the food. I also added some punk rock gnome-labeled favor bags to each side of the table. These are filled with sweet Easter candies!
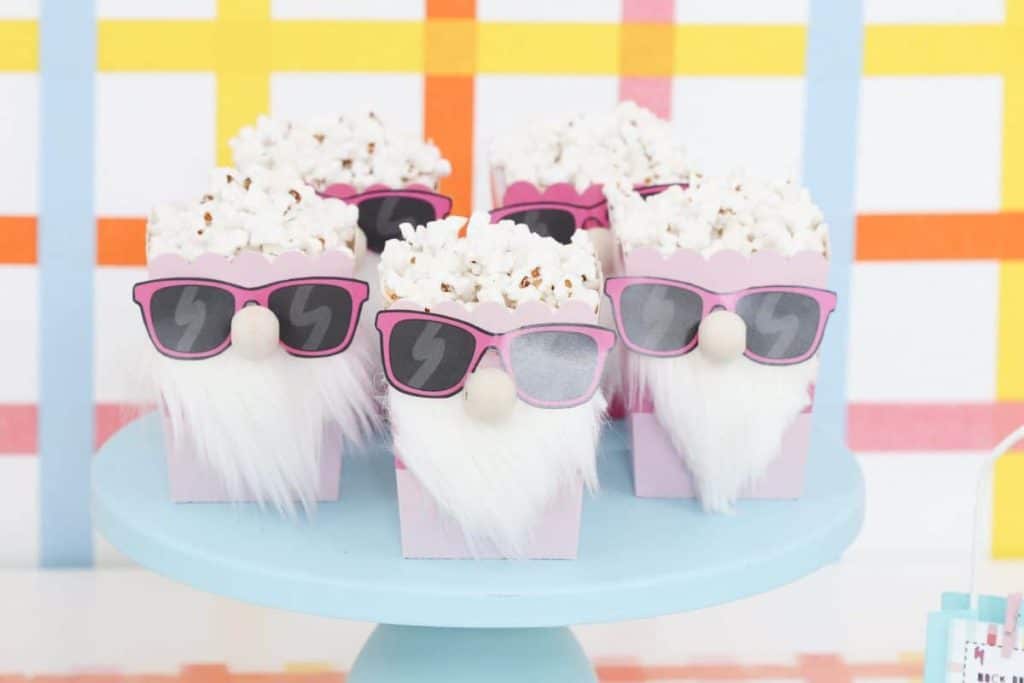
On one cake stand, I set out DIY punk rock gnome boxes filled with popcorn.
Here’s a video on how I created the DIY popcorn boxes:
View this post on Instagram
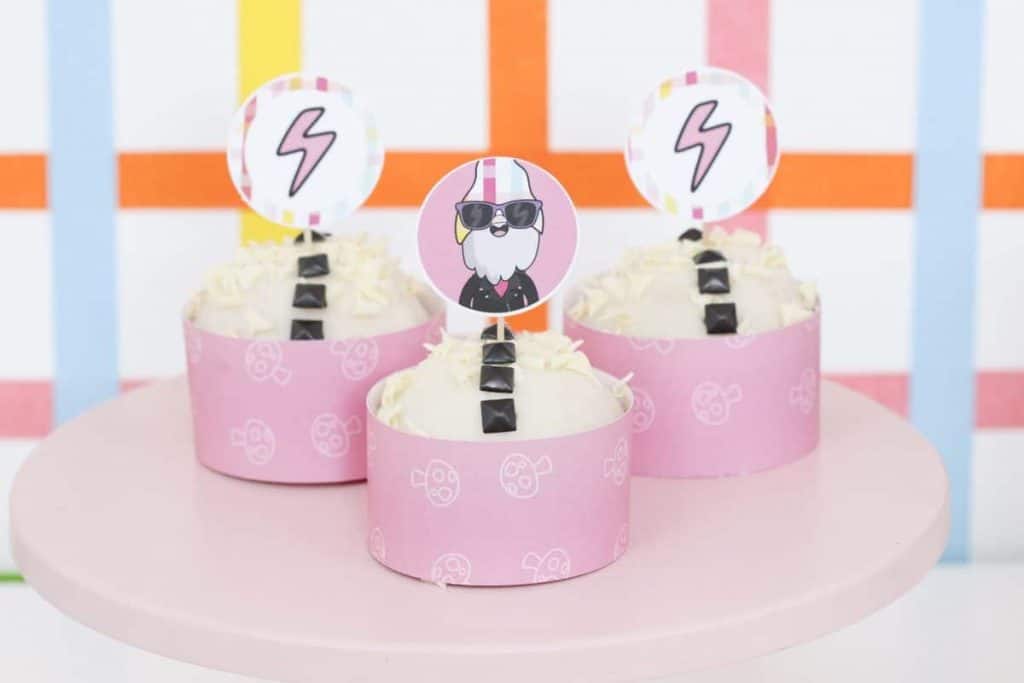
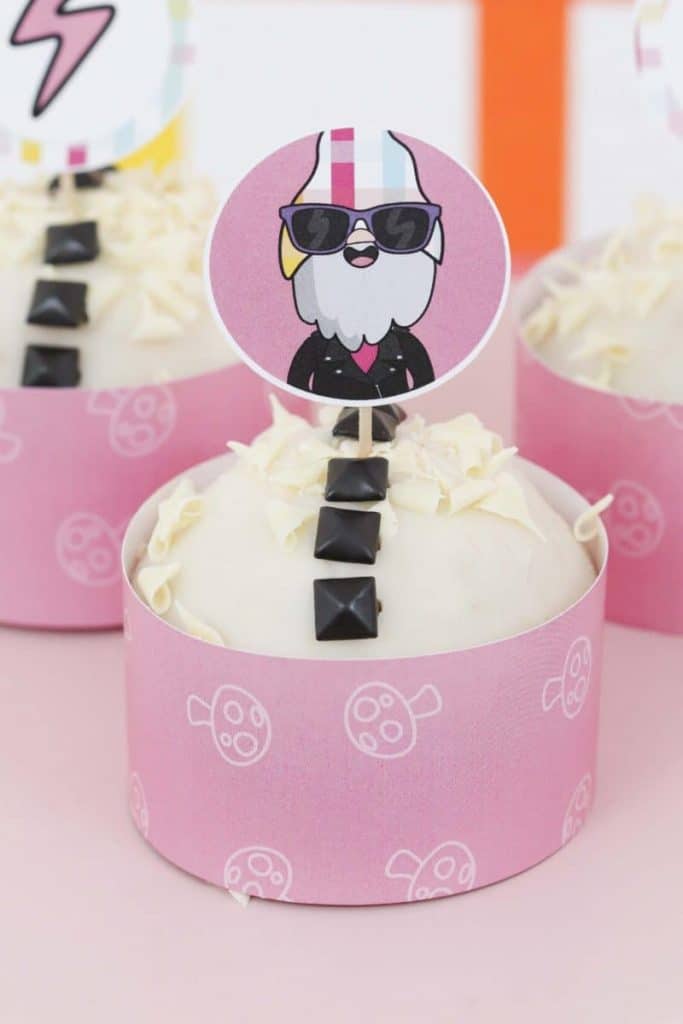
On the other, cupcakes in cute pink toadstool containers and topped with black studs and cute gnome and lighting bolt toppers.
Table Setting
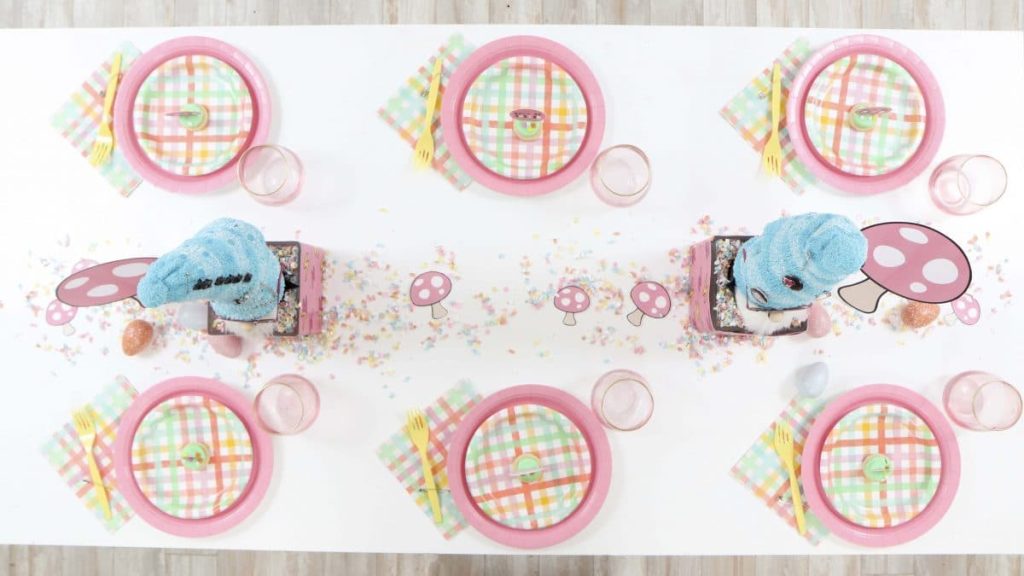
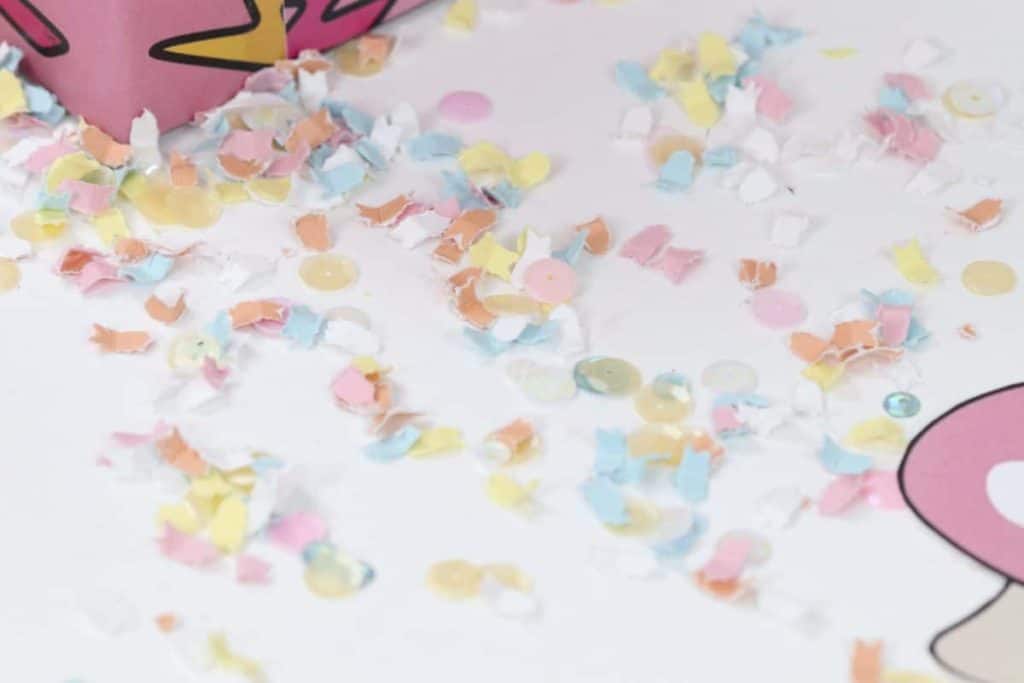
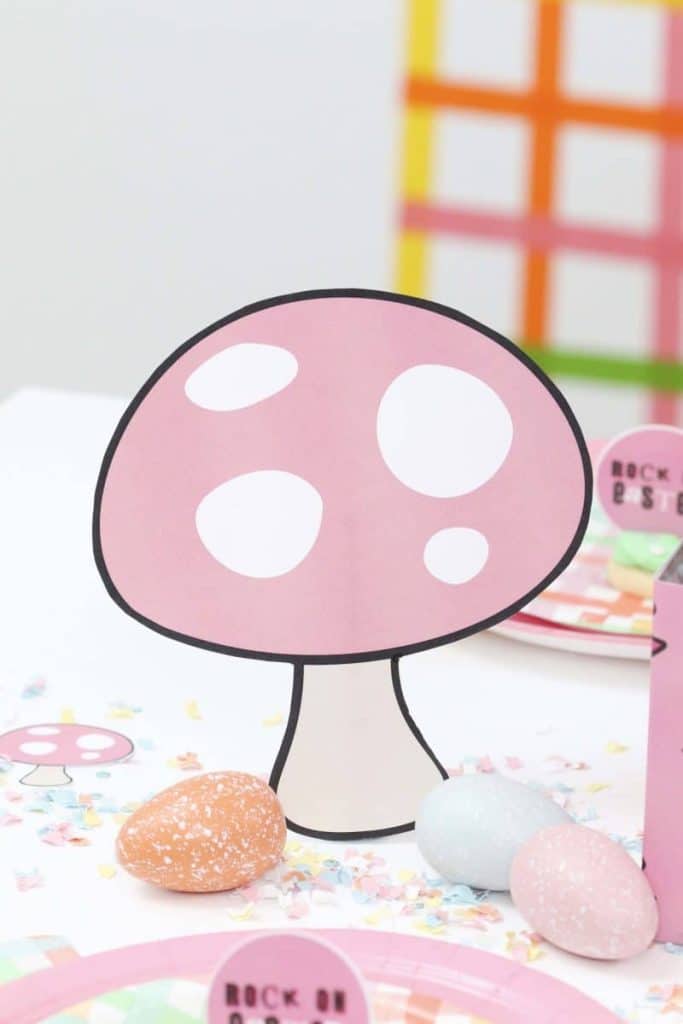
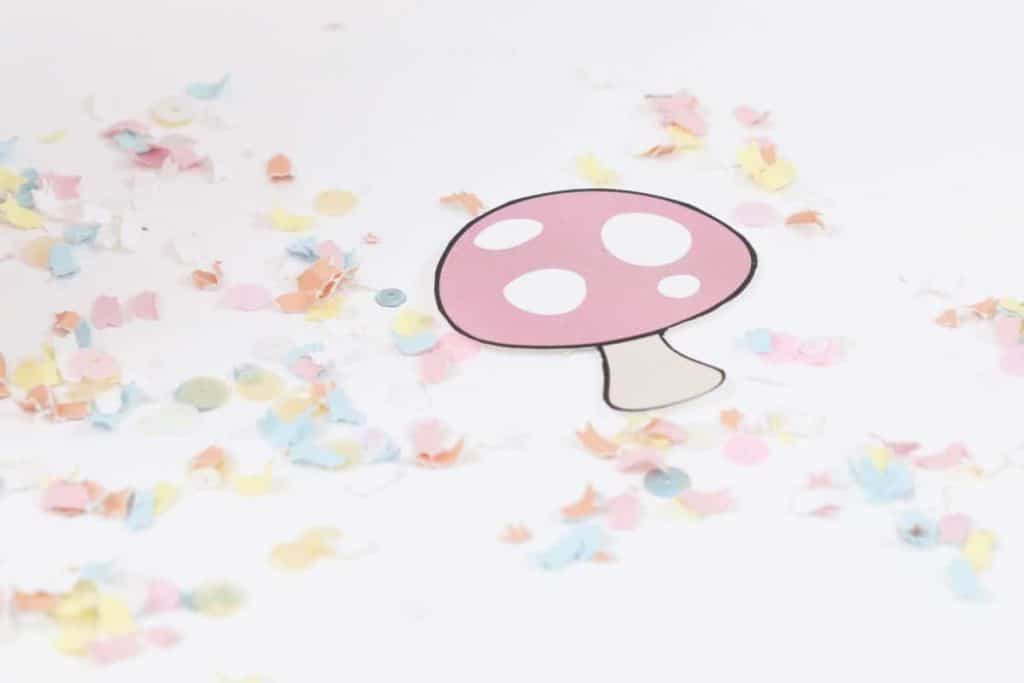
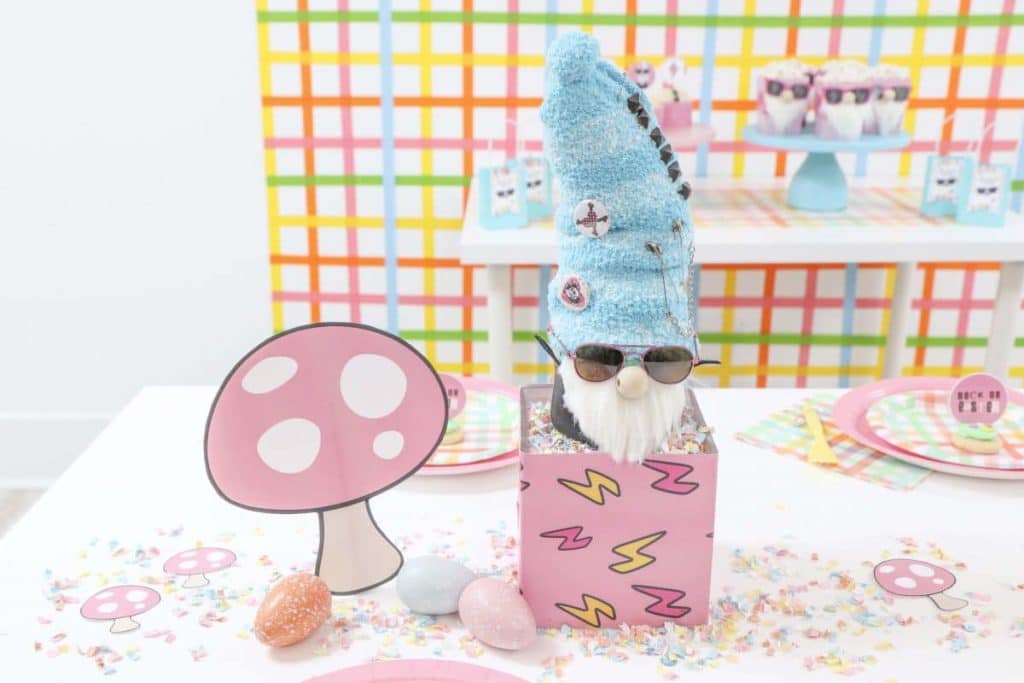
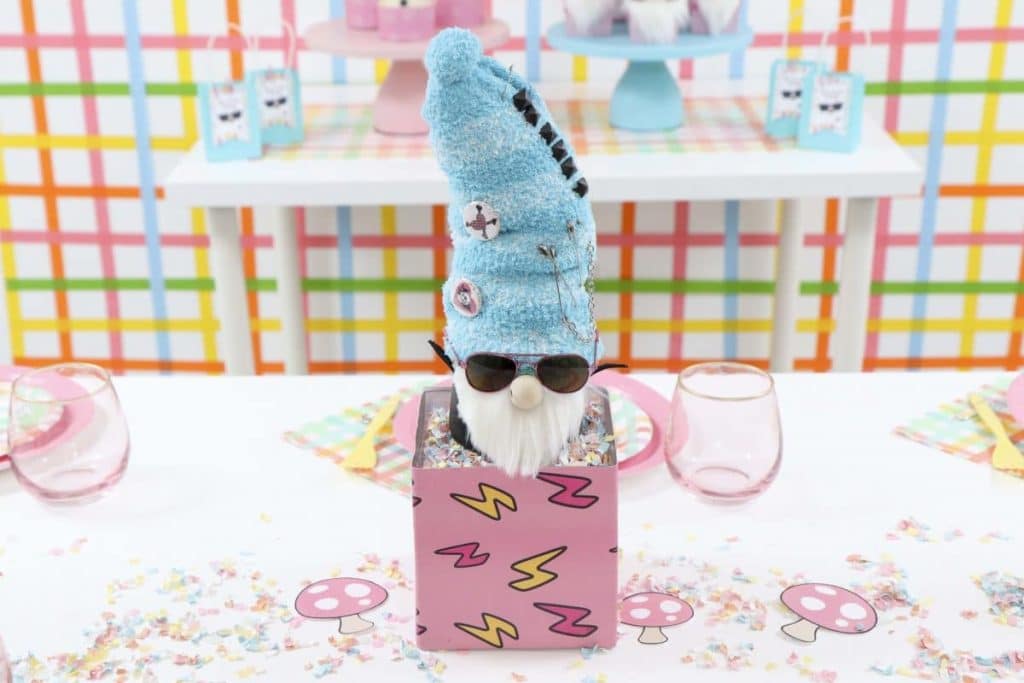
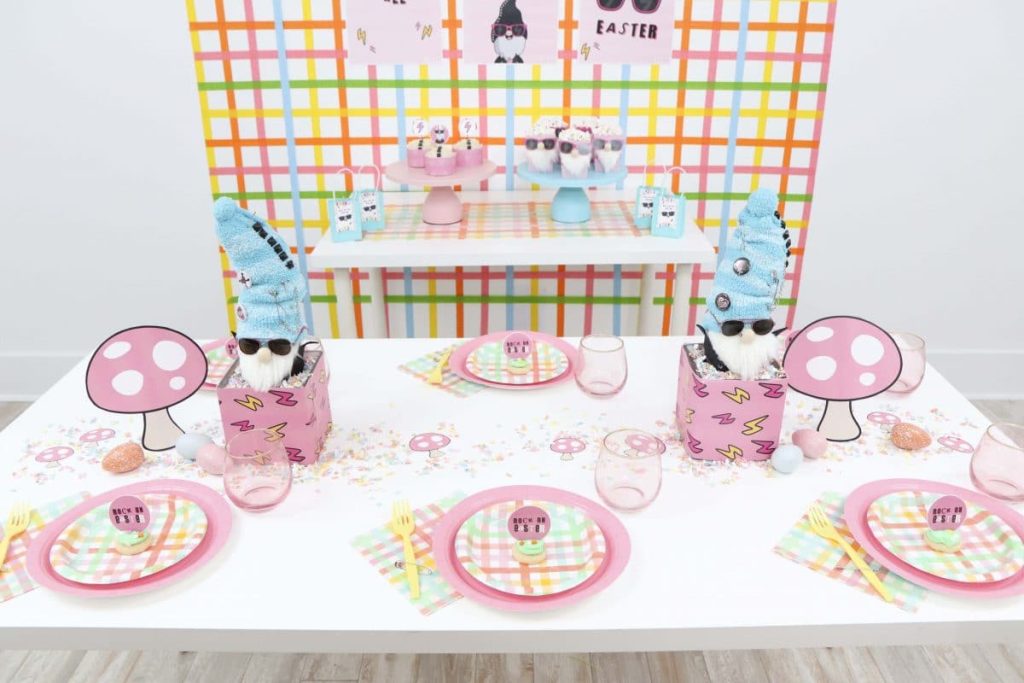
Next, I set my main table! I used a larger white table, and sprinkled pastel confetti from Festive Fetti across the center to create a fun runner.
I added a few pastel Easter eggs and some printed pink toadstools from the party printable pack.
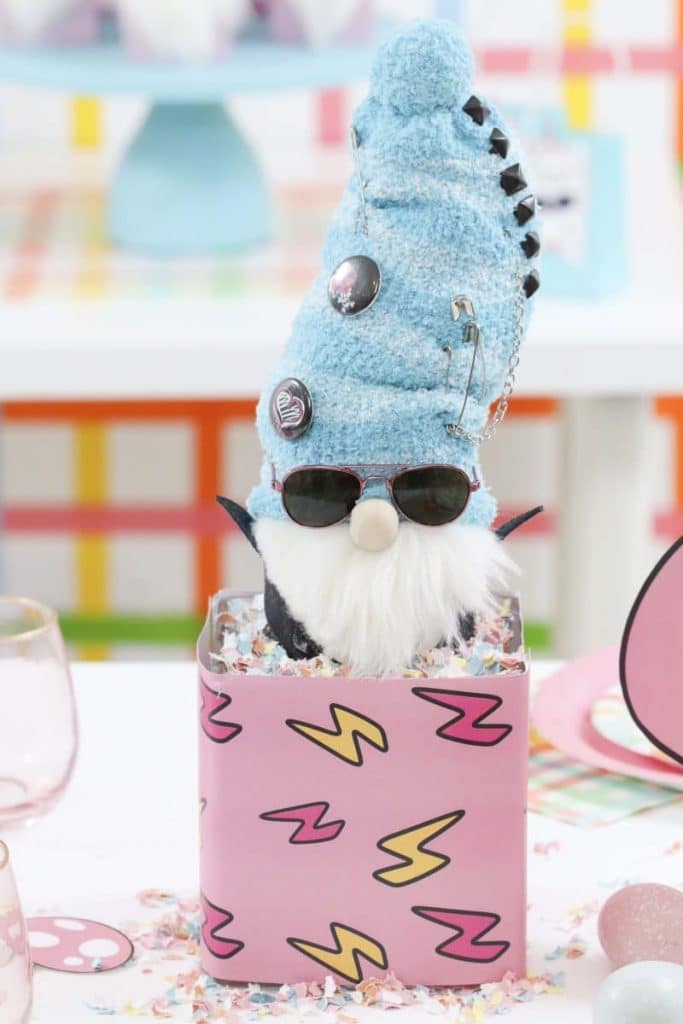
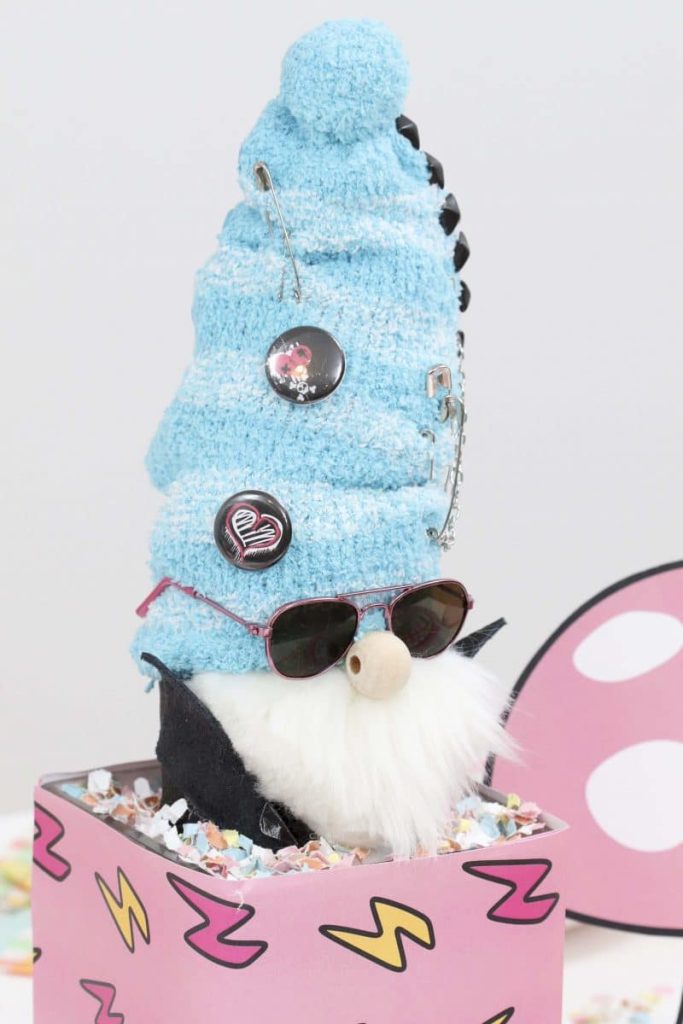
Plus, a couple of really cute and punk rock Gnome Centerpieces filled with more Festive Fetti confetti. Keep an eye out for a blog post coming soon with instructions for creating these rockin’ gnomes!
Place Settings
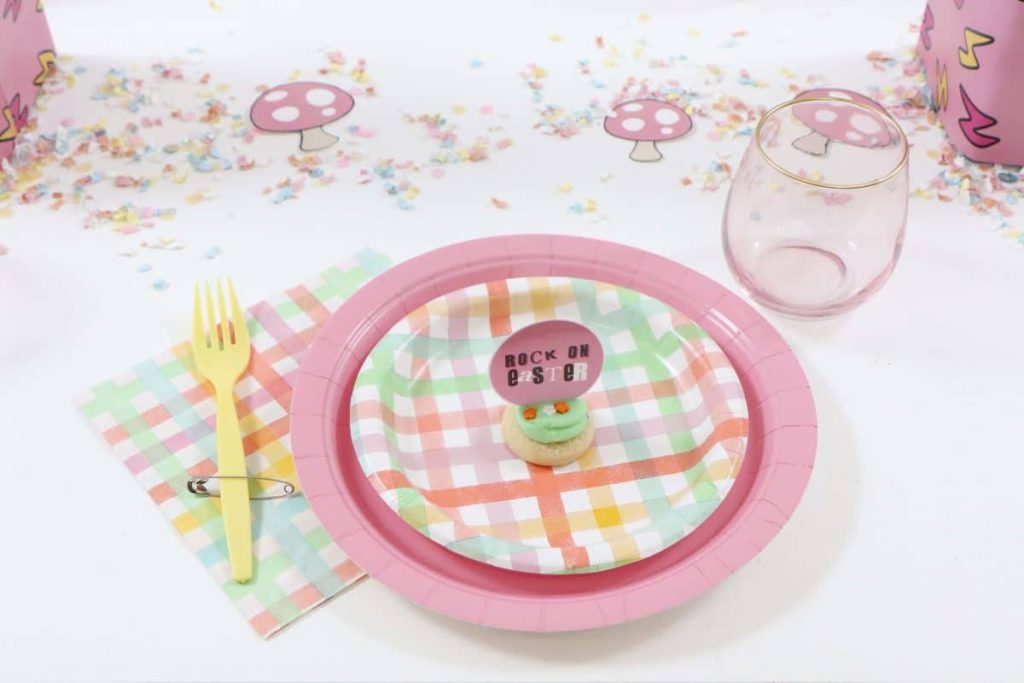
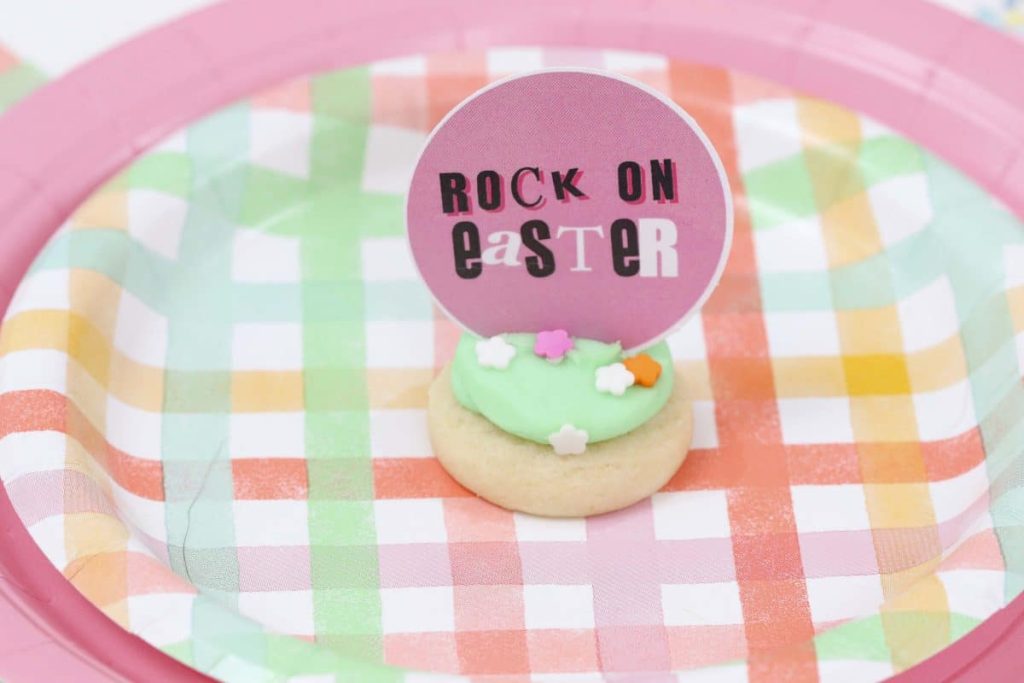
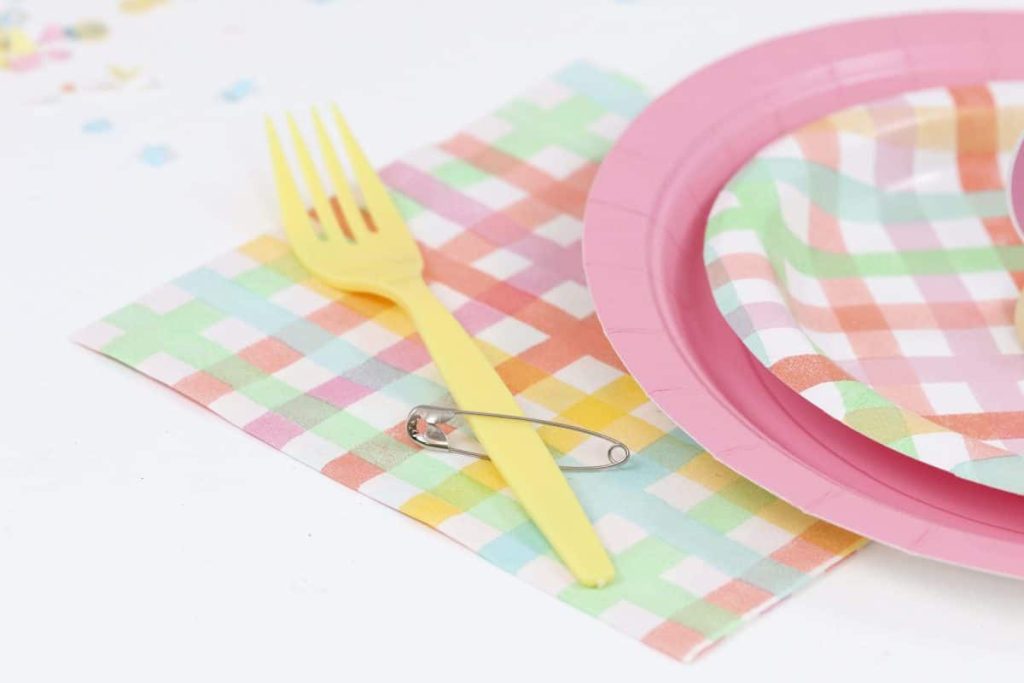
For my place settings, I layered the gingham Easter dessert plates on top of pink dinner plates. I added a gingham Easter napkin and a plastic yellow fork embellished with a safety pin – a symbol of punk rock rebellion. Finally, each place setting got a plastic pink wine glass and a cookie with a “Rock On Easter” topper.
Want to recreate this party too? Download the FREE printable party pack HERE. Be sure to tag Cris and I so we can see how you ROCK YOUR EASTER!!
And don’t forget to check out my Amazon shop for an easy list of some similar or alternative products to the ones I used for this party.
For more Easter party ideas, check out my recent post with 25 Easter Party Ideas for Kids and Adults!
Happy Rebelling!
As a blogger, I sometimes receive compensation and/or products in exchange for my styling and crafting services. I also may earn a small commission from any sales that result from affiliate links on this page. As always, all project ideas and any opinions expressed here are my own. For further information on our disclosure policy please check out our disclosure page.
PIN FOR LATER:







Leave a Reply