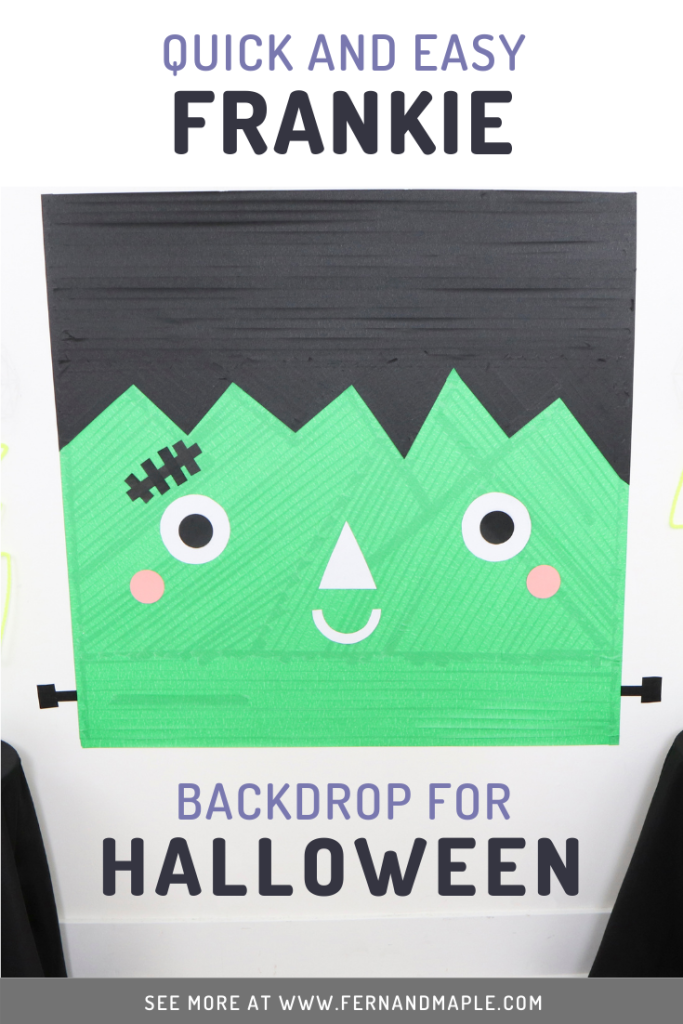
This Frankenstein Halloween party was inspired by a set of cute Frankie party plates. I found these at my local Fred Meyers supermarket. I fell in love with the cute little smiling face and used it as a template to create a giant backdrop. Your little monsters are sure to love this bright and super fun Frankie Halloween party backdrop.
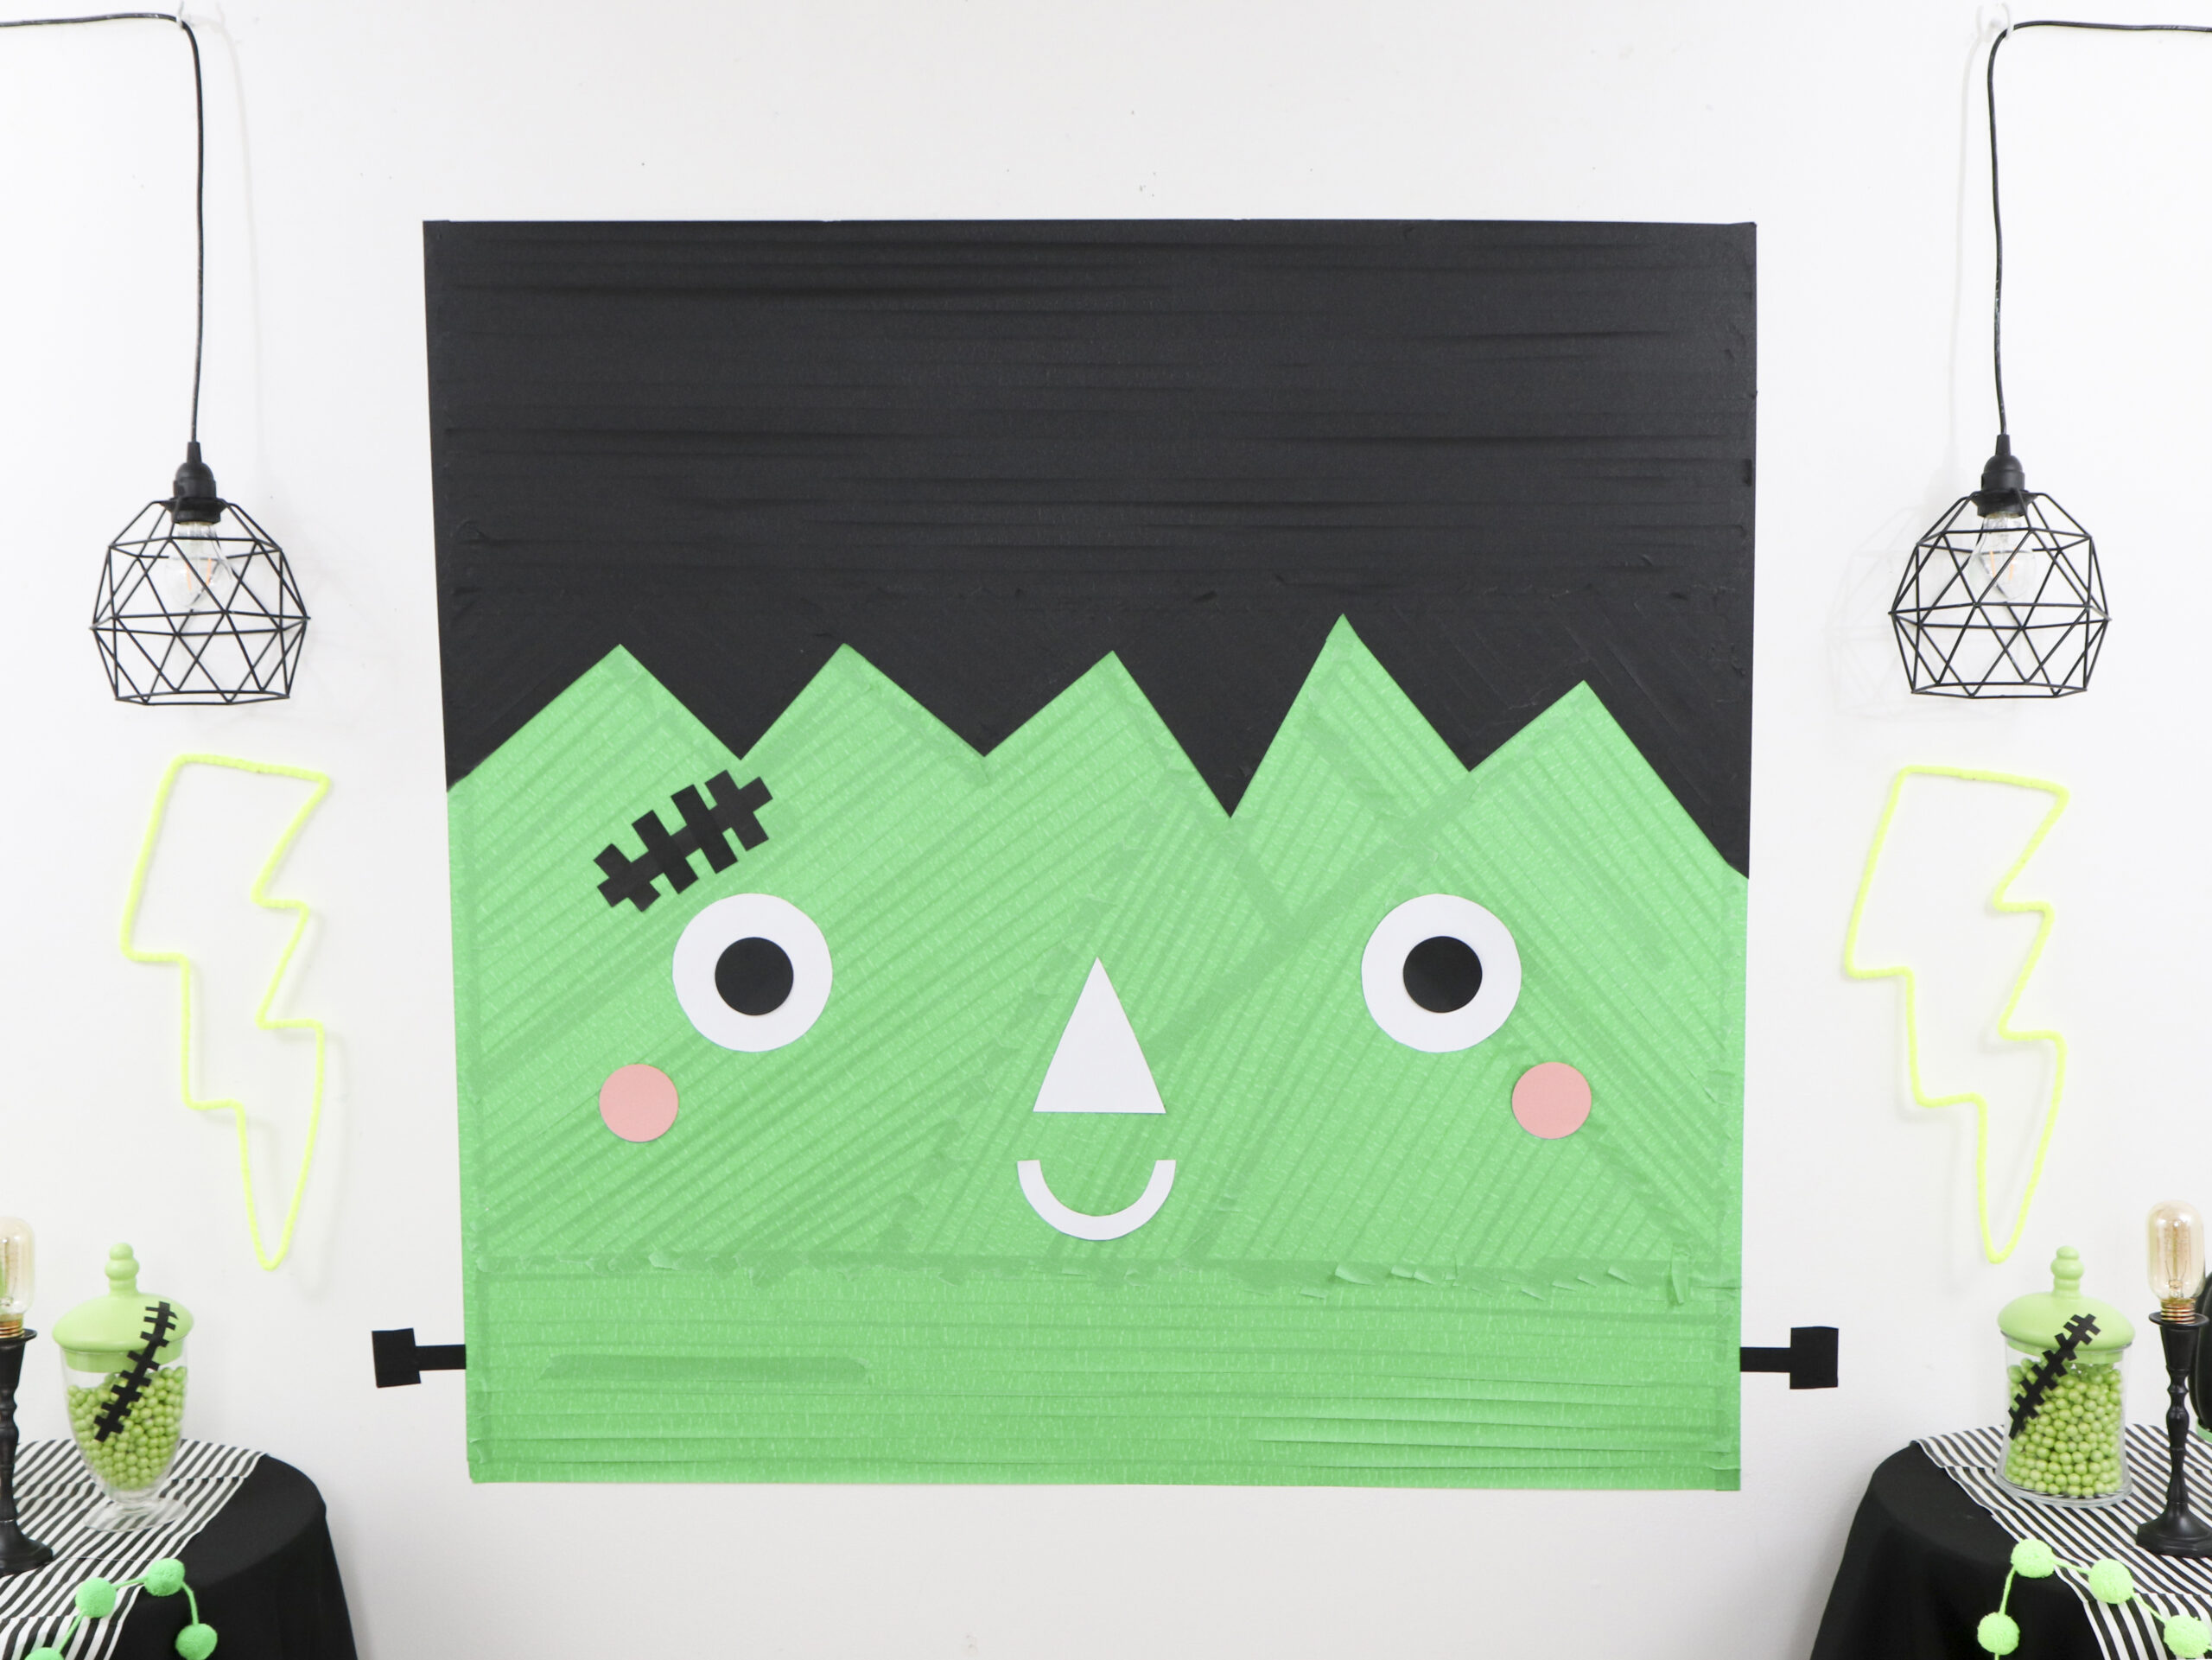
Better yet….not only is it super cute, it is also easy to create and very cost effective! All you need are the following supplies:
- One roll of black masking tape
- One roll of green masking tape
- 2 sheets of white card stock or sticker paper
- 1 sheet of pink card stock
- 1 sheet of black card stock
Now follow this easy tutorial to learn how to create this fun Frankie backdrop that will set the stage for your kid-friendly Frankenstein themed Halloween party.
How to Create a Frankenstein Backdrop – STEP 1
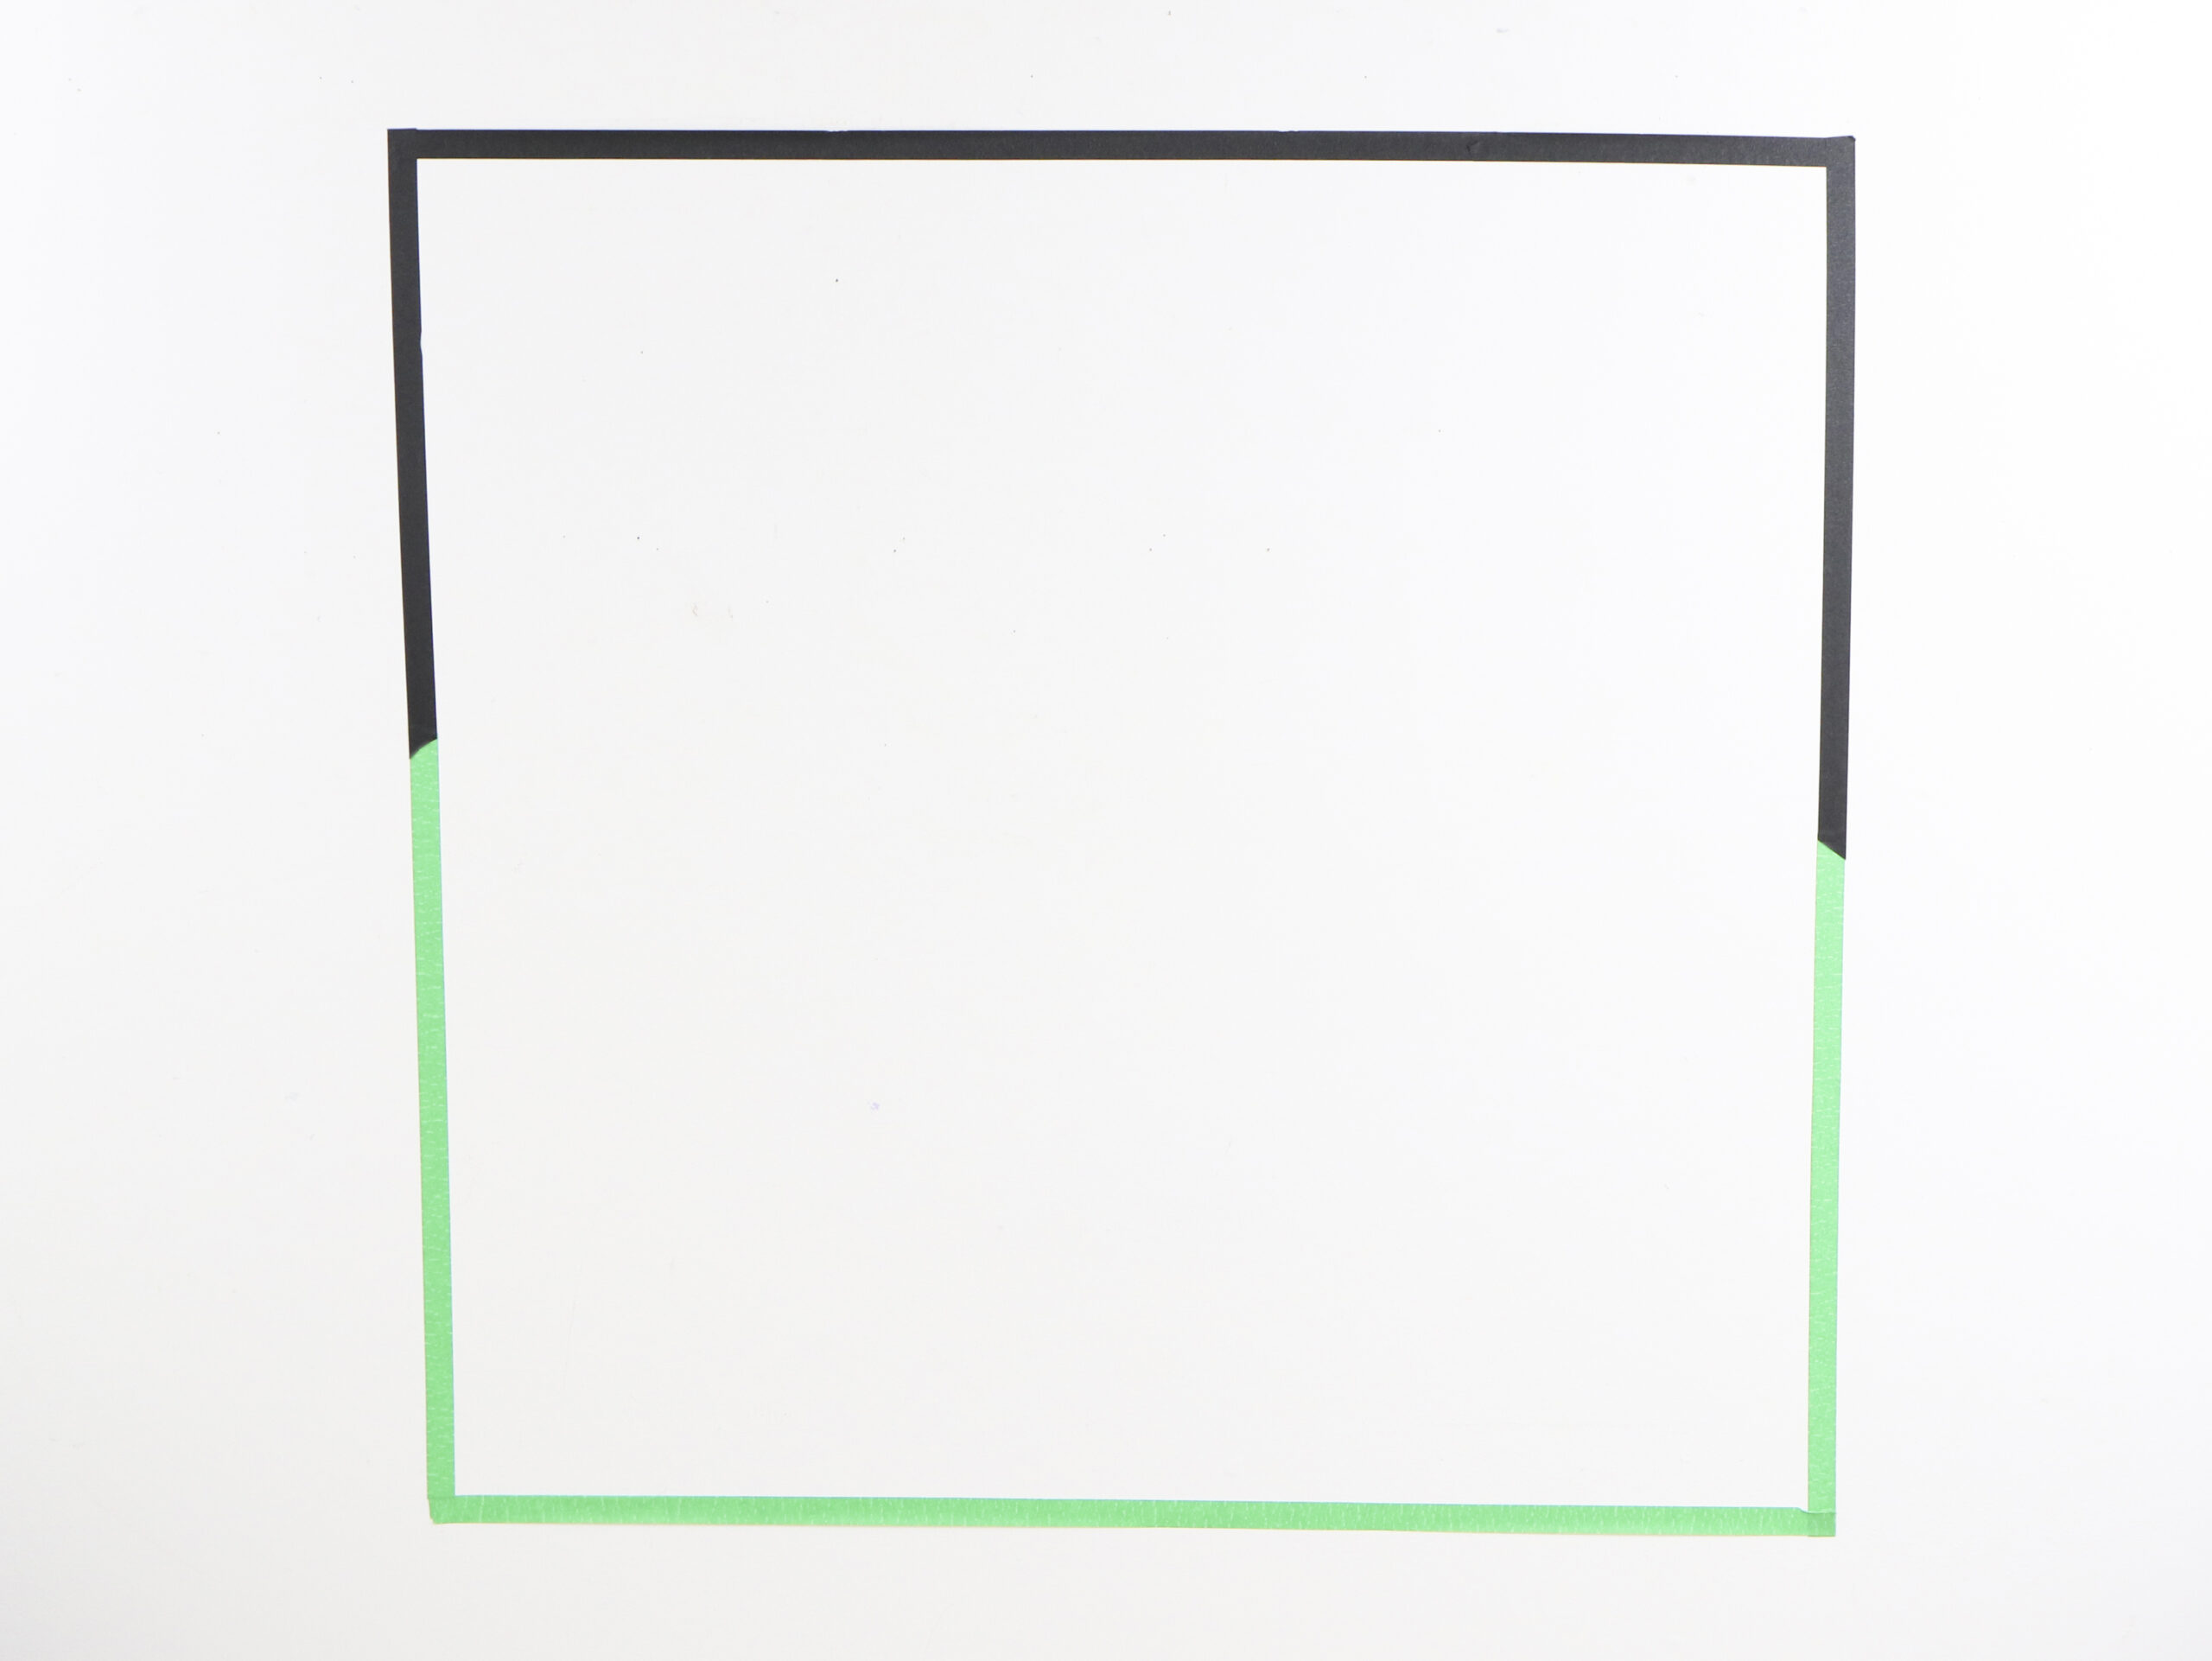
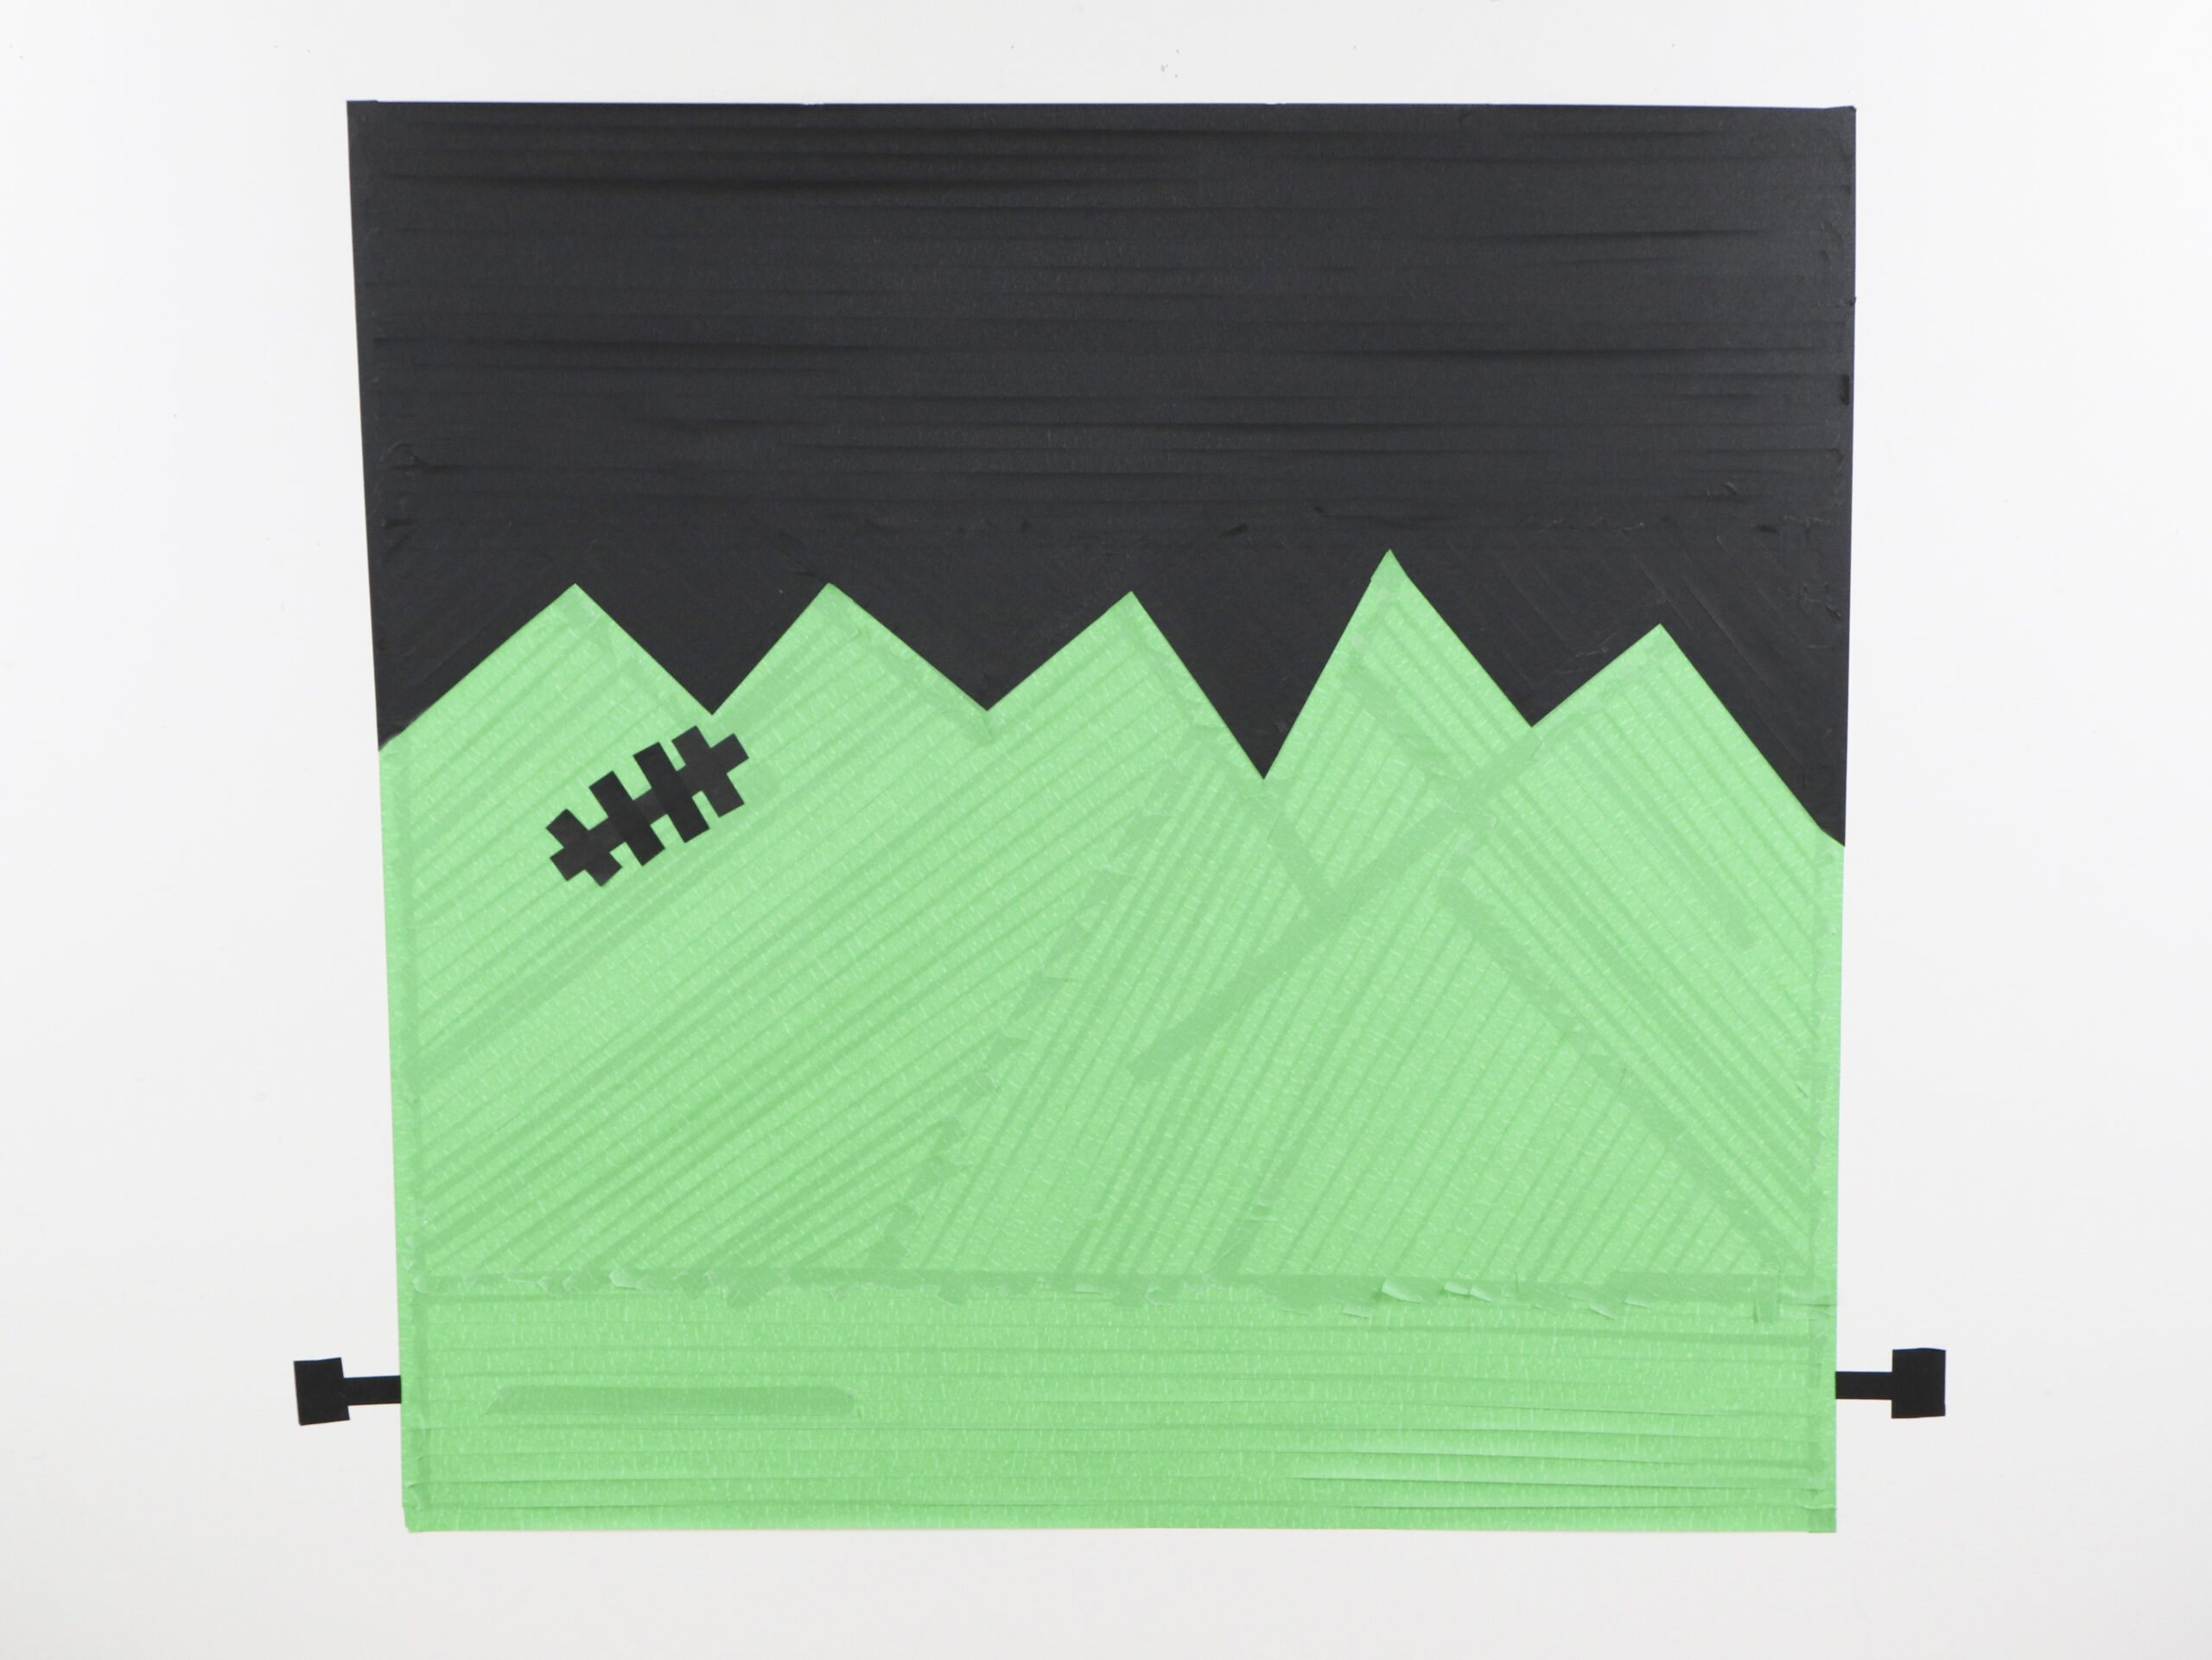
Measure out a (make a small mark for each corner) large square onto your wall (size to fit the wall & space). Connect the square with black masking tape on the top half and green on the bottom.
Note: The strips of black/green on the sides do not need to be the same length.
STEP 2
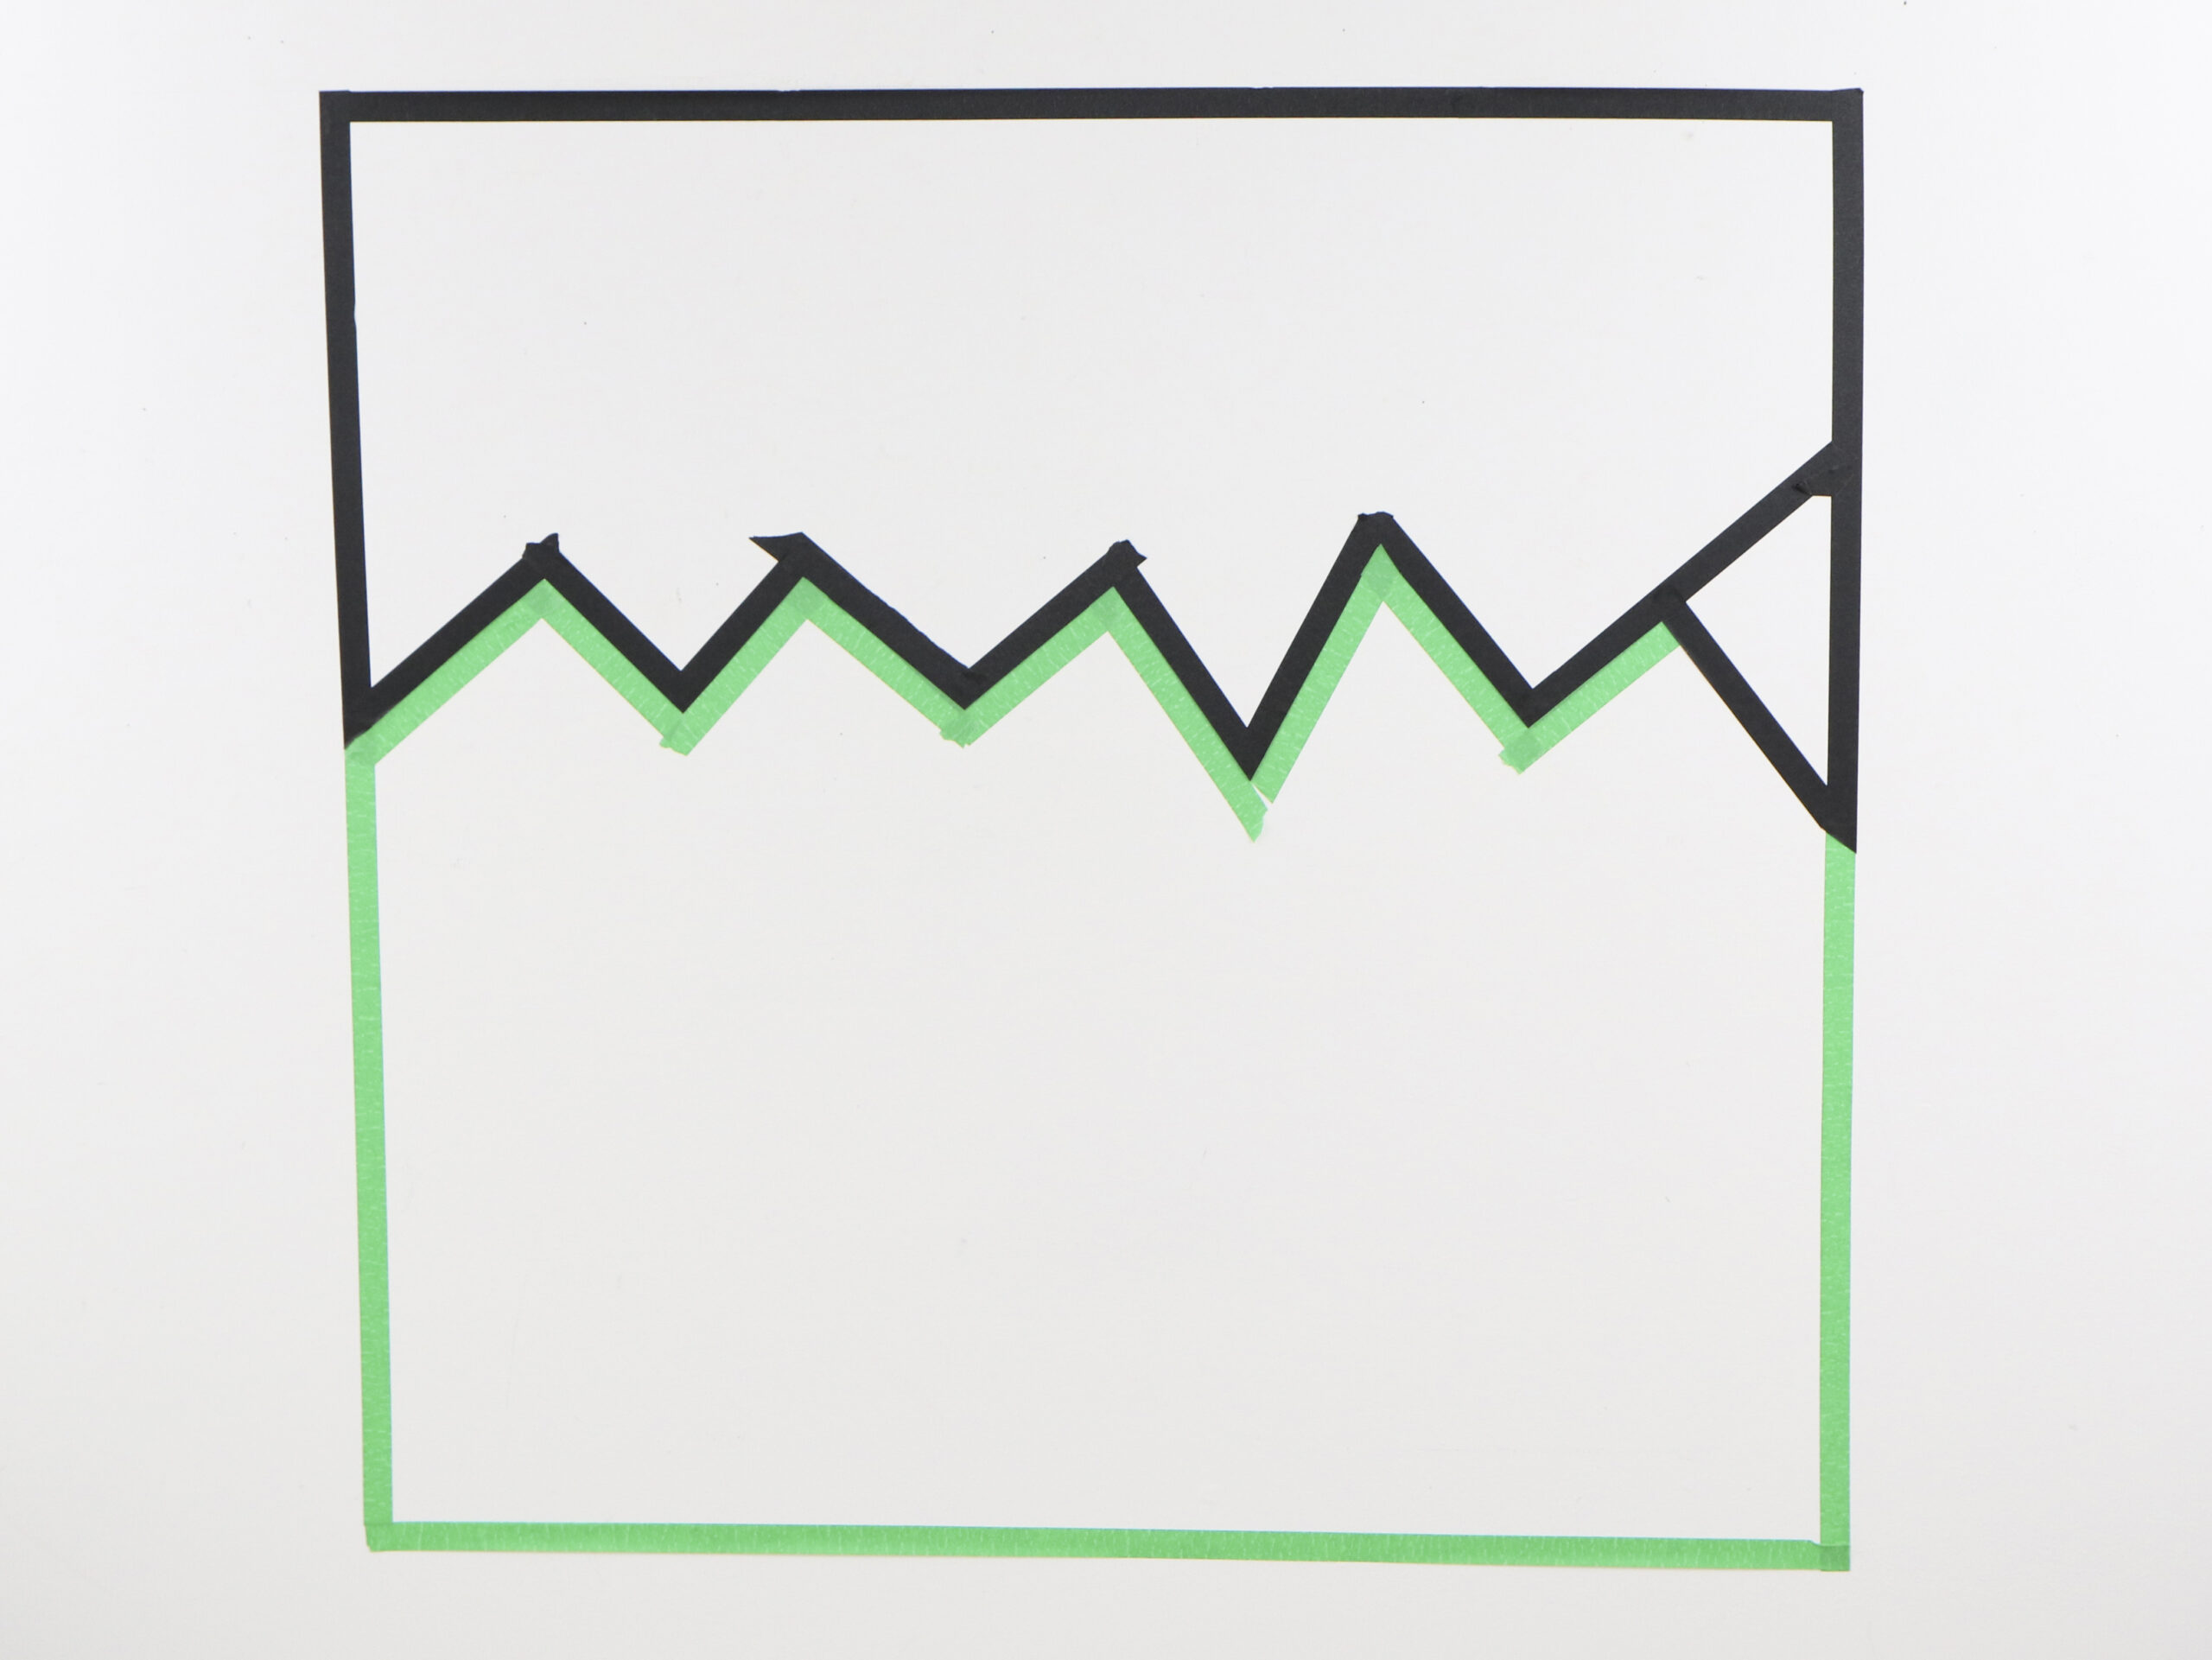
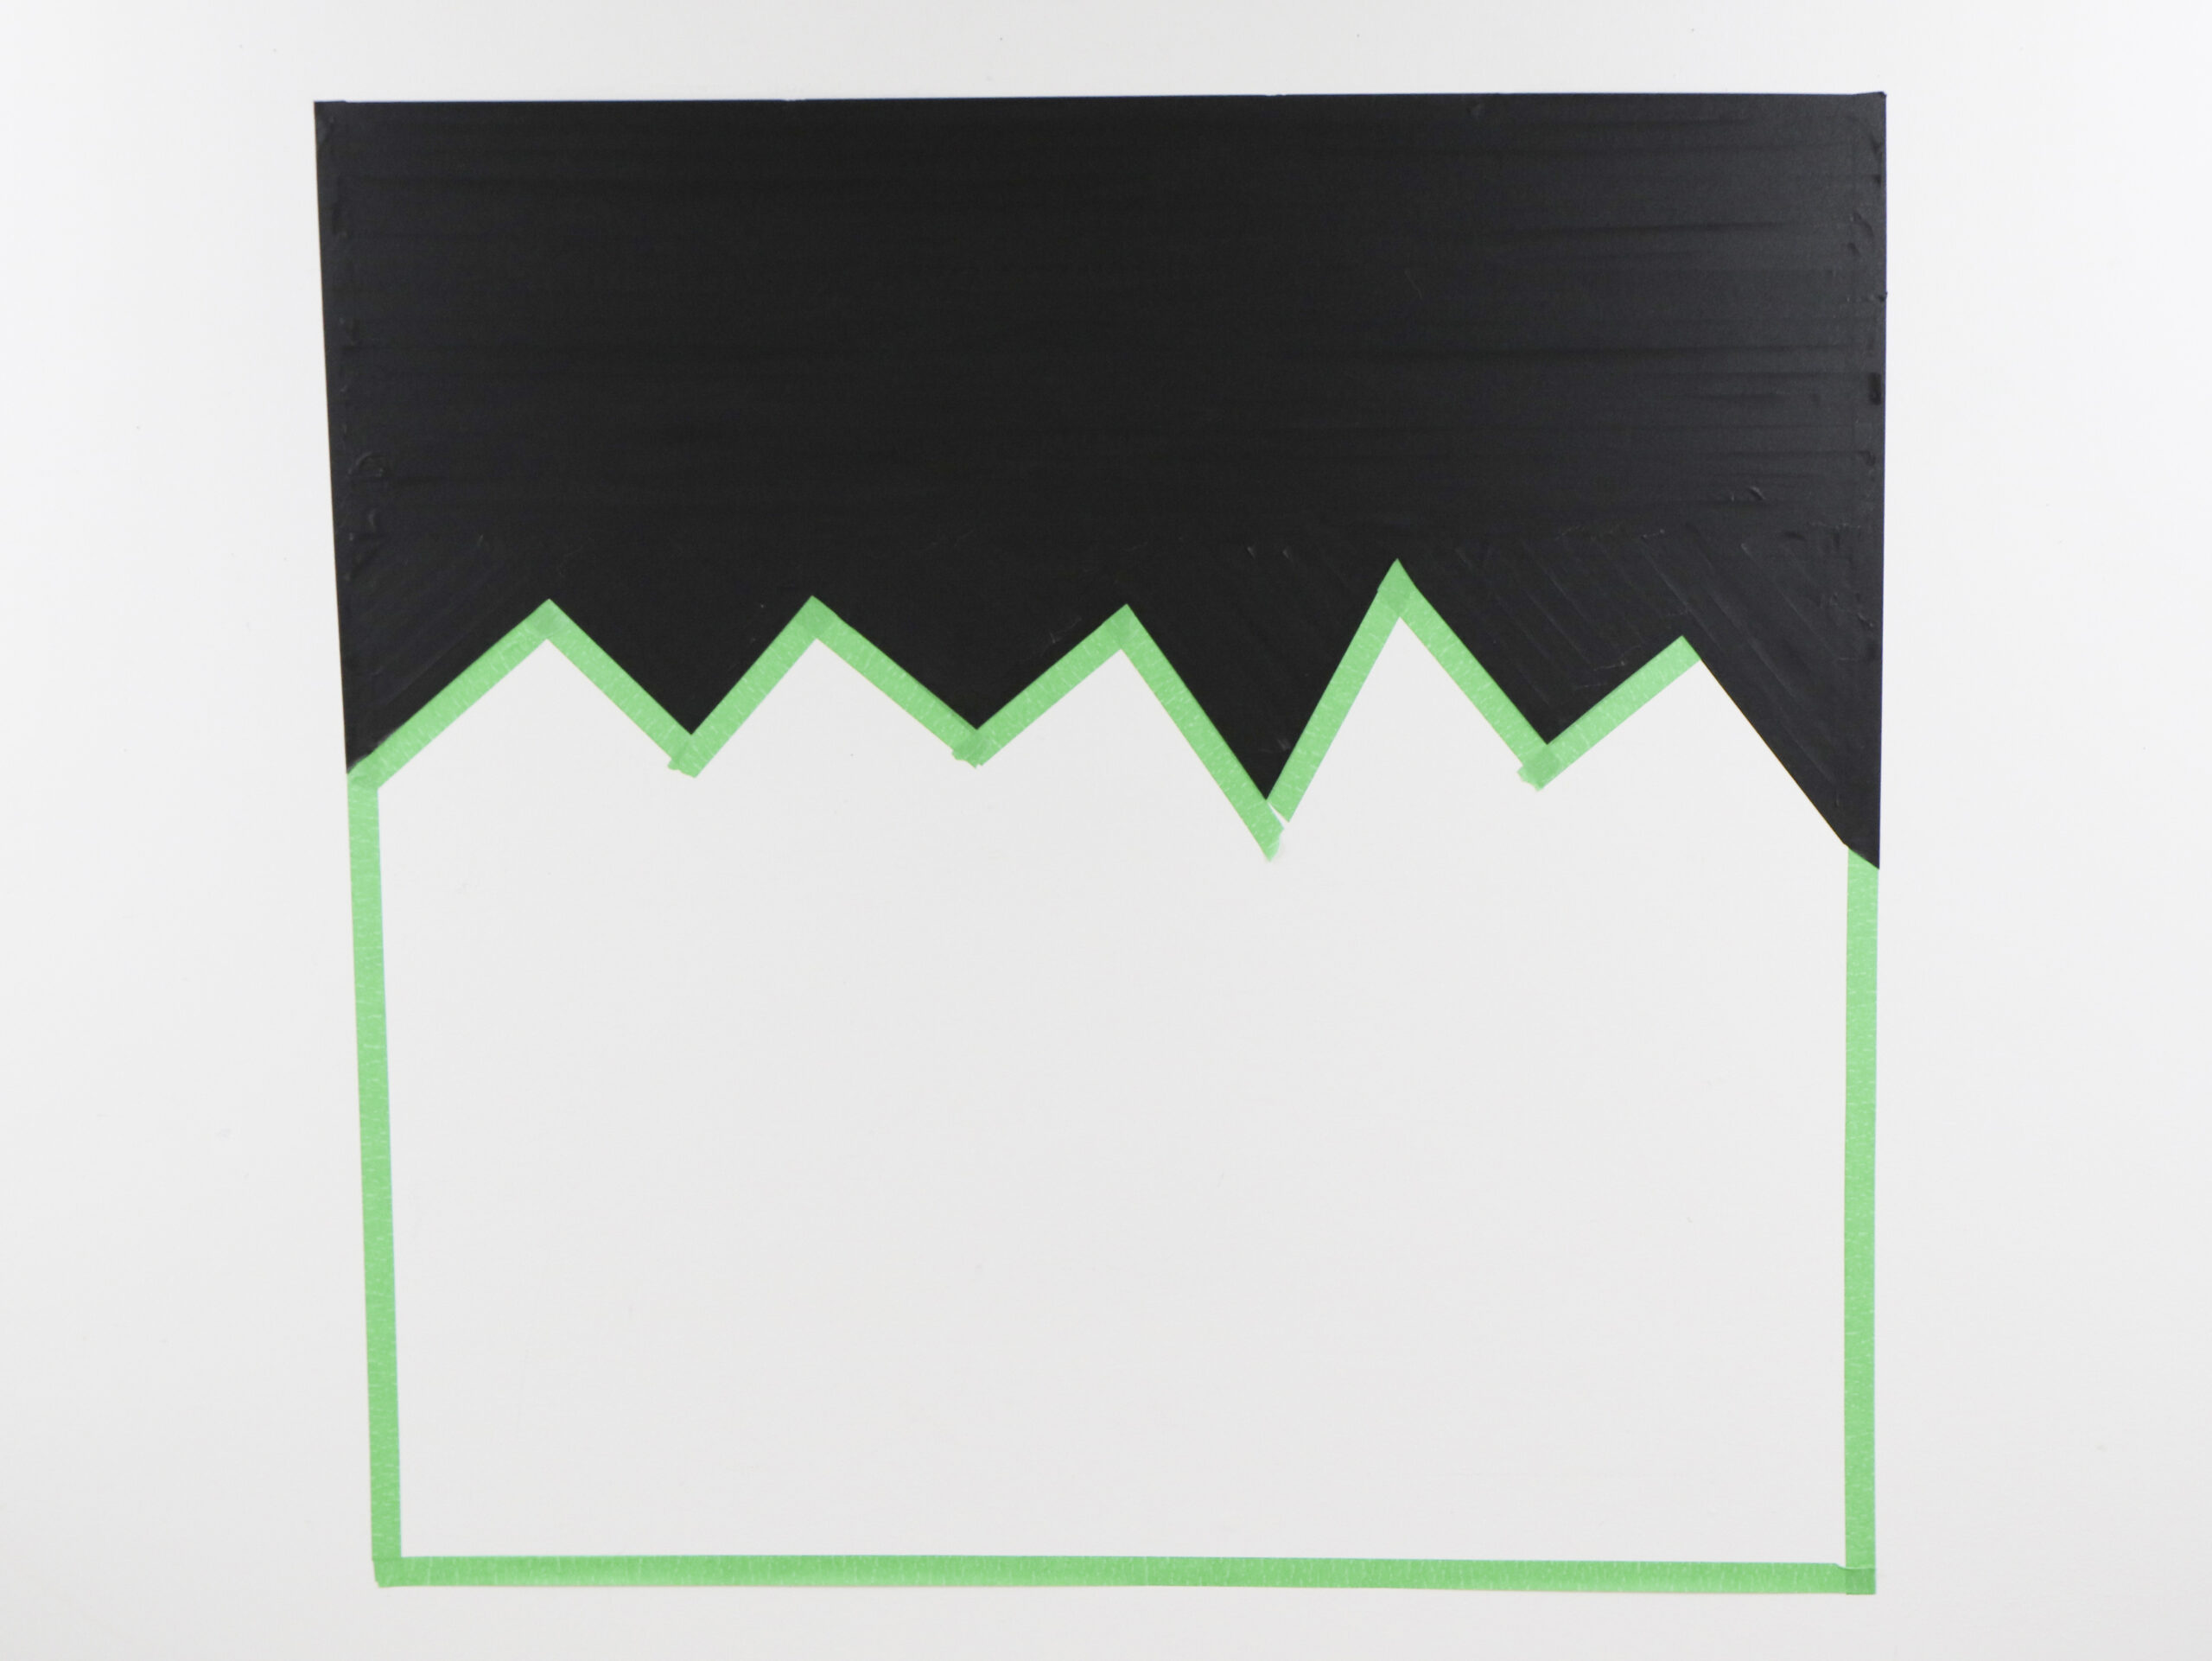
Next create a zig zag hairline with the black masking tape, creating a border for Frankie’s hair. Follow the black line with green masking tape to create a border for Frankie’s face. .
STEP 3
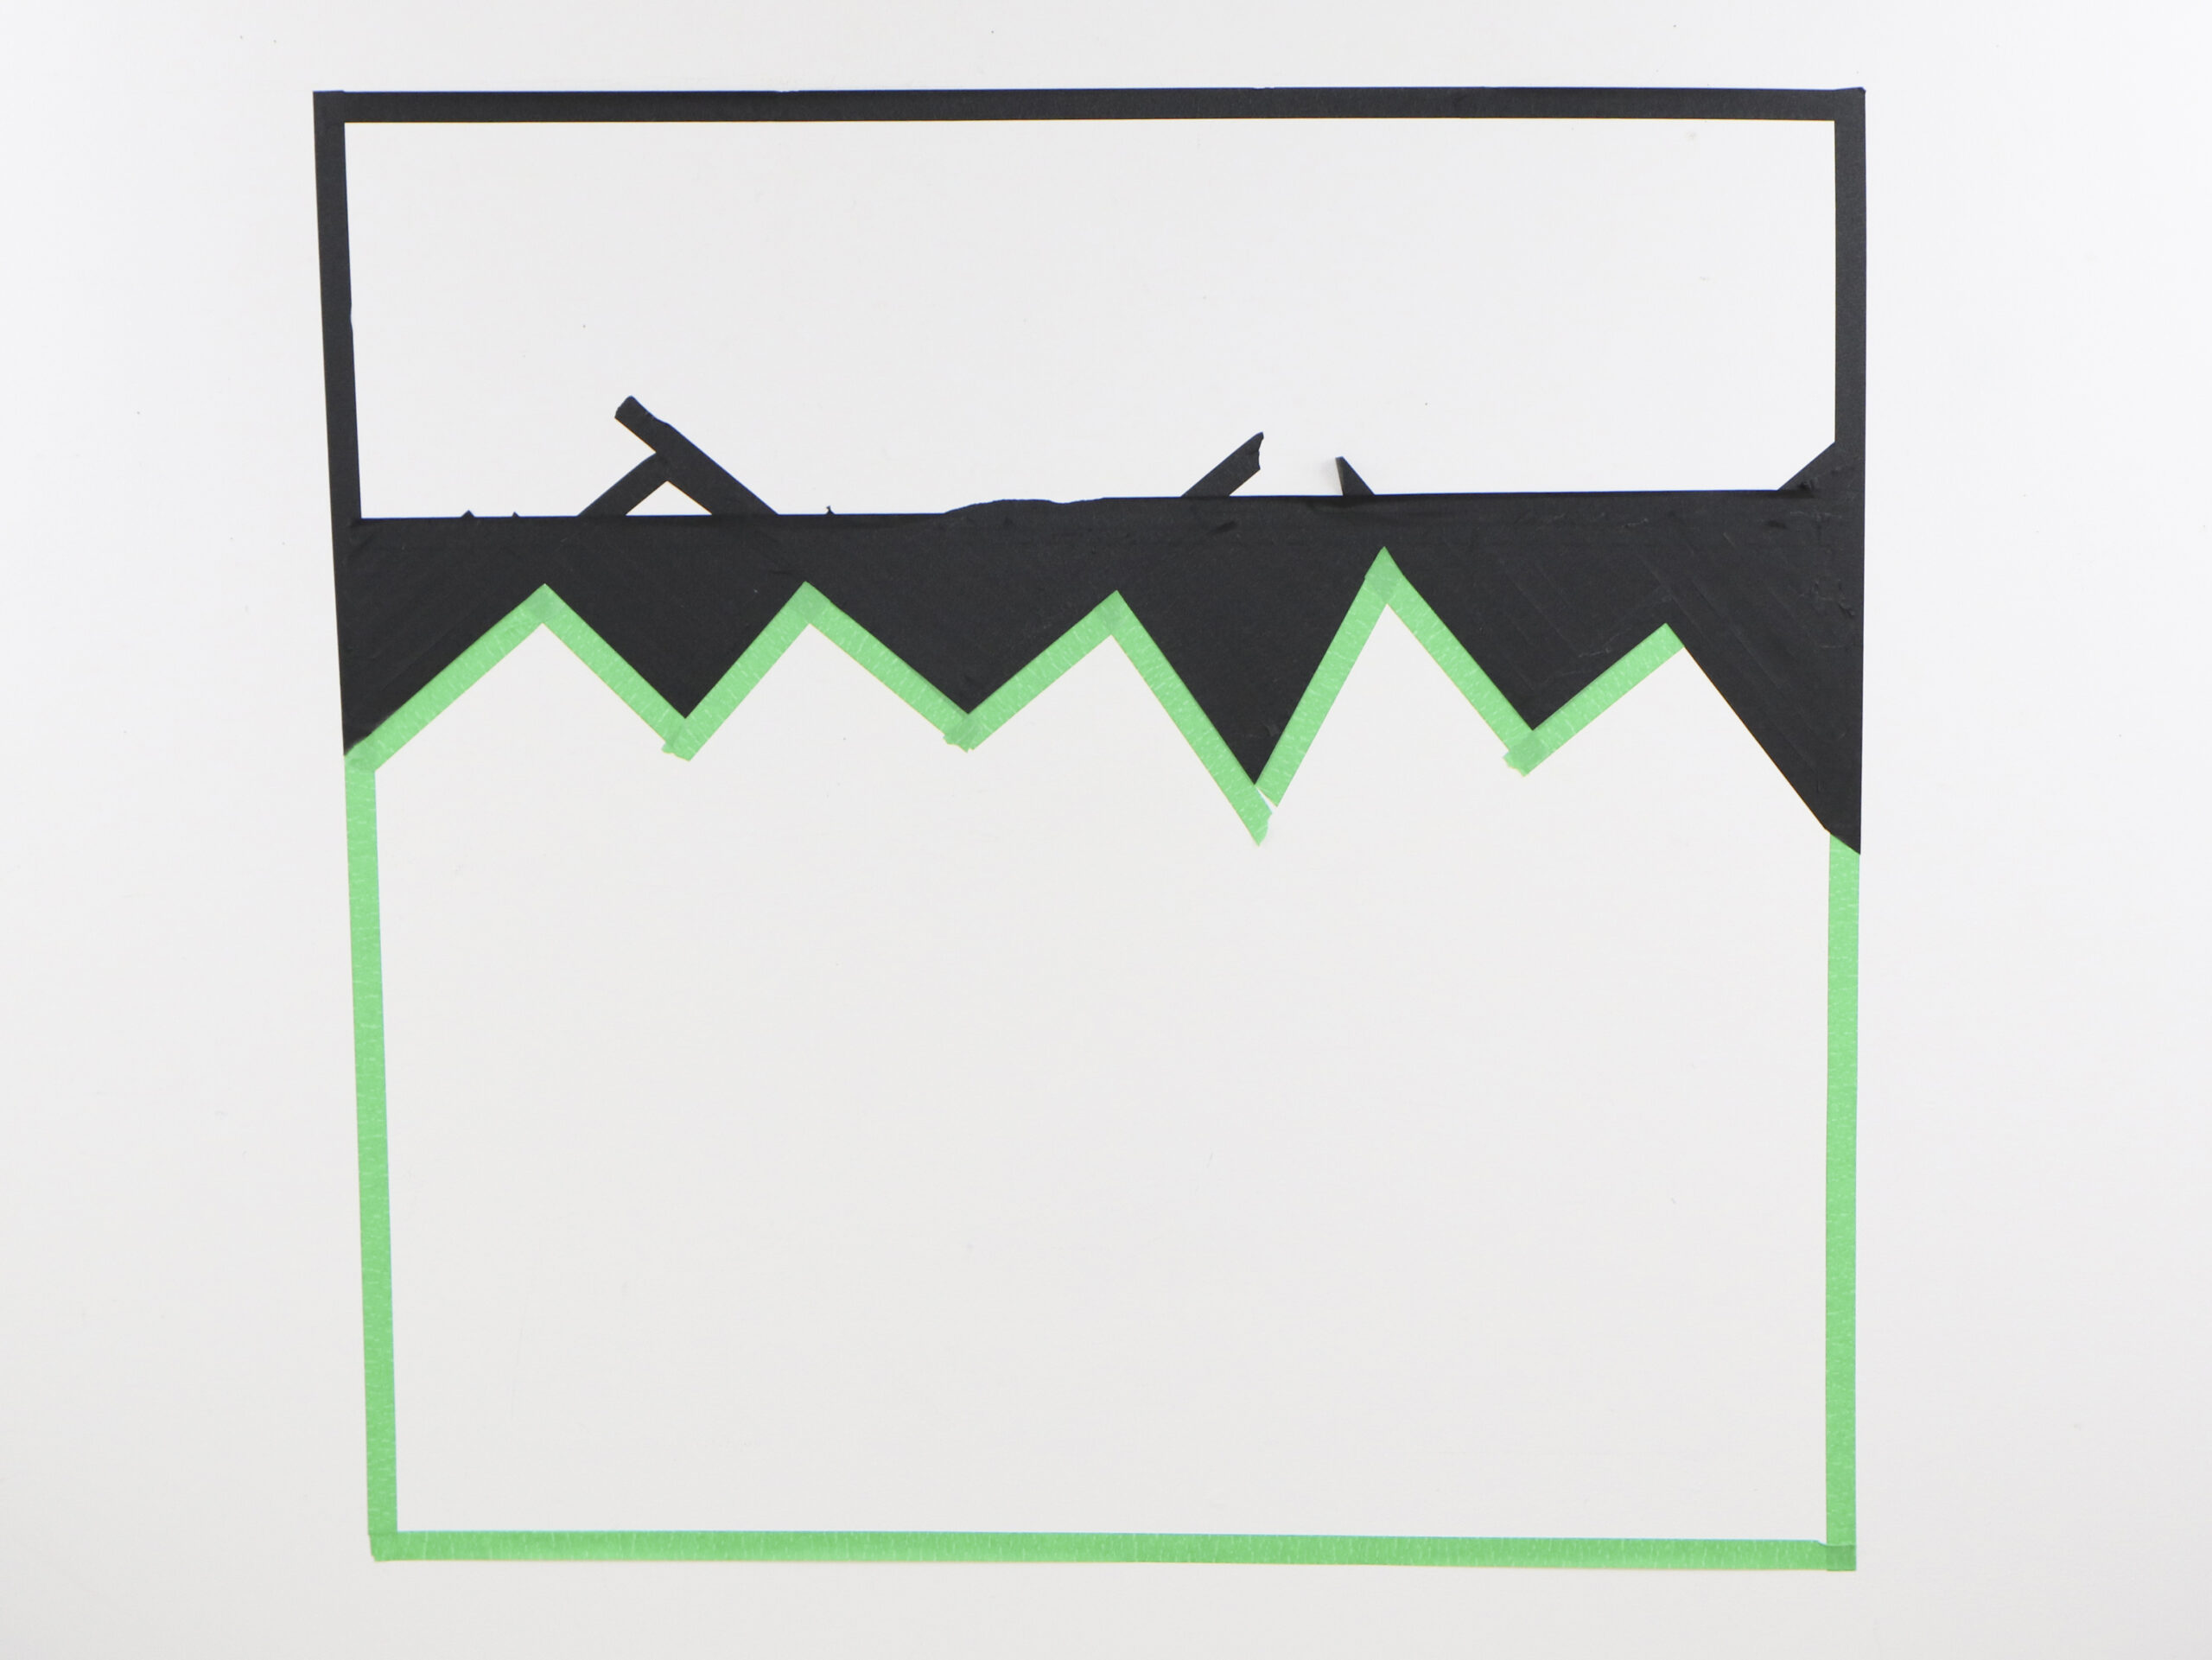
Next fill in the the hair portion with black masking tape.
STEP 4
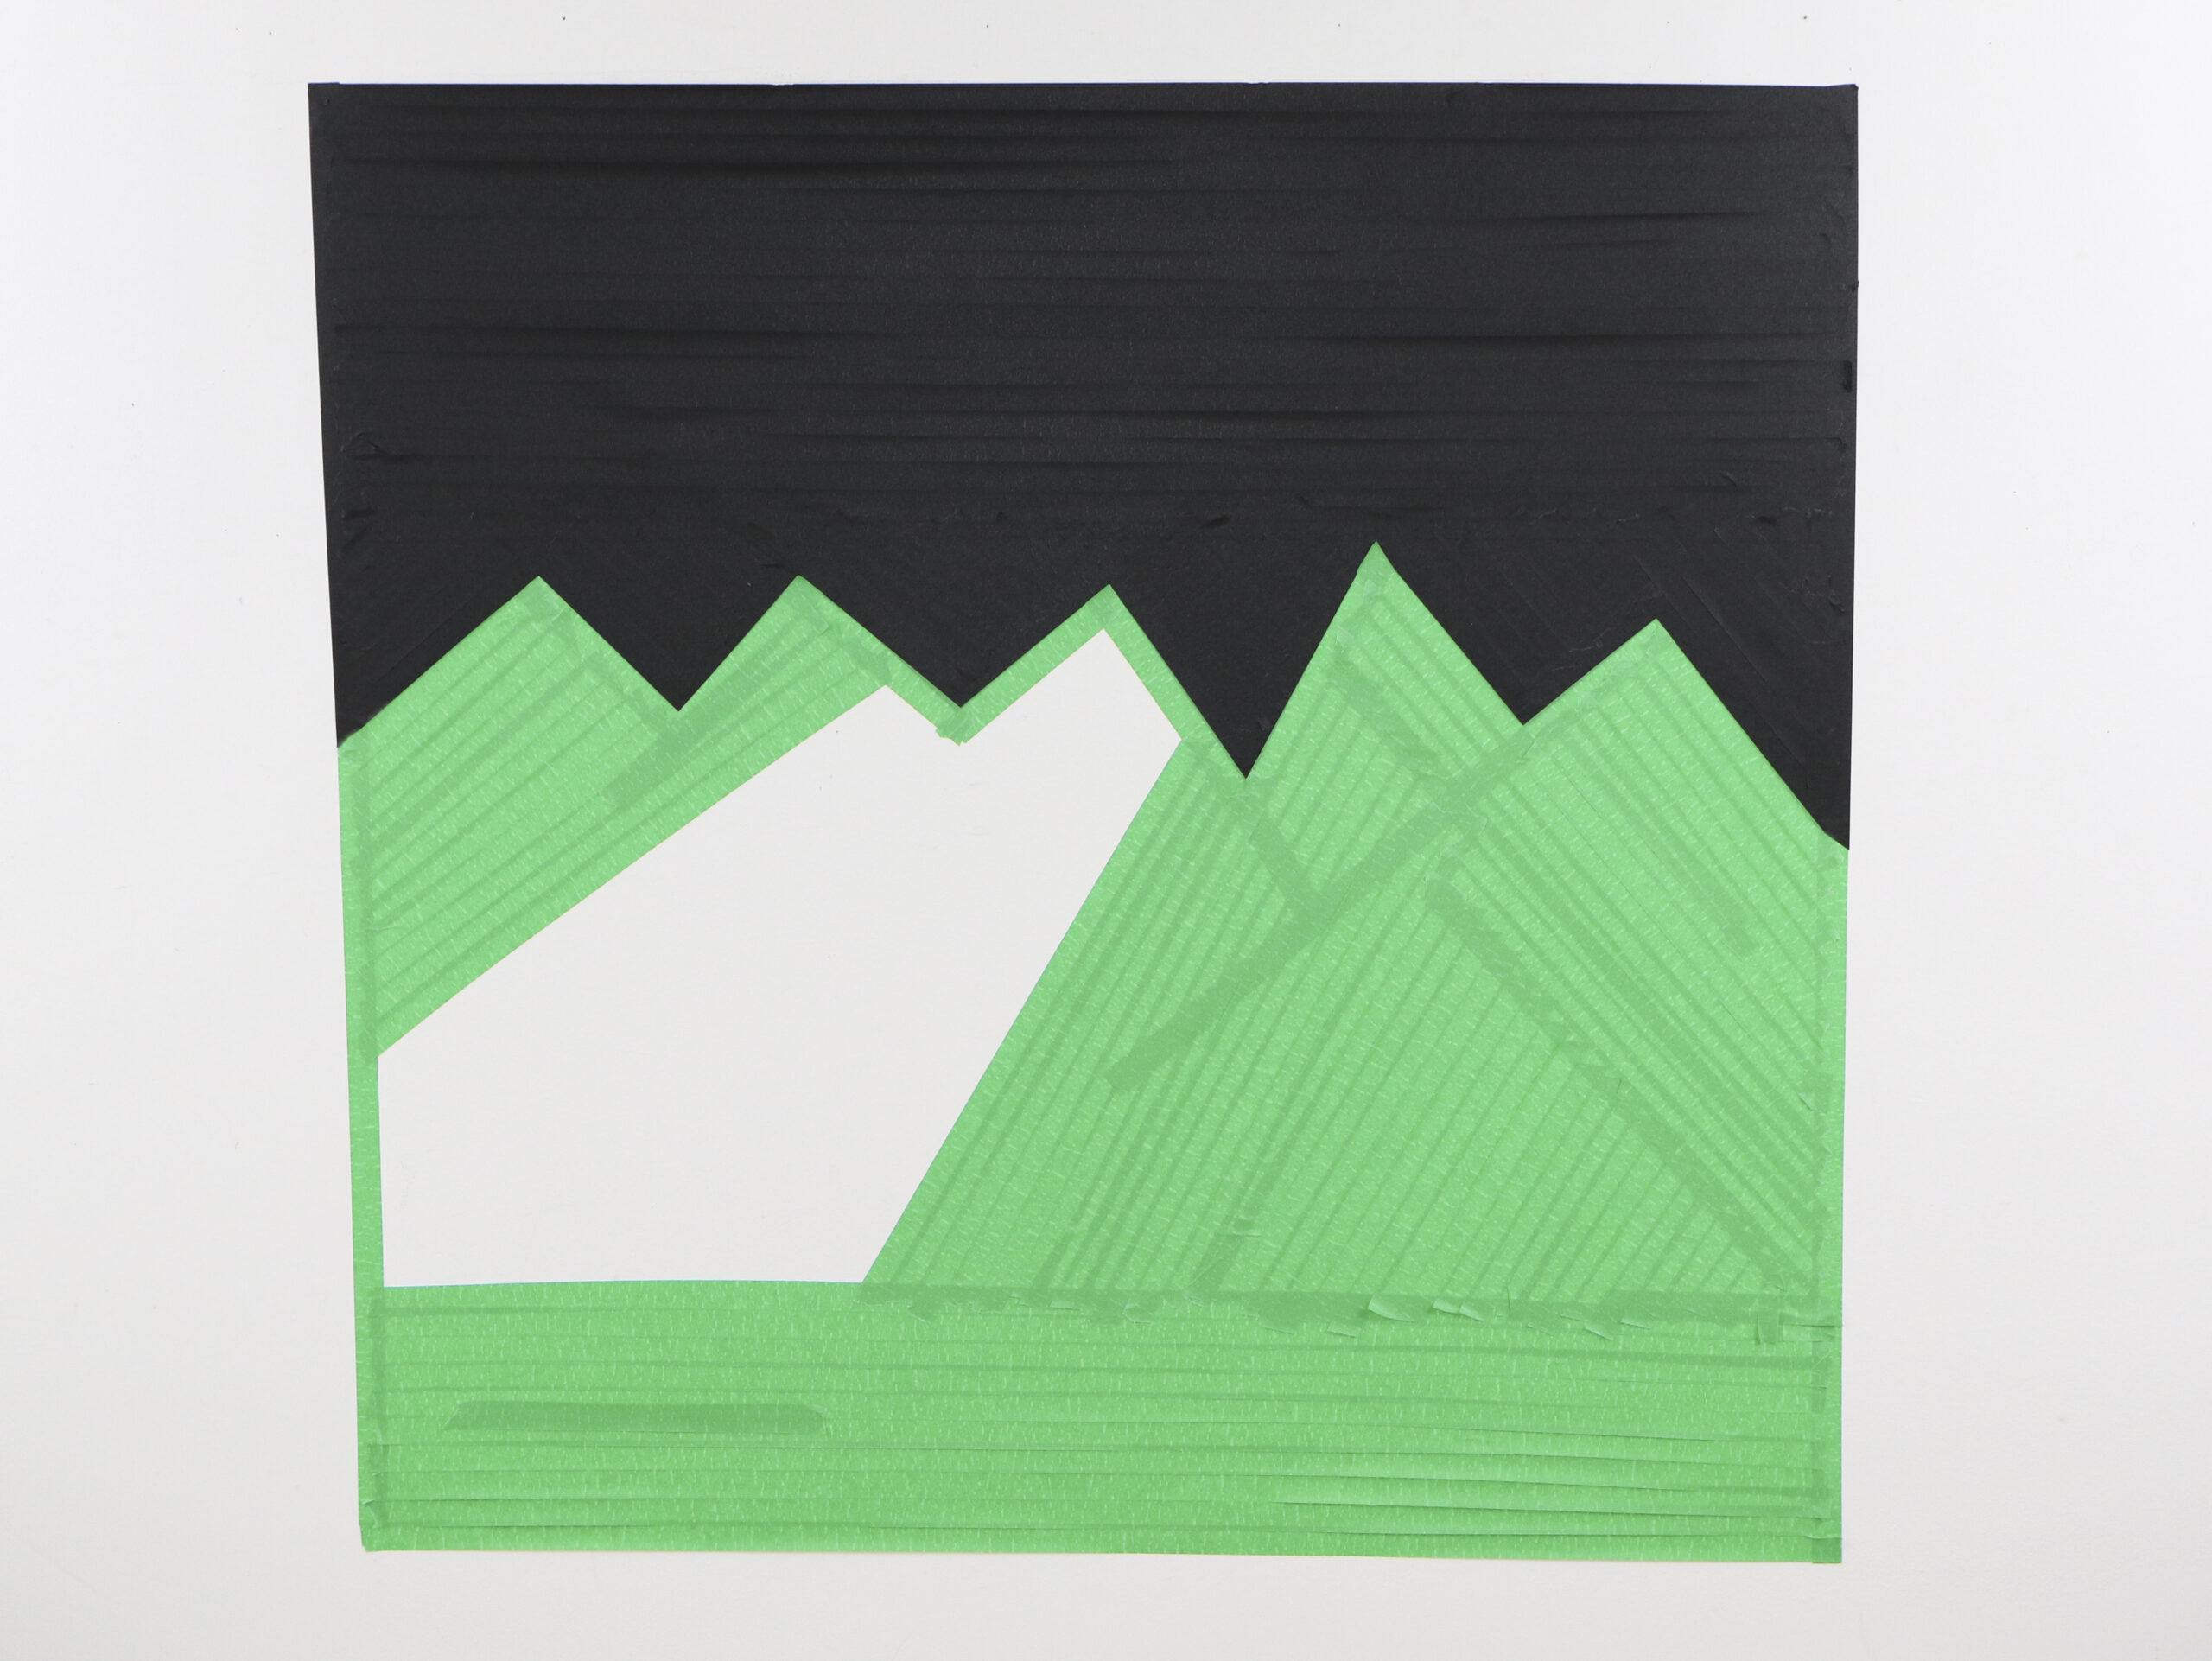
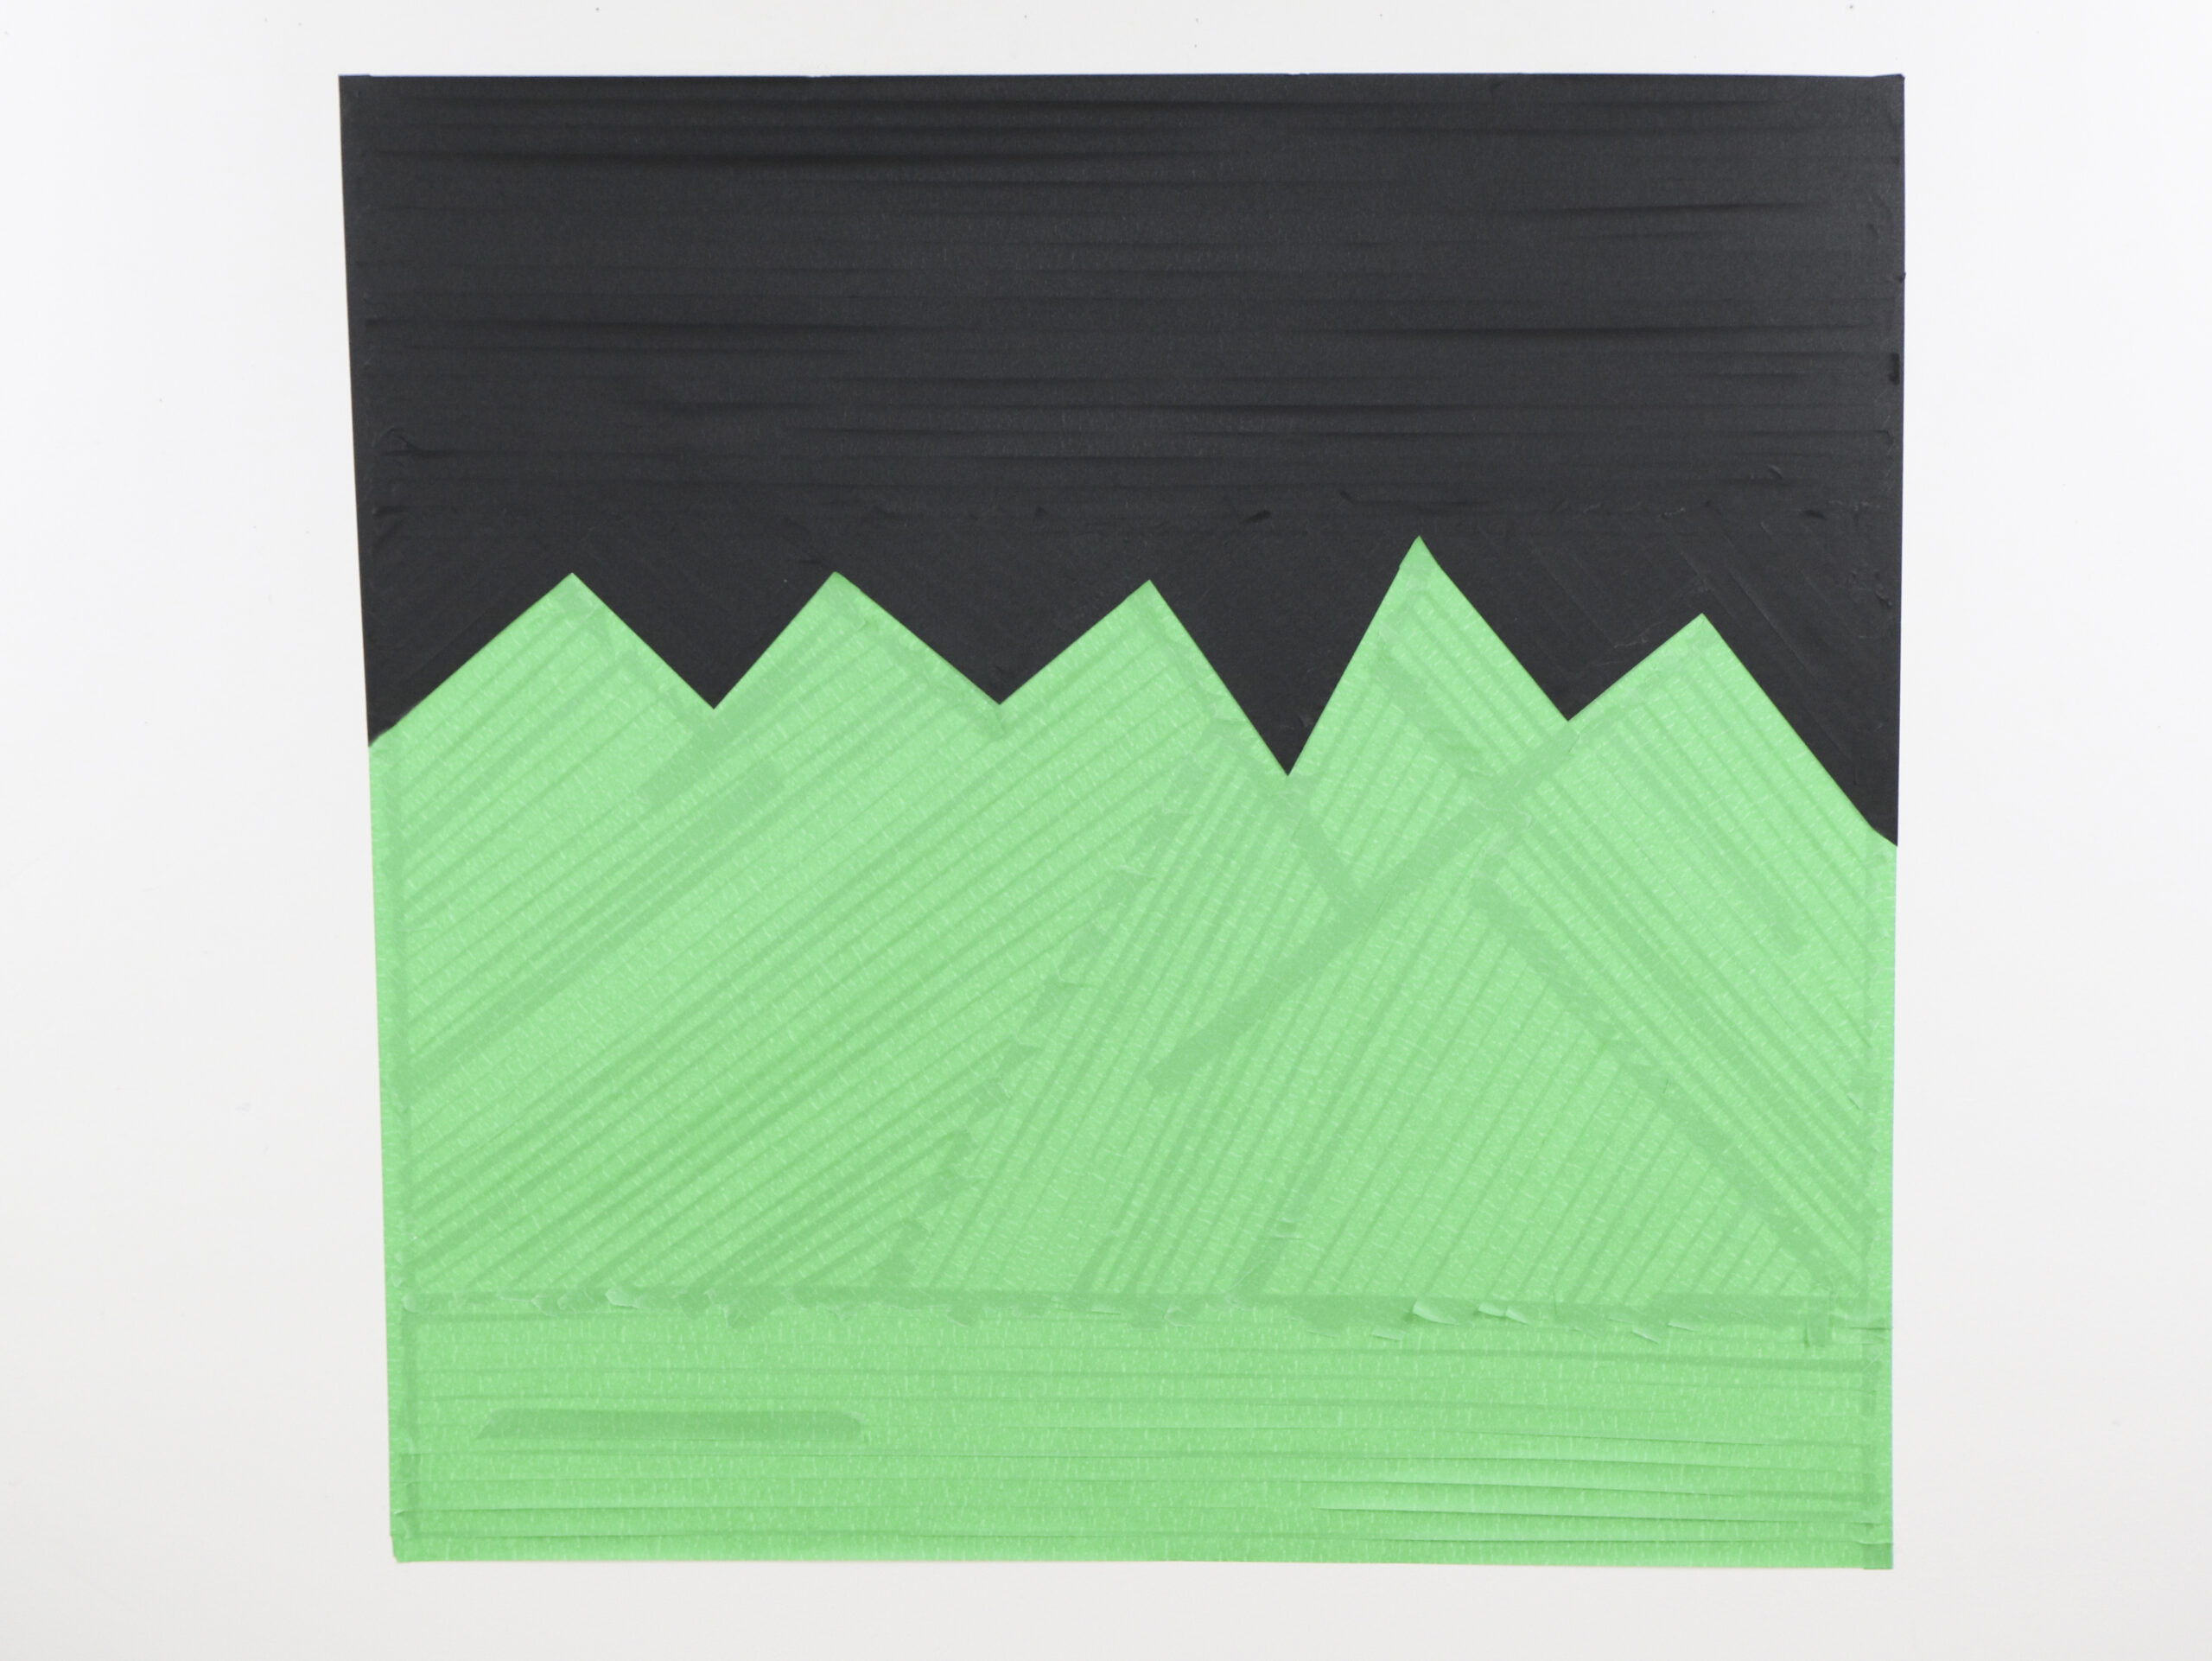
Then fill in the bottom portion with green masking tape to create the face.
STEP 5
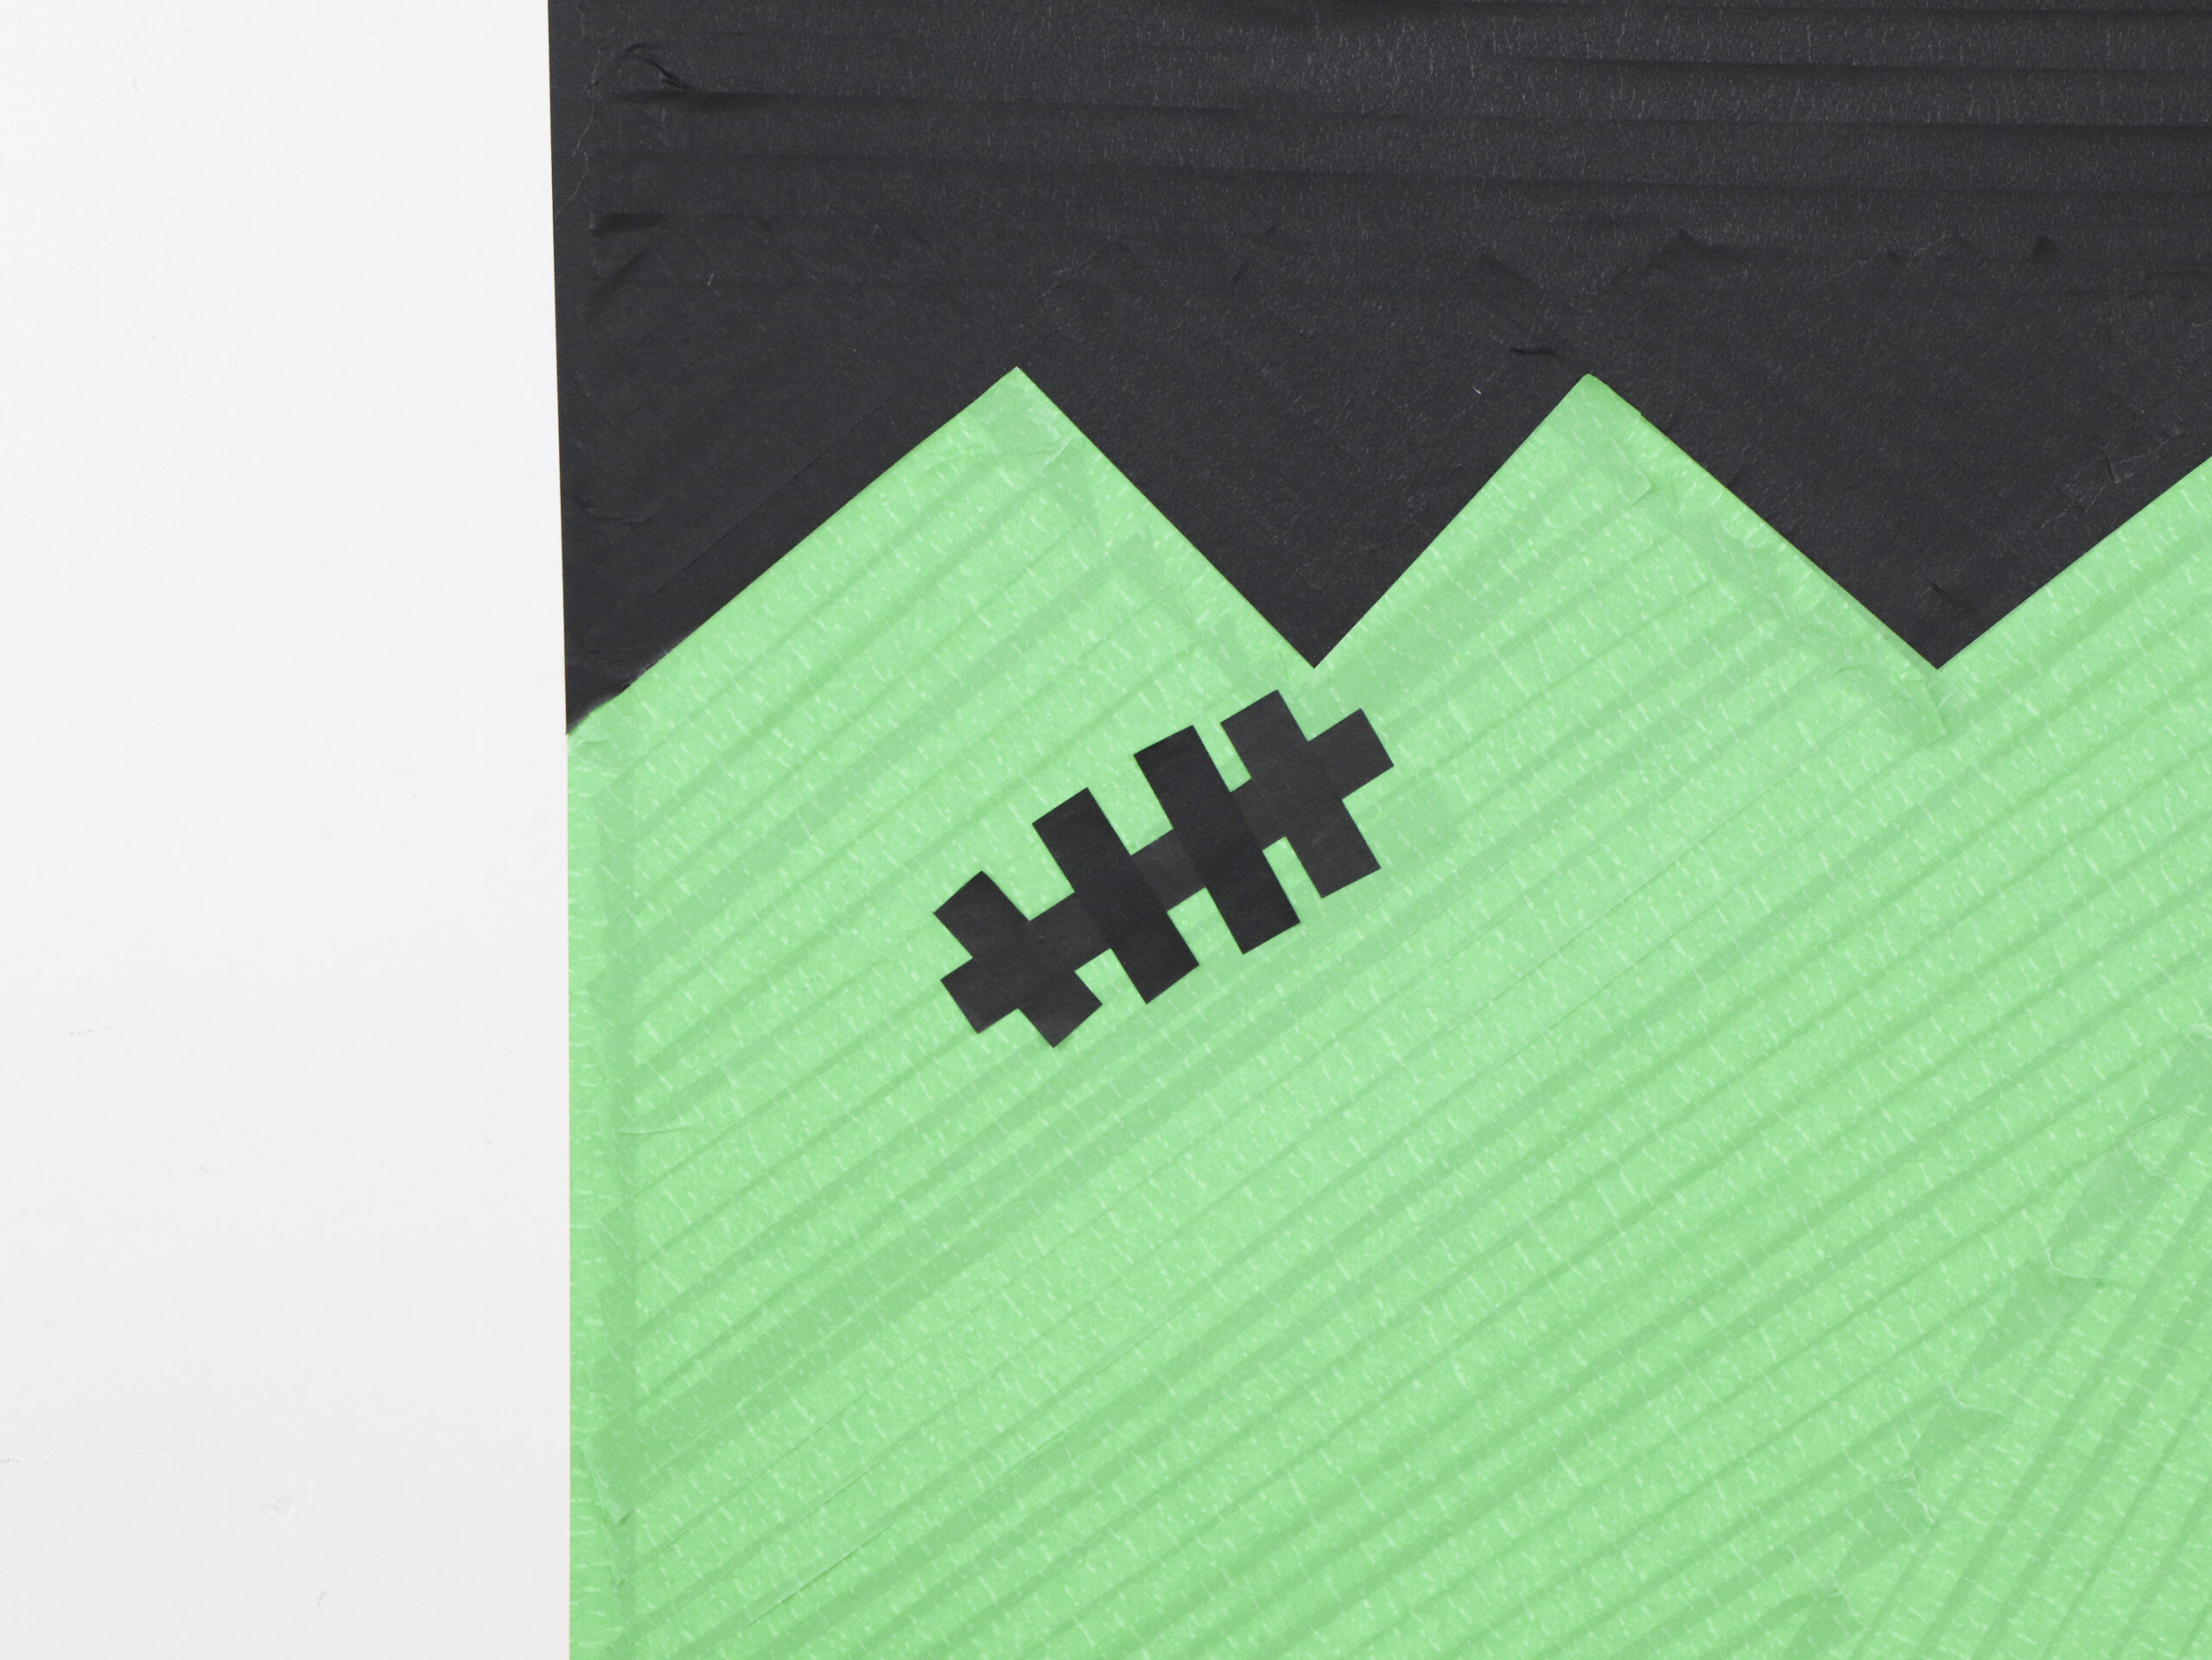
Next, use one longer strip of black masking tape with smaller strips across its length to create a scar on Frankie’s forehead.
STEP 6
Then add bolts to the bottom of Frankie’s face using black masking tape.
STEP 7
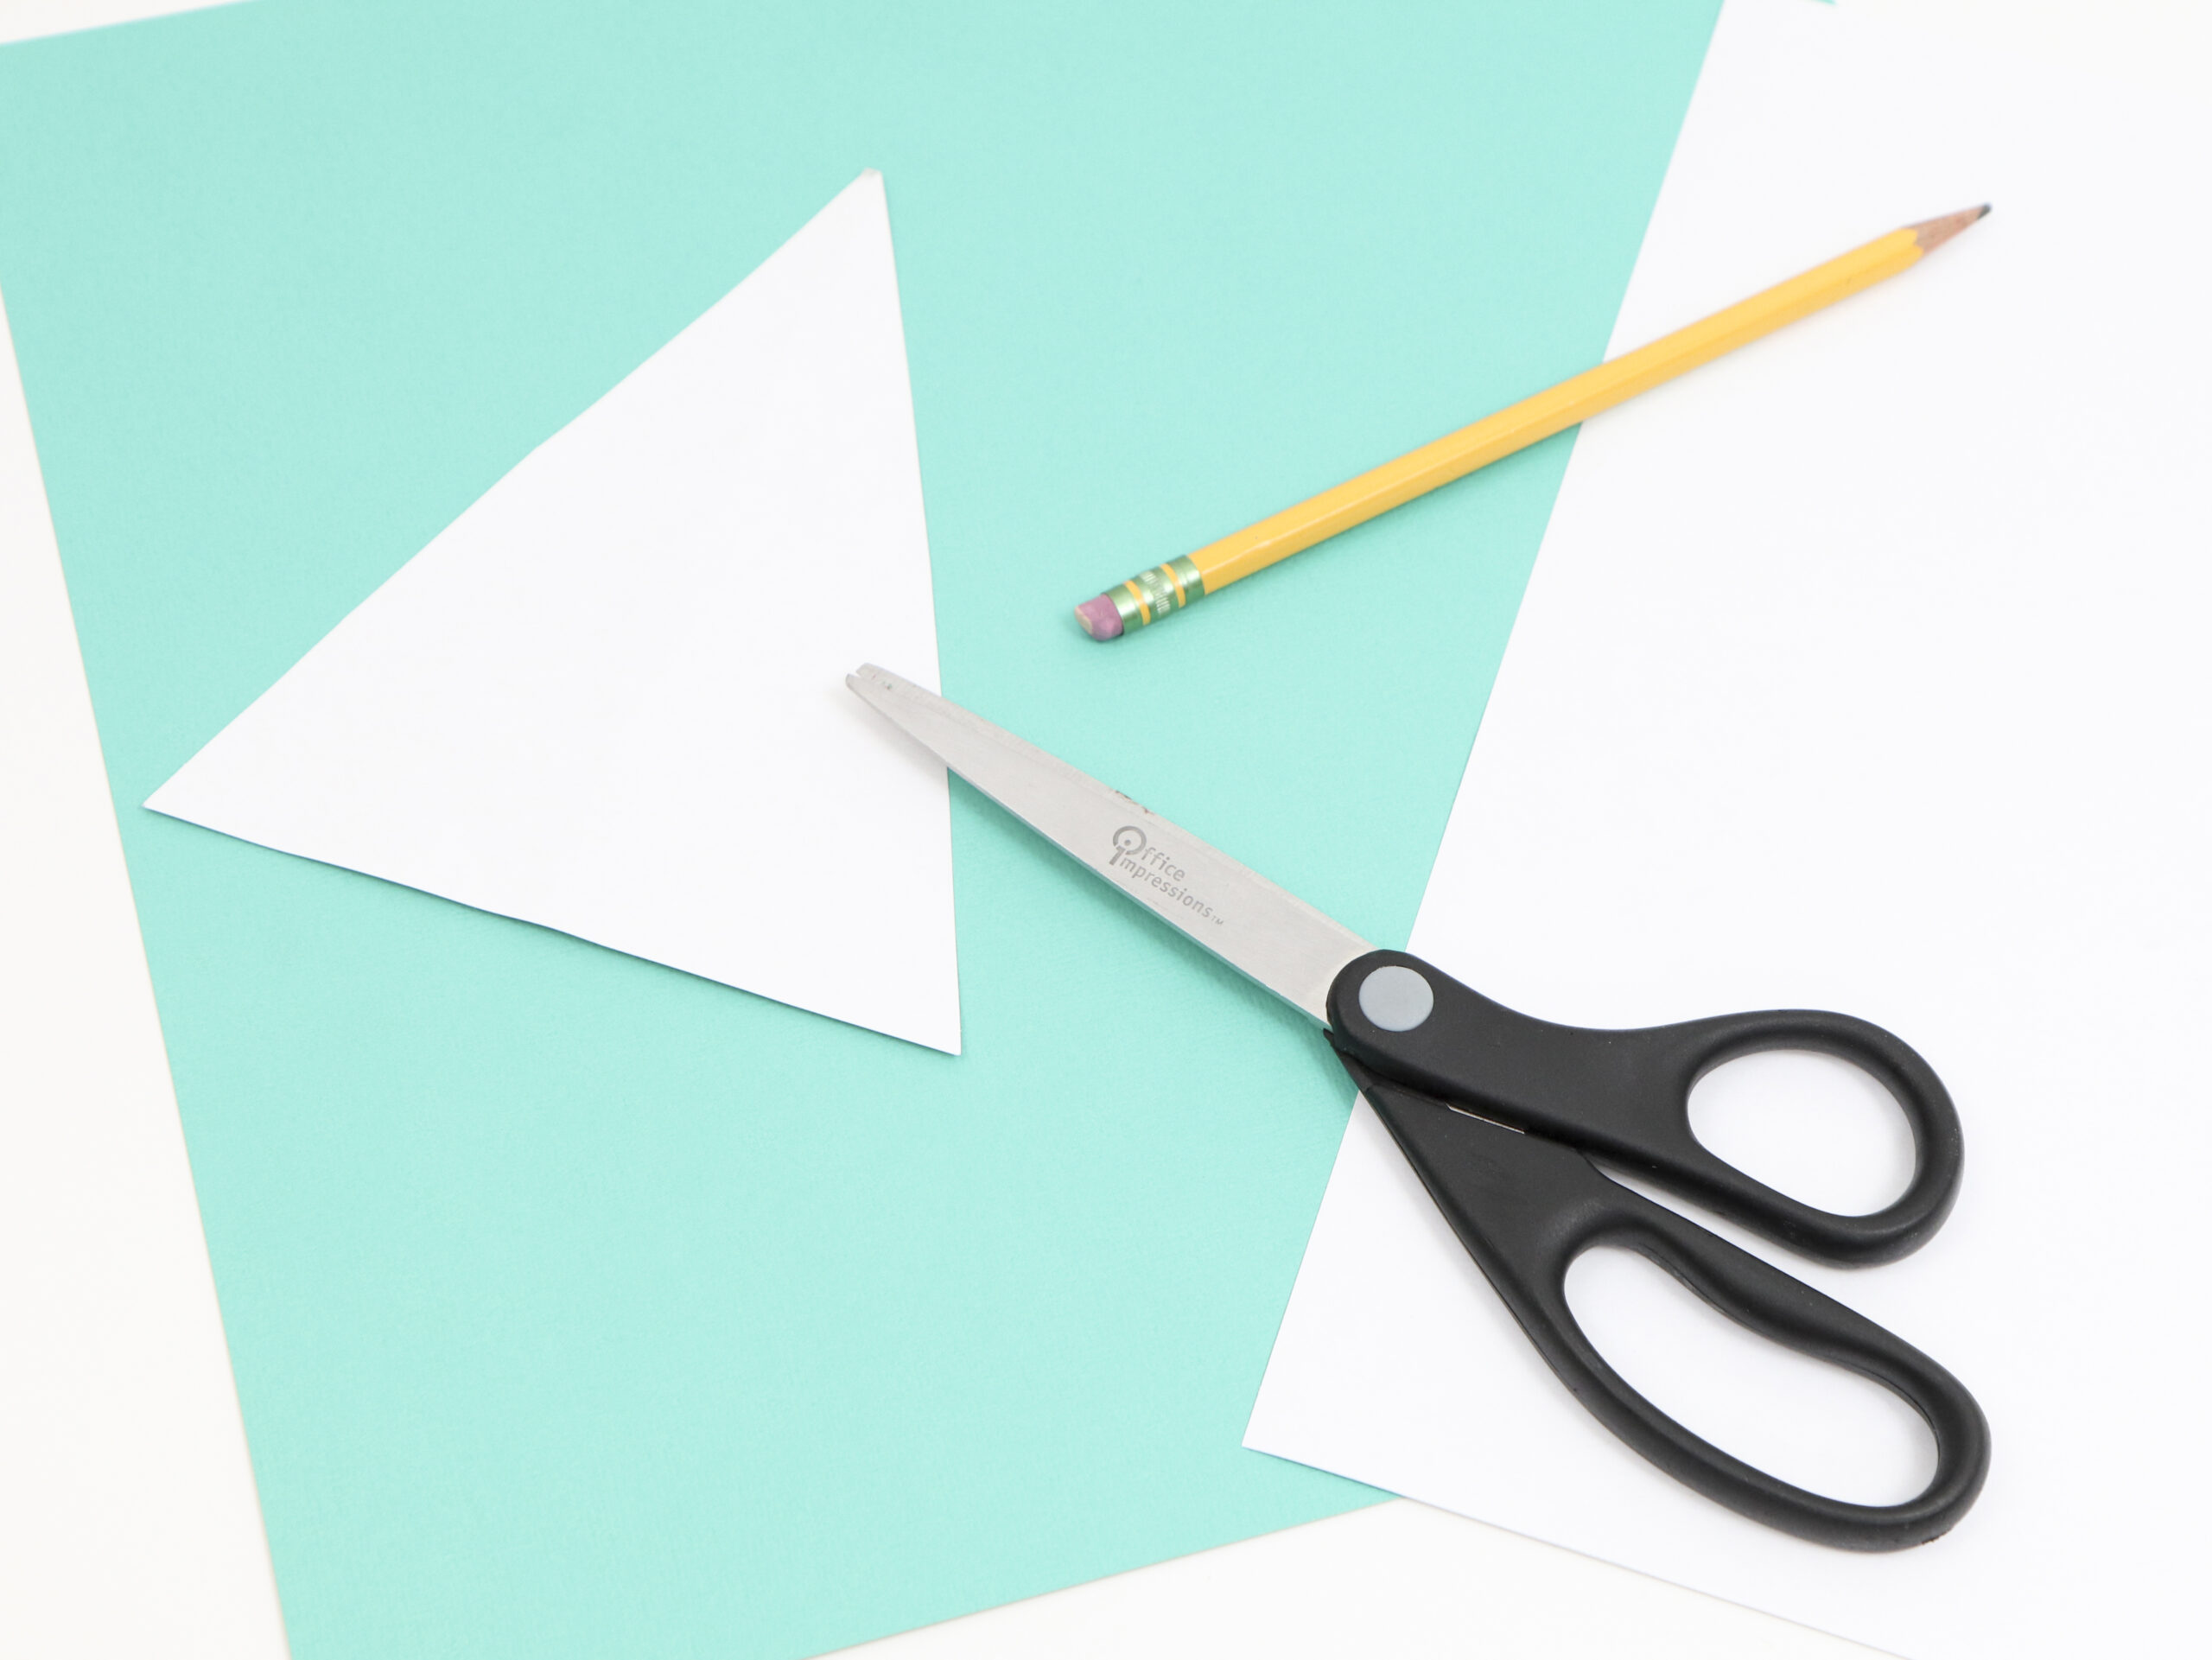
Next, use either white sticker paper or white card stock to cut out a large triangle for a nose. I made a triangle that was approx 1/8th of the size of the square.
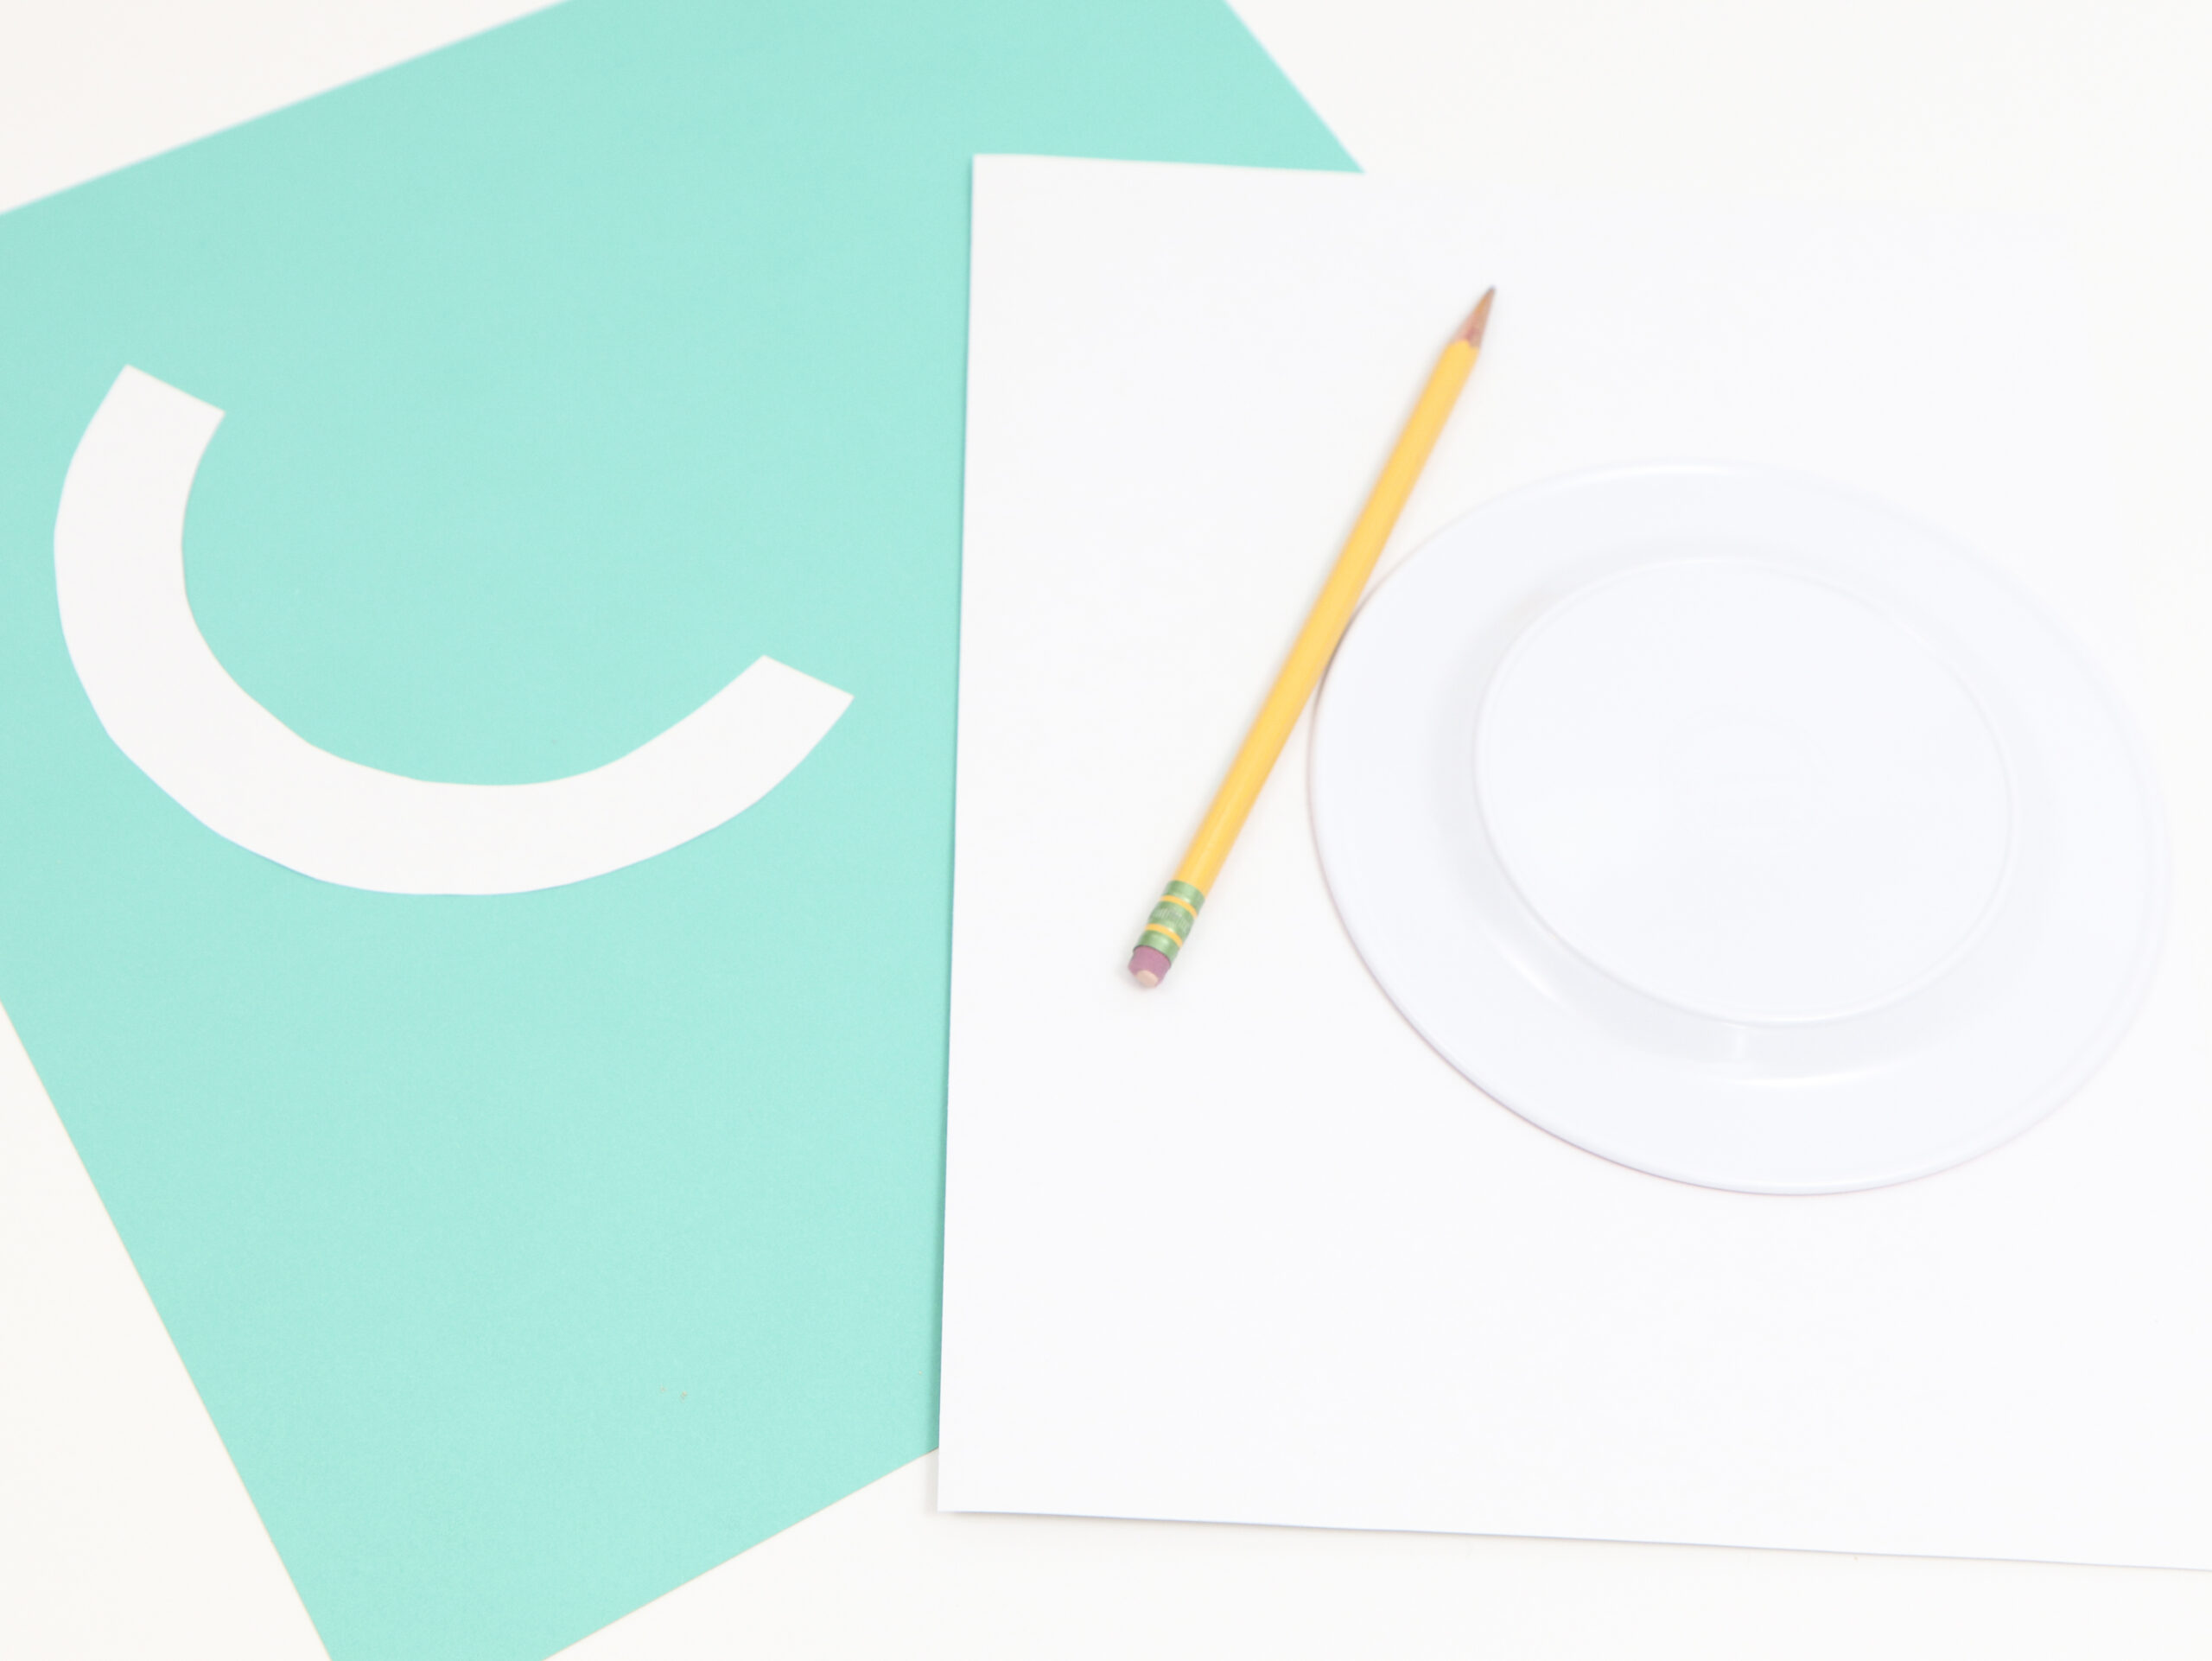
Next, I used a small appetizer plate to trace a circle. Then I cut this in half and used it to create a smile. Then stick both onto the Frankie face.

STEP 8
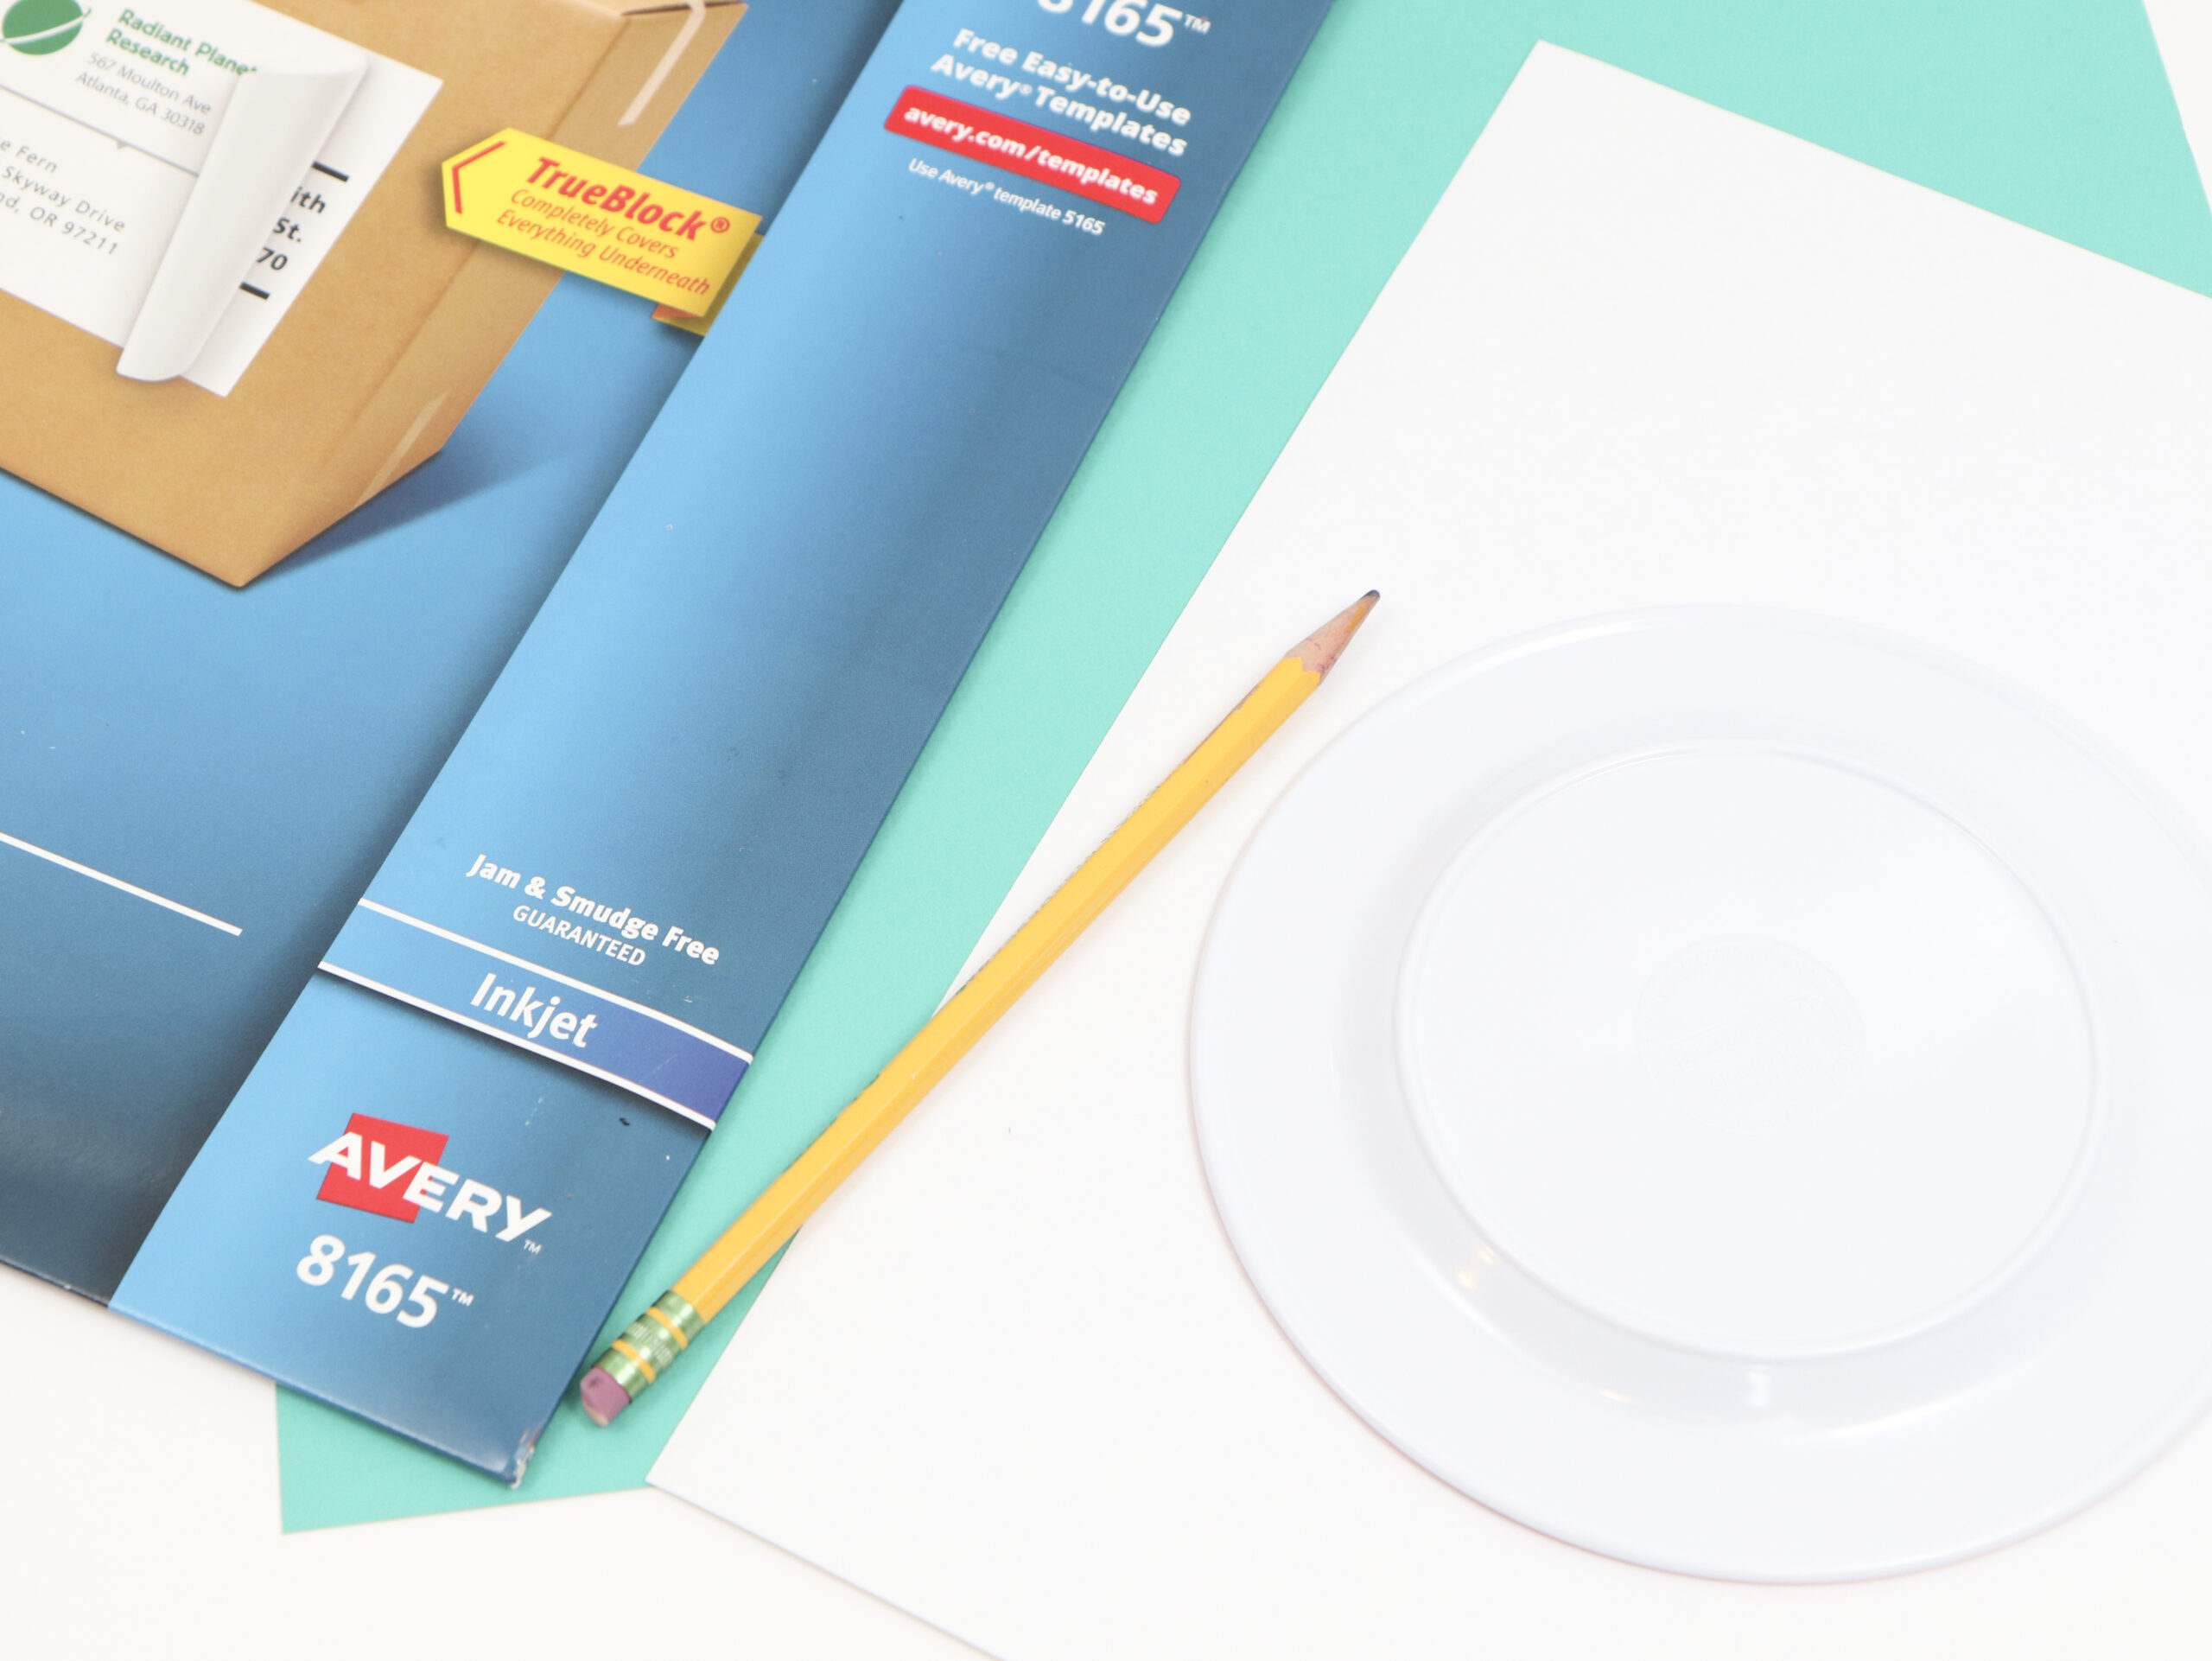
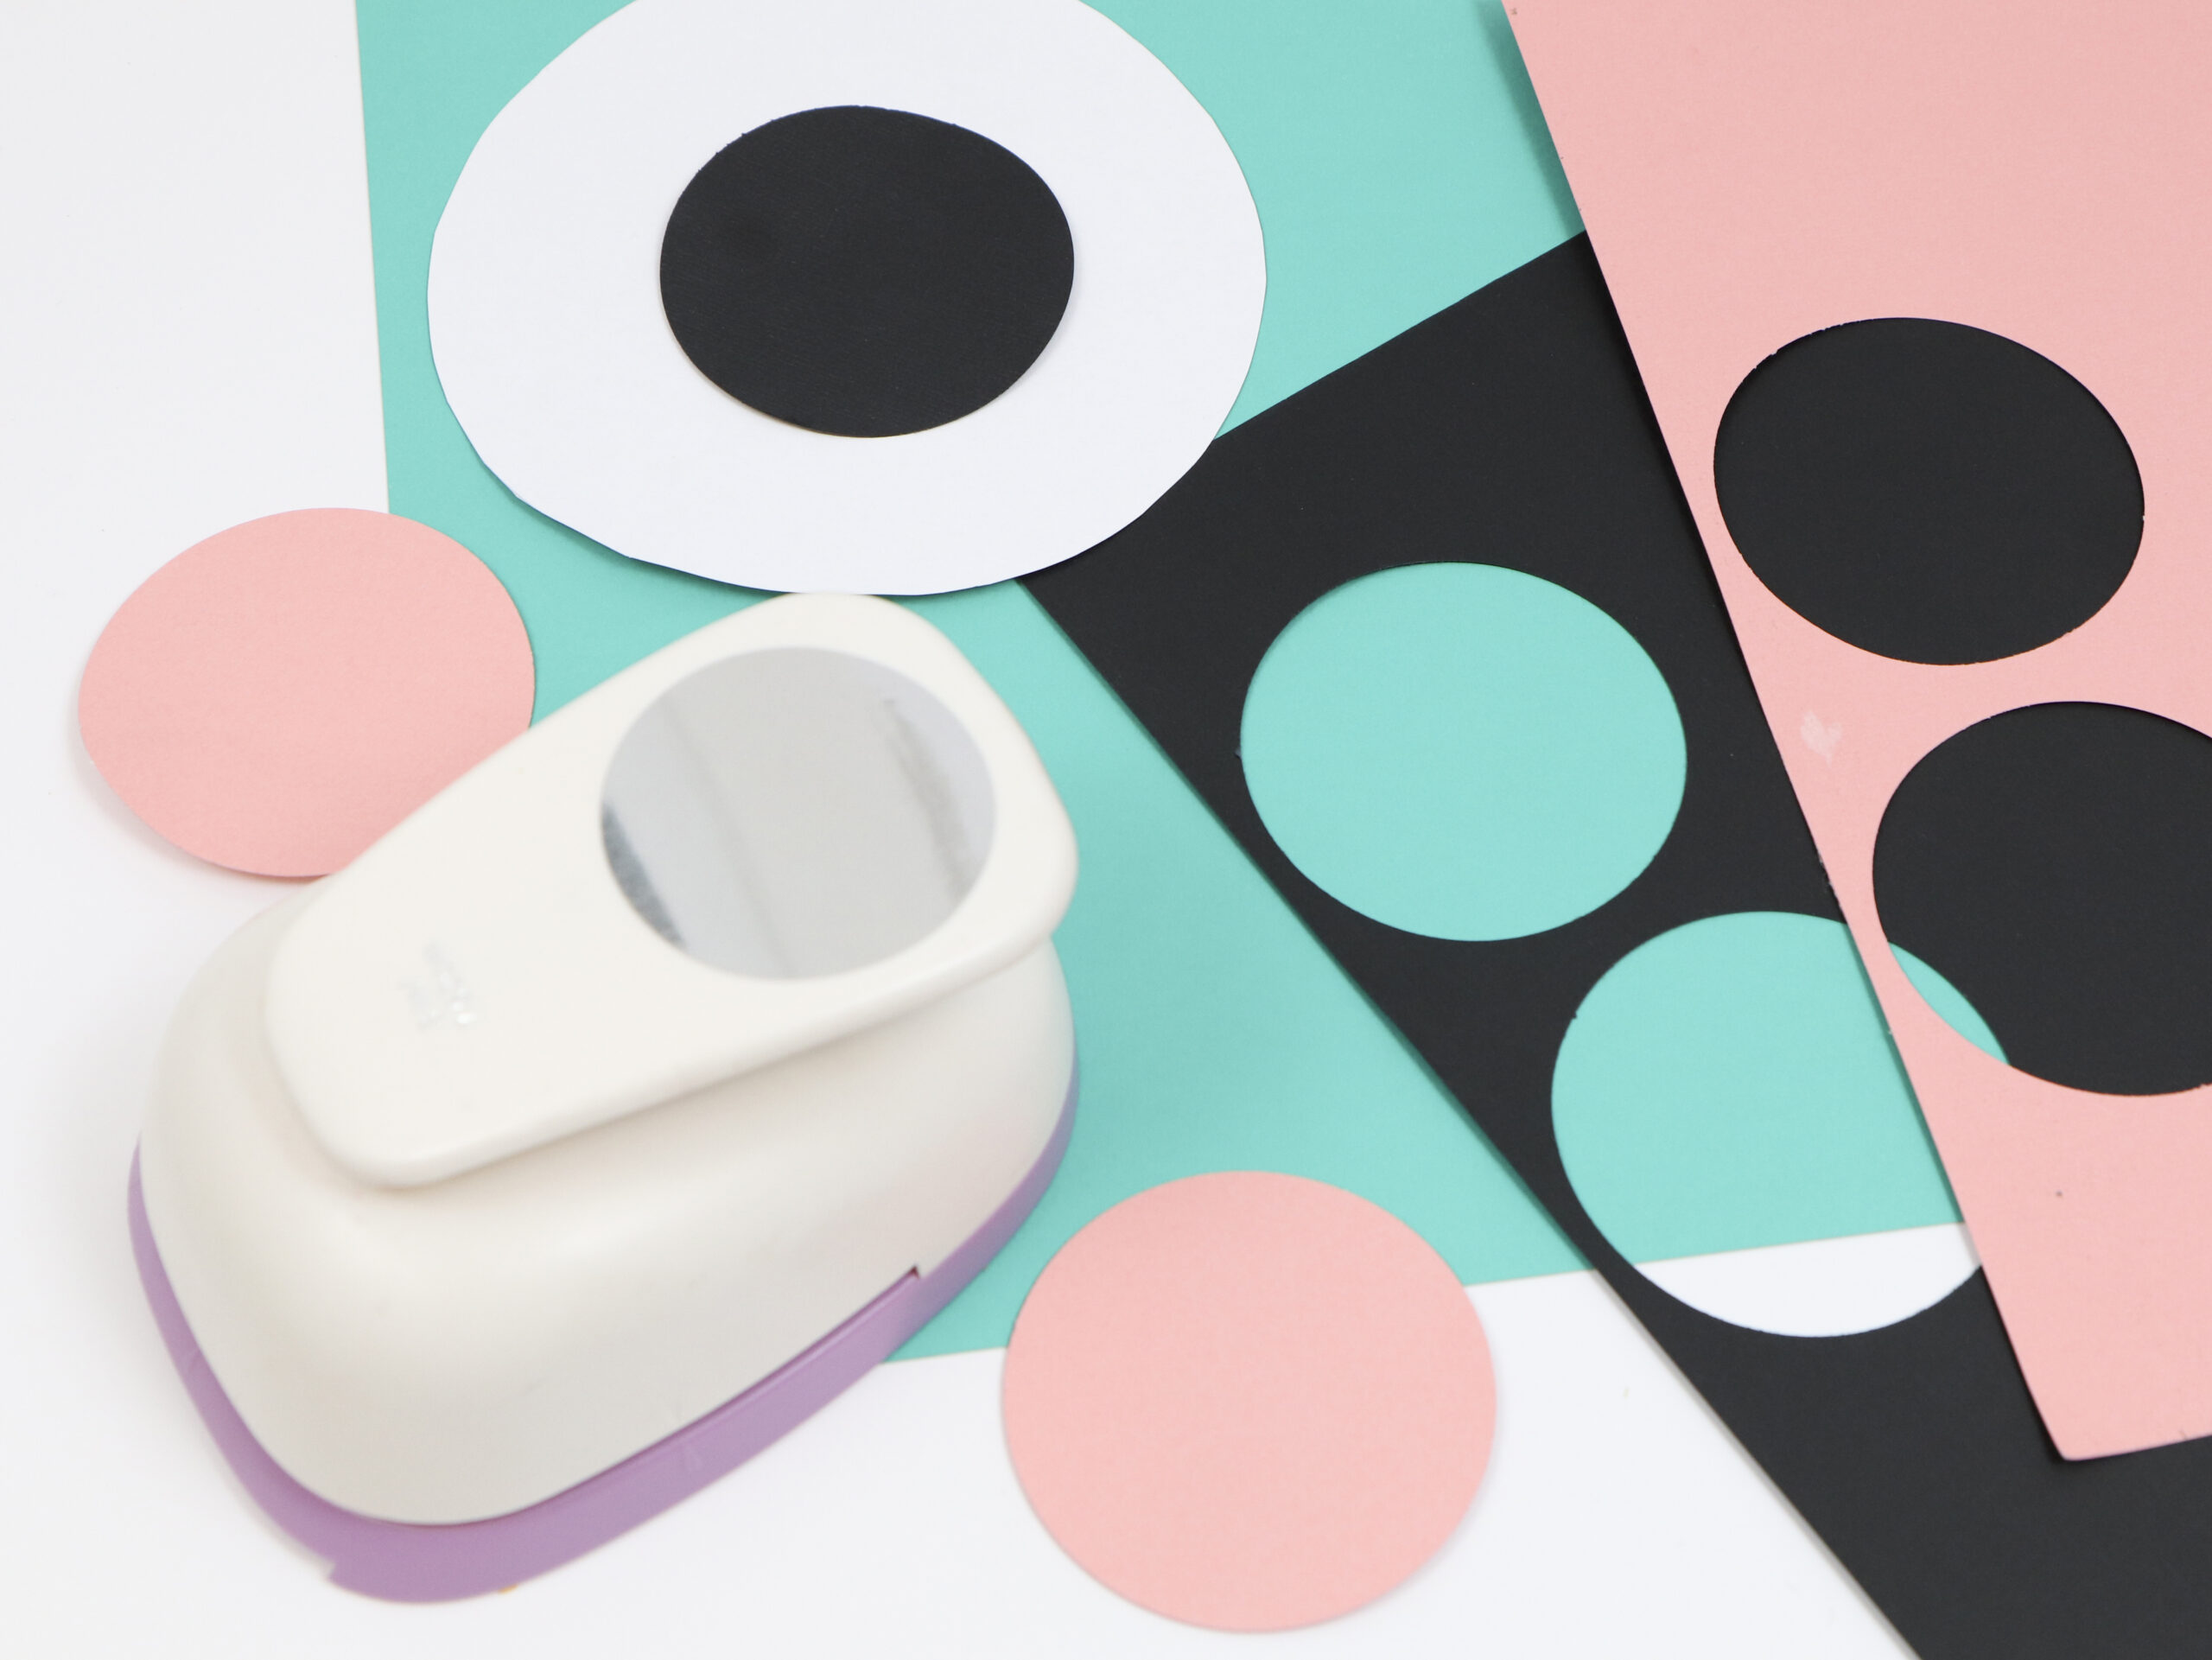
Use the same plate to trace circles for eyes. Cut these out and then use a smaller size hole punch to cut the middle of the eyes out of black card stock. Use the same hole punch to cut the cheeks out of pink card stock.
STEP 9
Enjoy sweet wee Frankie as he watches over your Halloween celebrations.
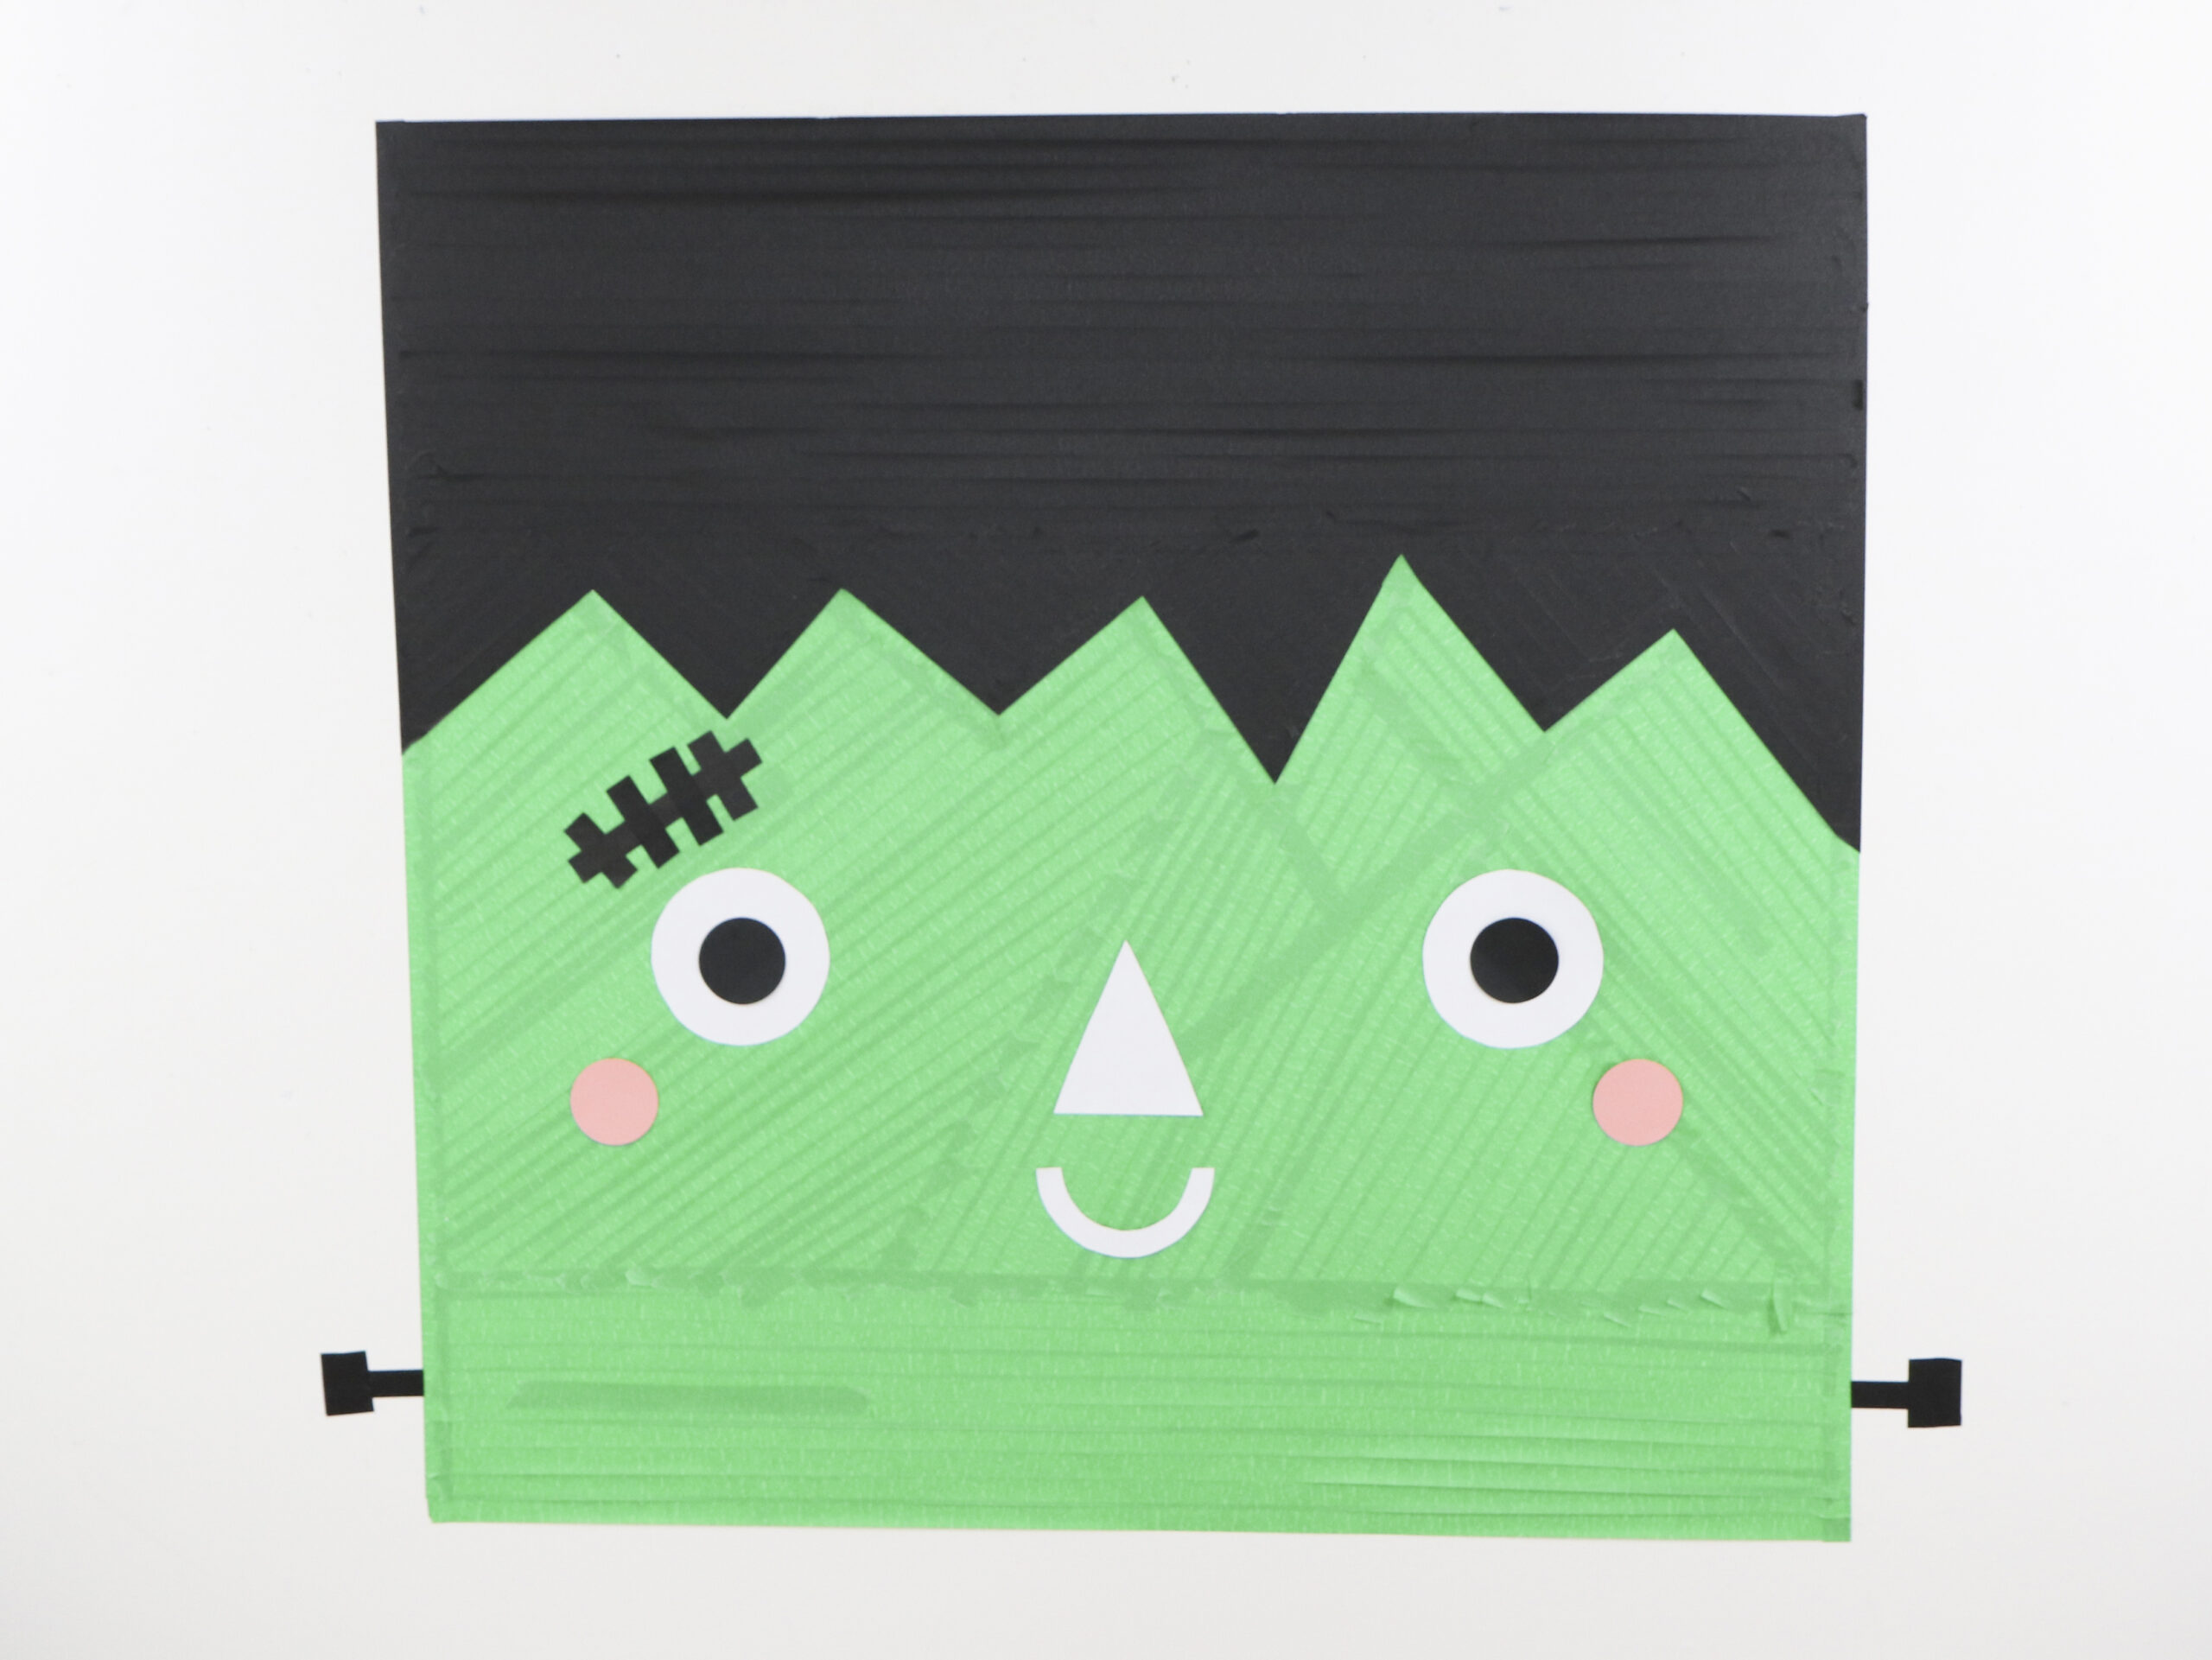
I’m loving using masking tape for backdrops, so simple! Which character should I create next?
For more Kids Frankenstein Party Ideas be sure to check out the full party HERE. And, for TONS more kid-friendly Halloween party ideas, check out my recent post, 13 Halloween Party Ideas for Kids!
Happy Partying!
As a blogger, I received compensation and/or products in exchange for my styling and crafting services. As always, all project ideas and any opinions expressed here are my own. For further information on our disclosure policy please check out our disclosure page.
PIN LATER:









I LOVE that you just created this on your wall. Such a fun idea and yes, masking tape is a great medium to work with. I’ll be thinking how I can use it for my next event. This Frankenstein is just perfect.
Ohhh! Great idea my friend! Easy, cute and cheap!
I would love to try it
Kisses????????????????????????
thank you my friend! lovely to see you here! kisses! xxx