Every pirate has a love of loot! All sorts of treasure, from gold coins to precious gems and pearls of the ocean. Our little pirates were no exception, the girls eyes lit up at the sight of the multi colored gems in our “Treasure Cove” favor station.
If you’re having a pirate party, treasure is one of the best ways to describe the take home loot or party favors. It doesn’t all have to be actual treasure though. You can have a lot of fun with the contents, as well as the loot bag itself and keep the kids entertained at the same time!
For my daughter’s birthday this year she wanted to do a pirate party that revolved around crafts, I think she takes after mom with her love of art’s and crafts. So I really got into her “life of a pirate” to create oot bags that held some of her favorite things. This is the first of several posts I’ll be writing on the party decorations, activities, crafts and DIY’s.
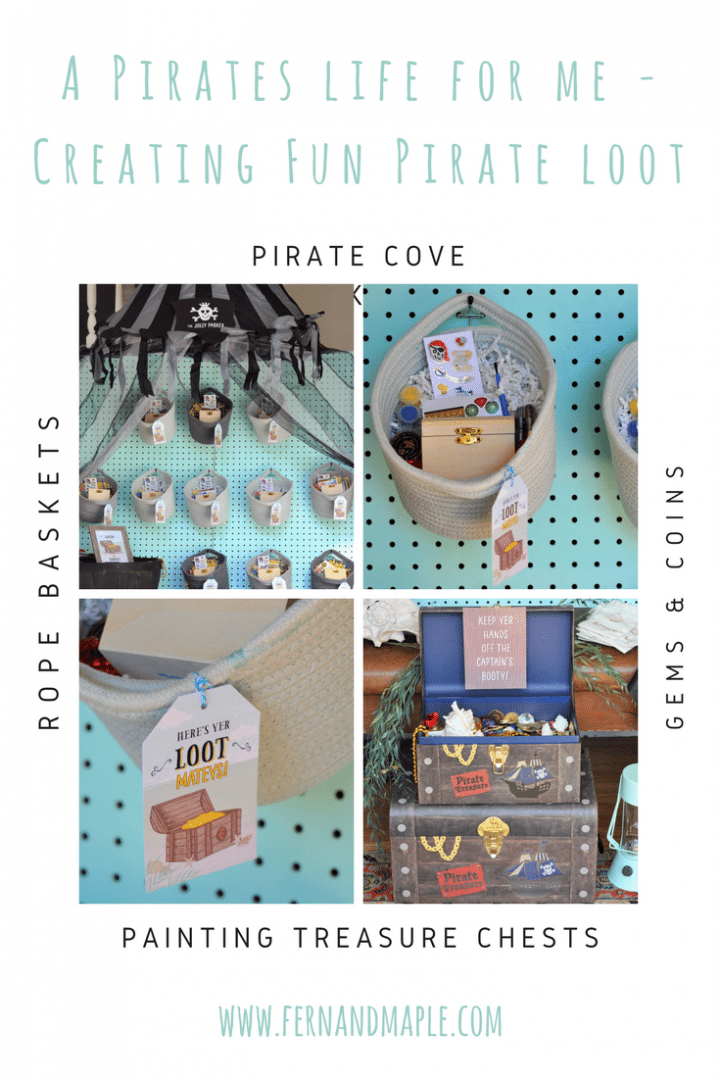
In this post I’m going to share the contents of the loot bag as well as the “Treasure Cove” I created for the display. For this party I gave a lot of thought to the size of the loot bag. During the party we did quite a few crafts, (sand art, jewelry making, driftwood boats and message in a bottle) so I wanted something large enough to hold the favor loot and the crafting loot.
I found the perfect rope baskets in the Dollar Spot at Target. $3 each! and in the party colors, a lovely minty green and grays of different shades. I also wanted something I could hang up on a wall in the Treasure Cove, so these also worked really well. I was able to hang the basket up using one of the handles.
I did NOT receive compensation for this post. I did receive some free products to review. All project ideas and any opinions expressed here are my own. For further information on our disclosure policy please check out our disclosure page.
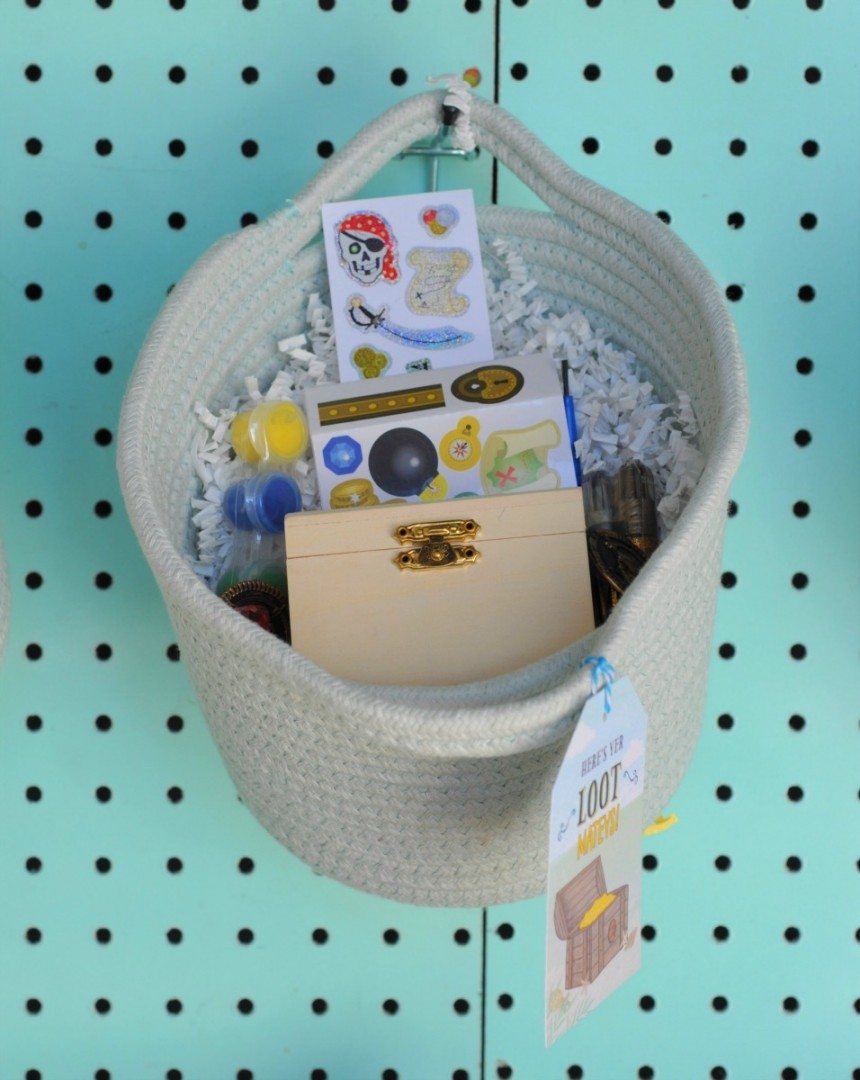
First I took two pieces of peg board (you can find these at your local hardware store), spray painted mint green. Then I connected the two boards using plastic ties. I was then able to put hanging hooks into the holes in the peg board. Later the loot baskets will be hung onto these hooks. Here’s how I created the rest of the Treasure Cove:
THE TREASURE COVE SHOPPING LIST
The basics:
- 2 Sheets of peg board (local hardware store) – spray paint to preference
- Peg board hooks (local hardware store)
- Pirate Flag
- Pirate canopy or tent
- Fake gems, beads & pirate coins
- Sea shells
- Treasure chests
- Zip ties
- Removable picture hook
Add-On / Optional DIY:
- Large bushel basket (local craft source)
- Sheet of cardboard (local craft store)
- Adhesive (power-tac)
- Floral foam (local craft store)
- Photo frame (multiple craft stores)
- Bead necklaces
- Prop wooden boxes (local craft store)

Step 1 – The Cove As I mentioned above, to create the basic frame of the cove I used zip ties to connect 2 pieces of painted peg board. This held the 2 boards together and gave me more width to support multiple baskets. I then inserted the peg hooks into the board.
The next step was to attach a hook to the ceiling above the boards. The canopy had a loop at the top which meant I simply slipped this loop onto the hook. The canopy/tent then hung down in front of the boards. I popped the back of the canopy behind the boards and had the front of the canopy gathered at each side (there are velcro hooks on each side to draw back the front of the canopy).
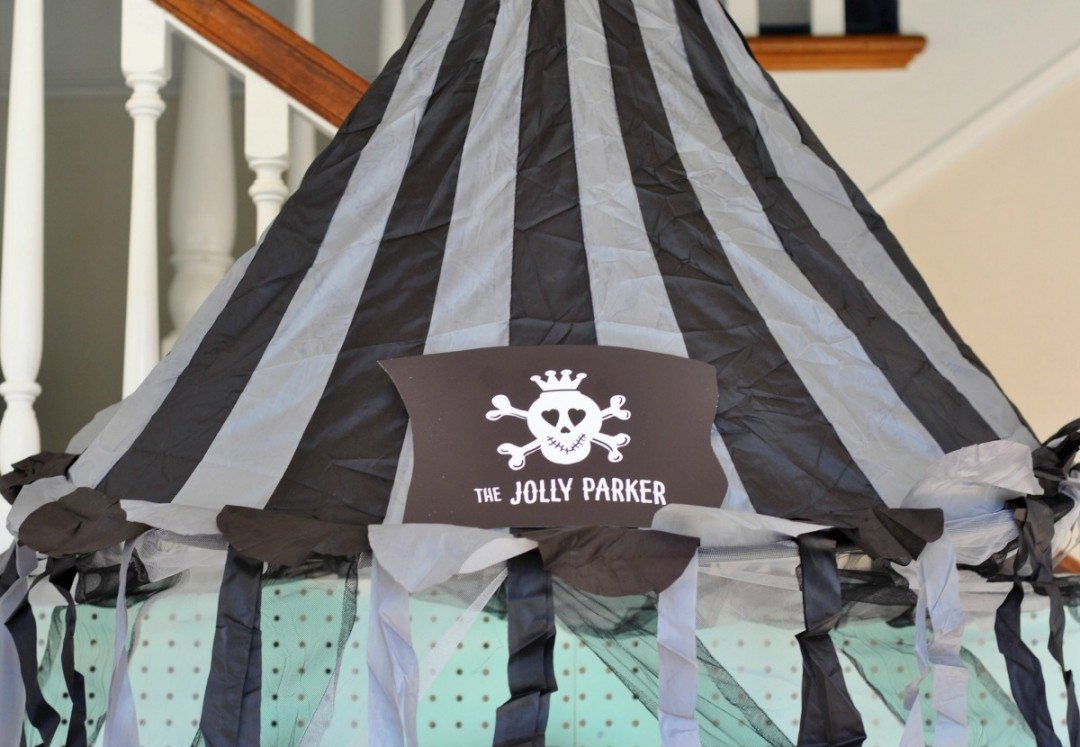
Your then ready to add the props. I used treasure chests, large sea shells and plants that have the look and feel of the ocean. I also added some swords and eye patches, a pirate flag draped over a large sack (I filled it with pillows to give the look of a grain bag).
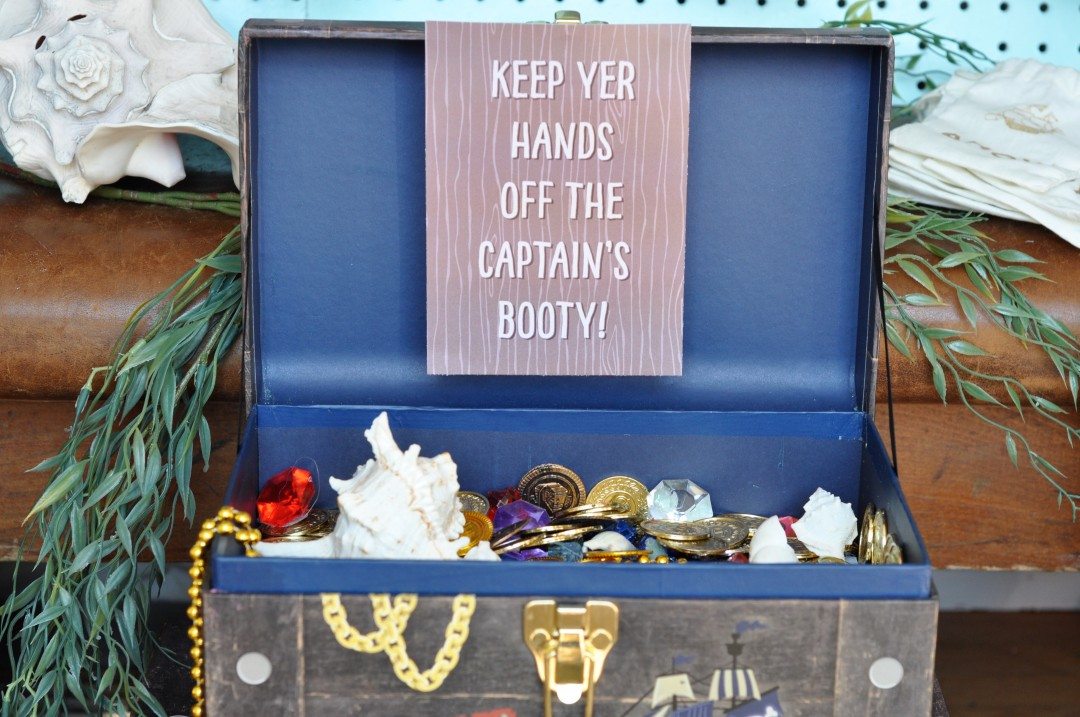
If you are feeling extra creative, here is the technique I used to fill both the treasure chest and a large bushel barrel full of pirate treasure. I couldn’t afford to really fill it up to the brim so I had to make it look like it was.
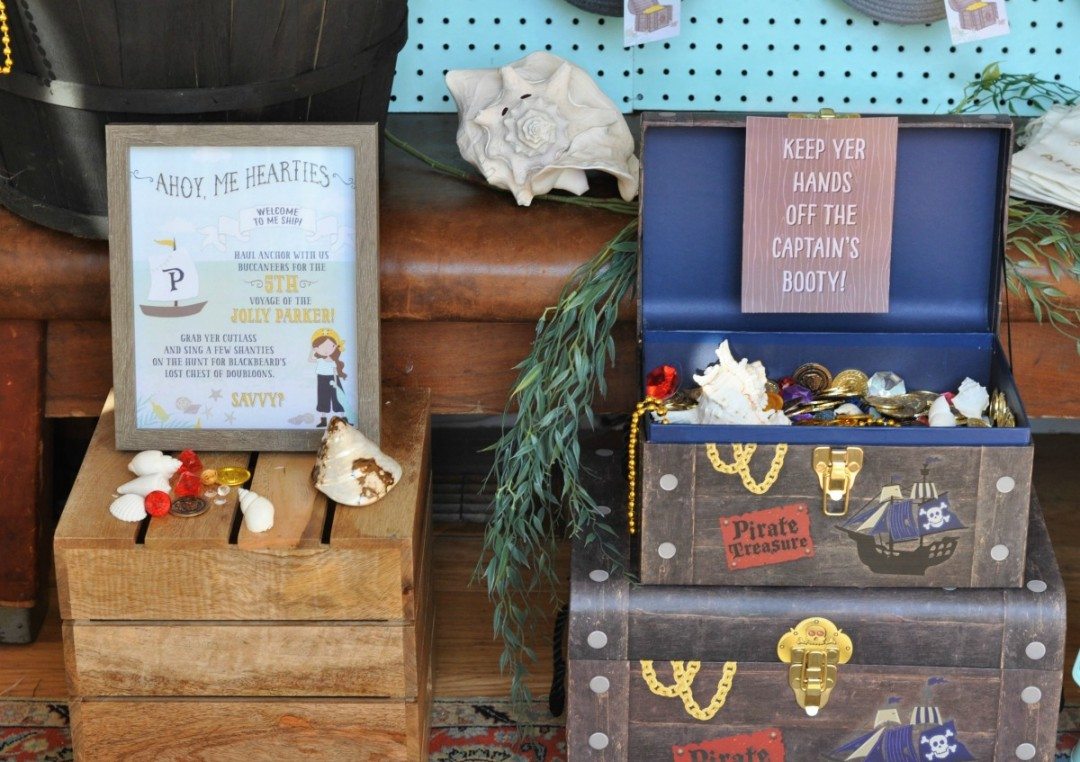
Then I added treasure chests and a big bucket (I used a bushel basket), all full of treasure. Now it would cost a fortune to fill these with treasure, even if they are fake! So I came up with a quick DIY to give the illusion that they were full with coins, gems and jewelry. This gives the look of a full basket of treasure.
Another quick DIY option – you can put a hole in the middle of the basket and insert a pole to hang a pirate flag on, you’ll have a pirate ship look out.
DIY Treasure Basket
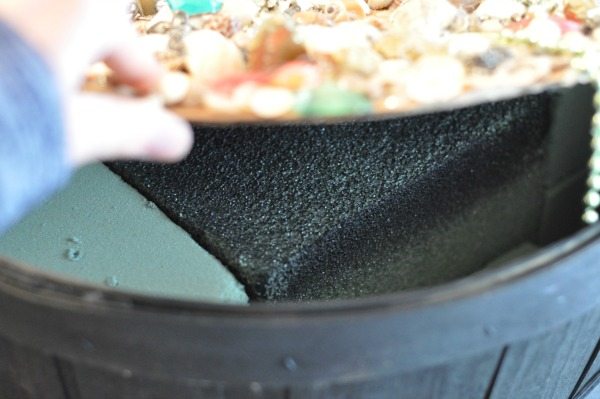
- First I filled the base up with floral foam
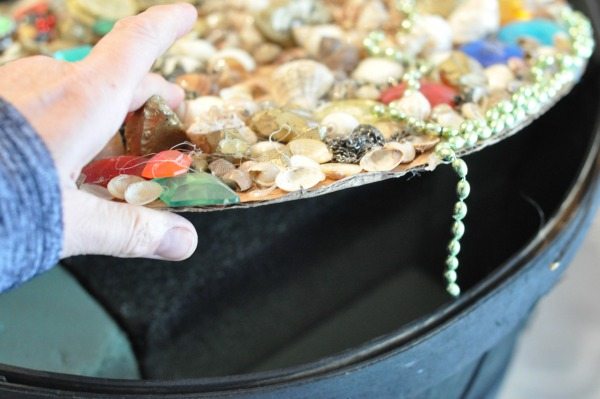
2. Cut cardboard to fit on top of the foam. It should fit part way down the basket, tight.
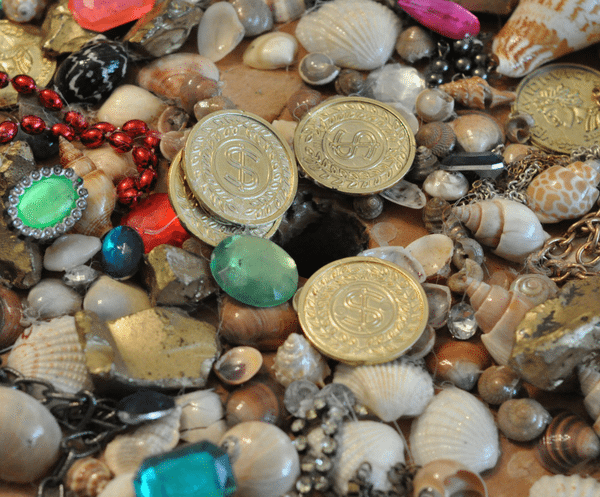
3. Then I glued gems, coins, necklaces and other pirate treasure onto the cardboard.
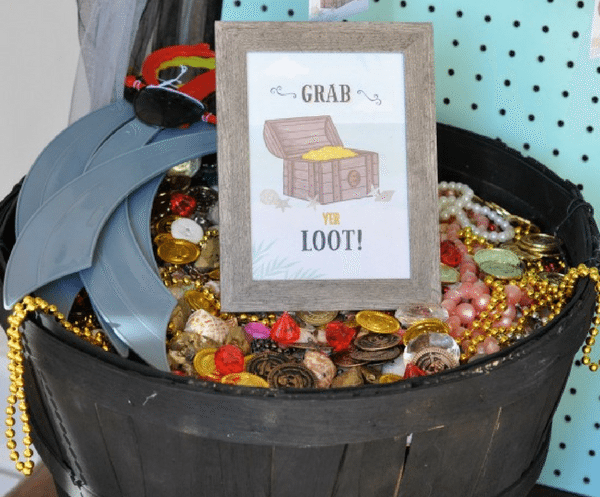
4. Now you have a full treasure chest & the kids can’t take off with it …tee hee
Step Two: Now that I have Treasure Cove set-up with props and hooks at the ready, it’s time to add my the rope baskets full of goodies (and room for more goodies)! Using the hooks inserted into the peg holes and then hang the favor bags (once filled) onto the hooks. It is super easy to get the spacing right as you can count the holes between each basket.
Here’s what I included for the kids to take home:
THE LOOT (FAVOR) SHOPPING LIST
- Mini wooden treasure chest
- Paints
- Glitter pens
- Stickers
- Tattoos
- Fake pirate coins
- Sea shells
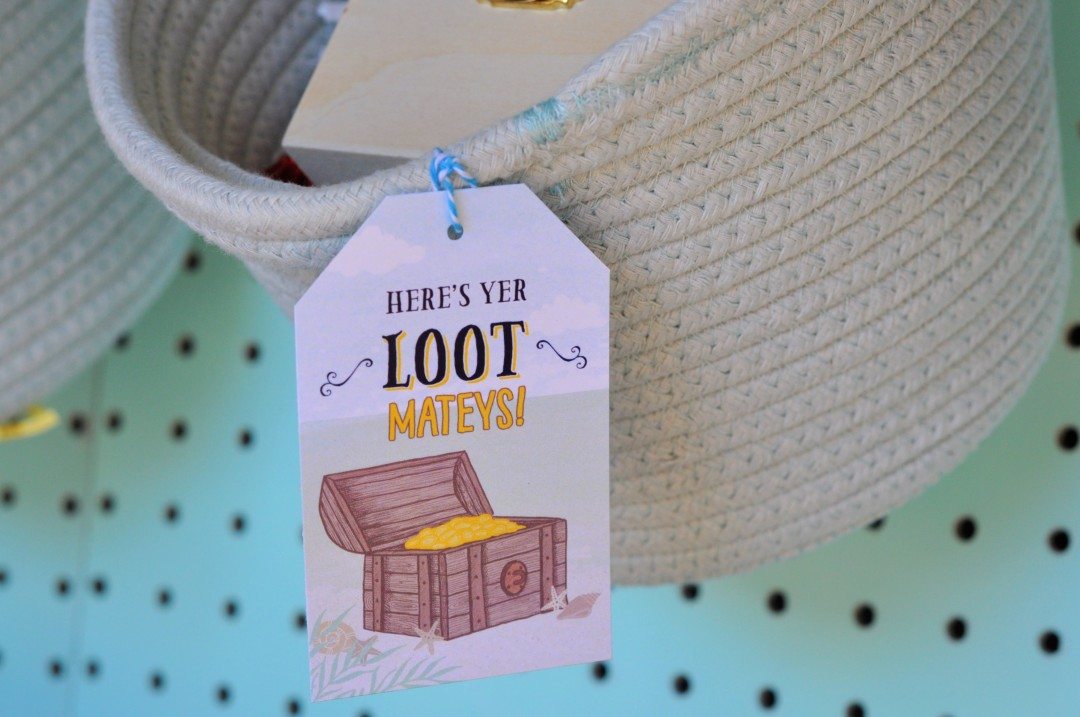
- Favor tags or labels & personalized flag signage
- Shredded paper
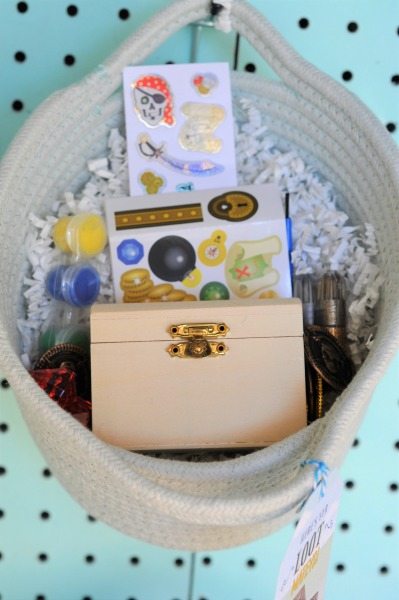
First stuff the baskets with shredded paper and then arrange the goodies on top so the kids can see what’s in there. The cutie favor tag gets tied to one of the handles. You can find the cute printable range on Jen T’s website.
Jen also created some cute signage for me to add. If your like me and love immersing yourself in the theme these are a fun addition….I had things like “Keep your hands off the Captians Booty”…lol my favorite and “Grab yer’ Loot”
More pirate party decor and craft ideas coming to the blog soon.
Happy Partying, Nat x







Leave a Reply