
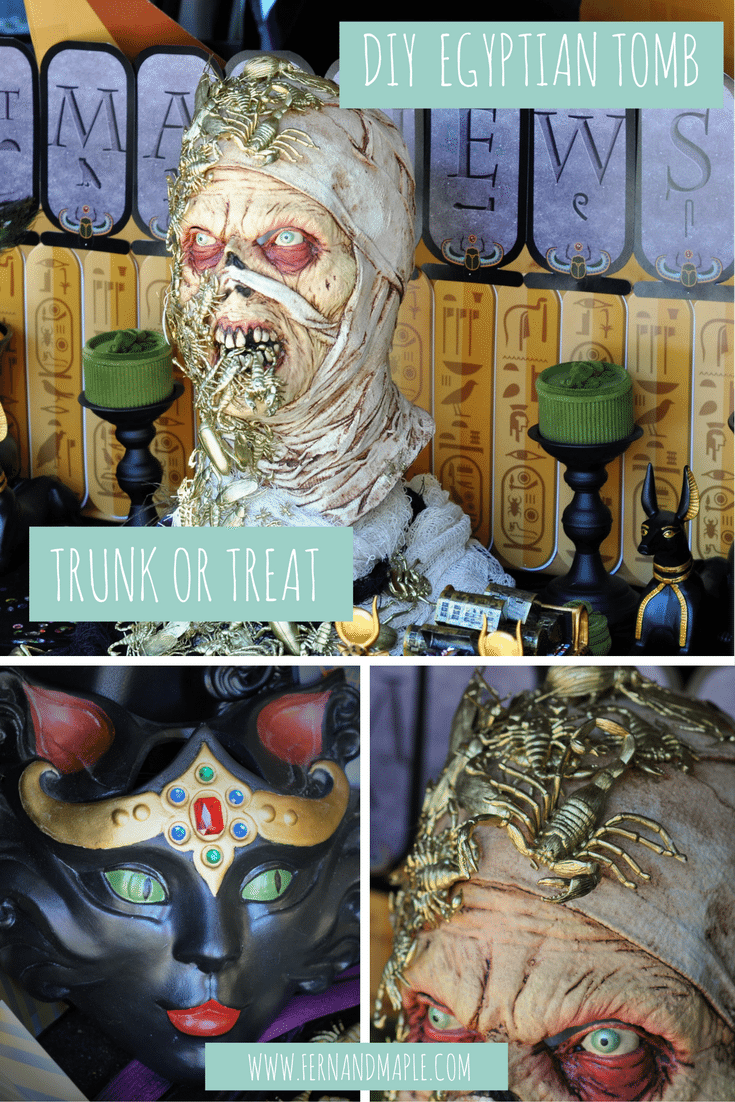
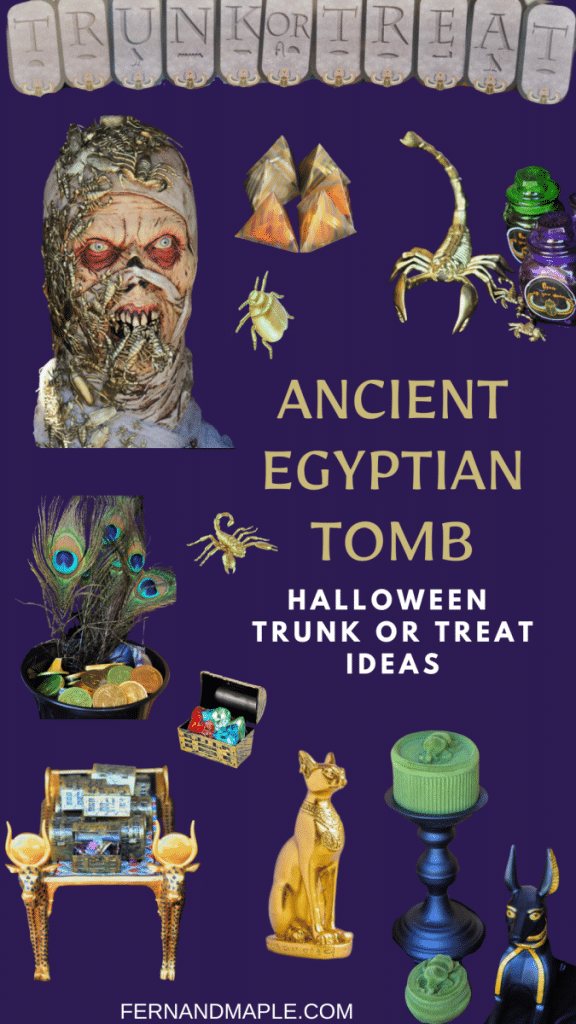
I think Trunk or Treat is a great idea for younger kids (and older kids like myself). It’s a fun challenge to decorate a smaller space and convert the car. When I was thinking about the theme I would choose this year, I found a gorgeous scarab beetle box in a brushed felt dark jewel green. It totally inspired me and I’ve gone with an Ancient Egyptian Trunk or Treat theme! Flesh-eating scarab beetles, scorpions, and a spooky mummy (yes, I loved The Mummy movies with Brendan Fraser)…oh yes I have the spook factor! Read on to see how I set it all up!
P.S. I’ve tagged some items I got from Oriental Trading in the post, they have tons of great Halloween items! But if you prefer Amazon, I rounded up a list of similar or alternative items in my Amazon Shop for you.
When I heard about the Trunk or Treat blog hop with Nikki at Tikkido and Paula at Frog Prince Paperie I jumped at the chance of joining them and their talented friends (thanks ladies!). I’m looking forward to sharing my design with you and seeing the details behind what everyone else has come up with! The designs are fabulous. Be sure to hop on over to the other blogs for a lot more fun! All links at the end of this post.

How to Set up an Ancient Egyptian Trunk or Treat
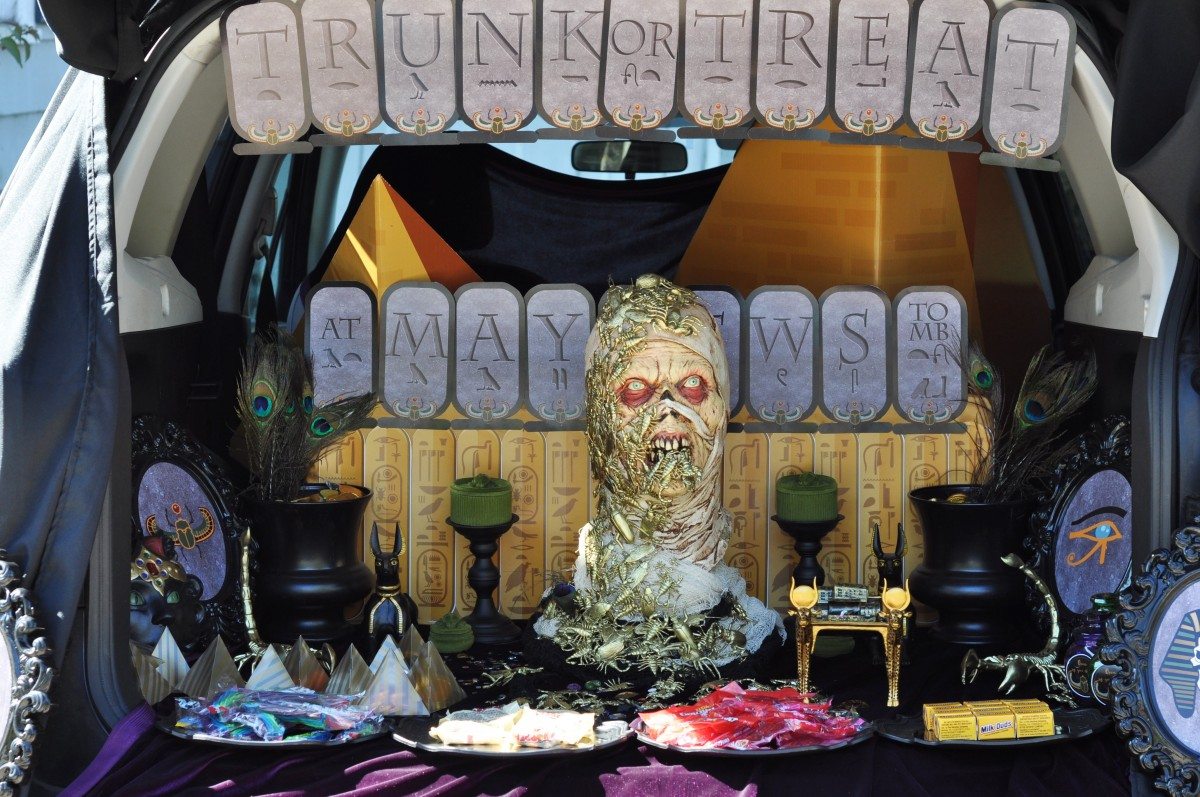
The first thing I did was put the seats down in the back of our SUV. This gave me a large flat area to work with. Then I lay down a piece of soft deep purple velvet on the flooring. It spread over the entire bottom of the trunk and then I pulled it up to the front seat where I pinned the end to the headrests on the front seat. Pinning here meant you can’t see through to the front seat or the windscreen. Now I had a flat purple base. I placed the large pyramid stand-ups I got from Oriental Trading at the back of the trunk.

Creating the Tomb
Next was creating the tomb. The Pharoah mummy’s tomb lines the back of the trunk in front of the pyramids. For this I used a 12×24 piece of foam wrapped in gold fabric and decorated to look like a mummy’s tomb.
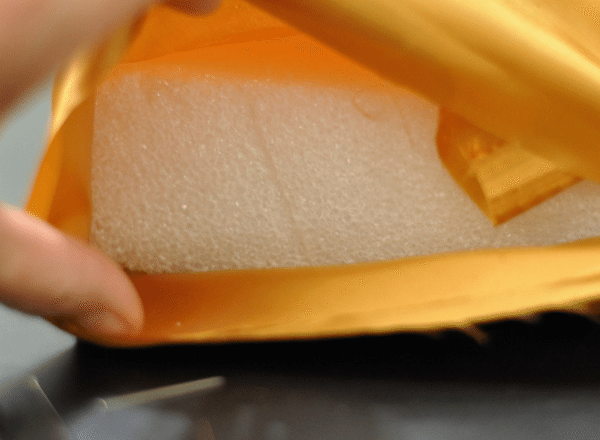
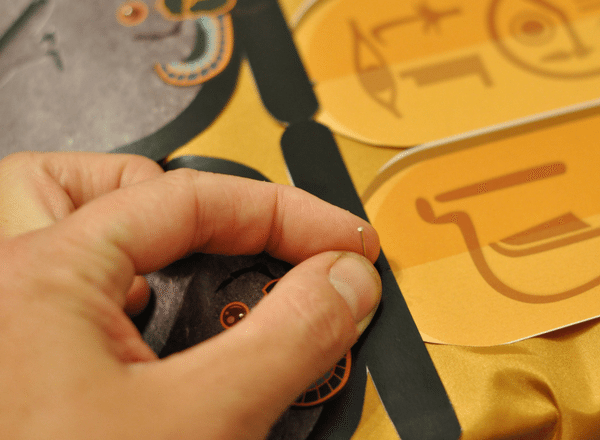
Take a thick piece of foam for stability
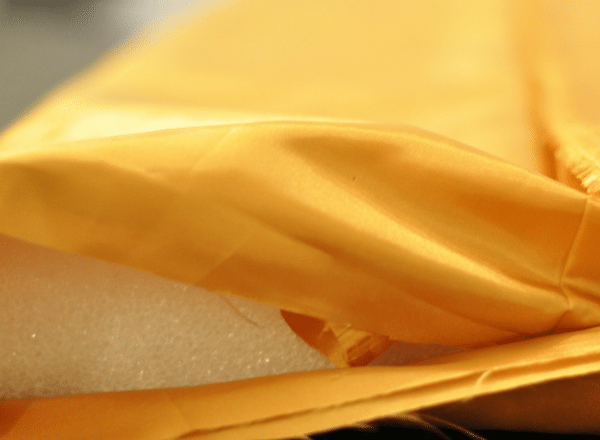
Wrap in gold (I used fabric)
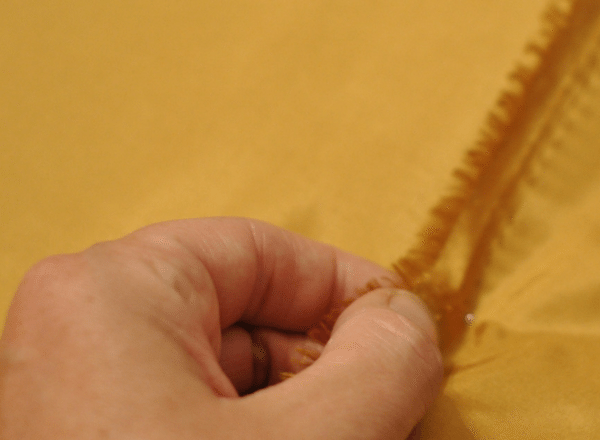
Pin to attach to foam (temporary and reusable)
Creating a Backdrop
My darling friend Elena of World Wide Party also made me some hieroglyphic panels to add to the tomb to make it look more authentic. I was able to cut them out and then overlay them on the foam & fabric to look like a carved tomb. How lucky was it that she had just been to the Egyptian museum so was equally as inspired as I was!! She also created a great banner for me that said “Trunk or Treat at Mayhew’s Tomb” and made it look like carved hieroglyphics into stone with scarab beetle accents. I used half on the tomb and the other half on the car. 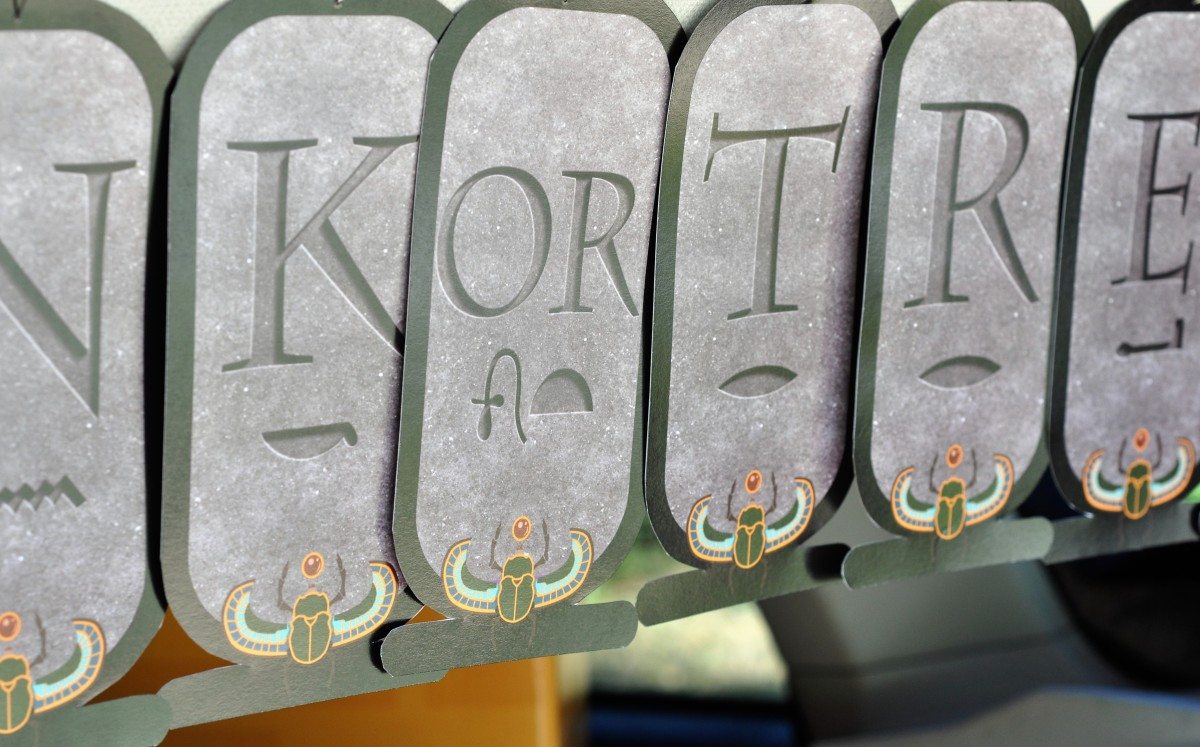
There is a small rim of rubber around the top of the trunk. I used pins to attach the top of the banner “Trunk or Treat” above the tomb.
Pin the panels of hieroglyphics
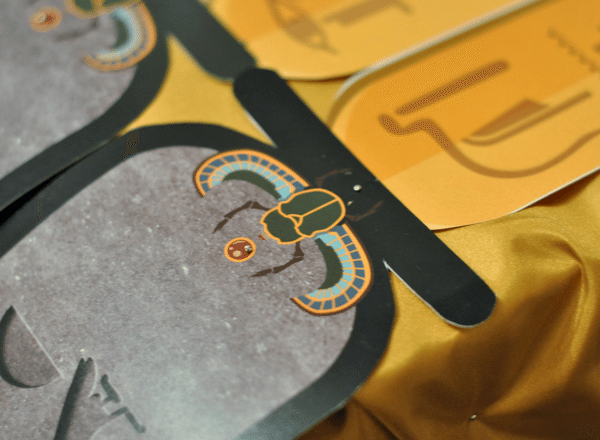
Then pin the banner
Pin personalized tomb signage. Our tomb read “at Mayhew’s Tomb”
Then I added black tablecloths over each side of the car and over the open trunk. I used a combination of safety pins and closing ends of the tablecloths in the car doors (!) to keep these pieces of black cloth secure.
Decorating the Trunk
Once secure I then started decorating the trunk itself. Starting with the Egyptian props. And of course the flesh eating scarab beetles that started me on this journey. I placed the larger scarab boxes up on black candlesticks I had from a previous Halloween for height. Then I flanked these with 2 Egyptian Anubis dogs and a Pharoah cow bed, finally adding a Egyptian style bejeweled cat face I found at the junk store. I love these pieces. They gave it that authentic feel, as well as the feel of creatures guarding the tomb.
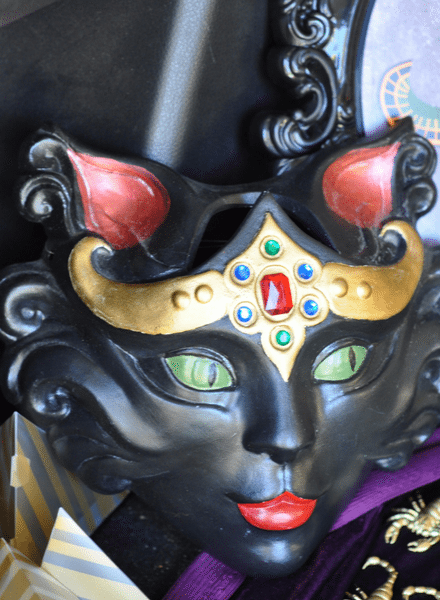
The bejeweled cat

The dogs flanking the mummy in front of the tomb
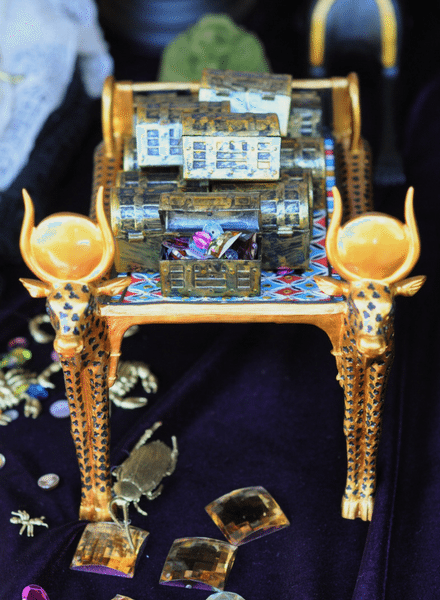
The traditional cow bed
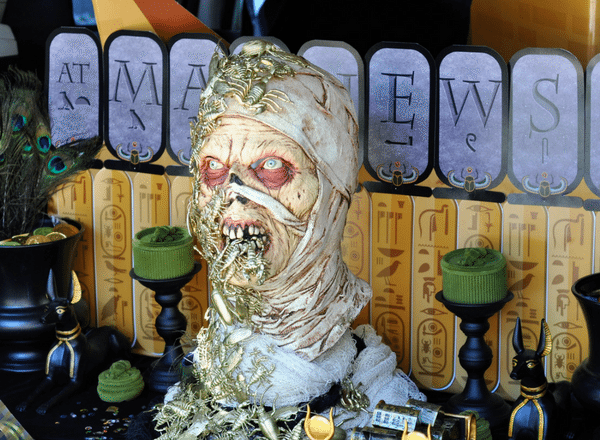
Adding a DIY Spooky Centerpiece
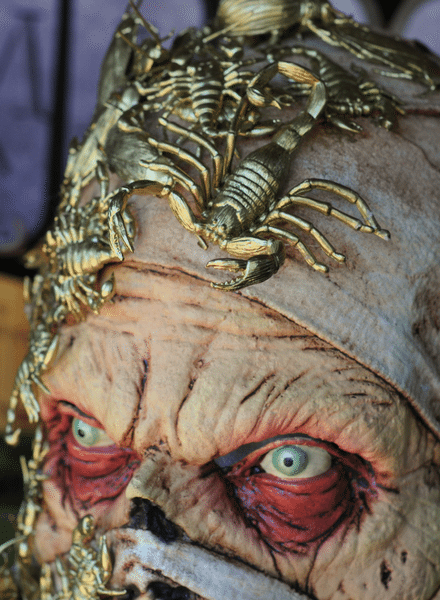
I then added the centerpiece, a mummy head that is actually a mask! You can find the DIY instructions for that HERE. I covered it in creepy bugs and surrounded it with even more bugs and scorpions. For me ancient Egypt means flesh eating beetles and stinging scorpions so I used a lot!! I decided to spray paint them gold and it made them stand out really well against the dark purple backdrop of velvet and gave the impression of riches that you would find in an Egyptian tomb. Add to that a ton of jewels and I think you get the impression you walked into an undiscovered tomb.
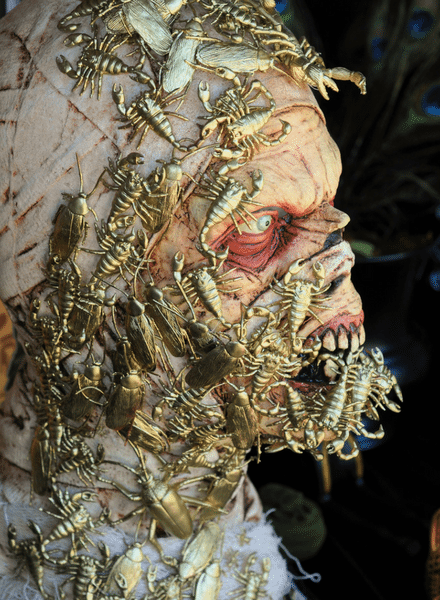
Gold spray painted bugs
Scorpions, cockroaches & flies
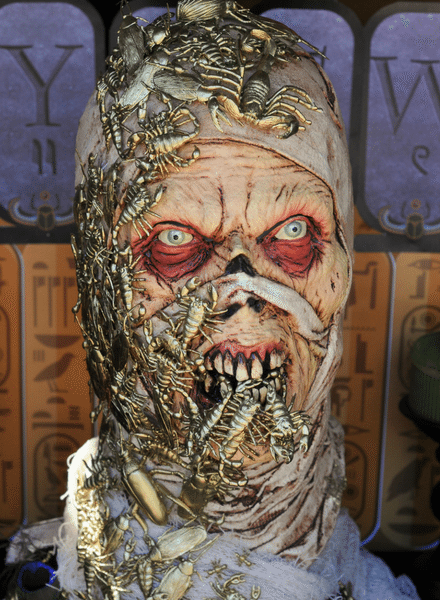
Cascading into the trunk
I also added glass bottles or vessels in rich jewel colors (green, purple and red) with labels “open if you dare” that Elena made for me to add to the mystique.
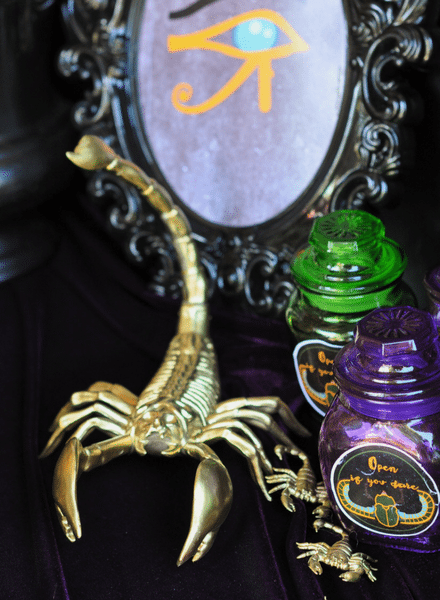
Giant guardian scorpions
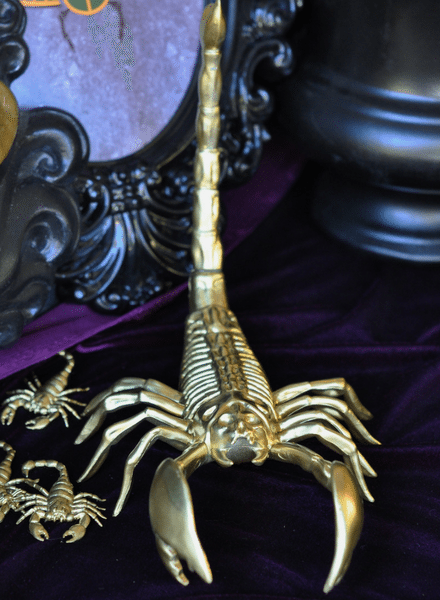
Either side
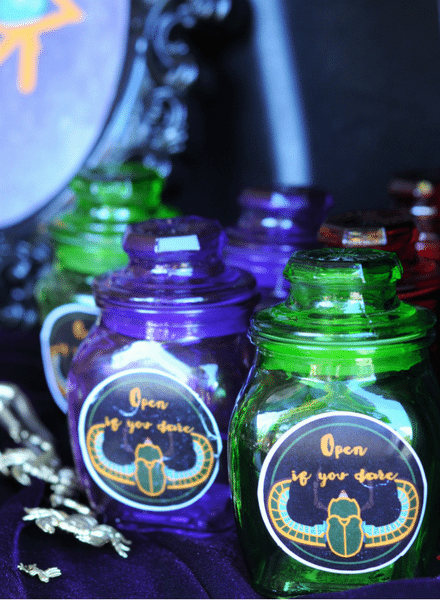
Mystery potion bottles
Setting Out the Candy
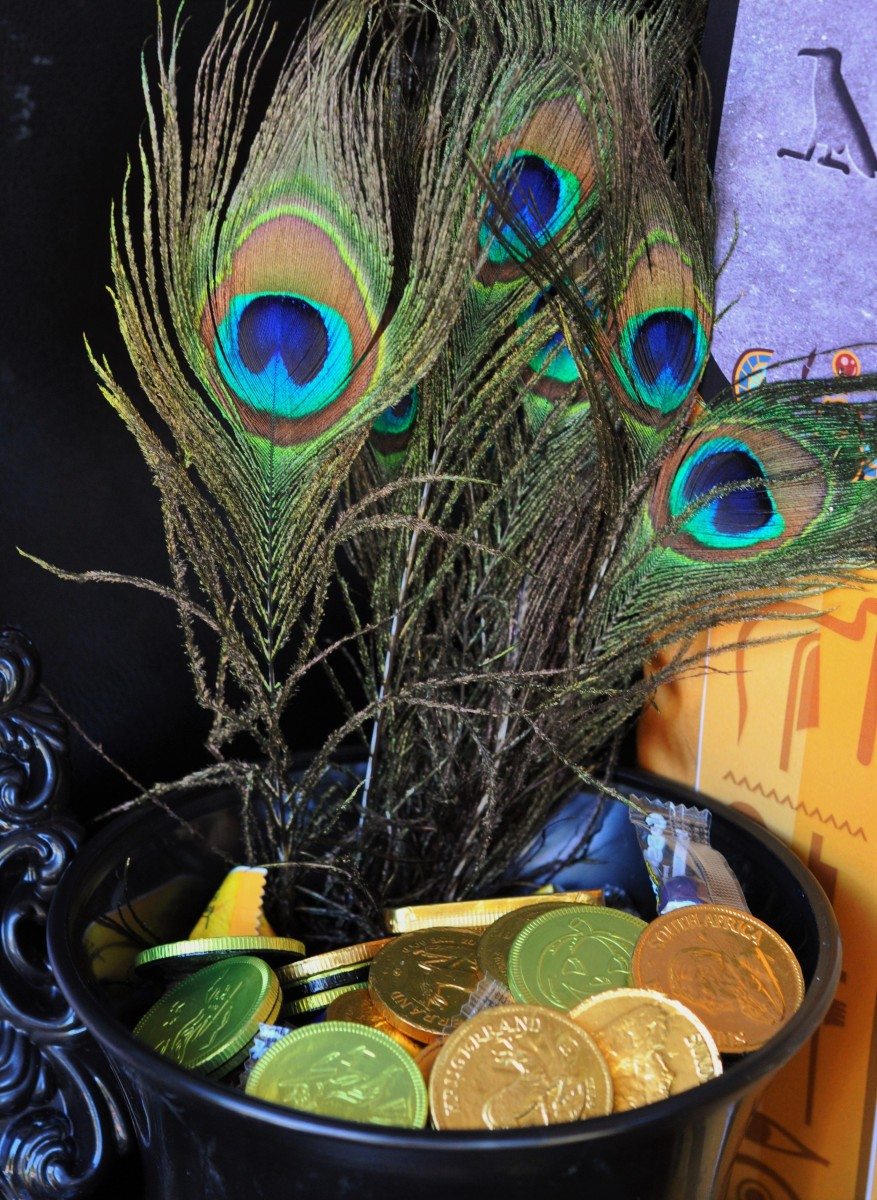
Well it wouldn’t be a Halloween tomb without candy, so I added these next. Several varieties. First I used the super stylish gold striped favor boxes I found on Oriental Trading and filled them with chocolate coins…riches from the tomb! Then I filled the 2 black urns I found at the junk store with candy and saved some of the chocolate candy coins as a layer across the top. This was my prime candy. Don’t laugh! It’s for those super adorable kids with the best manners that I just want to shower with candy!
Then the main bulk of candy. I used black ornate plates across the front of the trunk and stacked these high with candy. Each plate has a different type. Sort of like a different jewel in the tomb. These are for my grab and run kids, lol.
I also added accents like peacock feathers to the urns, to give the feel of a rich and regal tomb.
These days there are a lot of children who are unable to have the candy treats. I always like to have a selection of non-candy treats, play dough, necklaces, pencils and rings. There is a huge selection on Oriental Trading. This year, to go along with my theme of an Egyptian tomb I went with jewels. They have a large selection of crafting jewels that my kids love…treasure! I spread these amongst the bugs and put some inside tiny treasure chests. An easy non-candy option.

Pyramids filled with chocolate coins
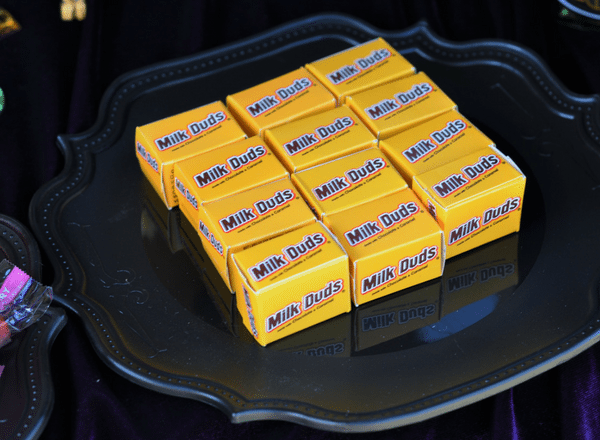
Ornate black plates piled high with candy
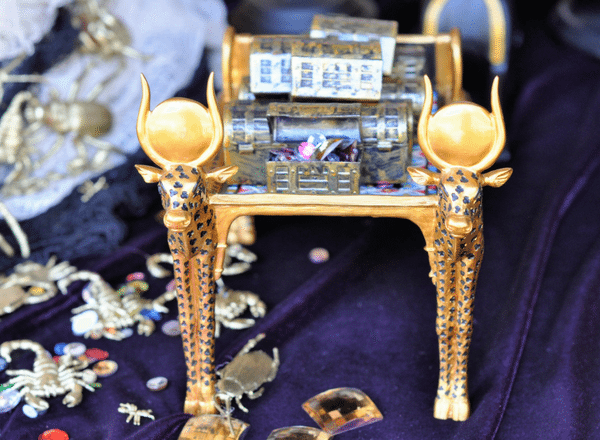
Non candy treasure boxes with gems and jewels
Egyptian Embellishments
The last thing to add to give it a bit more spook are some creepy pictures. I used black ornate frames I’ve had forever, and Elena created me some wickedly scary Egyptian images. I took out the skull images in the frames and replaced them with a Pharaoh skull, the evil eye, a scarab beetle and a faceless Pharoah. Once these touches were done I stood back and took a look at my 1st Trunk or Treat. The only thing I might add on the day is an extra fold out table up front. I can cover with another black table cloth and put a lot more of the black plate/trays on it and put more candy on it. Practically, this is going to keep the masses fueled with candy and also keep the kids a little back from the main design.
So there you have it. A spooky Egyptian tomb with a mummy that has been set free by an ancient spell!
Now that you’ve escaped from the mummy’s grasp, do you want even more fabulous Trunk or Treat ideas for Halloween?
Check out the amazing Trunk or Treats created by my blogging friends:
Minecraft Trunk or Treat from Frog Prince Paperie
City Morgue Trunk or Treat from Everyday Party Magazine
Silly Monster Trunk or Treat from Cupcake Wishes and Birthday Dreams
Big Top Terror Trunk or Treat from Michelle’s Party Plan-It
Day of the Dead Trunk or Treat from Hey Girl Events
The Lion, the Witch, and the Wardrobe Trunk or Treat from Tikkido
Halloween in the Garden by Garden Chick
And be sure to check out all the rest of my Halloween Party ideas! I have tons for both adults and kids.
Happy Trunk or Treating!
As a blogger, I sometimes receive compensation and/or products in exchange for my styling and crafting services. I also may earn a small commission from any sales that result from affiliate links on this page. As always, all project ideas and any opinions expressed here are my own. For further information on our disclosure policy please check out our disclosure page.
PIN FOR LATER:


This is totally amazing!
thank you so much for taking a look! xx
I love this so much!! The golden bugs are probably my favorite touch. The perfect blend of spooky and gorgeous!
Thanks so much Nikki!! I can’t help myself around spray paint!
Love it!! You are so talented!! Thanks for sharing ❤️
Cat.
thank you so much!
Oh my goodness!! I just love the richness of the detail you included in your trunk! Those scarab boxes are an amazing starting point, but I think my favorites are the giant scorpion guardians. So amazing!
Oh I’m so glad you like them, thanks for visiting it! xx