‘Tis the season for making lots of holiday stickers. My inner tween rejoices at the idea of turning everything into stickers! As a kid I even had a sticker collection I was rather proud of. To be truthful, I’m still somewhat addicted to cute stickers! Now you (I mean your little crafter! LOL) can turn all sorts of things into stickers with a mini sticker maker from Xyron!
The mini sticker maker is super easy to use, only a gentle touch is needed to operate it. It is my NUMBER ONE GIFT PICK this year. No more messy glue or glue gun burns. Read on for all the details!
How to Use a Mini Sticker Maker
As a blogger, I sometimes receive compensation and/or products in exchange for my styling and crafting services. I also may earn a small commission from any sales that result from affiliate links on this page. As always, all project ideas and any opinions expressed here are my own. For further information on our disclosure policy please check out our disclosure page.
Out of the Box Ready
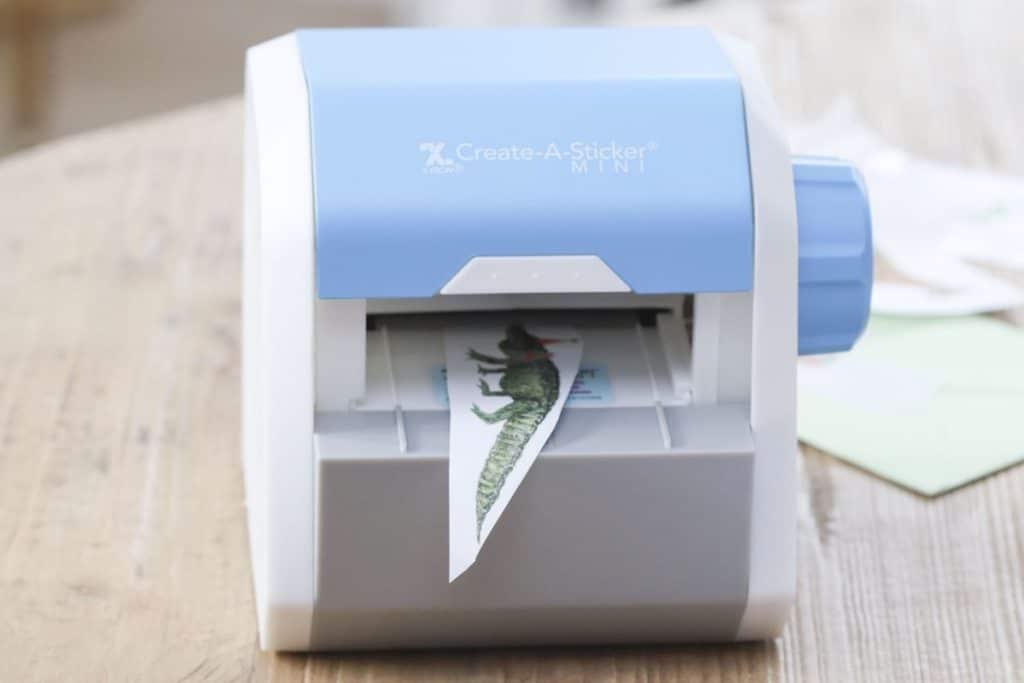
One of my favorite things about the Create-A-Sticker Mini from Xyron is that you can take it out of the box and it is ready to go! This is super important to me when giving it as a gift, I don’t want to run around looking for batteries or realize I need something else to make it work. The tool comes pre-loaded with a working cartridge.
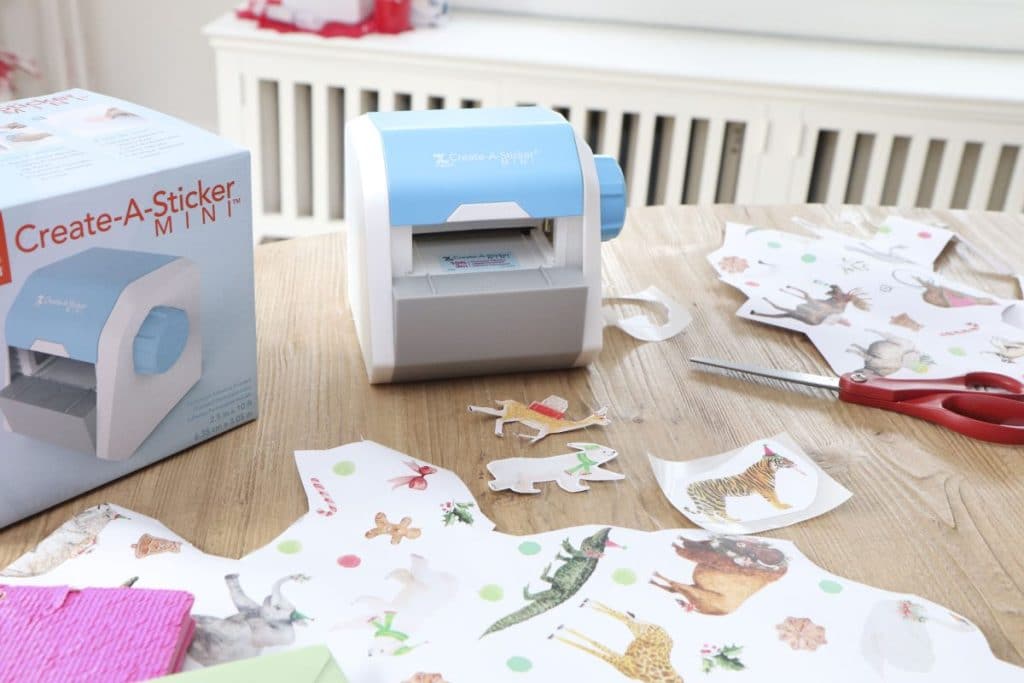
The mini creates stickers up to 2.5″ wide and you get 10 foot of adhesive in your starter cartridge. We got approx thirty 3″ stickers out of that first starter roll – we improved our wastage by the end and next time would get approx forty stickers out of 10′.
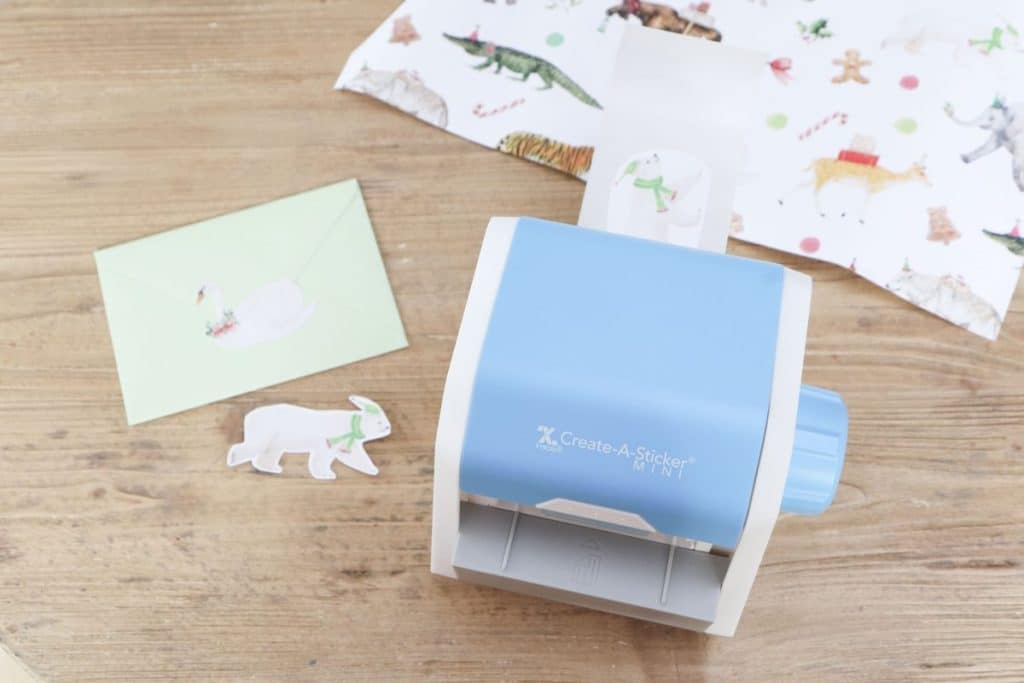
Between the 3 of us we used our whole roll in an afternoon (it’s so fun!) so I highly recommend buying replacement cartridges up front. Refill cartridges are available in double packs (and each cartridge is 20′ long so thats double the fun) which are super affordable. Use promo code REFILL20 for 20% off select refills.
A Fun First Project – Wrapping Paper Stickers
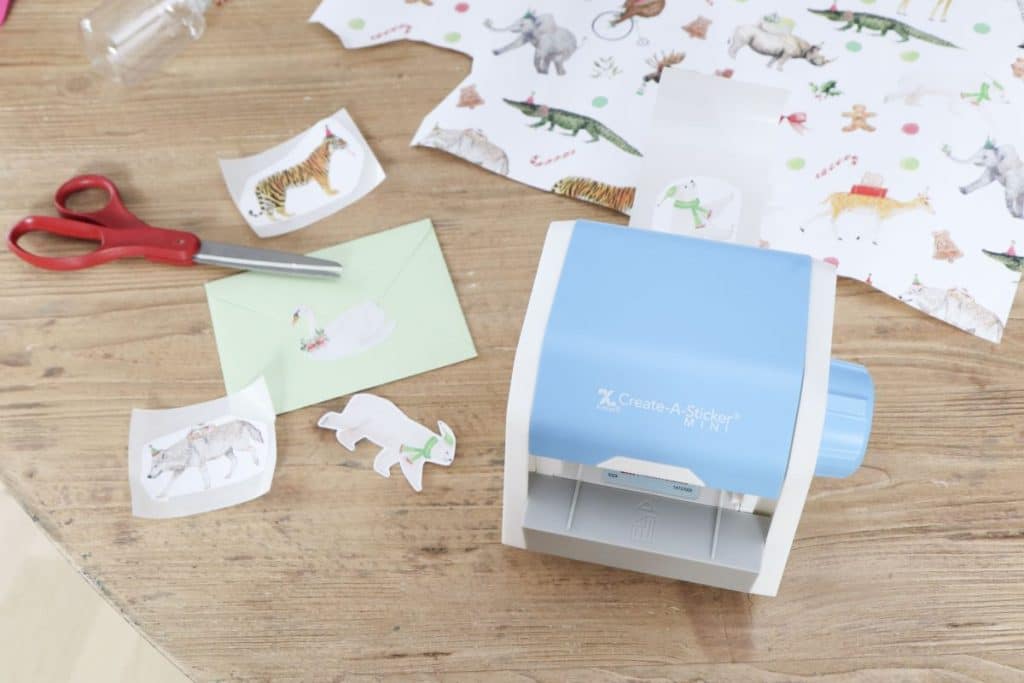
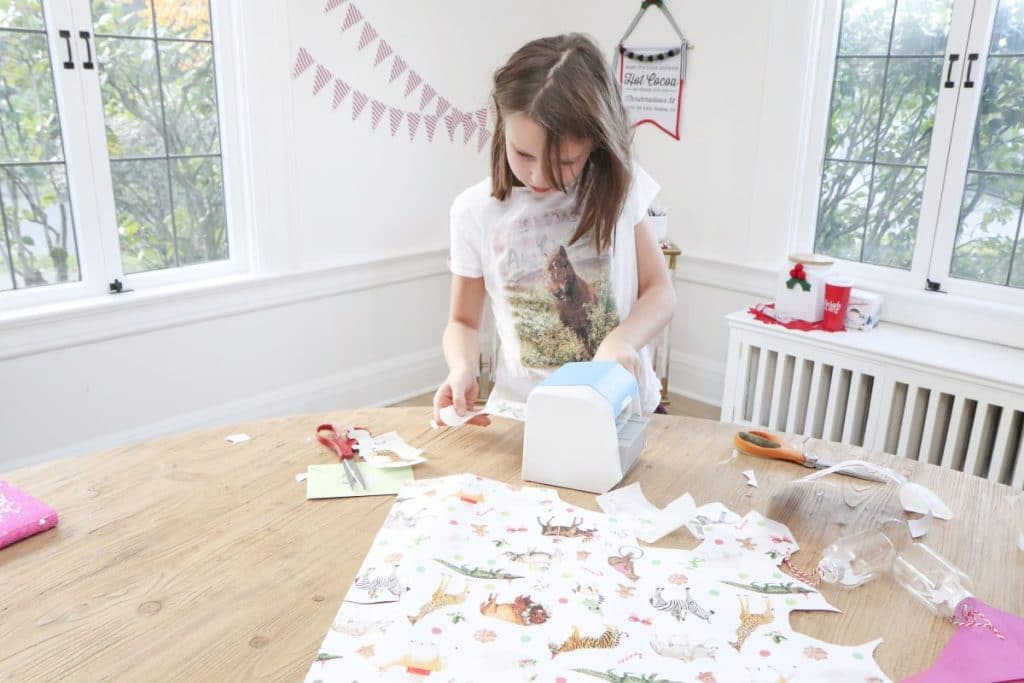
For our first project we created stickers using a roll of our favorite wrapping paper from Painted Parade. The pattern on this wrapping paper is all animals in seasonal party outfits (awwww!), in addition to smaller details such as gingerbread men, bells etc.
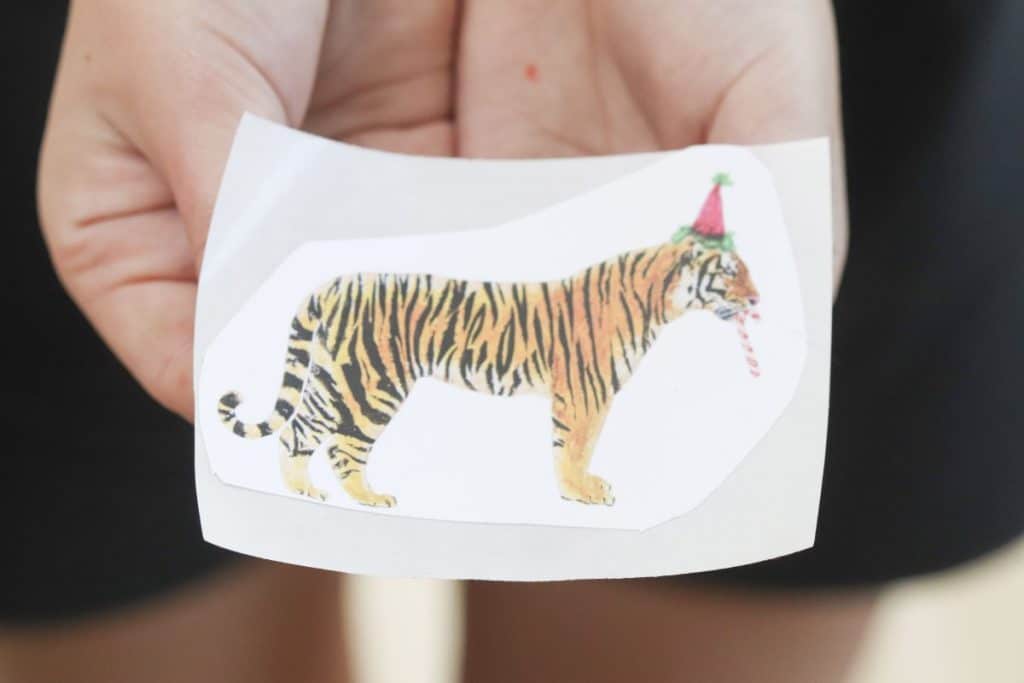
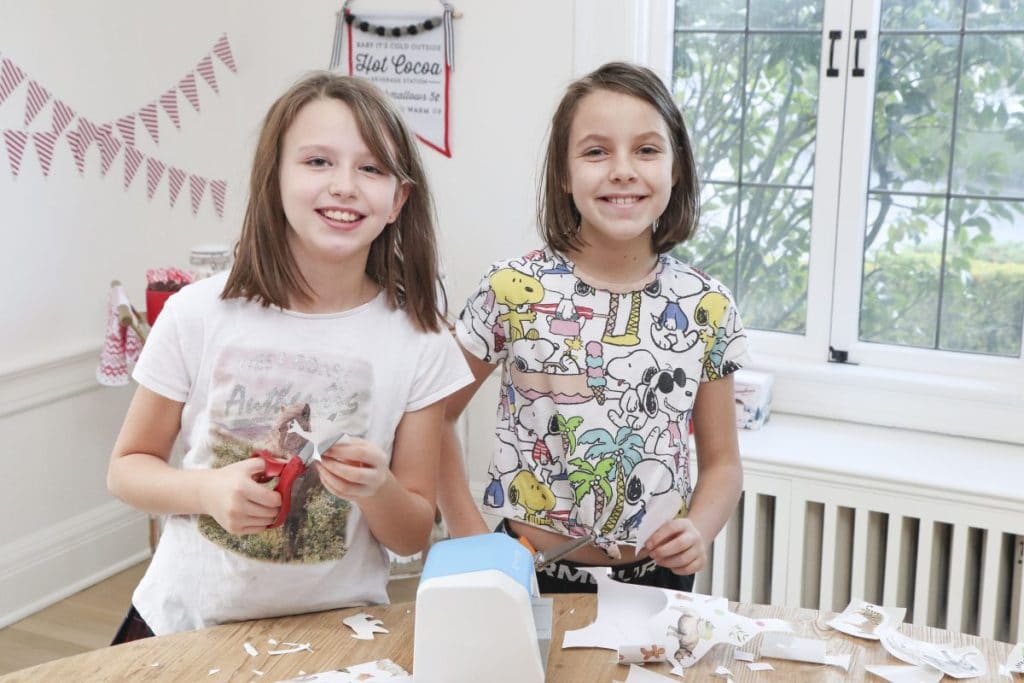
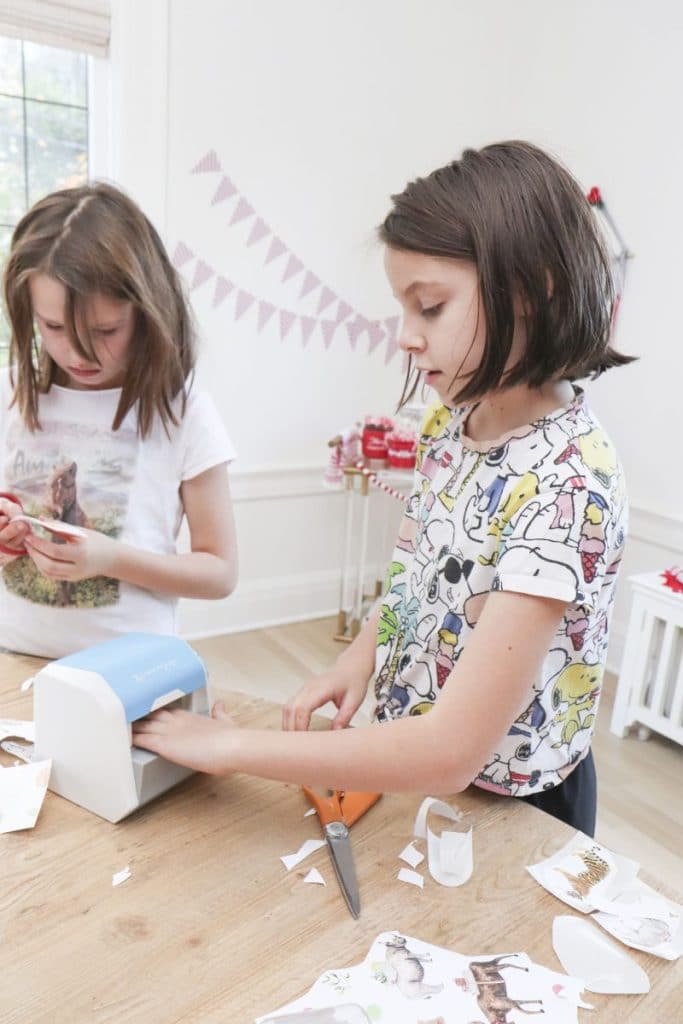
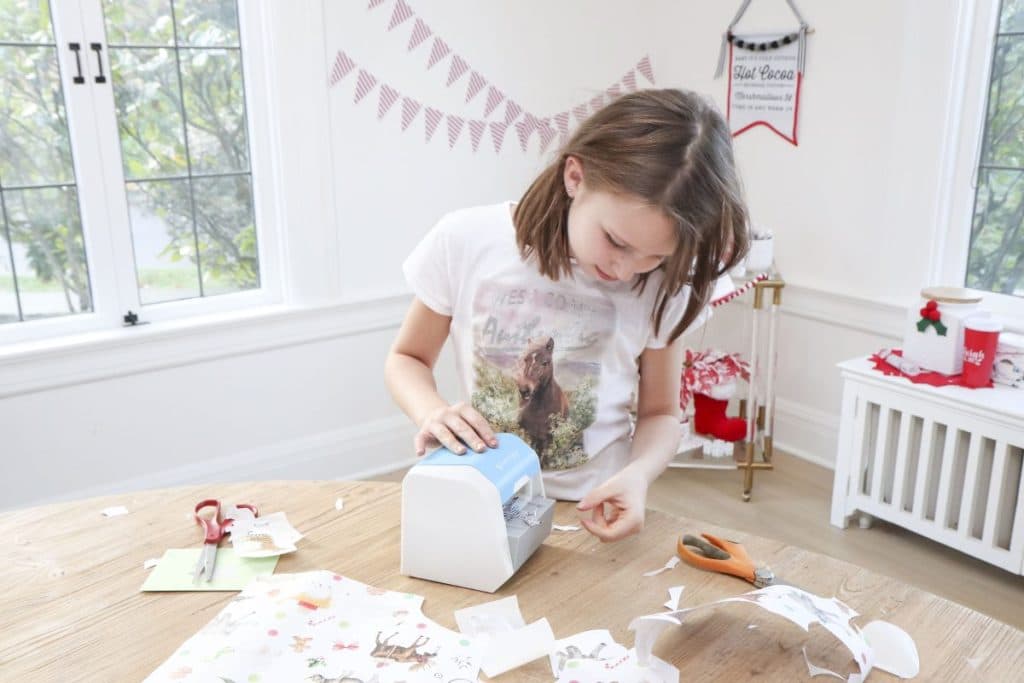
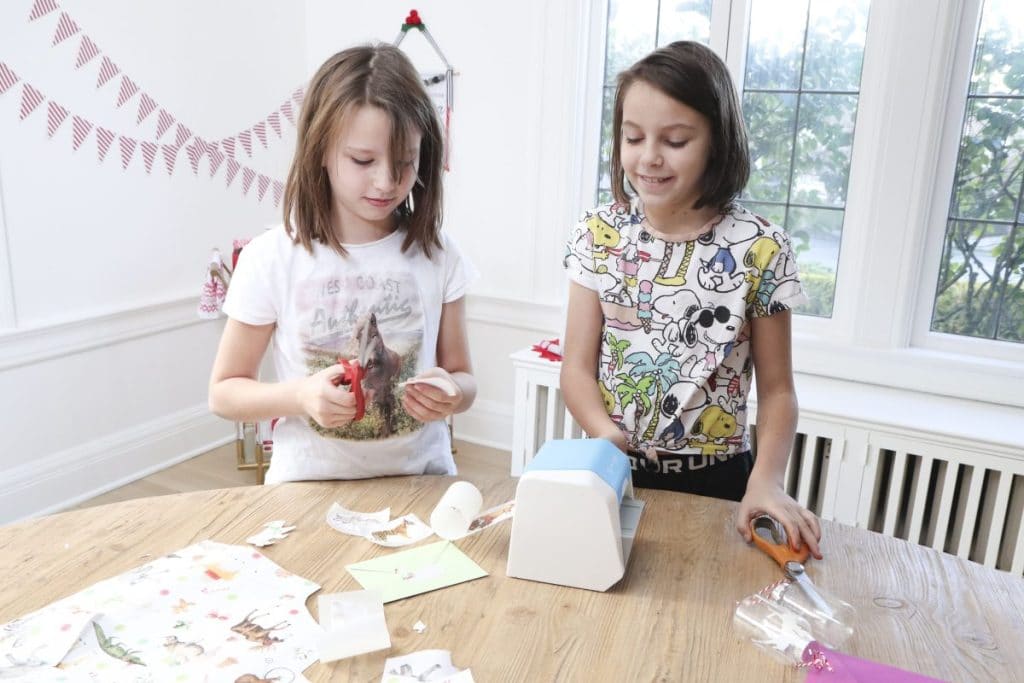
The kids cut out animals from the wrapping paper to make into stickers. A roll with a repeating pattern like this gave lots of cute animals to turn into stickers and enough for each of them to create more than one.
We used these stickers to seal envelopes (including our letter to santa!), in journals, on cards, on packages and I just found a bunch all over Parker’s cutting mat! LOL
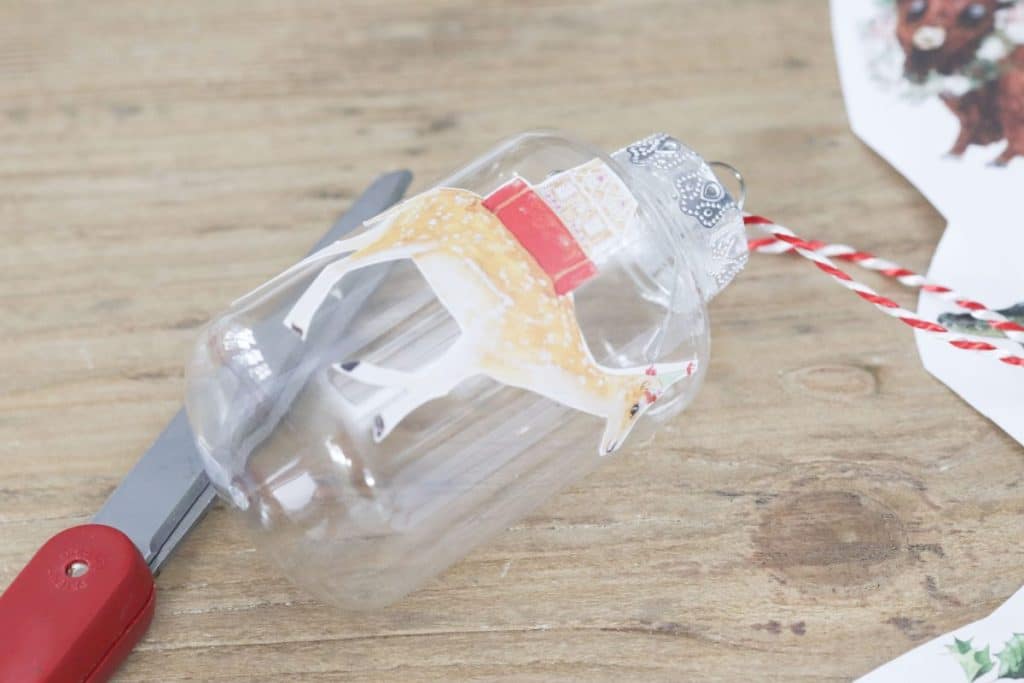
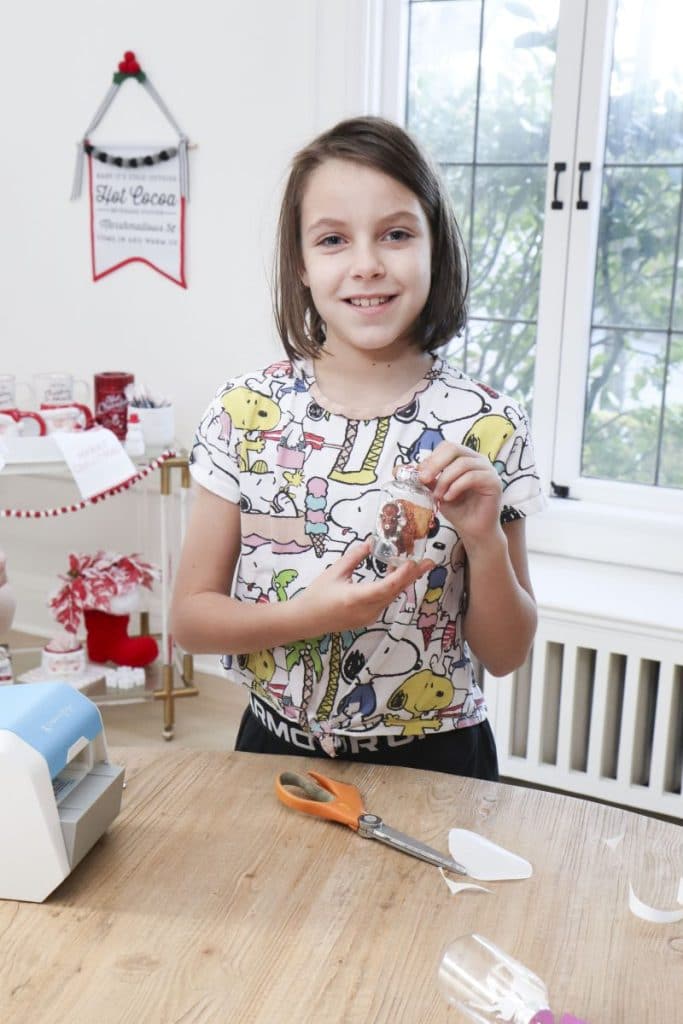
We also added them to clear fillable ornaments – next we will fill these with snow & glitter…aren’t they cute?
Step One
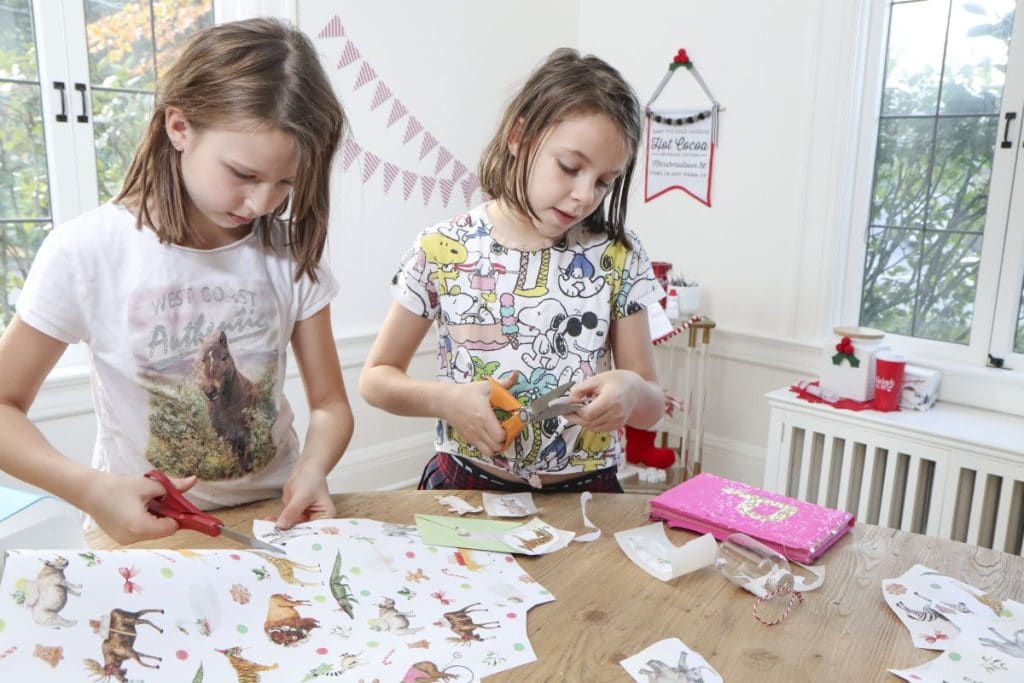
Cut out the image ready to feed through the sticker maker. This can be a rough cut (cut closer after the sticker is made) or cut it out how you want the sticker to be made. This was the girls preference.
Step Two
Feed the wrapping paper image through the maker. Remember, it creates stickers up to 2.5″ wide, so it is important to put the sticker in the direction it will fit!
Step Three
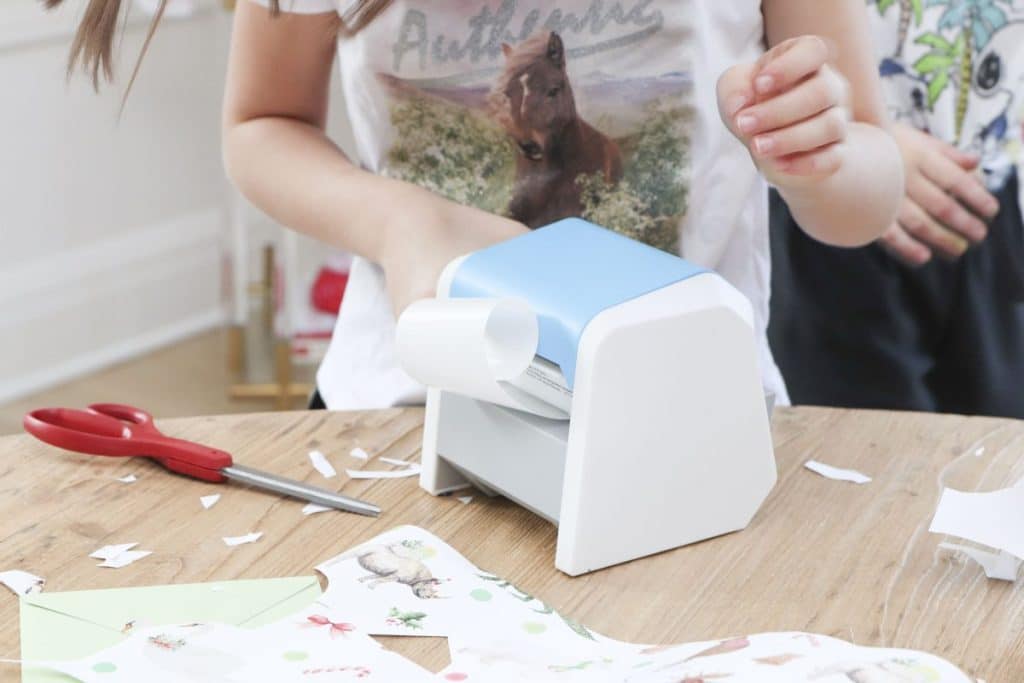
Turn the handle! So easy!
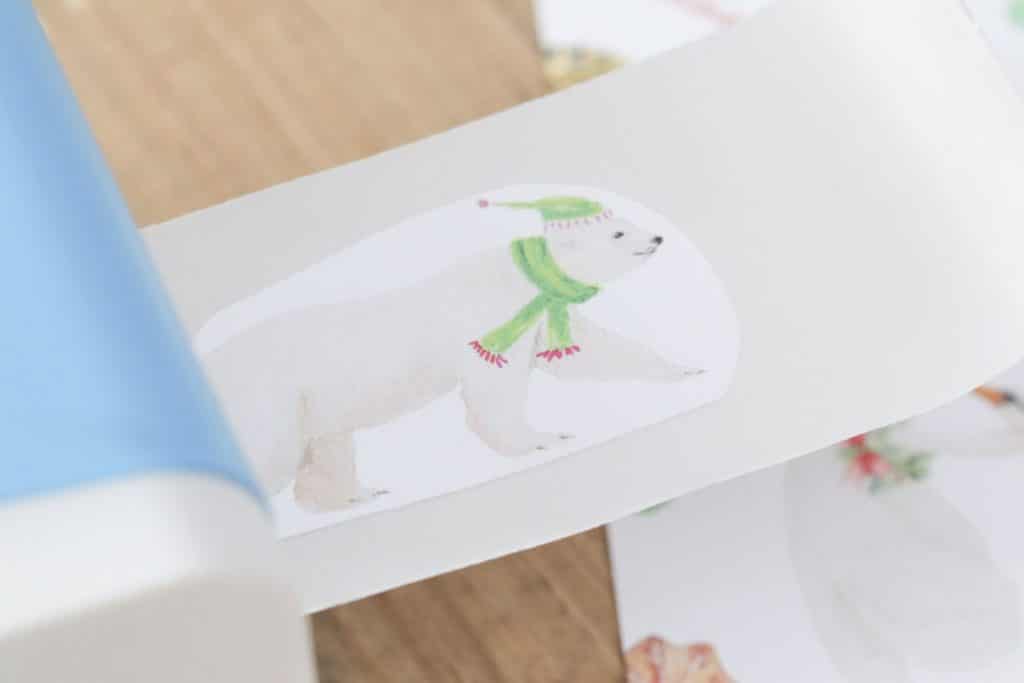
Step Four
Out pops the finished sticker, cut off the sticker from the strip.
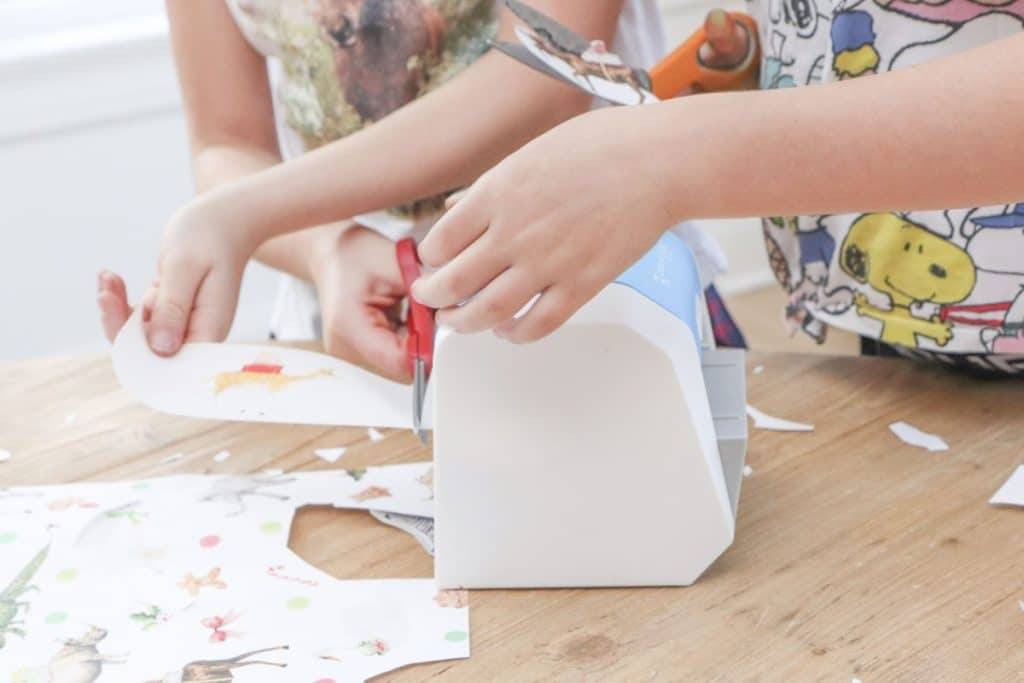
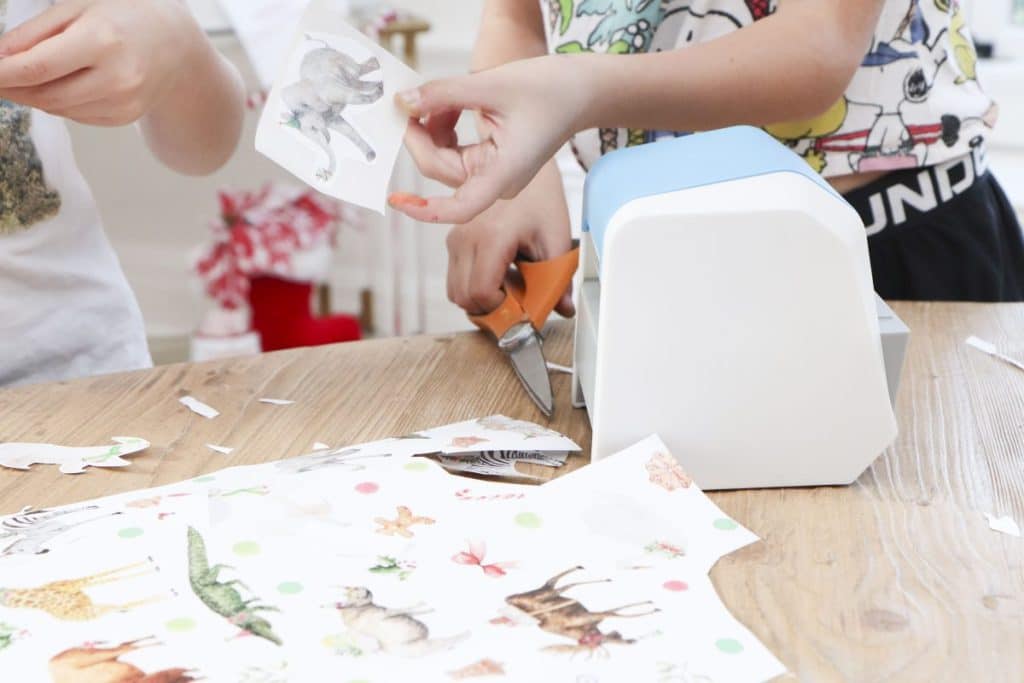
Step Five
Optional: Trim the sticker further by cutting around the edges.
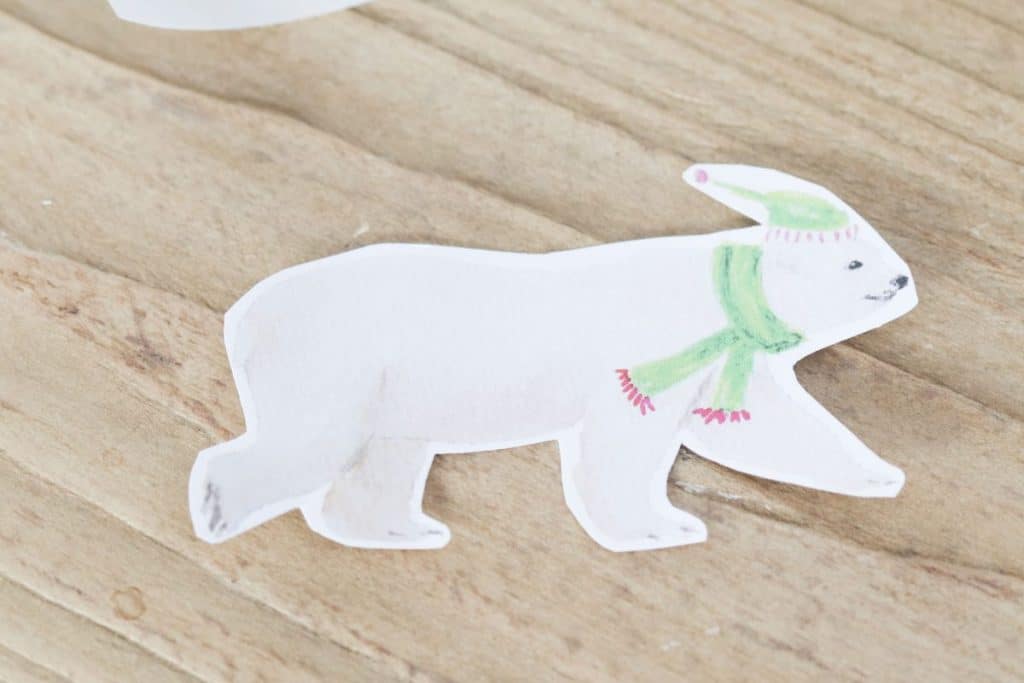
Easy Peasy! Isn’t this a fun tool? We are sending it in to school for a sticker making session with the teacher. The kids can decorate their name plates with stickers they make.
What would you turn into a sticker first? I’d love to hear your thoughts!
You can find the Sticker Maker HERE! For more holiday gift ideas, check out my post on Gift Ideas for the Creative Tween and Gift Ideas for Teen Gamers.
Happy Sticker Making!
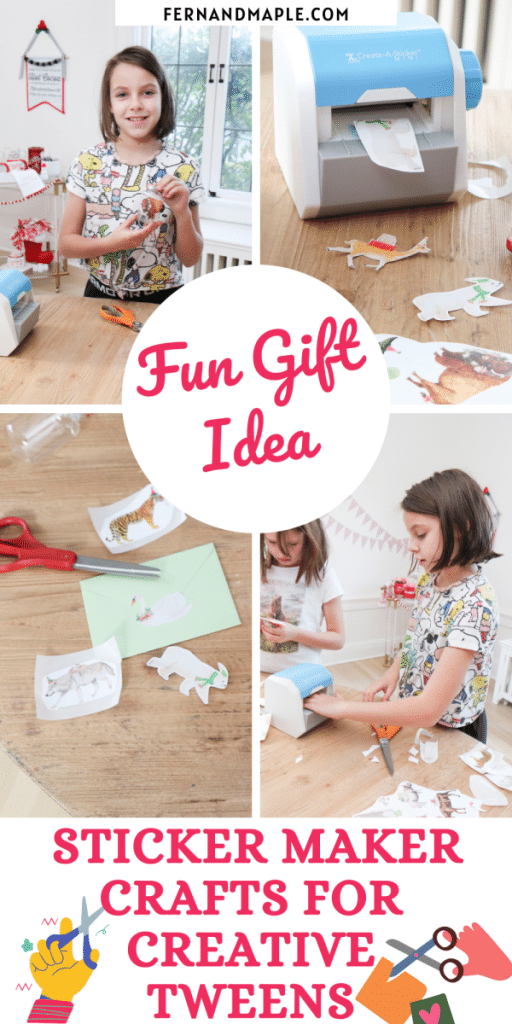
PIN FOR LATER:







Leave a Reply