If your children are like mine they are constantly in sports or active wear (while I shuttle them between games & practice!). My daughter in particular loves clothing that she is able to move around in with ease, kicking like a ninja warrior of course.
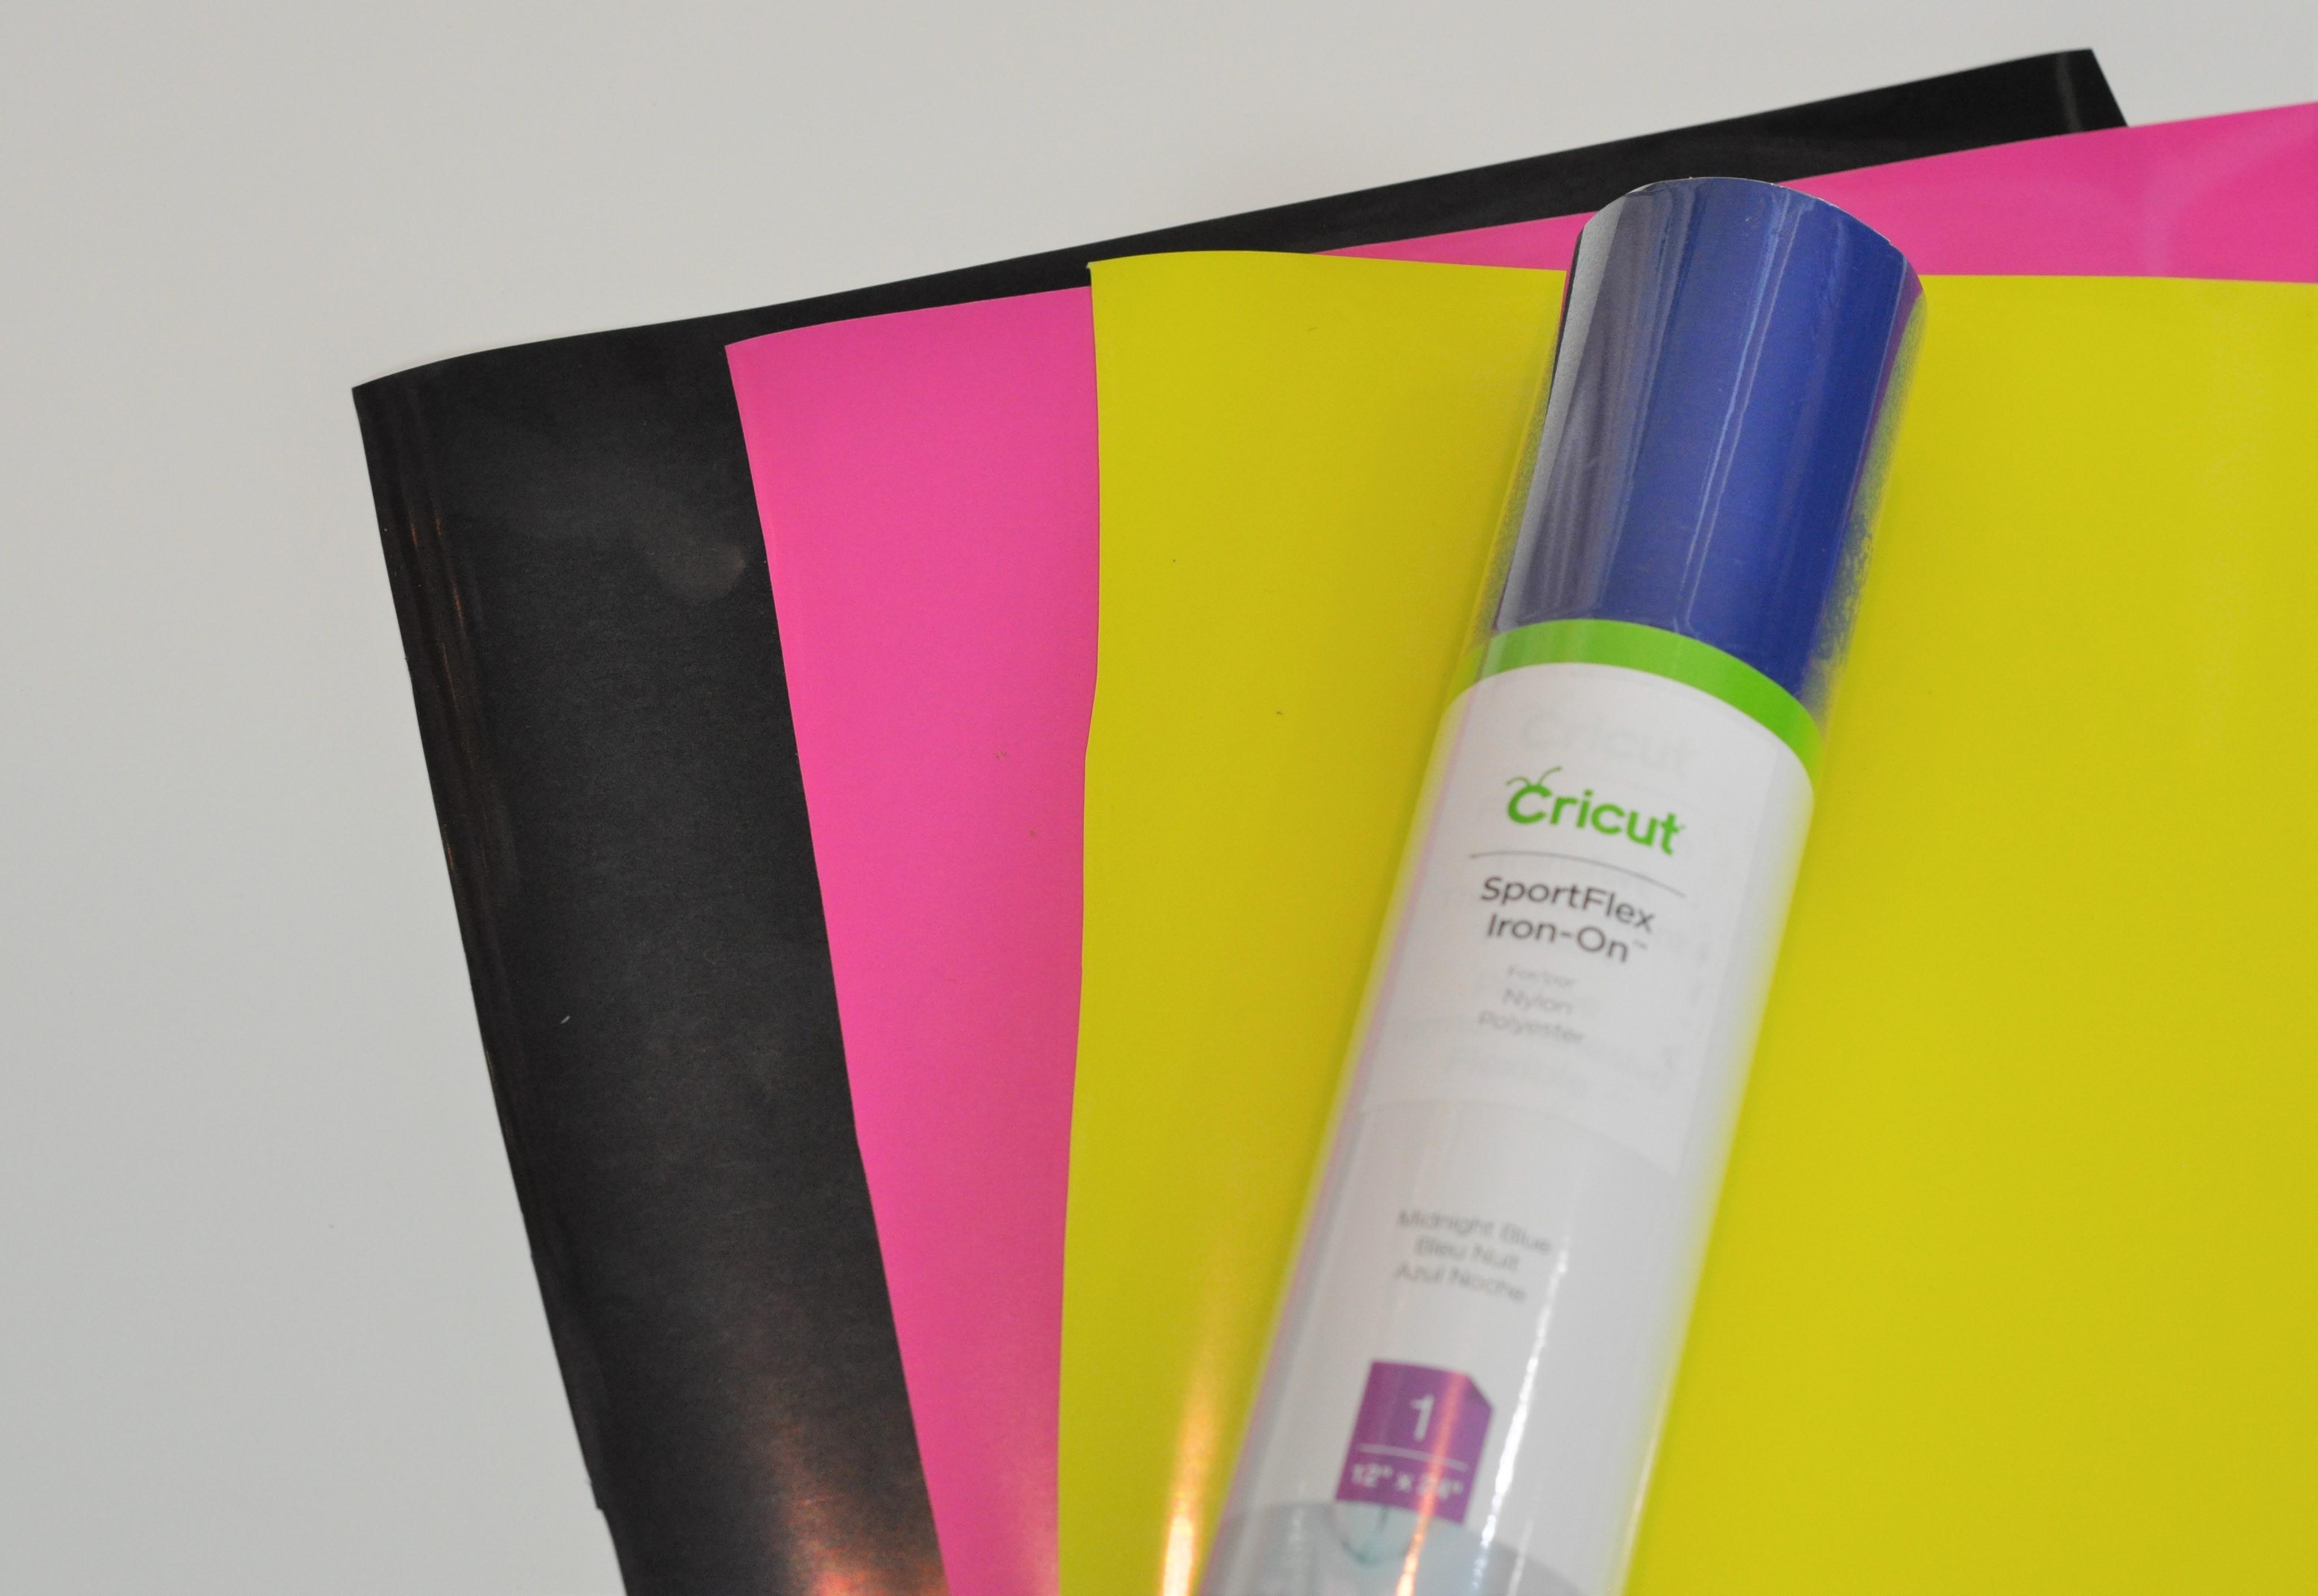
So, I was very happy to hear that Cricut™ had released SportFlex Iron On™ . It is made specifically for polyester and nylon materials which is predominately what my kids active wear is made of.

This experience is based strictly on my opinion. Others may have a different opinion or experience with the product listed above. I was provided the sample free of charge by the company or PR agency and I have given my honest opinion. For further information on our disclosure policy please check out our disclosure page. #CricutStrongBond, #CricutMade #Cricut #ad
How to Create a Kung Fu Kit with a Cricut
First, I started with a WuShu training outfit for my 6-year-old. I loved it! The possibilities are endless. I’m going to be able to cover ALL the sports! Gymnastics is going to be a whole lot cuter and basketball a whole lot cooler!
Let’s get started with the Wu Shu training outfit. There are 2 parts to this project. The first is a shirt and the second. a bag for her to carry her nunchucks in.
Kung Fu Kit Training Shirts
Materials:
- Girls Performance Tee (100% Polyester)
- Drawstring Backpack (100% Polyester)
- Cricut™cutting machine (I used my Explore Air 2)
- Cricut EasyPress
- Your choice of SportFlex Iron On™ Colors
- Weeding tool
- Parchment Paper OR Teflon Sheet Barrier
- Towel or Easy Press Mat
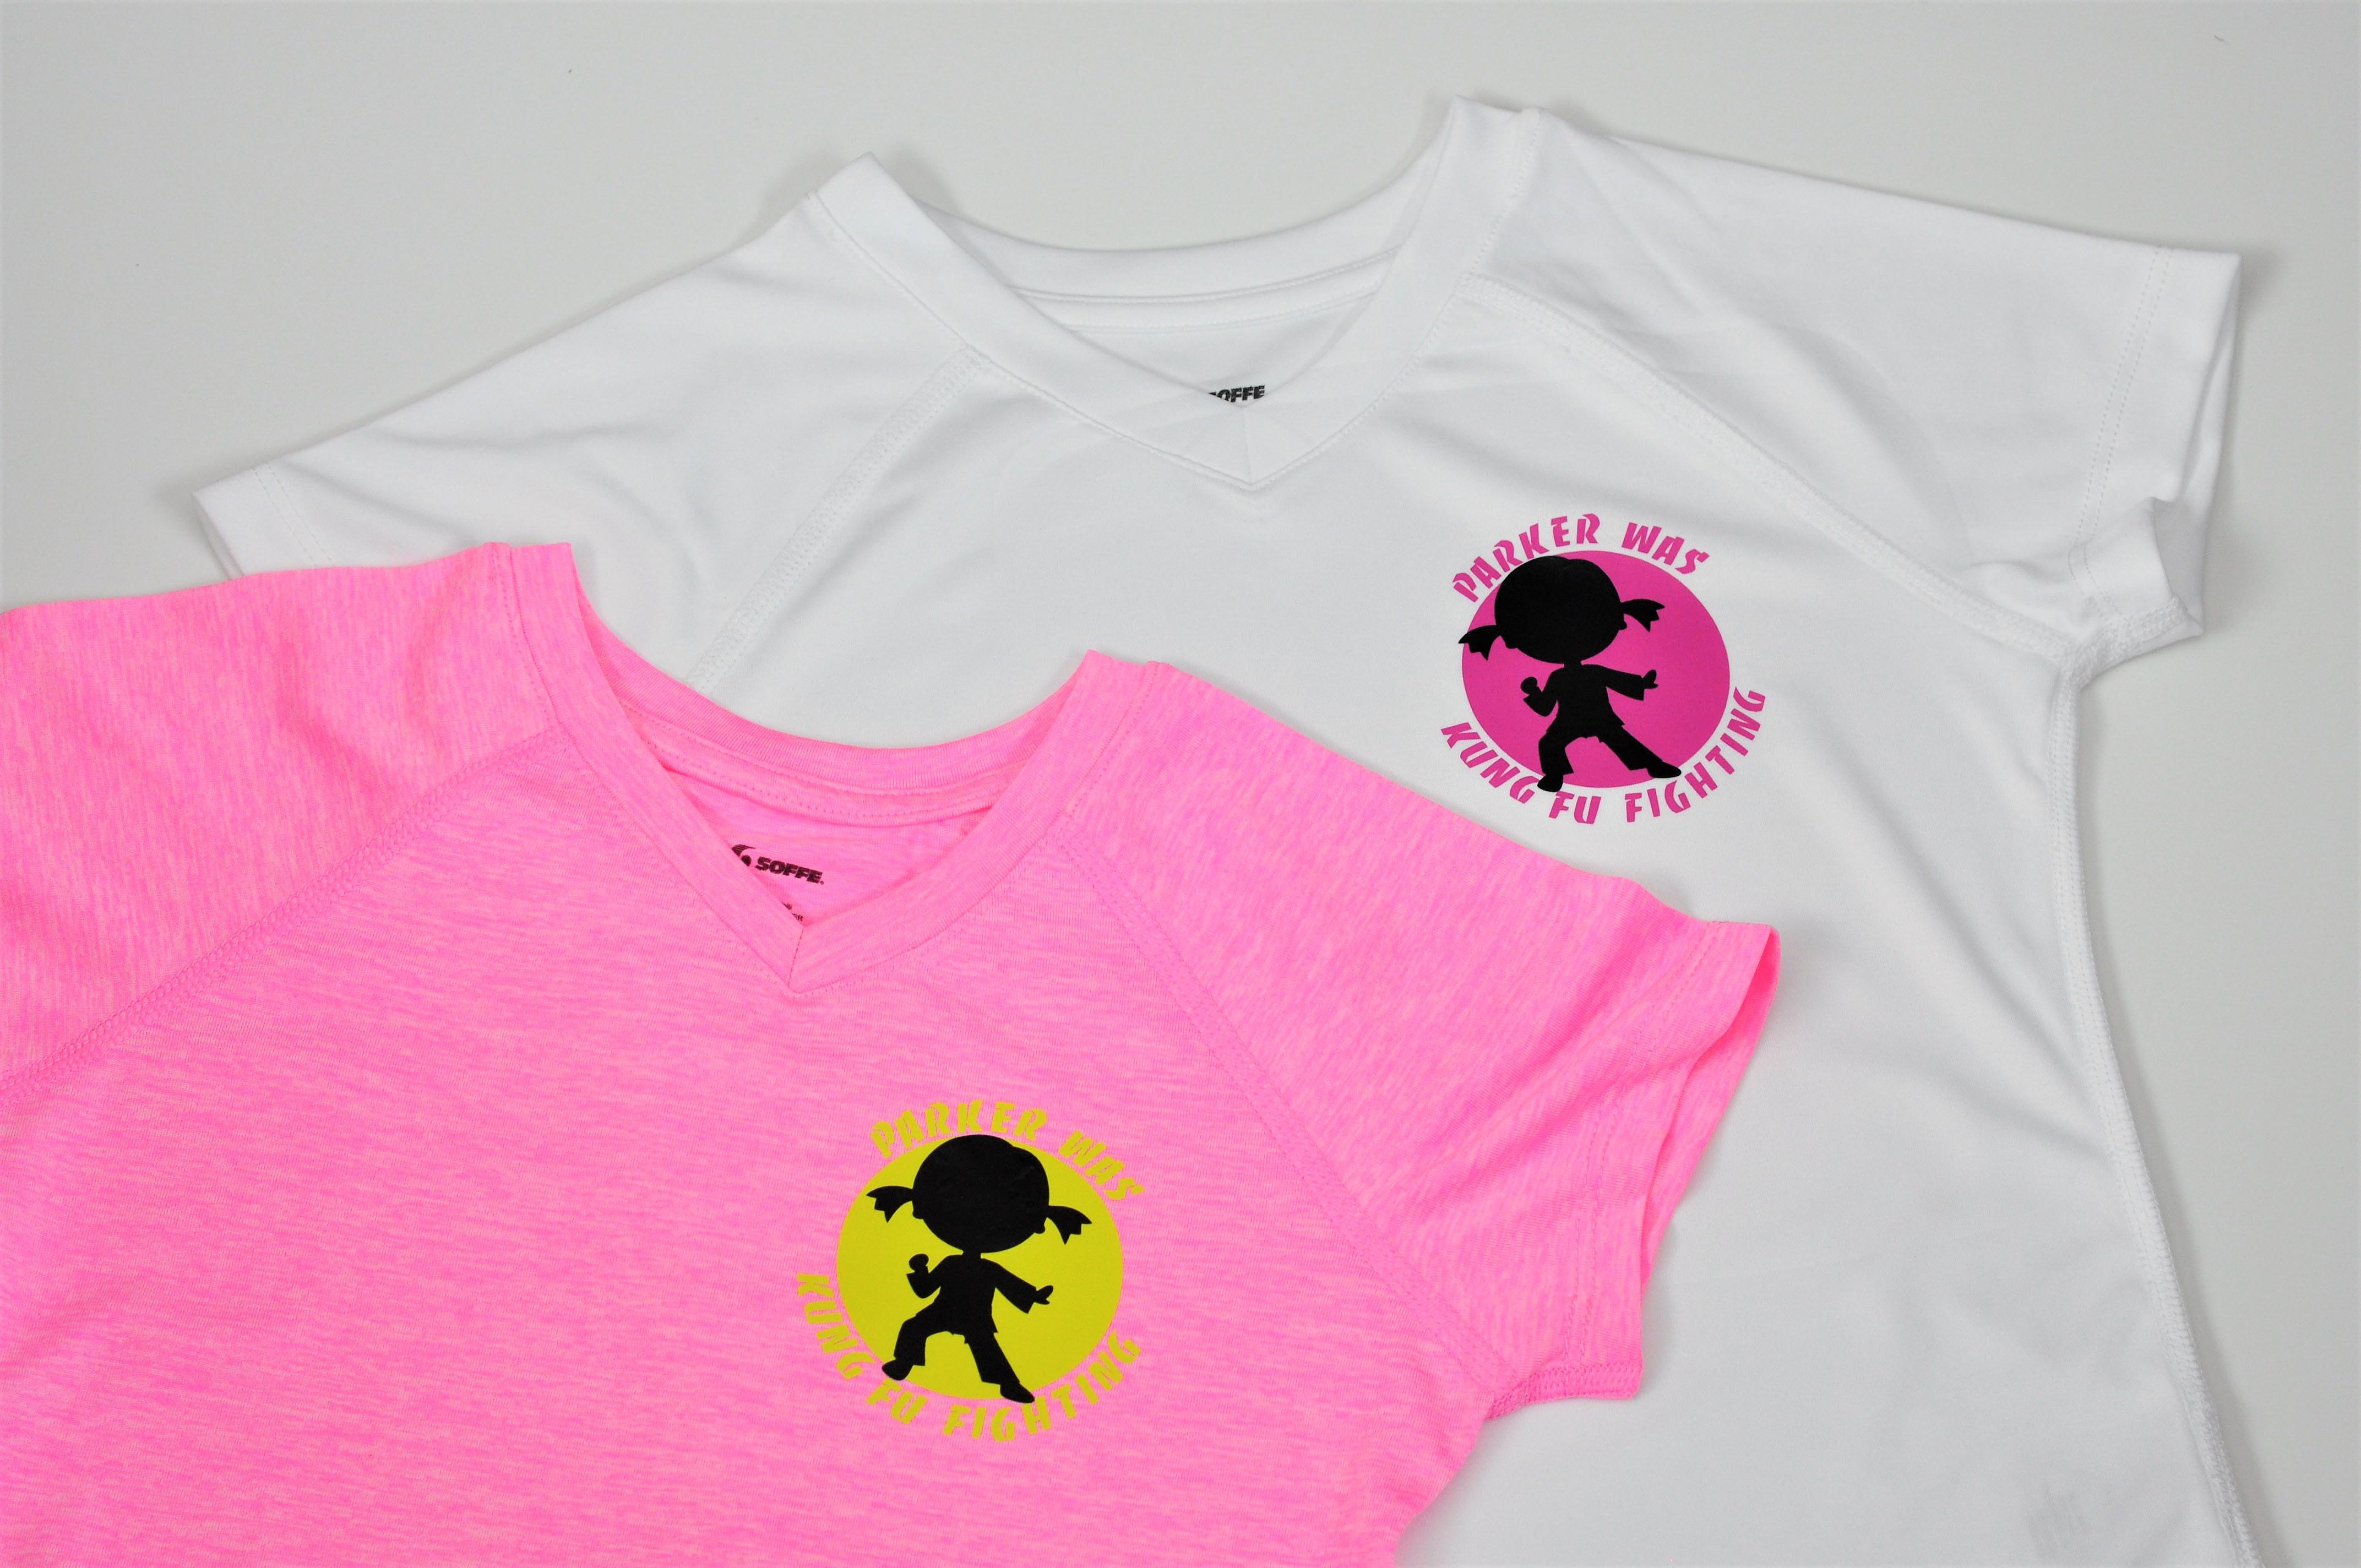
I started with the shirt, I had a little fun with this design. I used the opening line to the song Kung Fu Fighting, switching out everybody with her name. It reads “Parker was Kung Fu Fighting” which she loves.
Step 1 – Design: First Layer
I inserted a circle shape into design space (measured to fit the shirt, I’m making a smaller logo on the right breast of the shirt, so it is approx. 3” in diameter). I then typed out the text and converted to Banco Com Heavy font.
Then, I ungrouped the text to access each letter. I moved each letter and placed it around the circle. Rotate each letter slightly to get it to sit evenly around the circle. Once complete, I then welded the circle and words together. Find a copy of this design here.
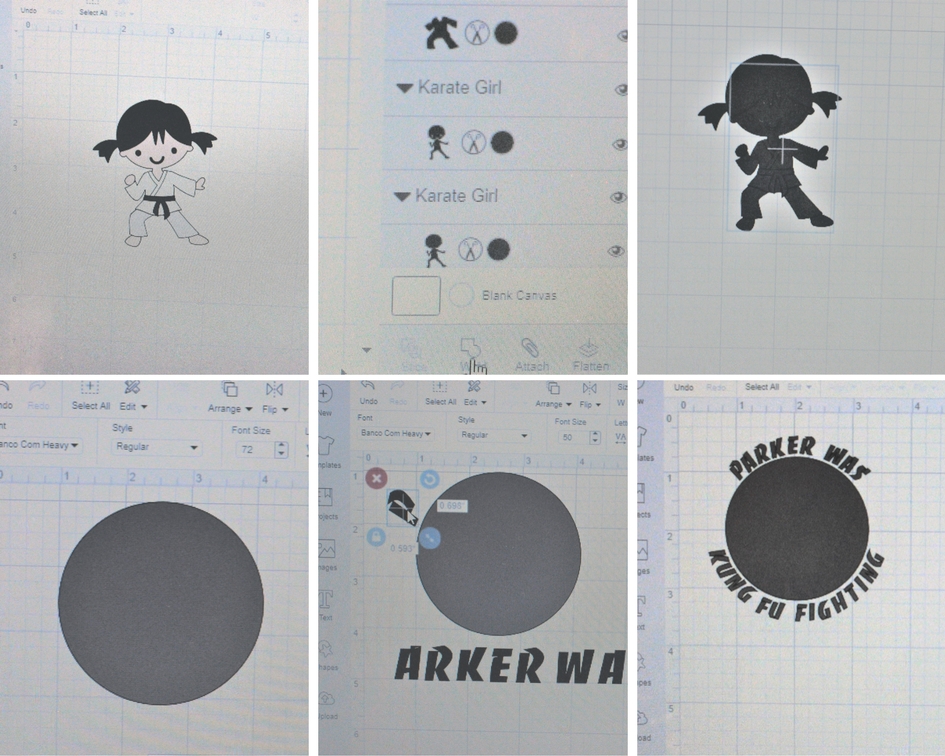
Step 2 – Design: Second Layer
The second part of the design is the ninja silhouette. SportFlex Iron On™ is super thin and lightweight so you can easily layer 2 colors (note: Cricut™ recommends only 2 layers). I created a new project in the design space and inserted the “Karate Girl” (#M41299) image into the design space. She is super cute!!
First, I ungrouped and removed the medal that comes with this image. Next, I clicked on each layer of the design; face, outfit etc. and changed the color to black for everything. This creates the full black silhouette. I then regrouped all the elements and welded them together to remove cut lines within the image. Size to fit the circle in the first design. Find a copy (in 2 sizes) of this design here.
Step 3 – Cut & Weed
One of my favorite things about SportFlex Iron On™ are the colors available. They are super vibrant and modern. I fell in love with the bright pink and yellow in particular. Cut the first part of the design (circle & words) in these colors – I cut in pink (to use on a white shirt) and yellow (to use on a pink shirt). *Note: I had bought a pack of 2 plain v neck 100% polyester sports shirts for this project.
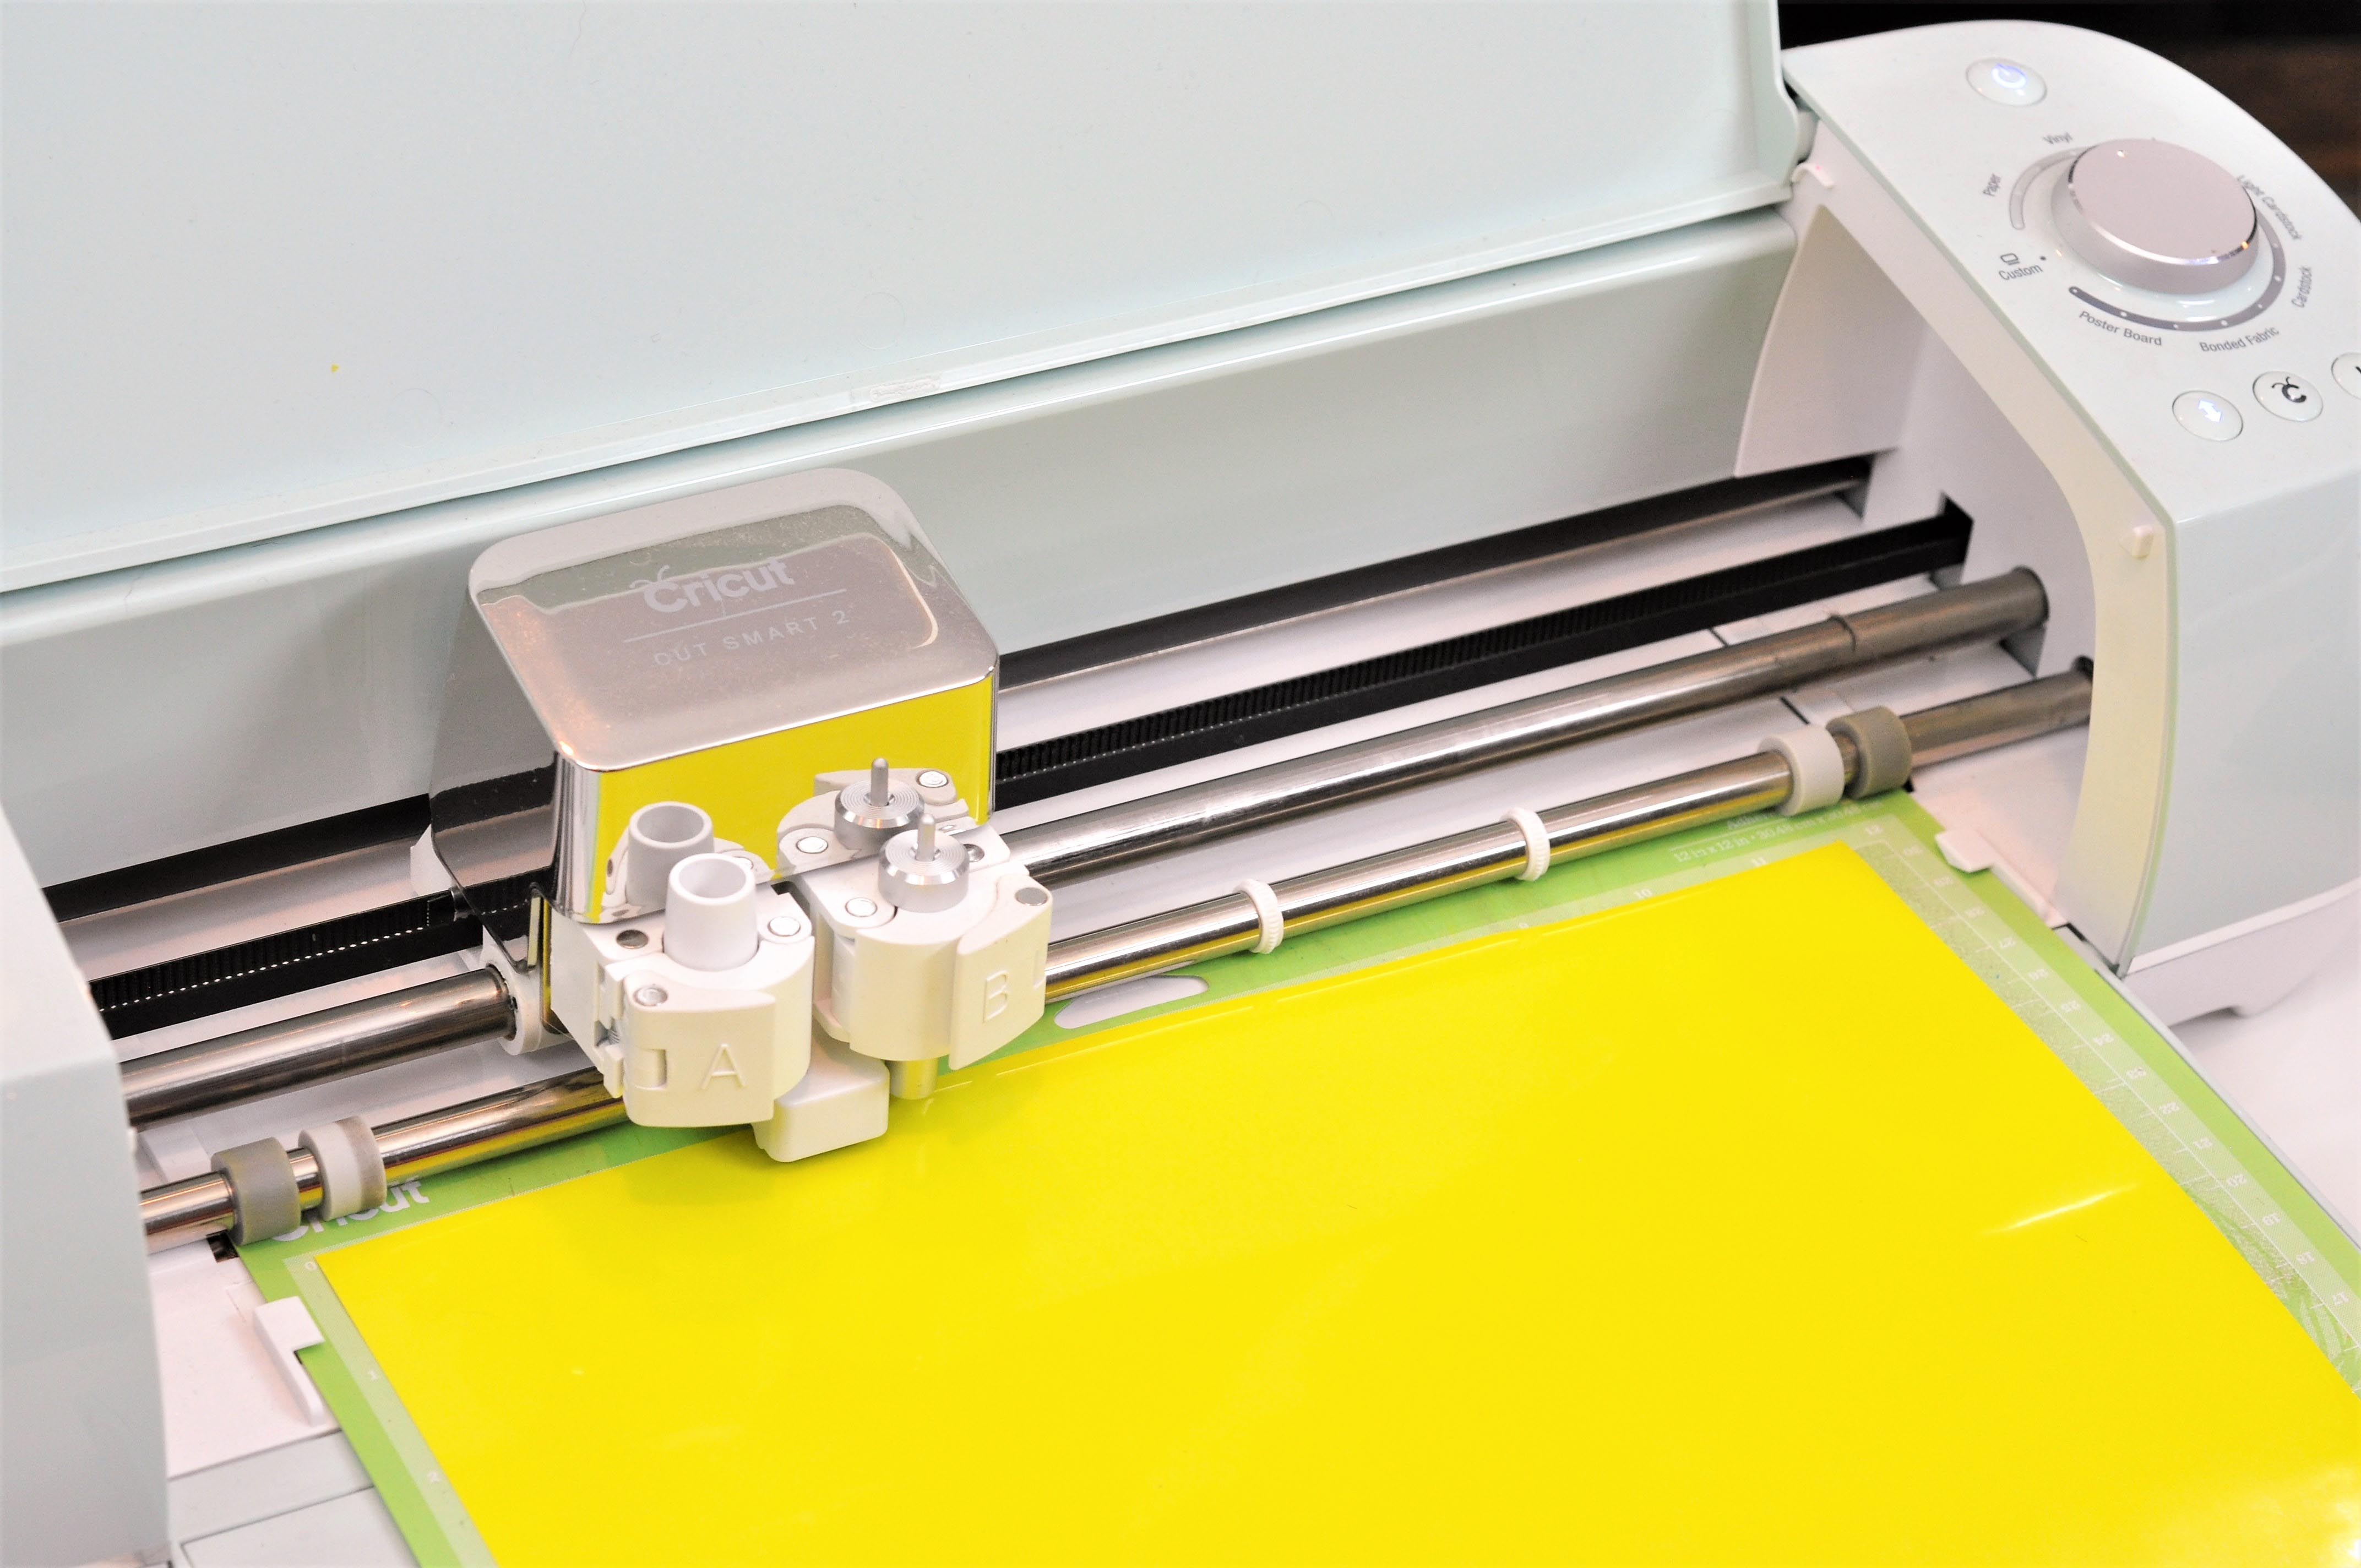
Then, I cut the ninja silhouette in black. When using iron-on, always be sure to put the vinyl (shiny color) side down on the mat and mirror the image before cutting. Set your machine to vinyl.
Once cut, weed the negative of the design. You’ll love how easy the SportFlex Iron On™ is to weed. It literally peels off in one! Fastest weed ever (every time), I’m sold!

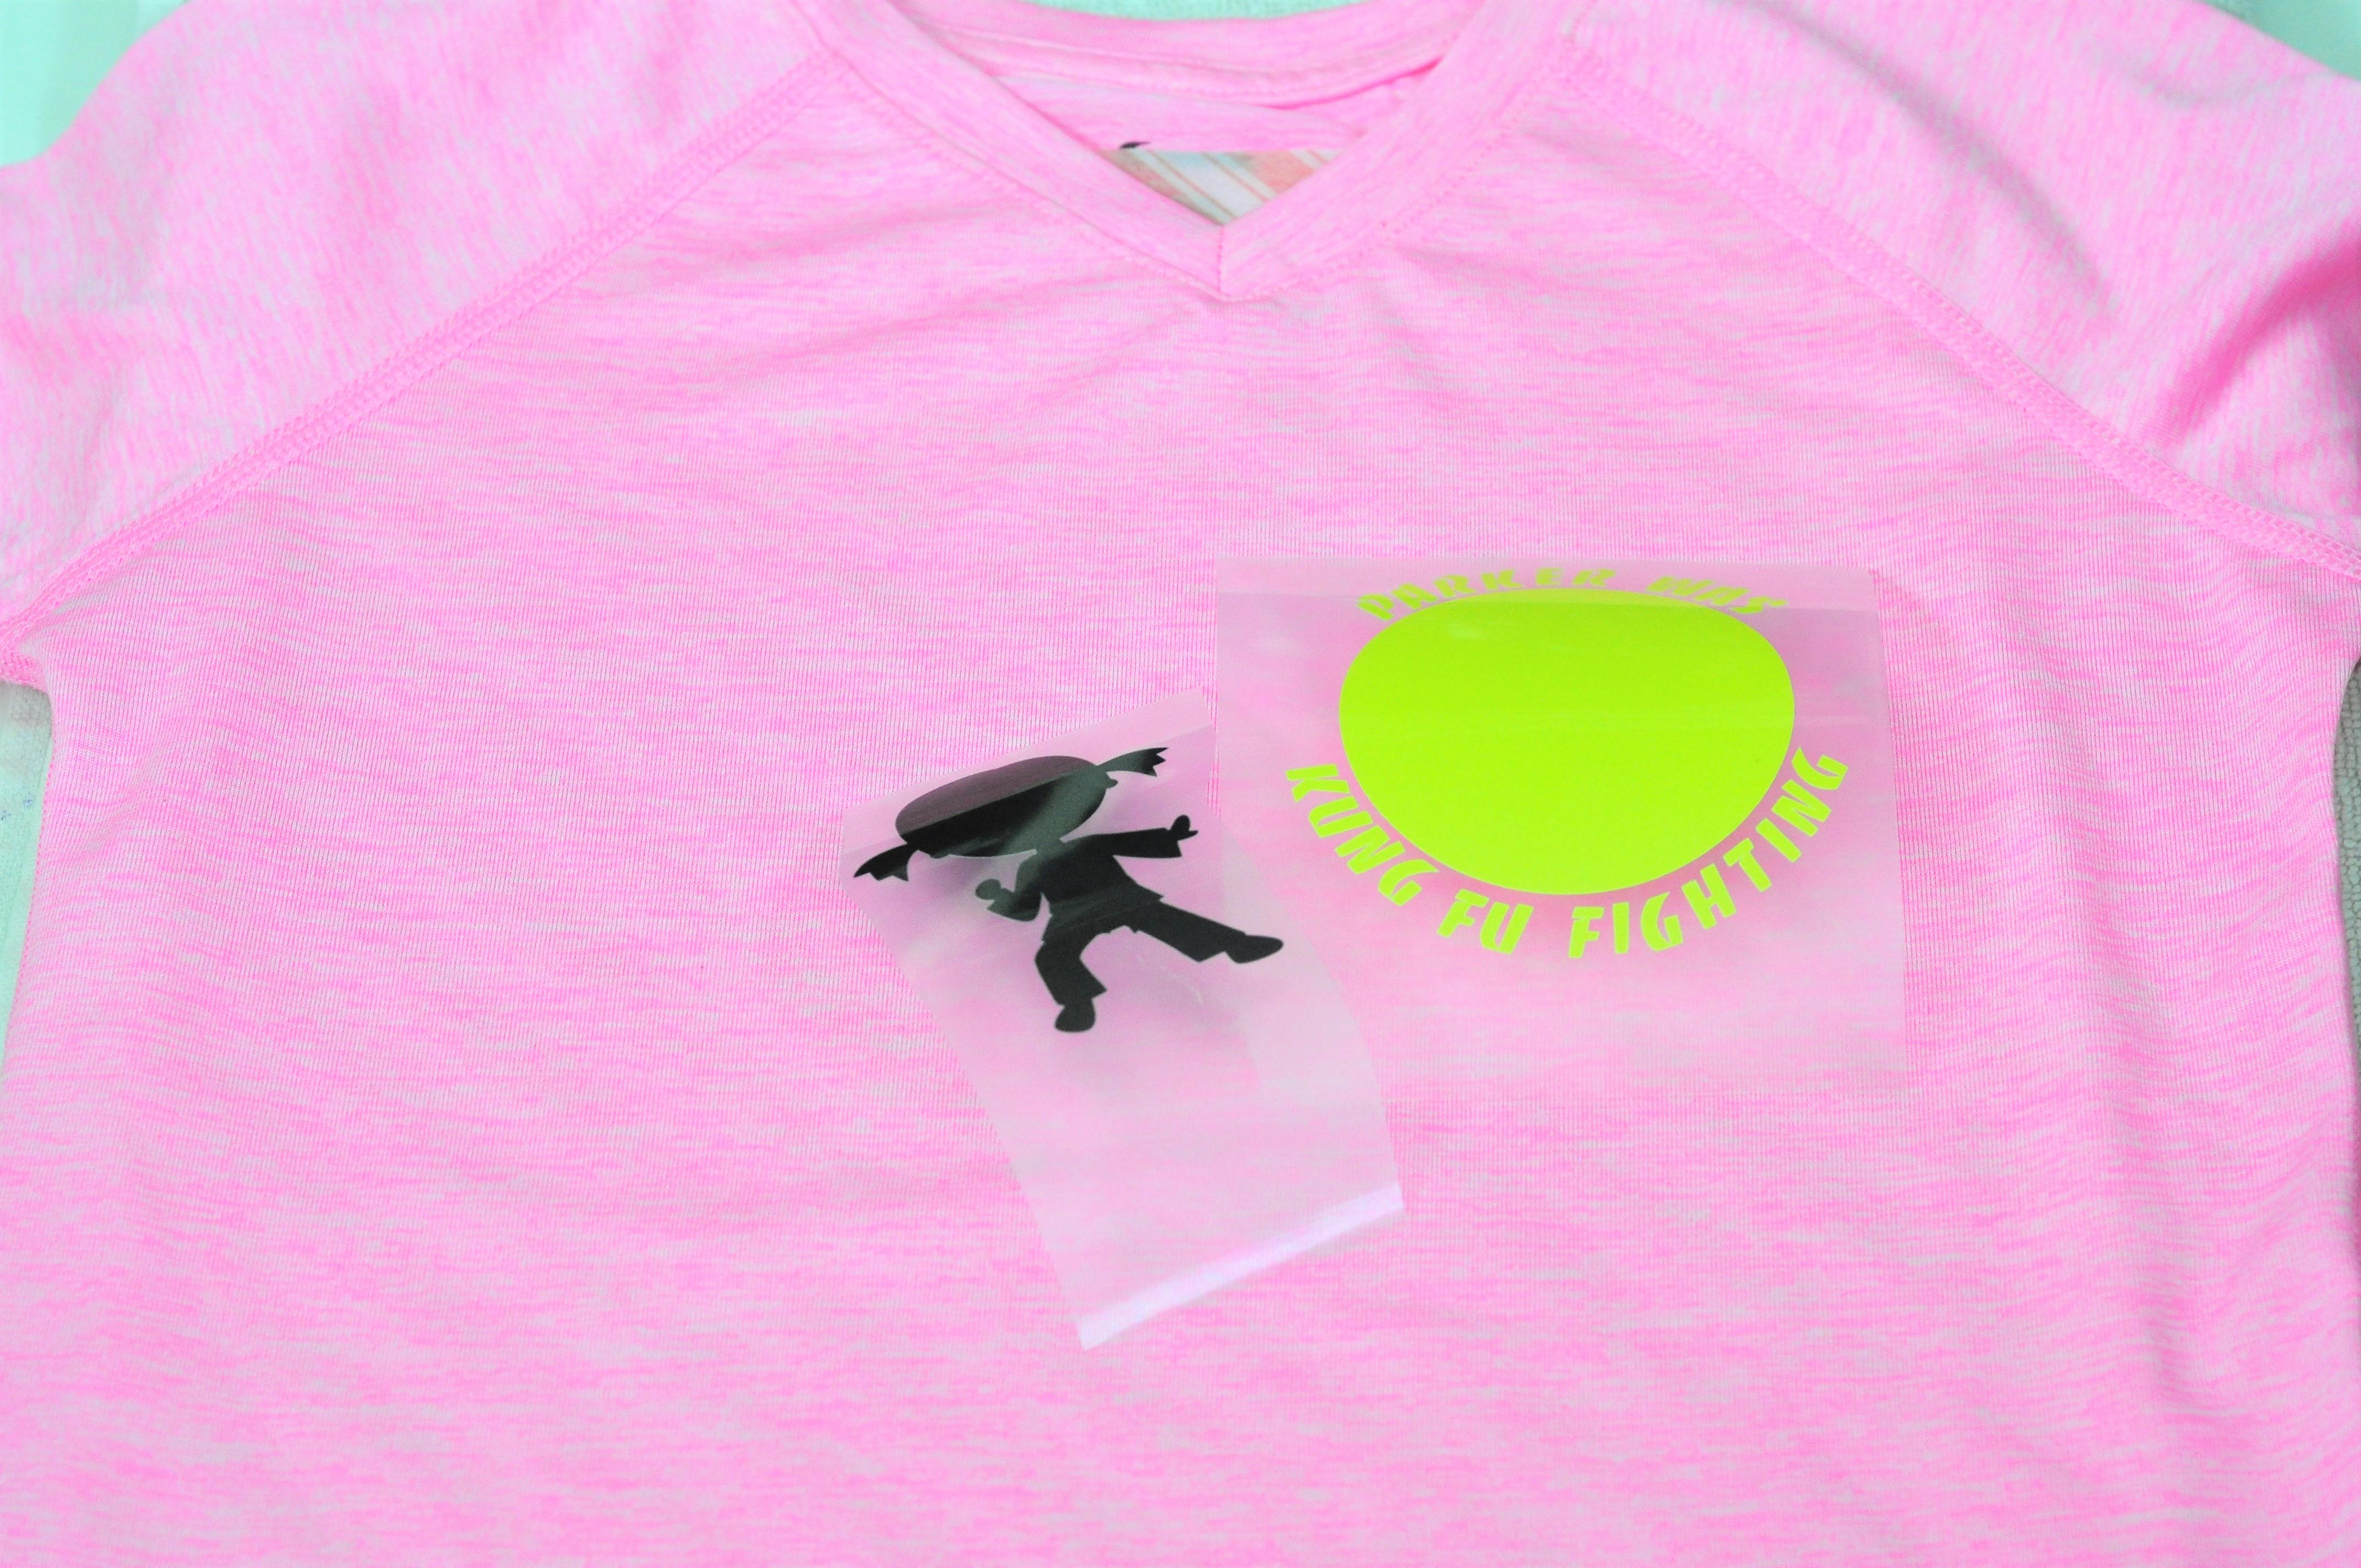
Step 4 – Easy Press
Once both of your images are weeded, it’s time to adhere them to the shirts. Preheat your EasyPress to 305 degrees and set the timer to 30 seconds. While the EasyPress is preheating, protect your work surface. I used a bath towel on my kitchen counter. Or you can use the new Easy Press Mat.
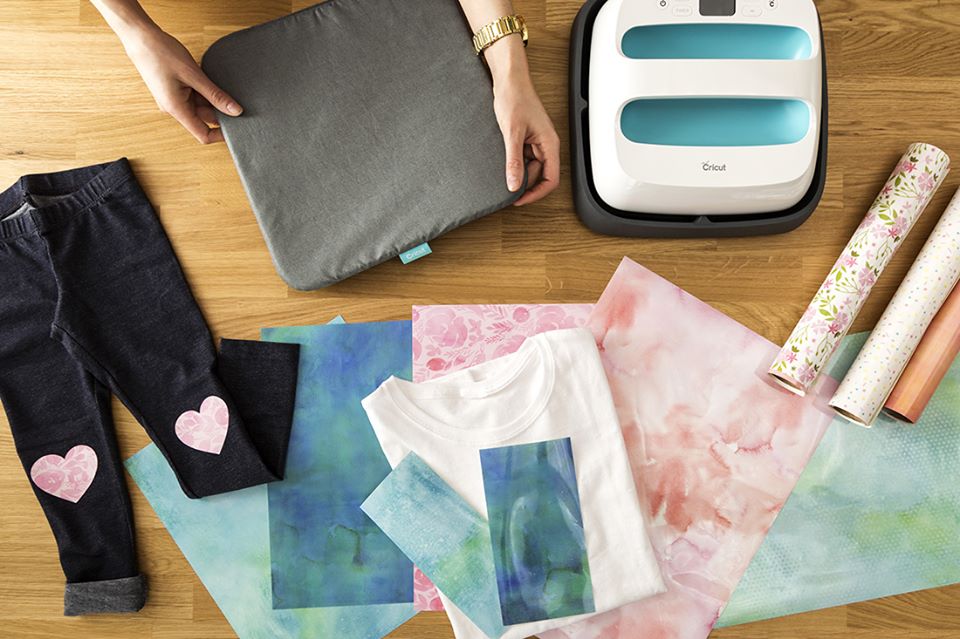
Then place parchment paper between the layers of the shirt (inside the shirt) to prevent the front and the back of the shirt adhering to each together. You can see my red and white Christmas parchment paper in the image below (lol) and a piece on top of the shirt!
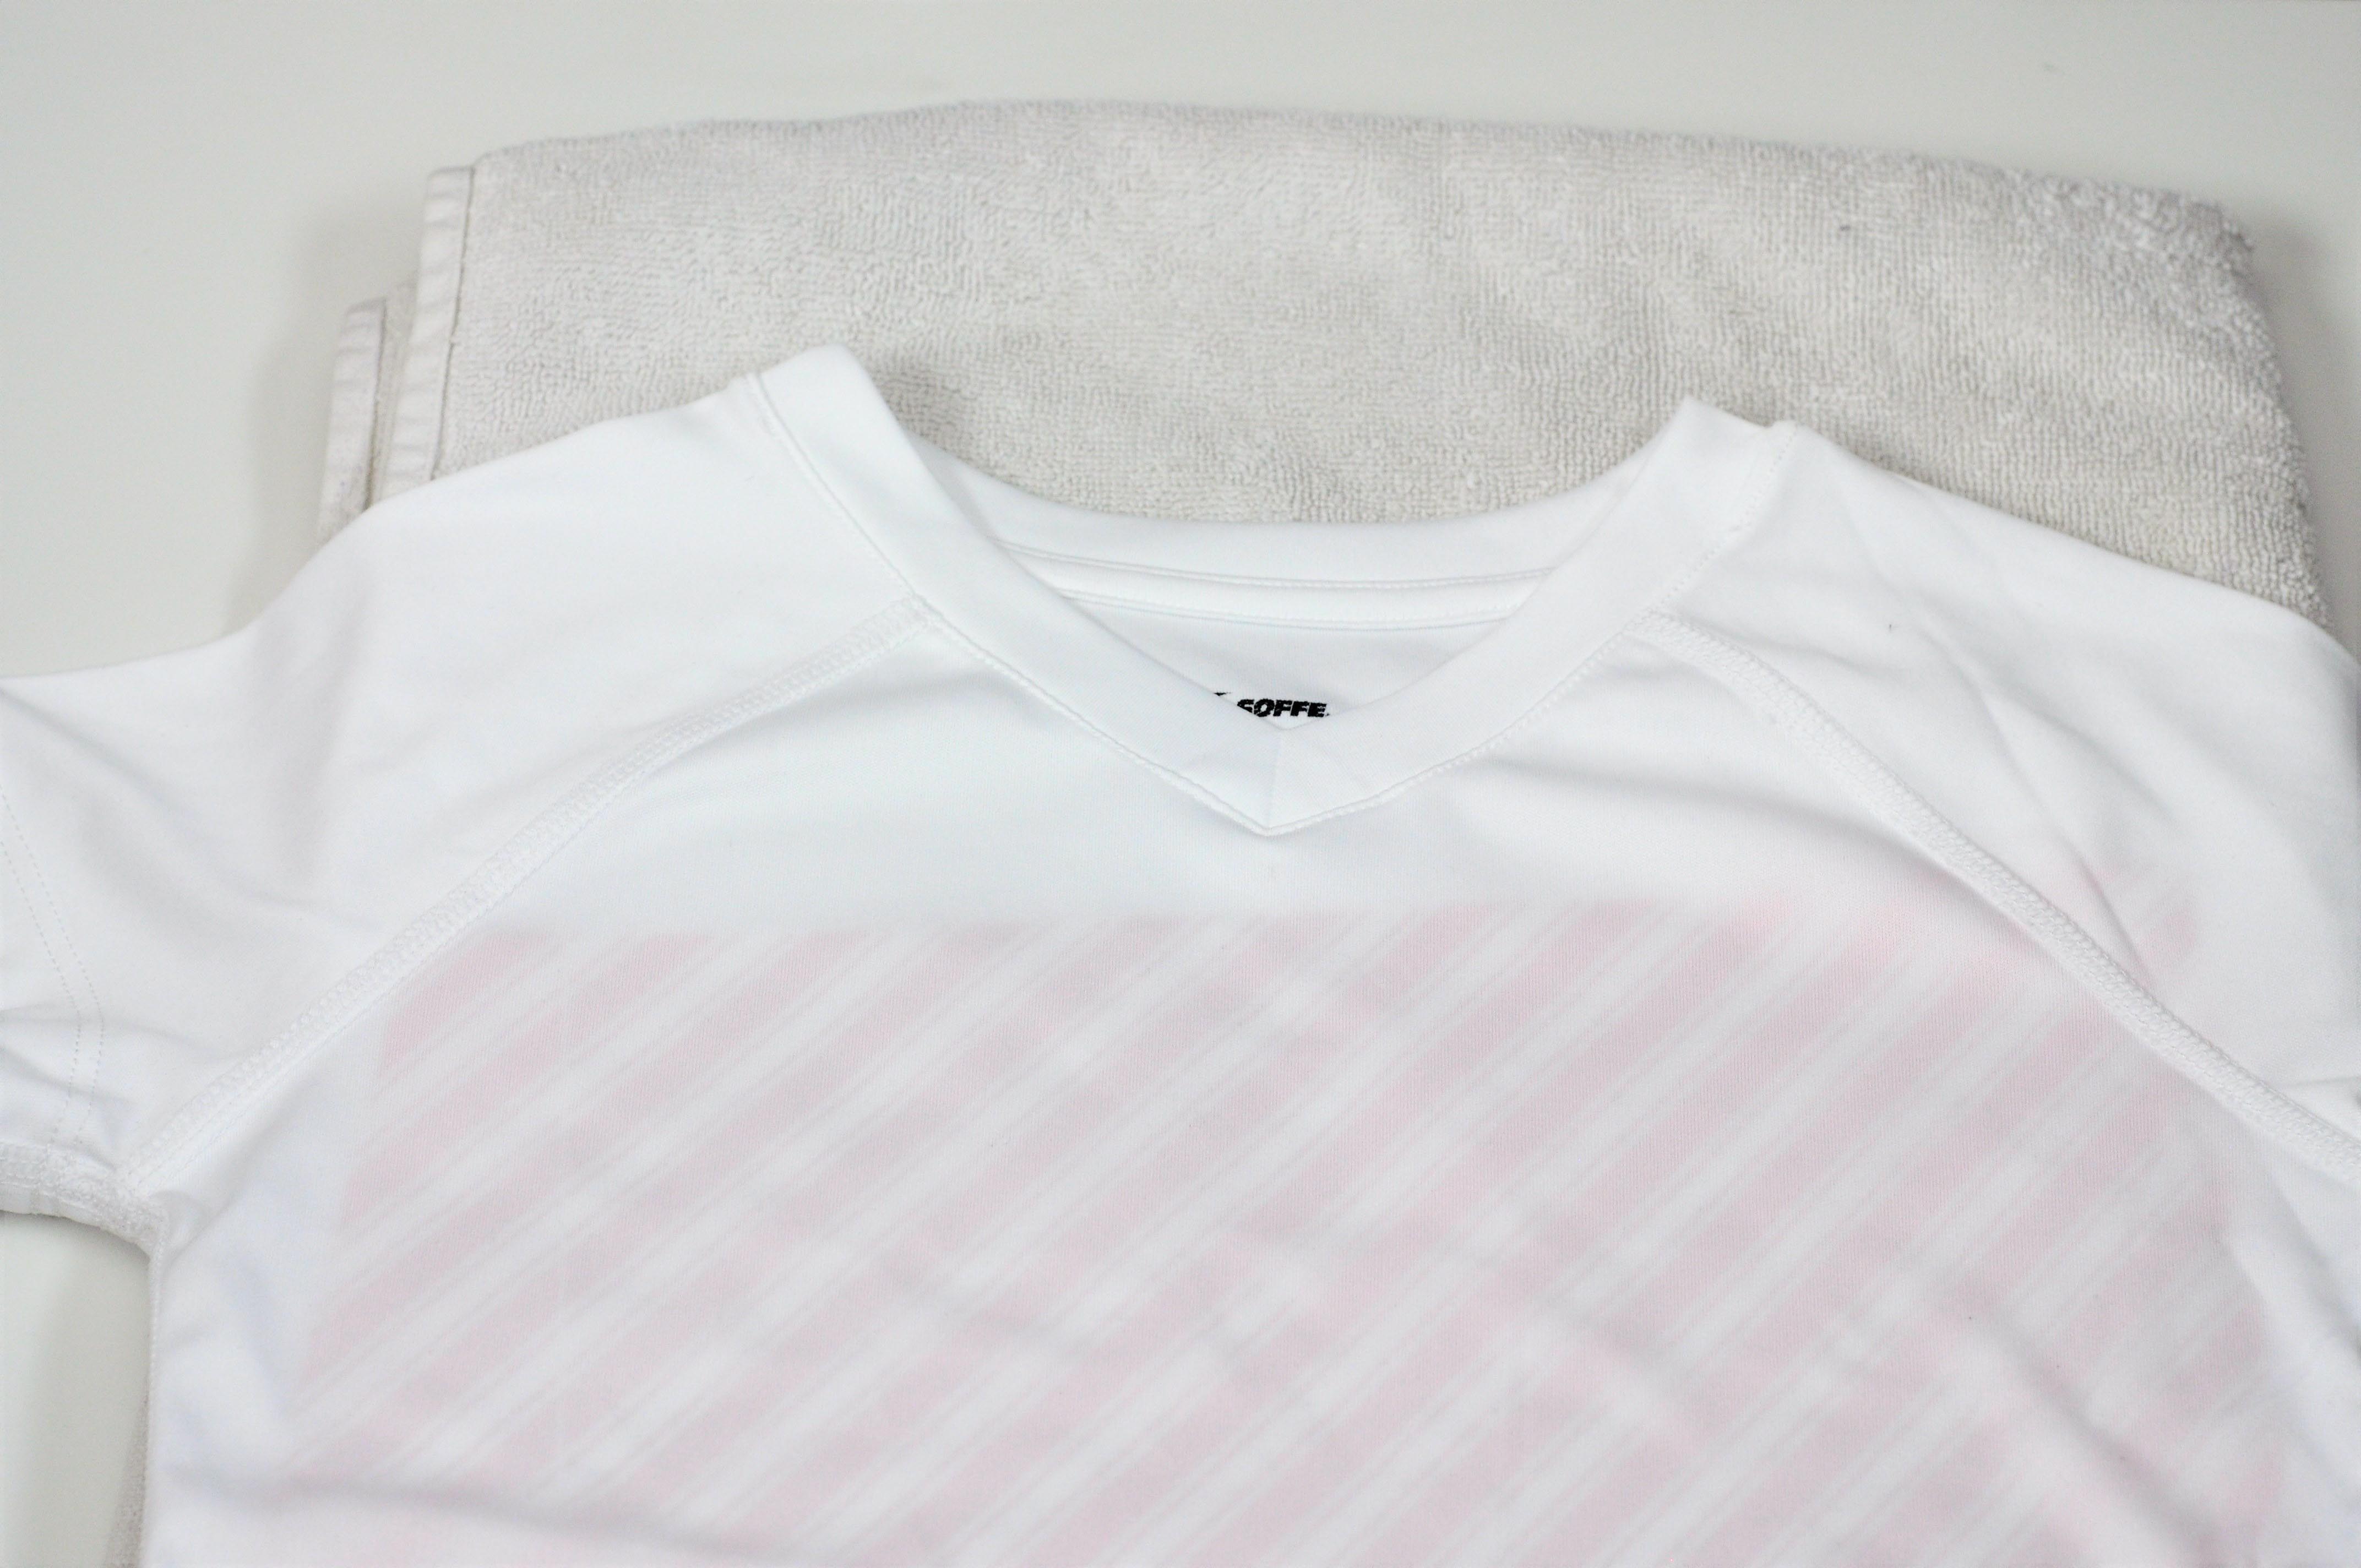
First preheat the area you will be adhering the image too. A quick 5 second press onto the material.
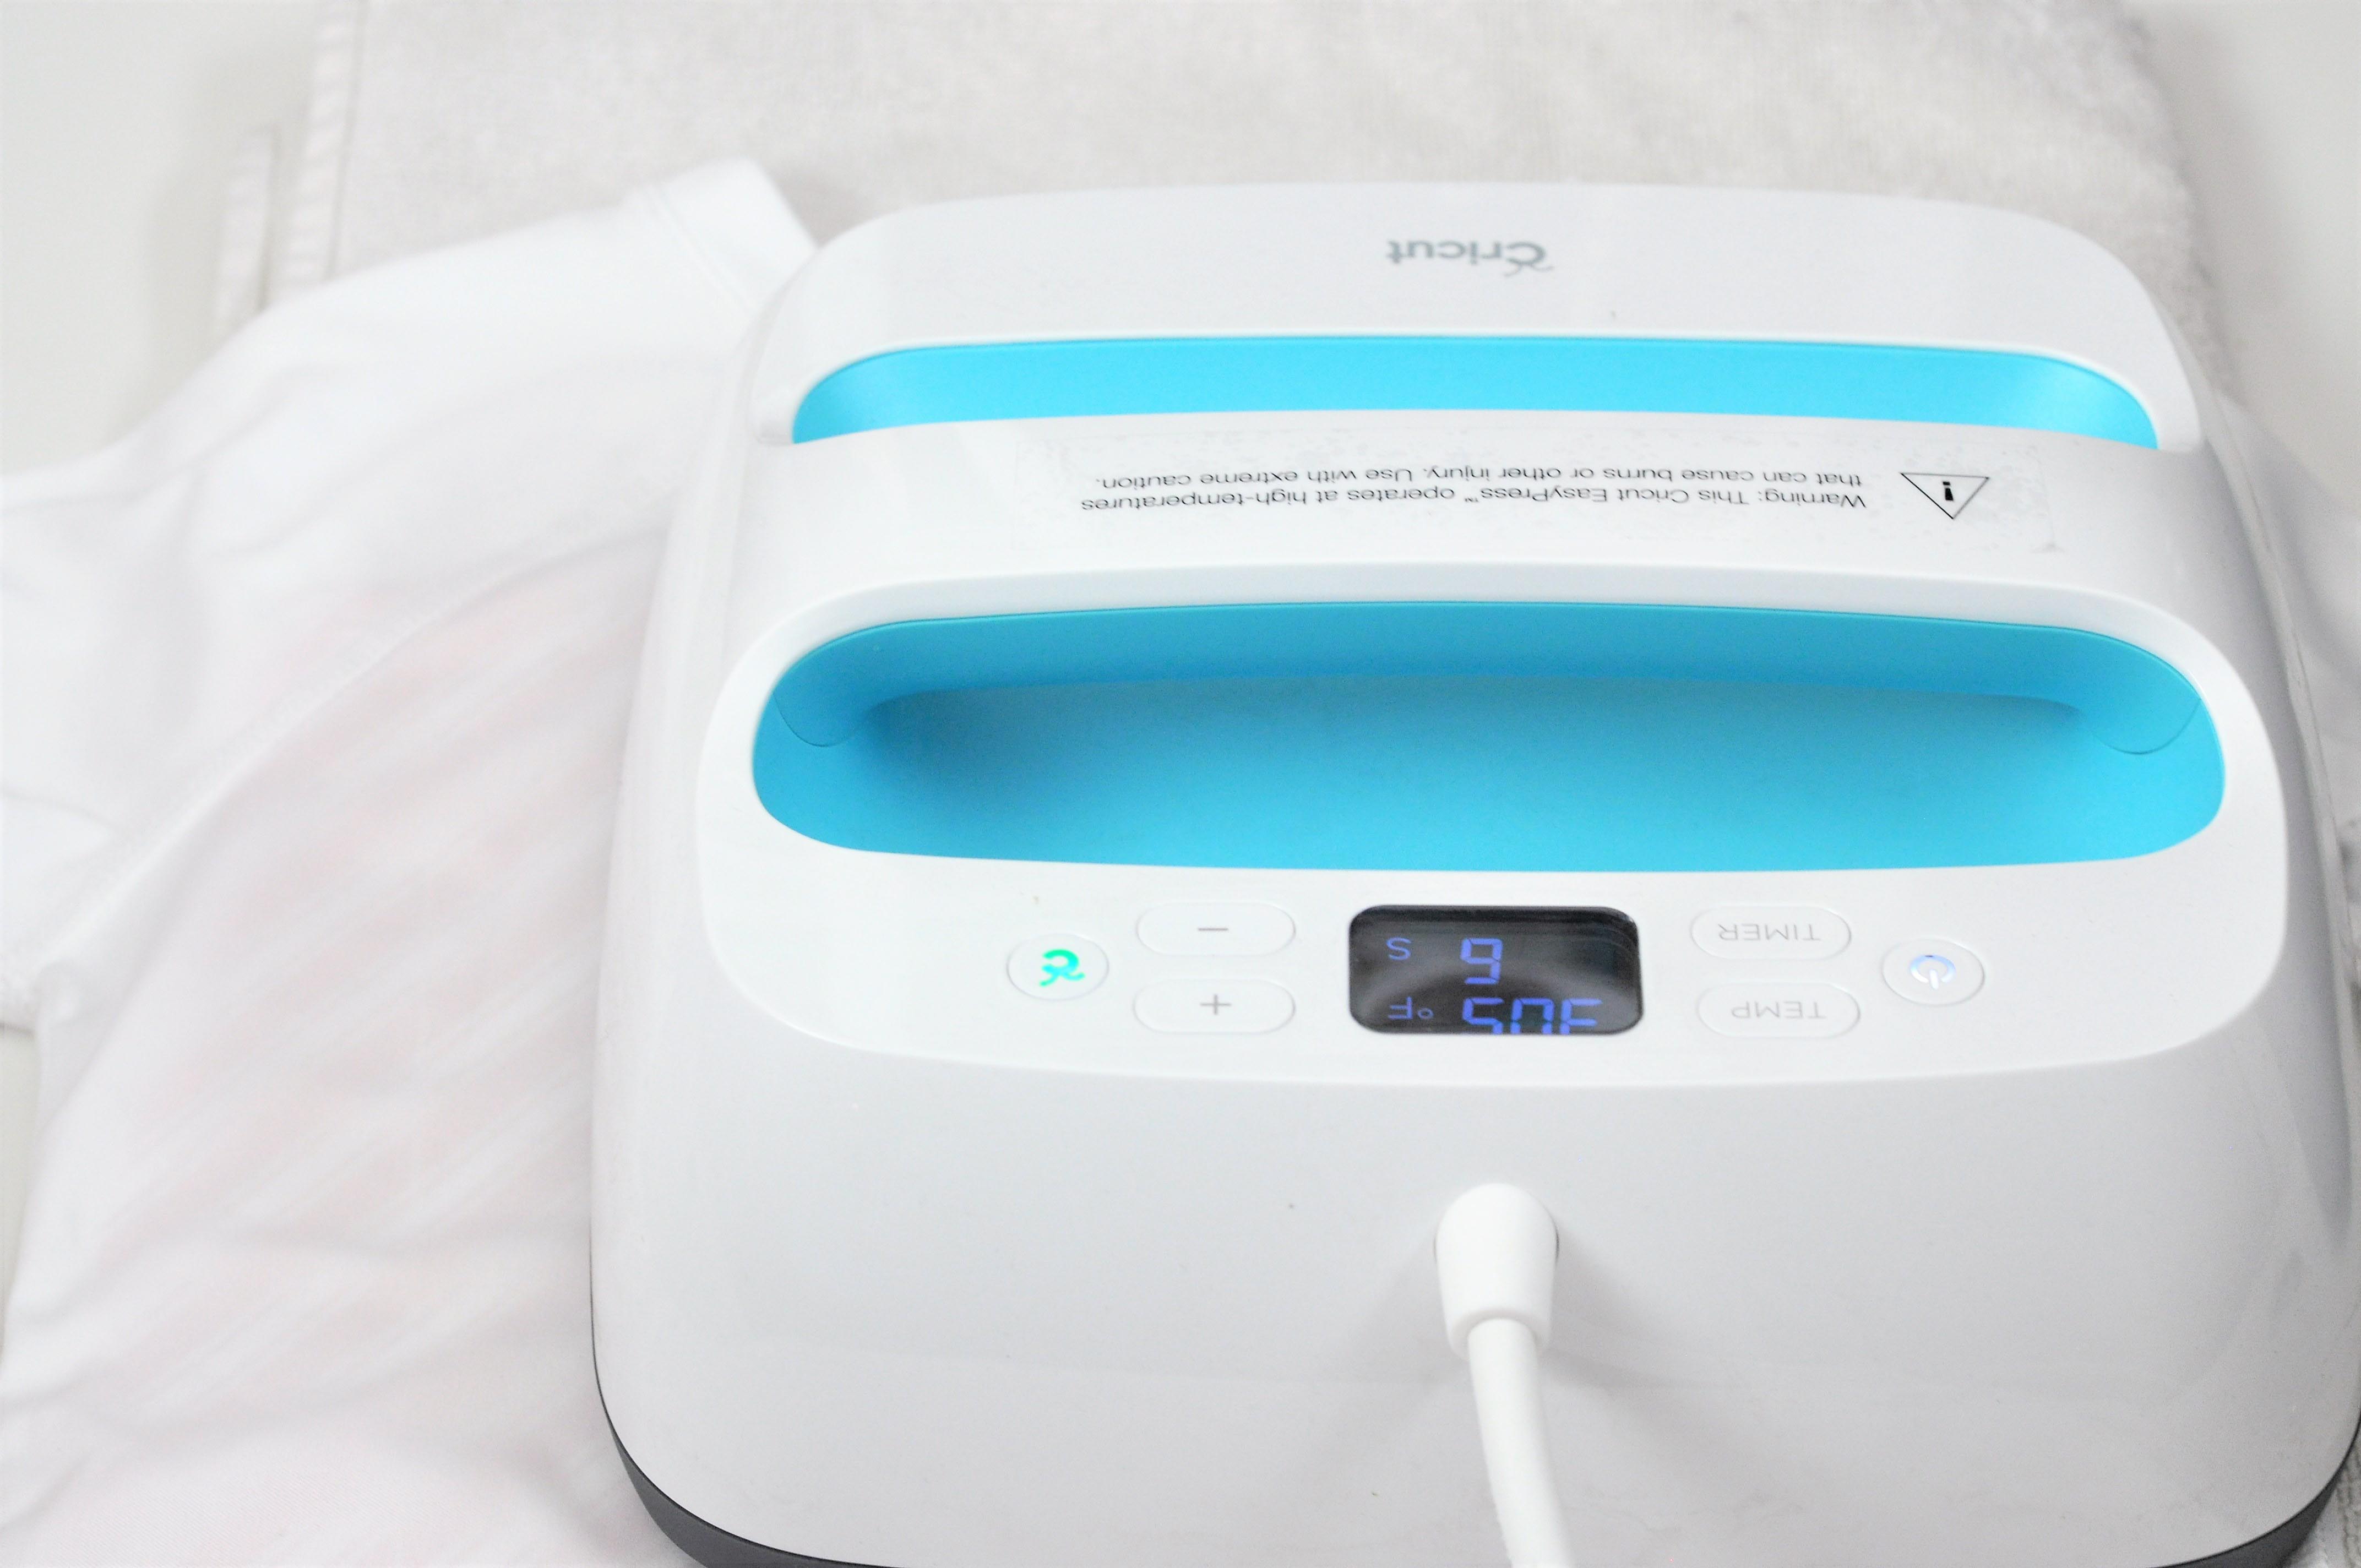
Then start with the first layer, place the image where you’d like it to be on the shirt, put the EasyPress on top, and press the “C” to start! Apply medium pressure while the machine is working, and the timer will beep when it is done, in 30 seconds! Turn the shirt over and repeat for 15 seconds.
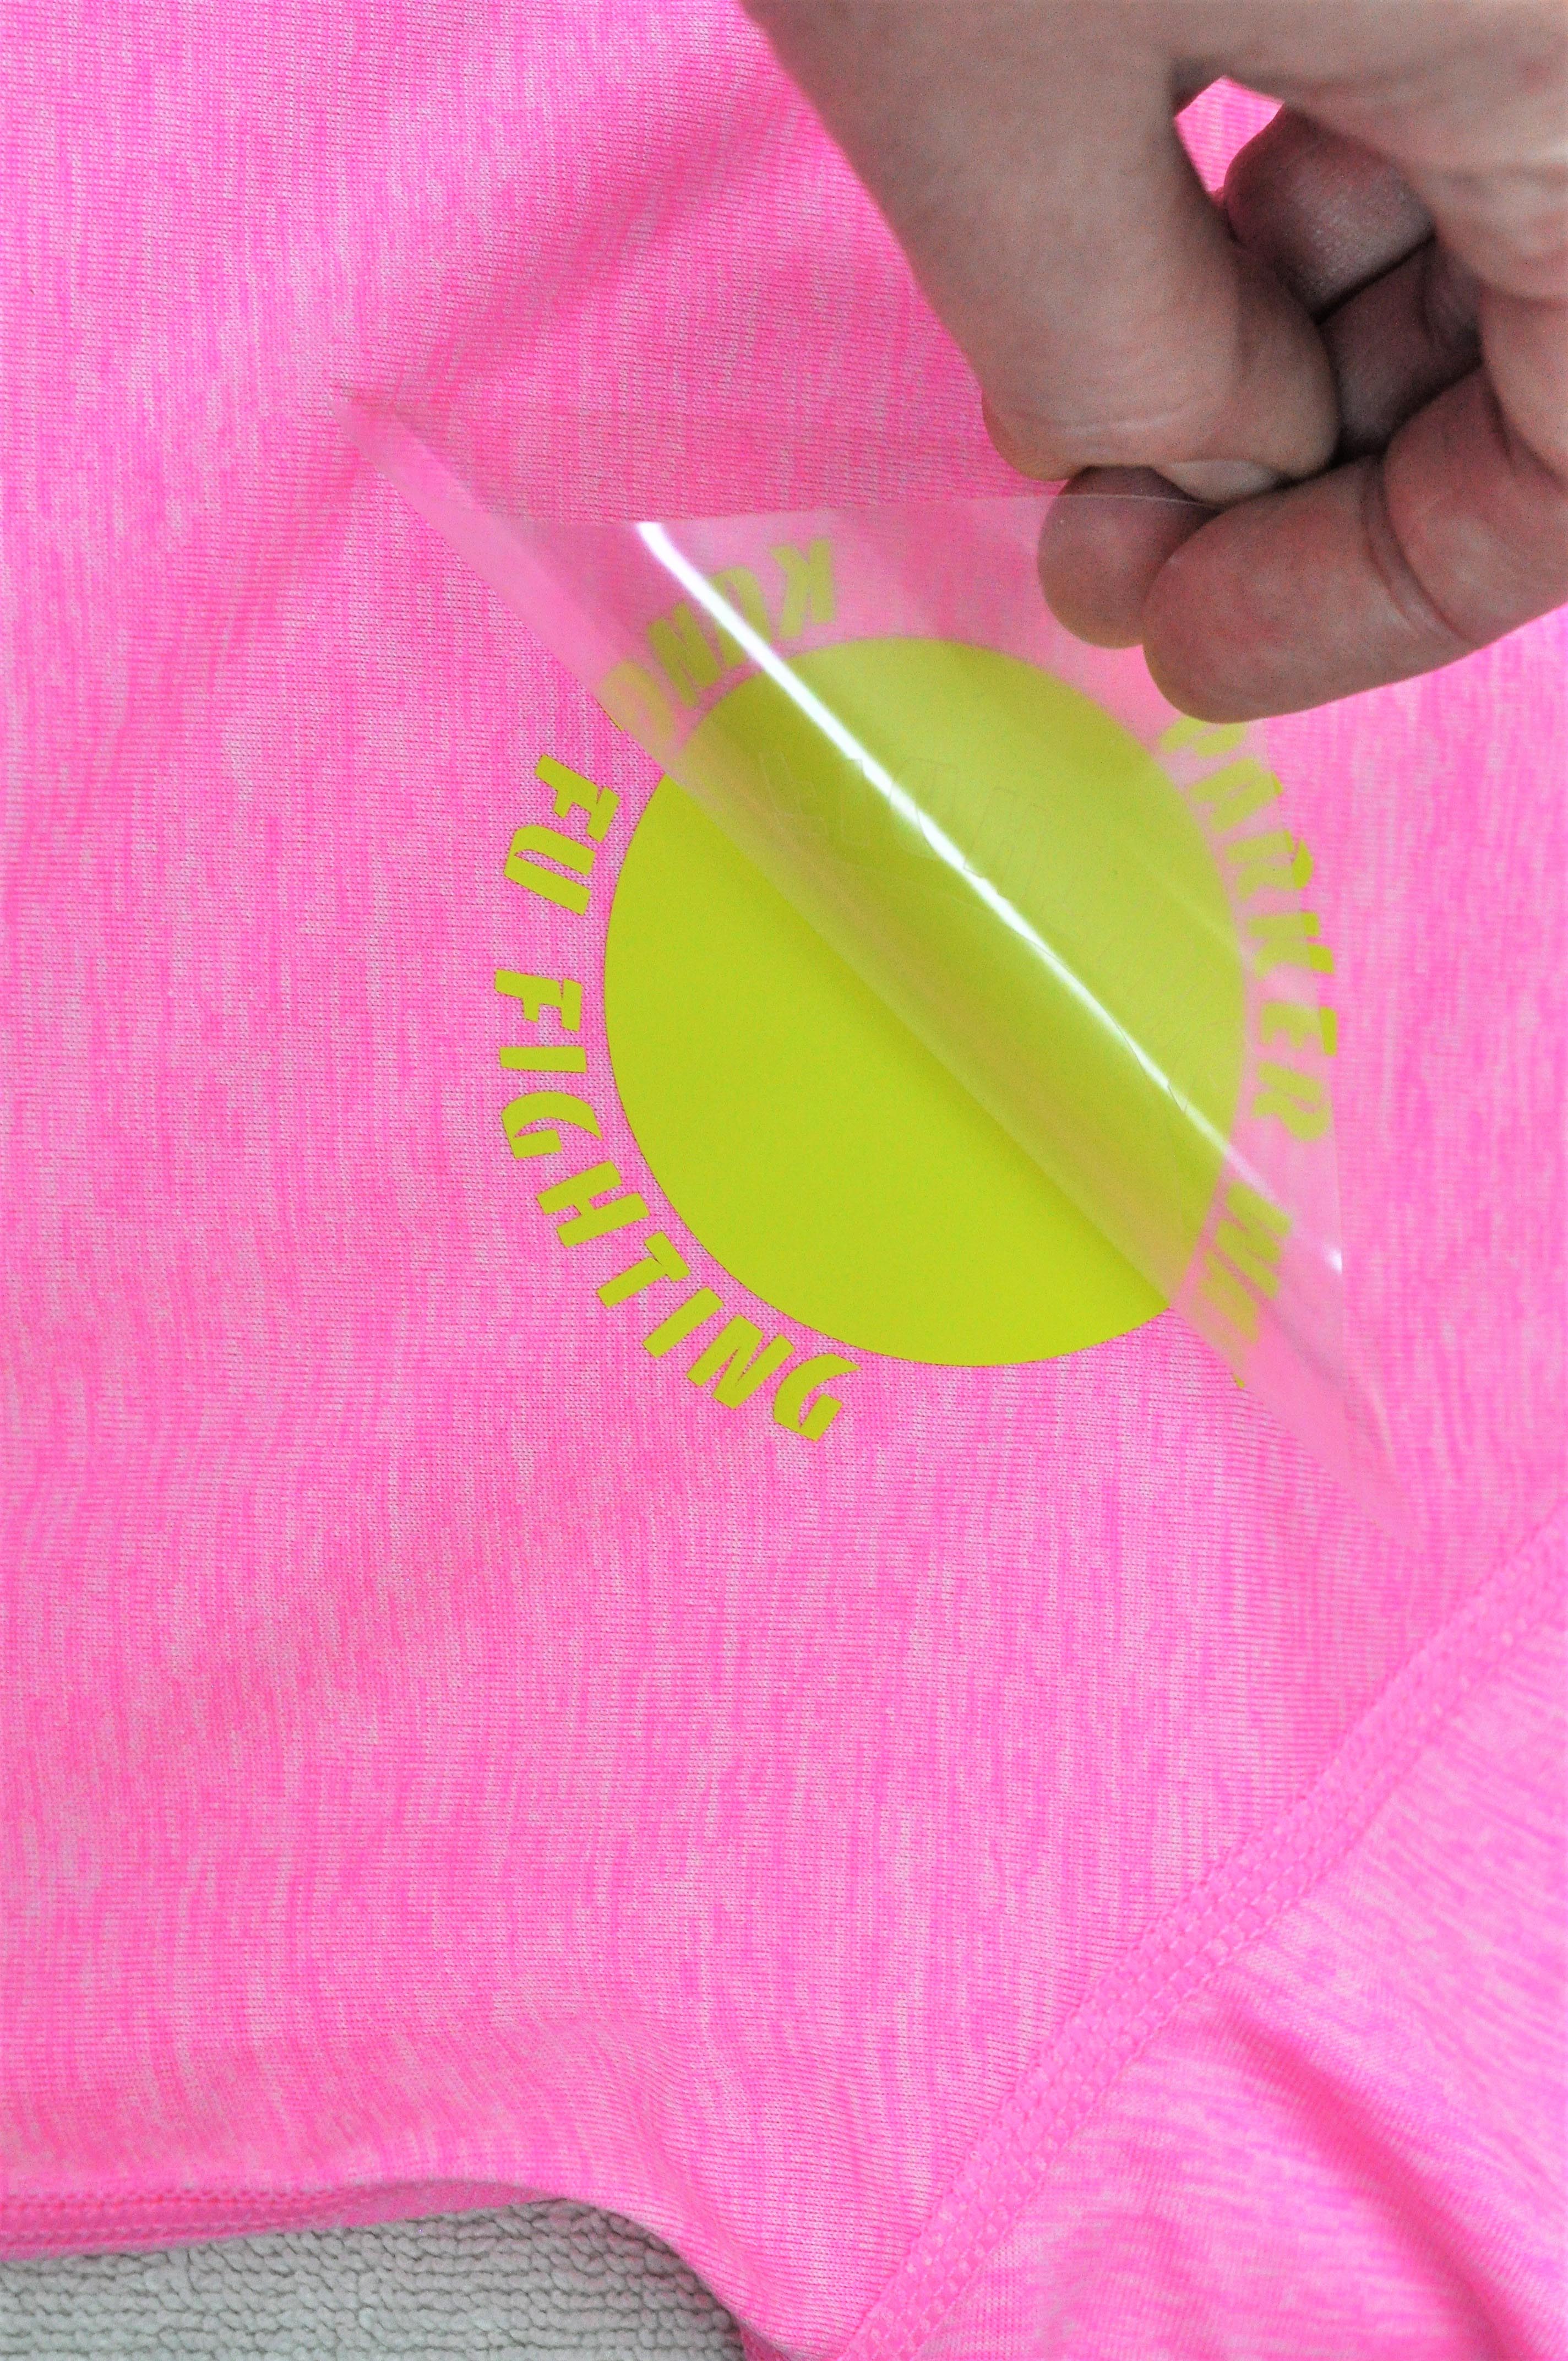
Let the image sit for 15 seconds before trying to remove the backing. It’s a warm peel. You’ll find it is fully adhered, I found this surreal, it is so flexible, it stretches and moves with the fabric. Love it!
Next, position the second layer (the ninja) where you want it and repeat the process.
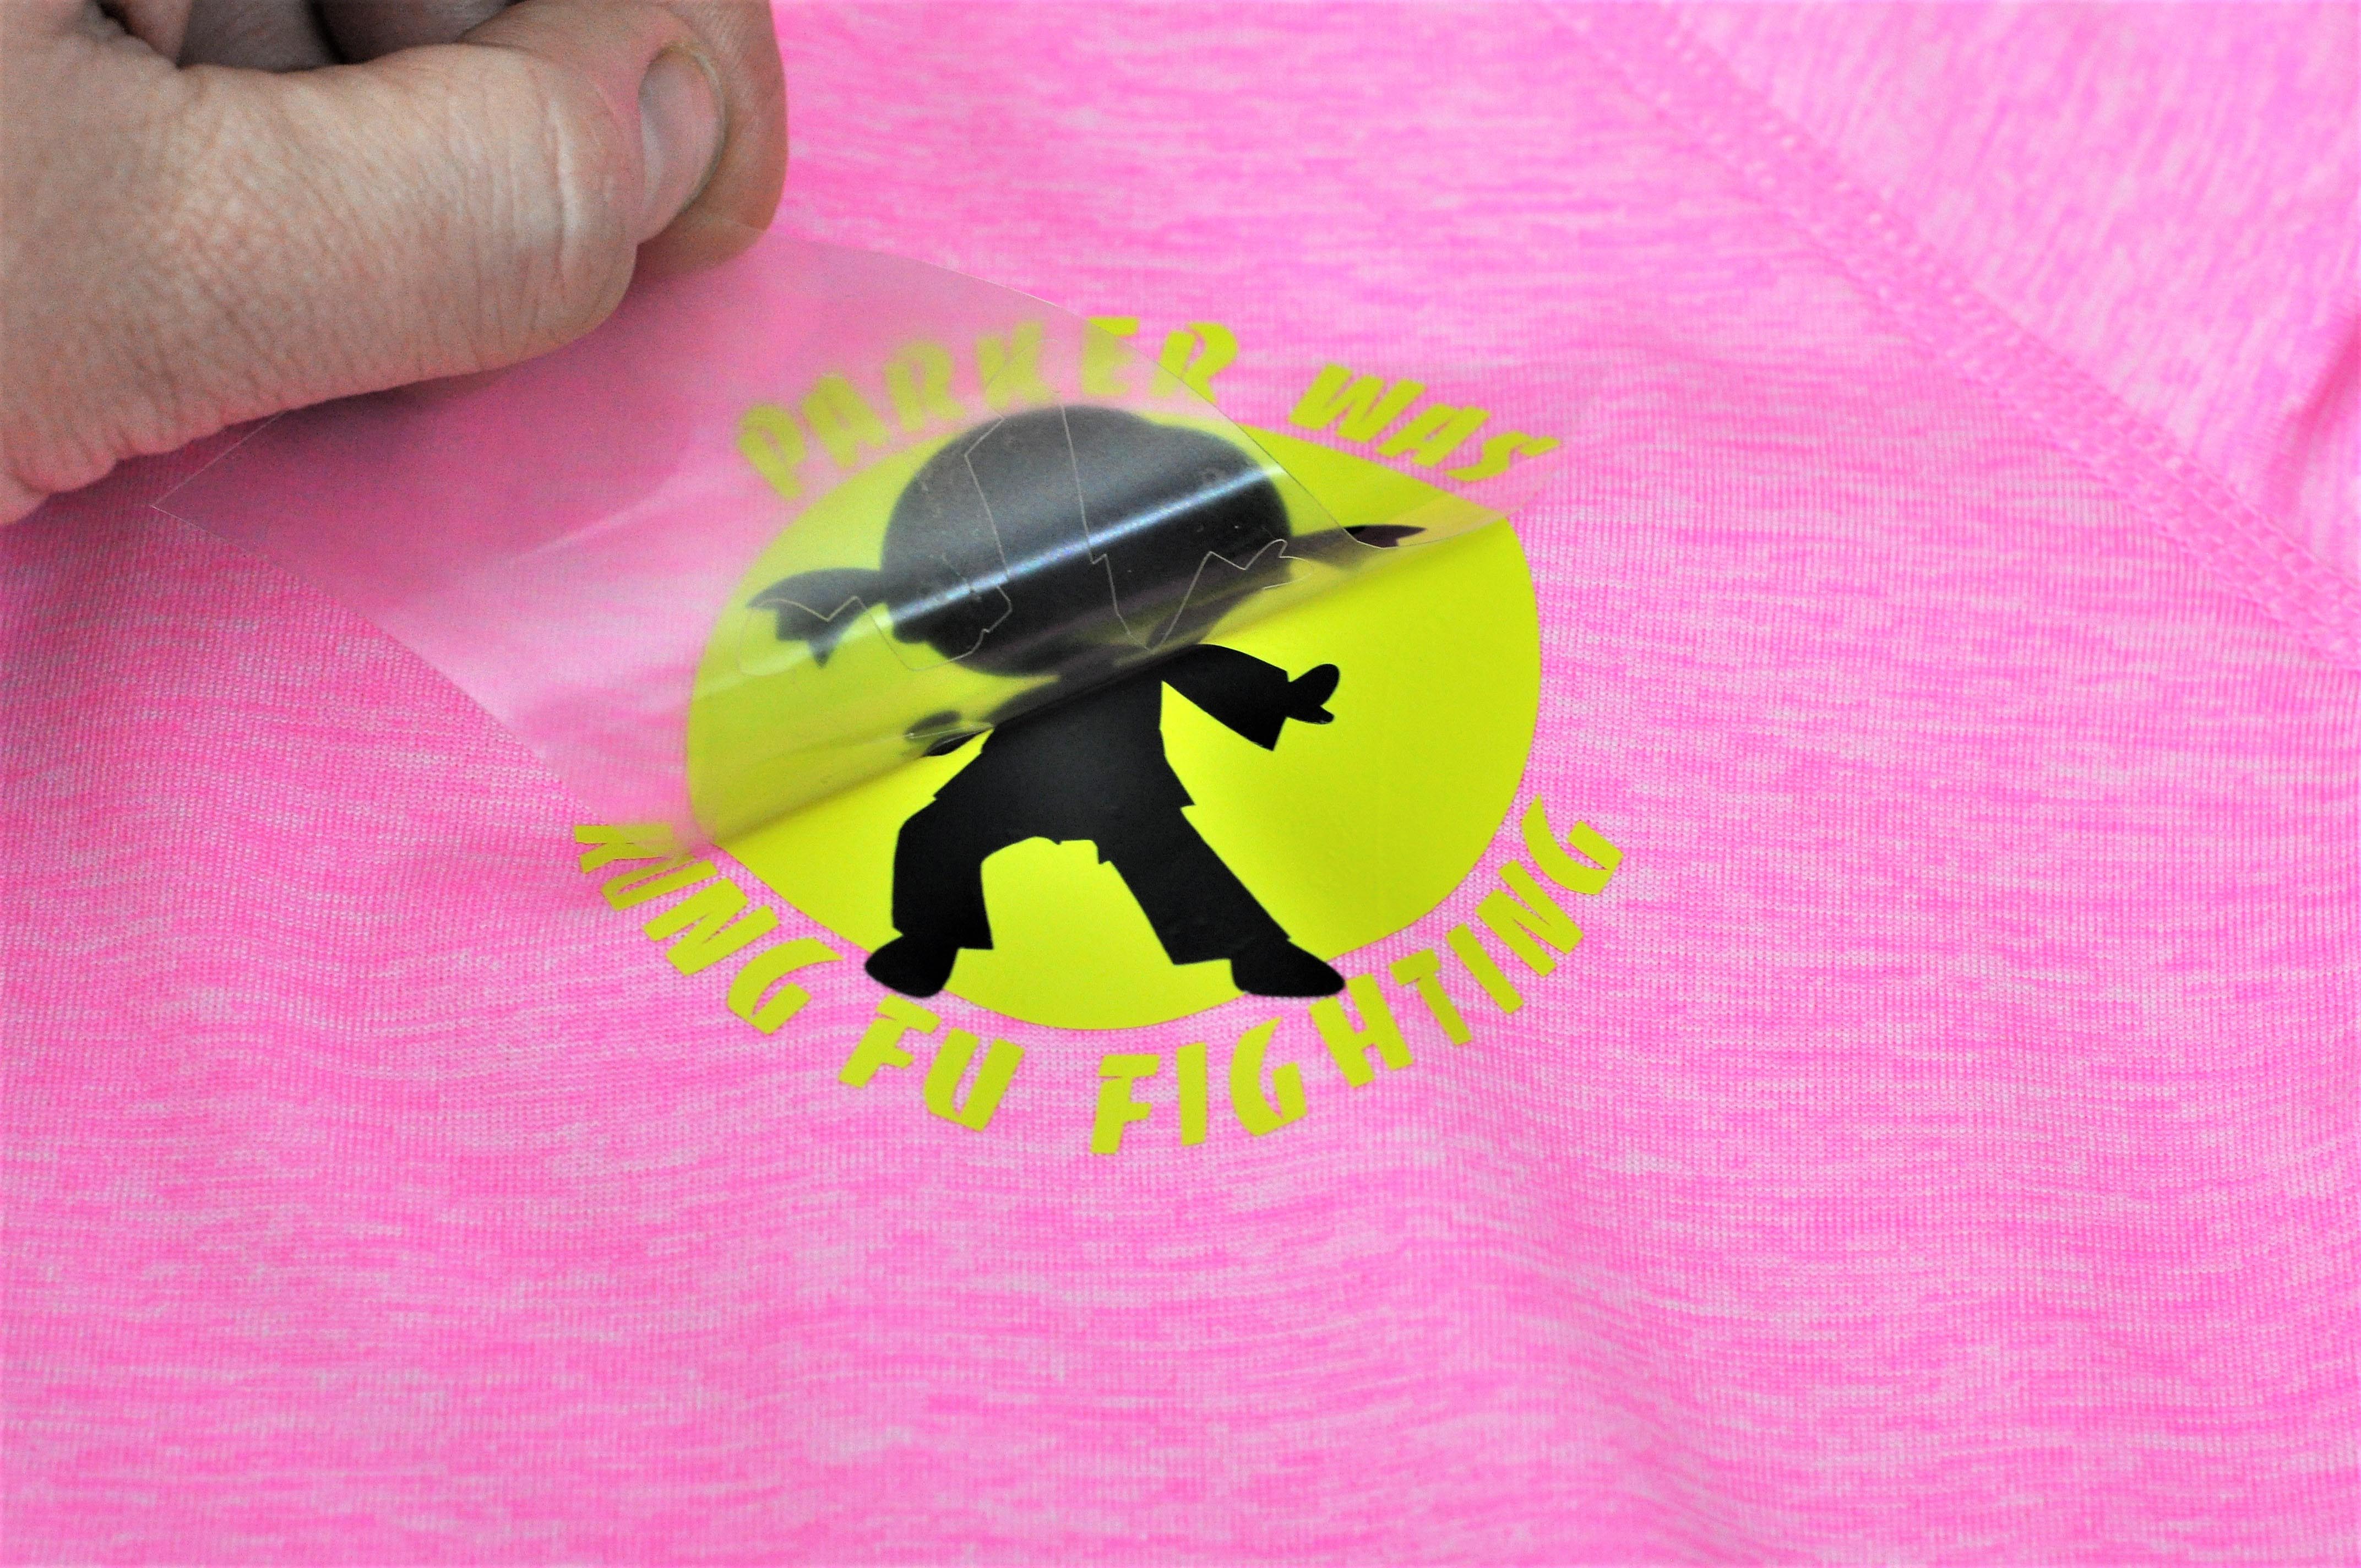
Your shirt is ready for some Kung Fu Fighting, those kicks will be fast as lightening!
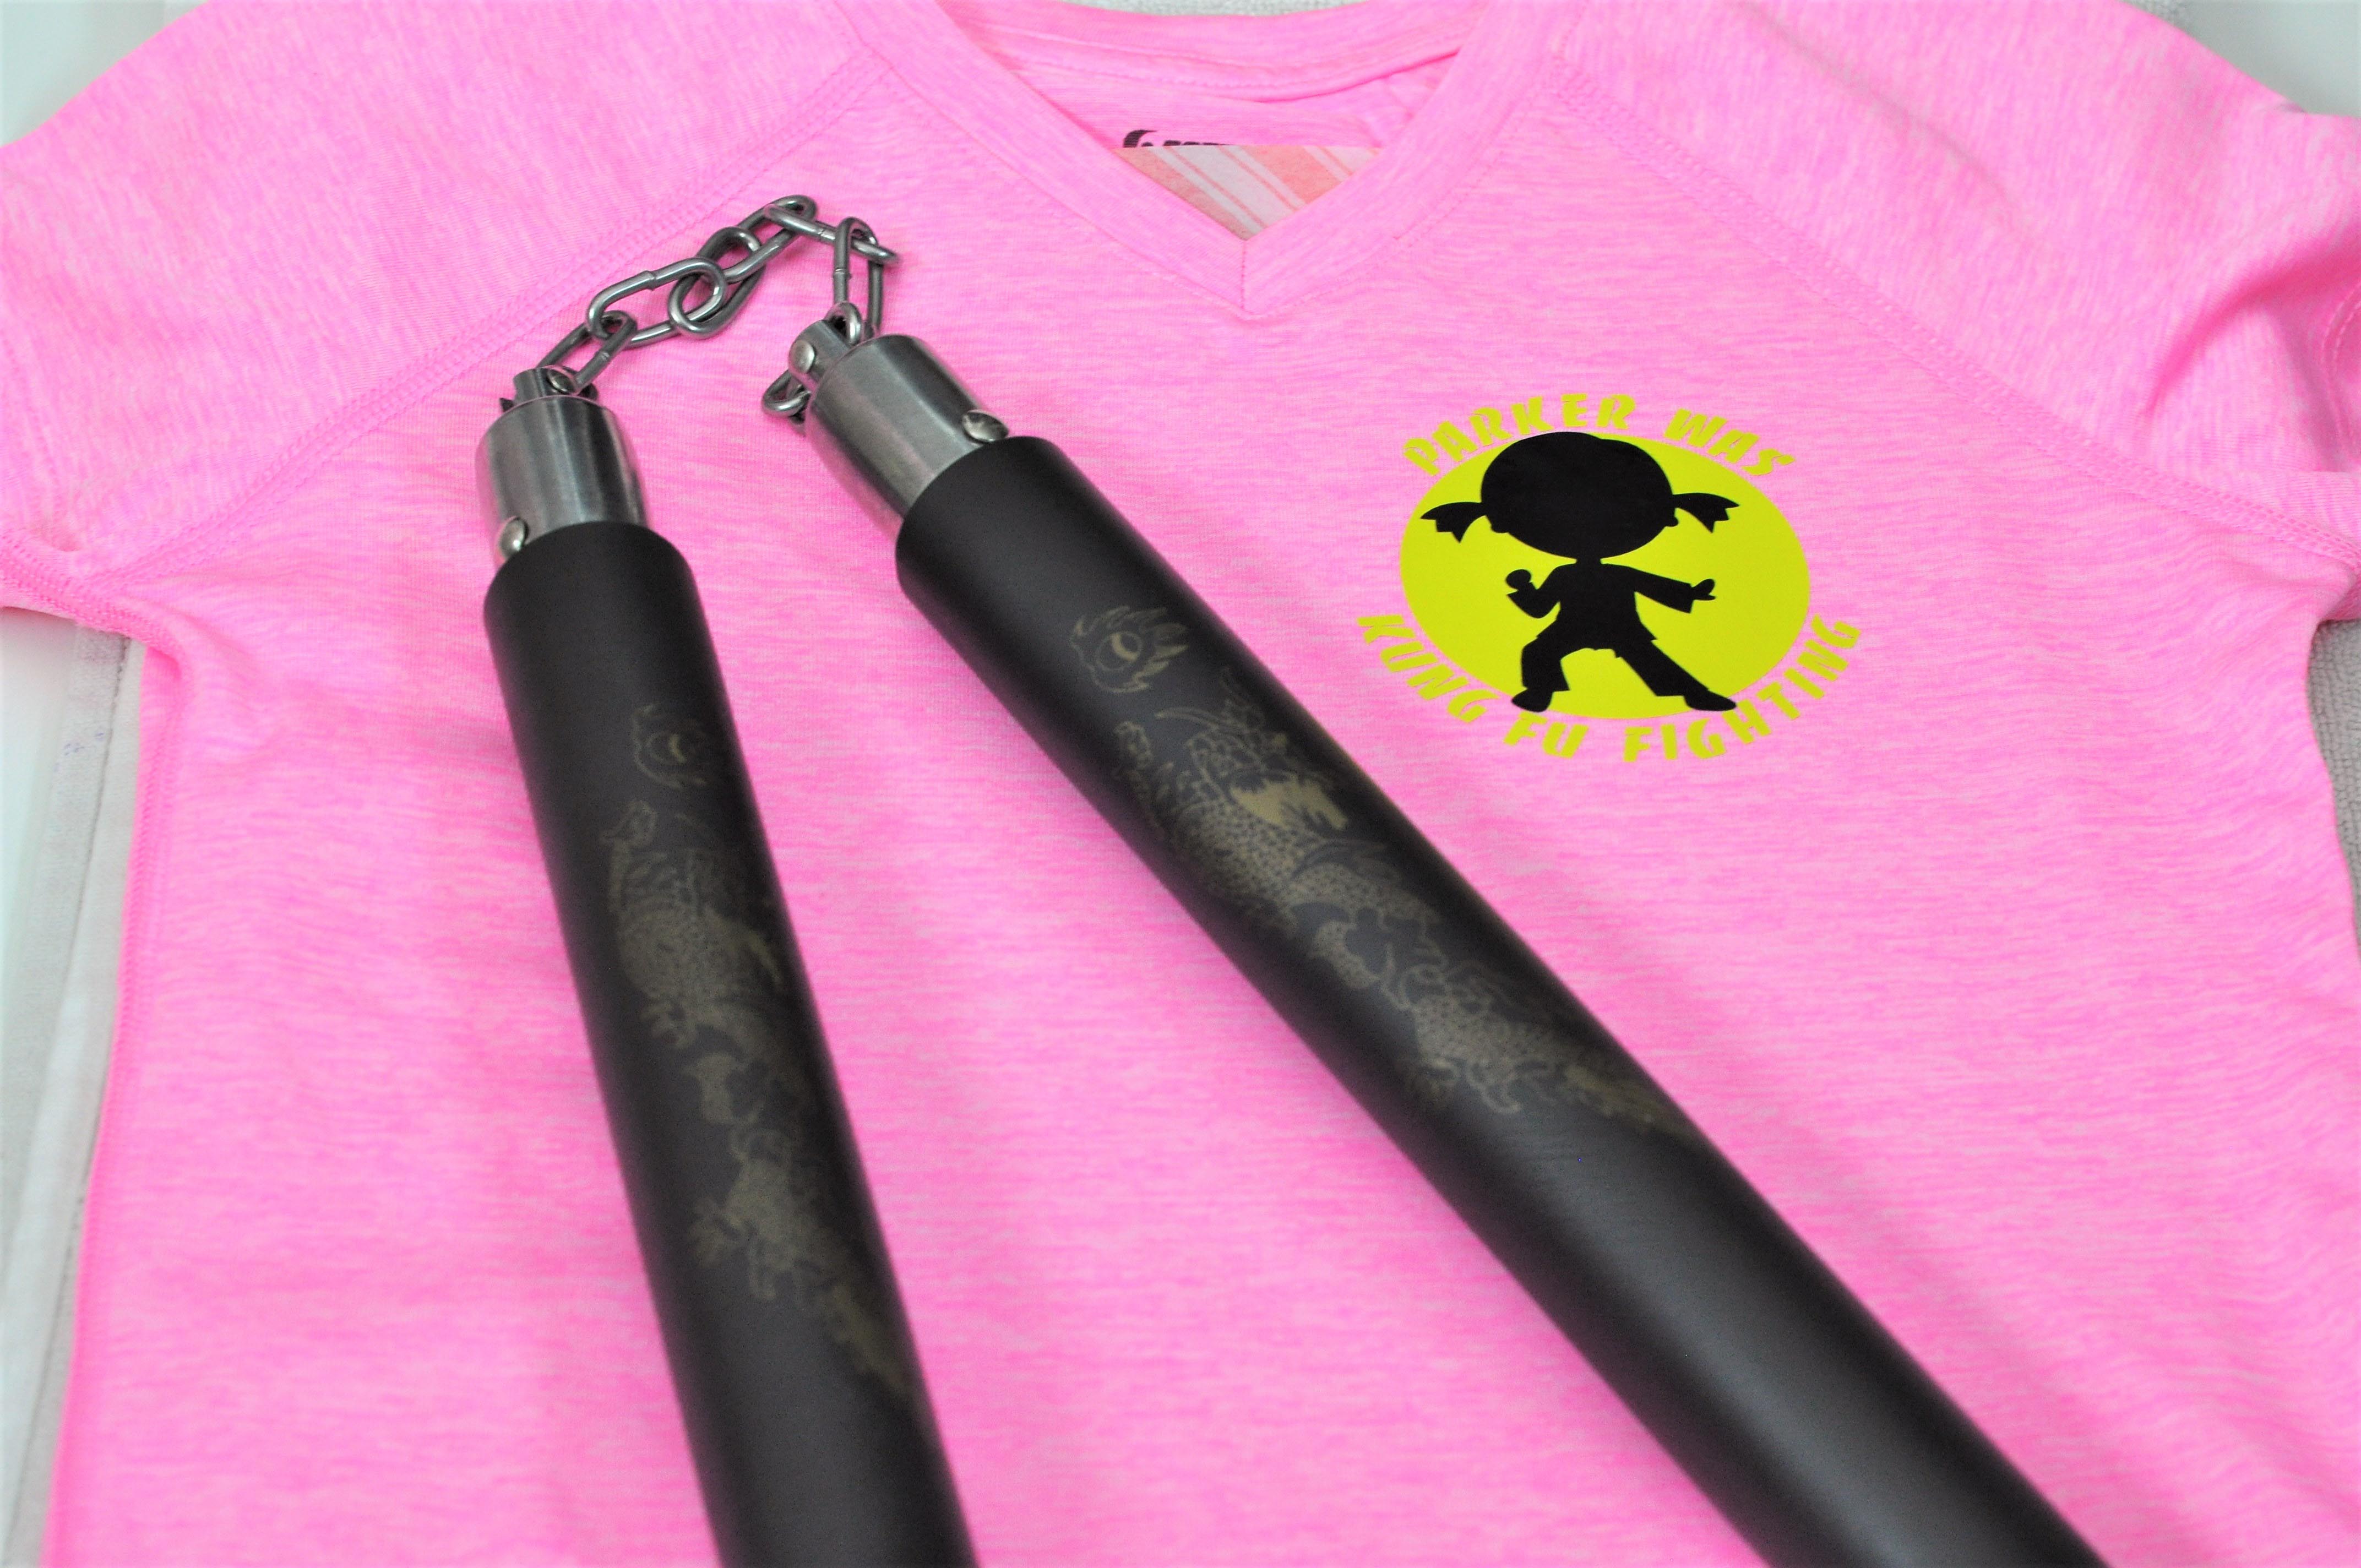
Next let’s work on the backpack to carry the nunchucks.
Kung Fu Kit Nunchuck Backpack
Step 1 – Design
I typed out the text “Warning: Nunchucks Inside” and converted to Banco Com Heavy font. You can access this design here. I also reused the ninja silhouette above (the larger size).
Step 2 – Cut & Weed
As above, set your machine to vinyl and cut. When using iron-on, always be sure to put the vinyl (shiny color) side down on the mat and mirror the image before cutting. Then weed.
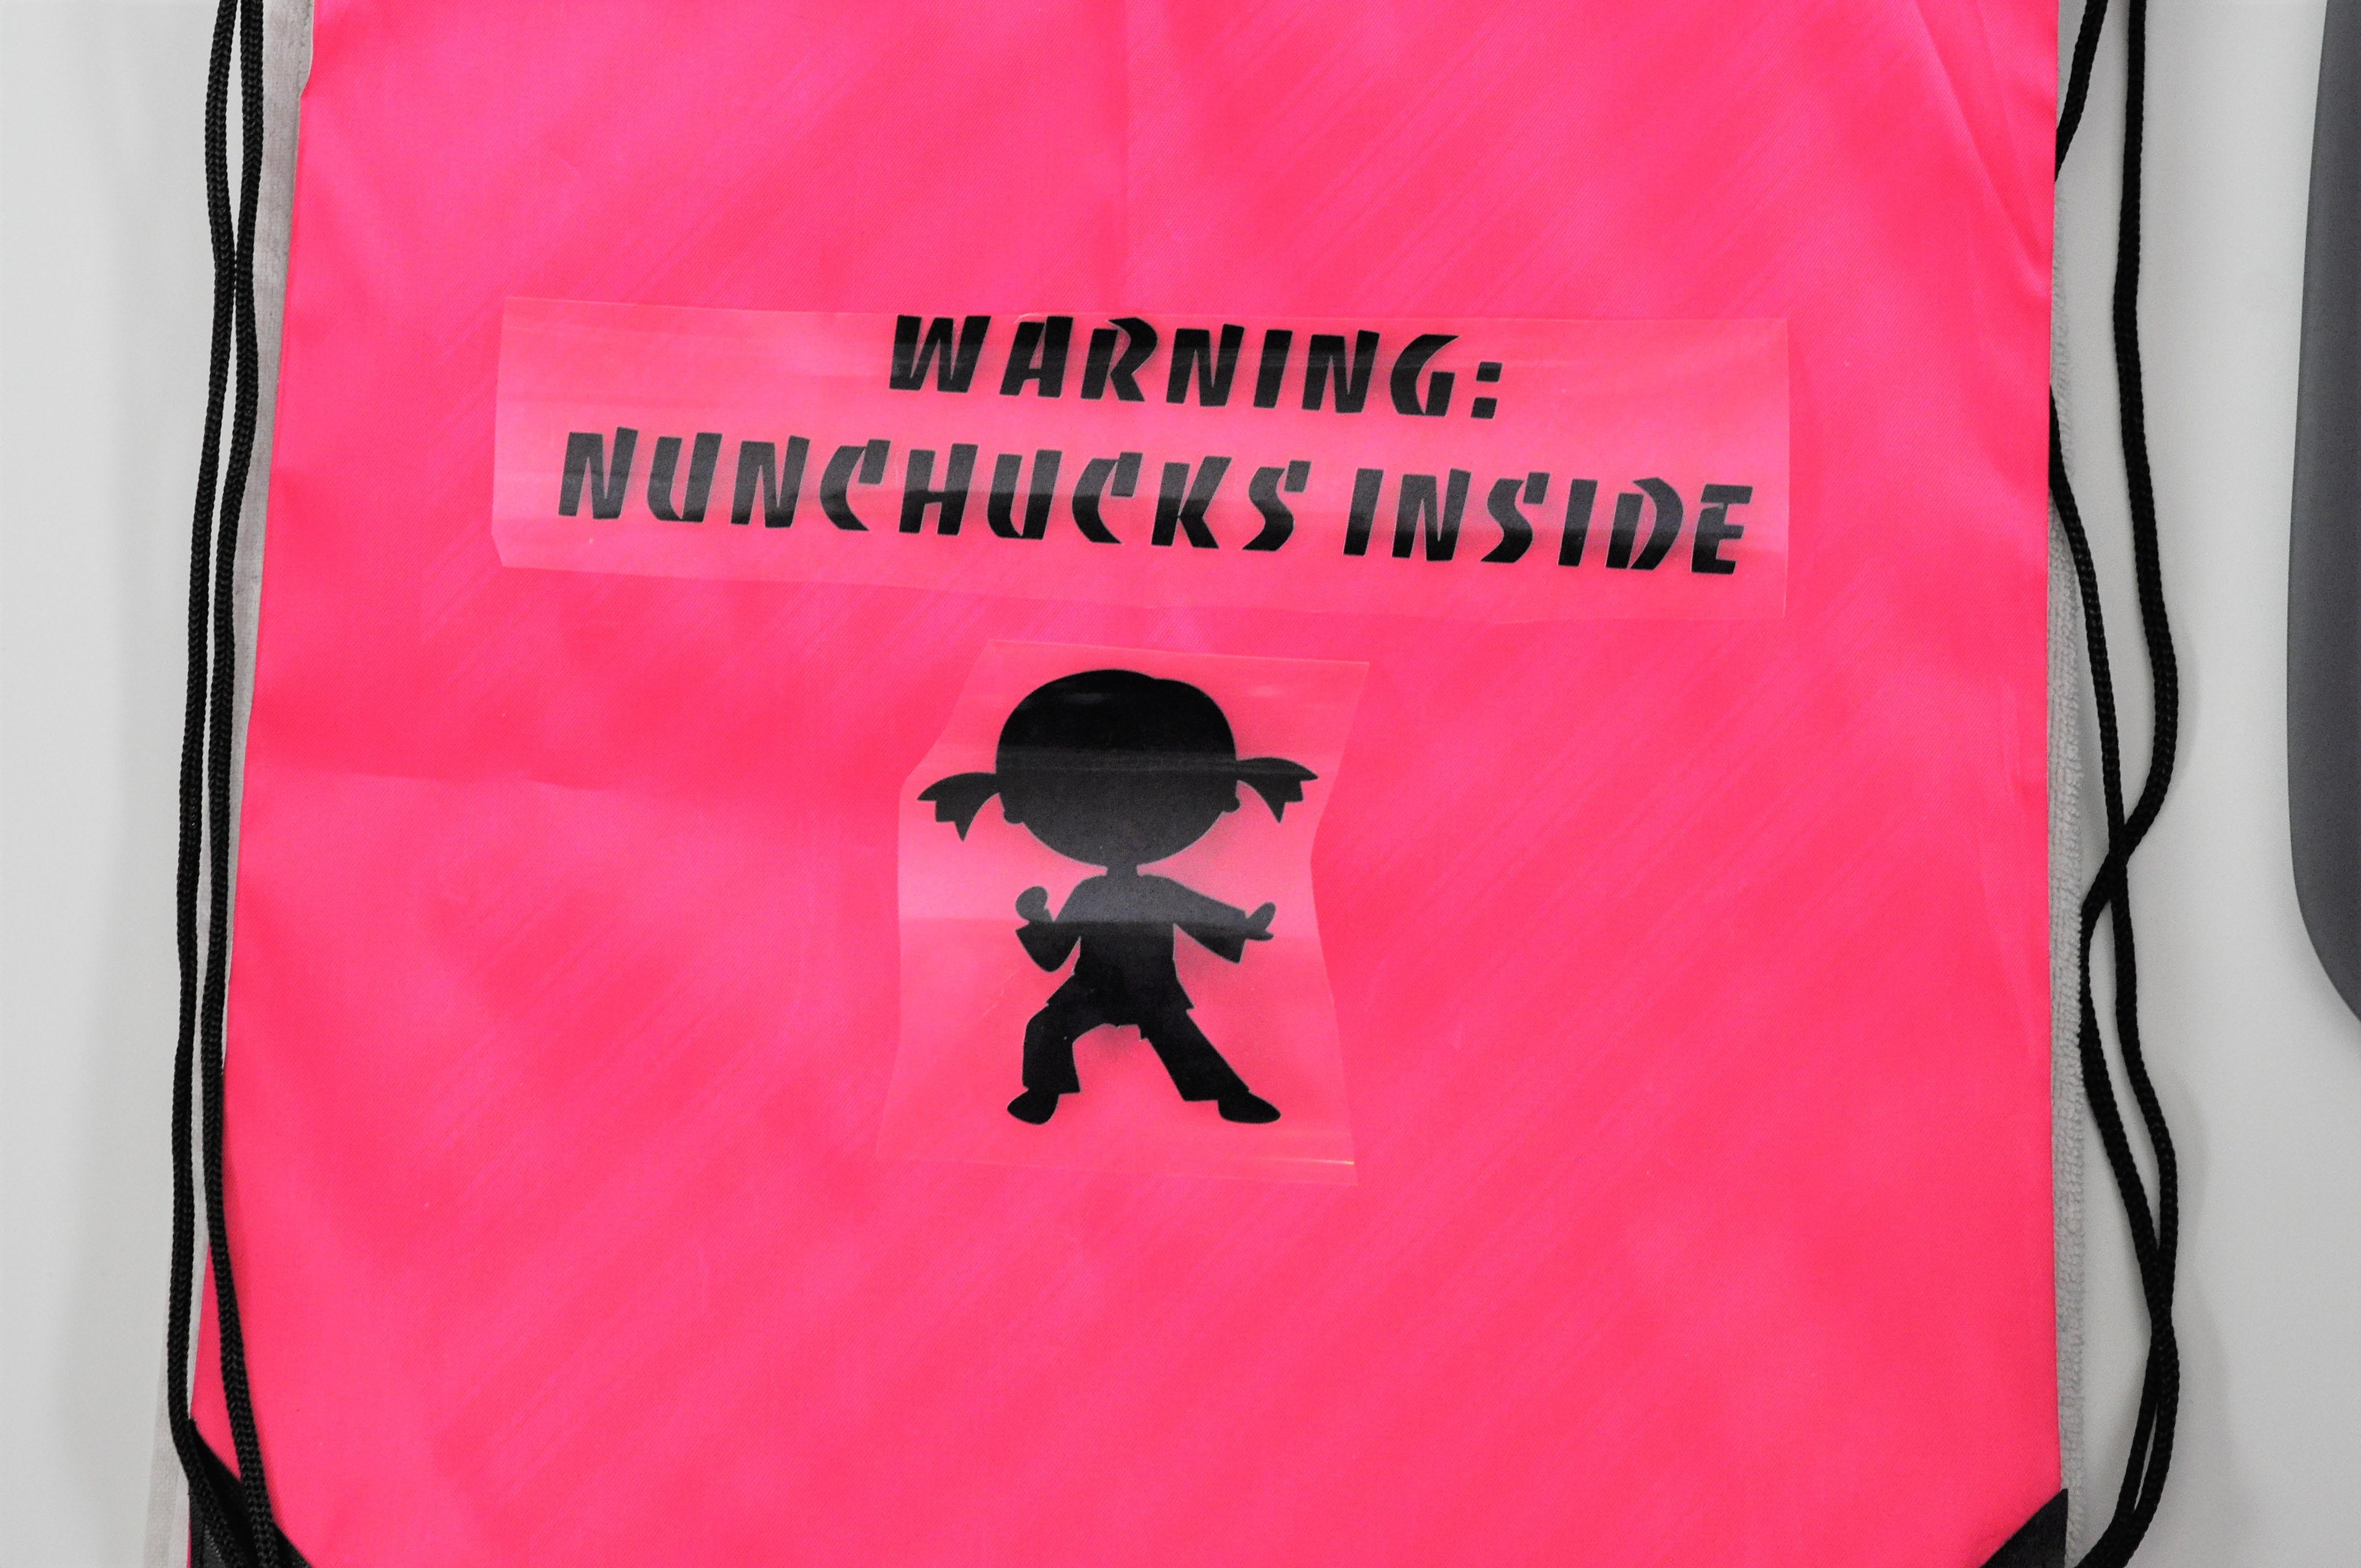
Step 3 –EasyPress
Repeat the steps above to apply the words and image to the back. Don’t forget to place parchment paper between the front and back of the bag before heating the polyester.
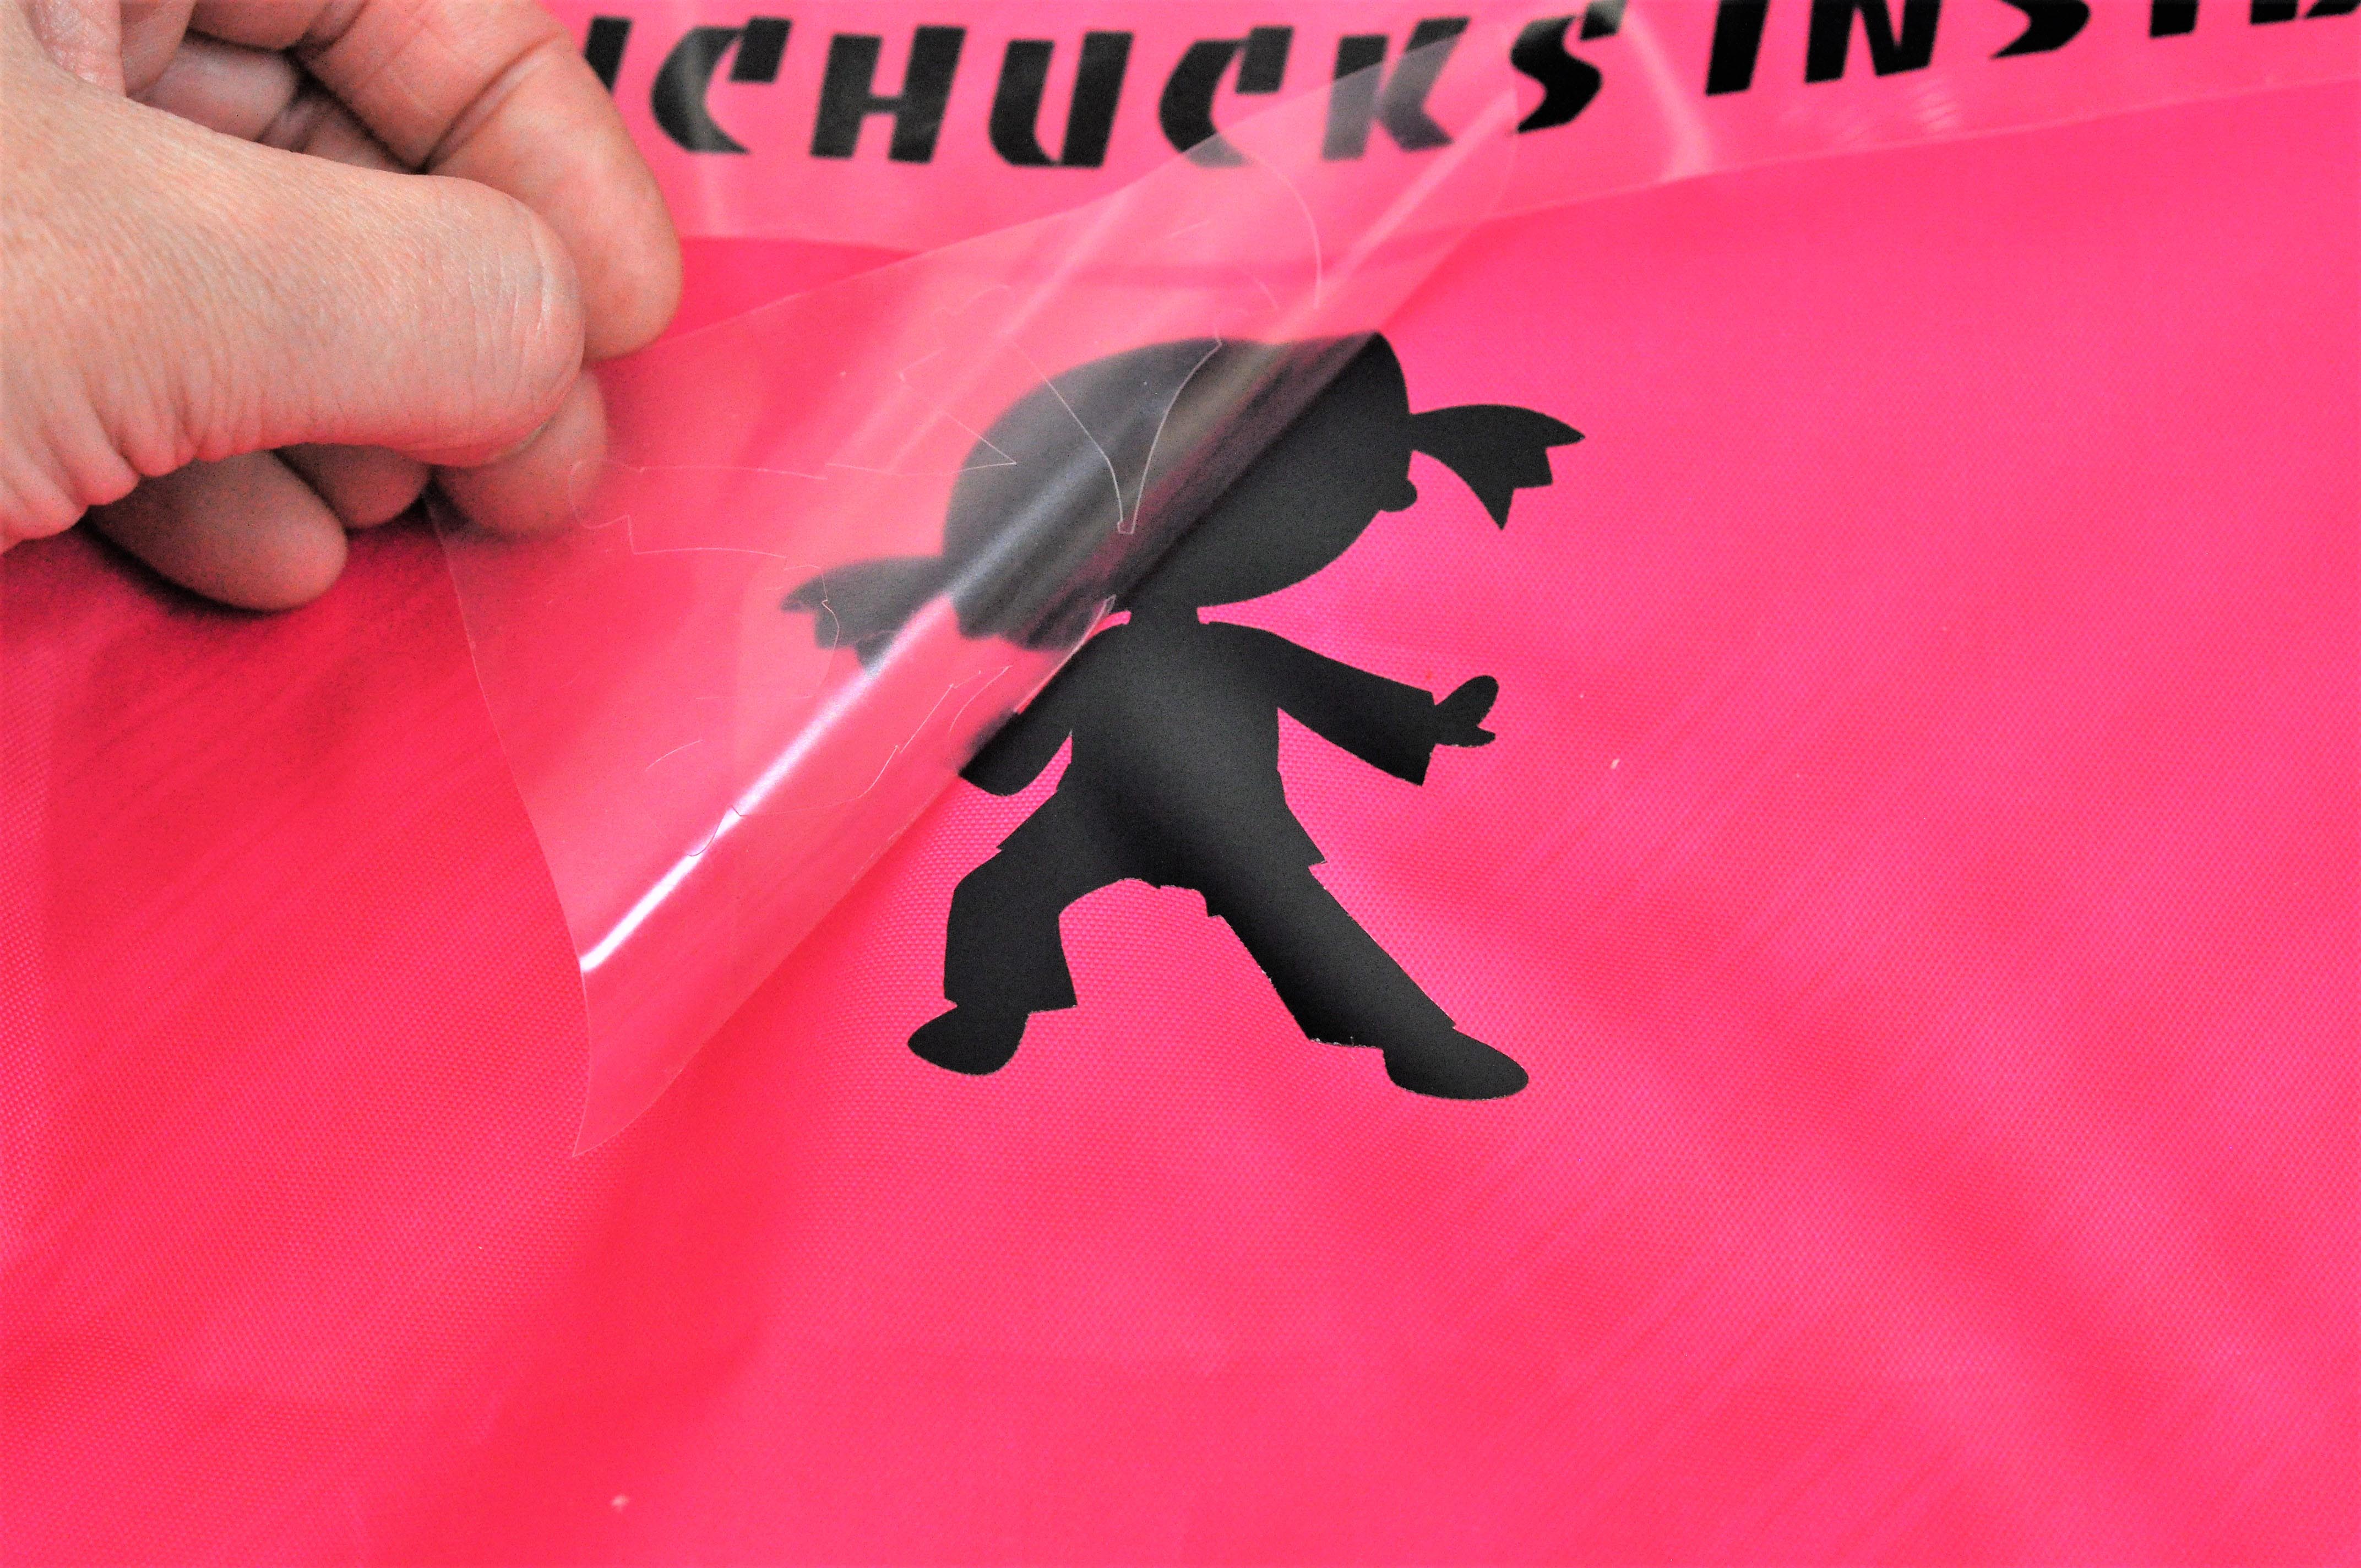
Now you are ready to pack the nunchucks and send your ninja off to “fight with expert timing”! I bet you have the song stuck in your head now!
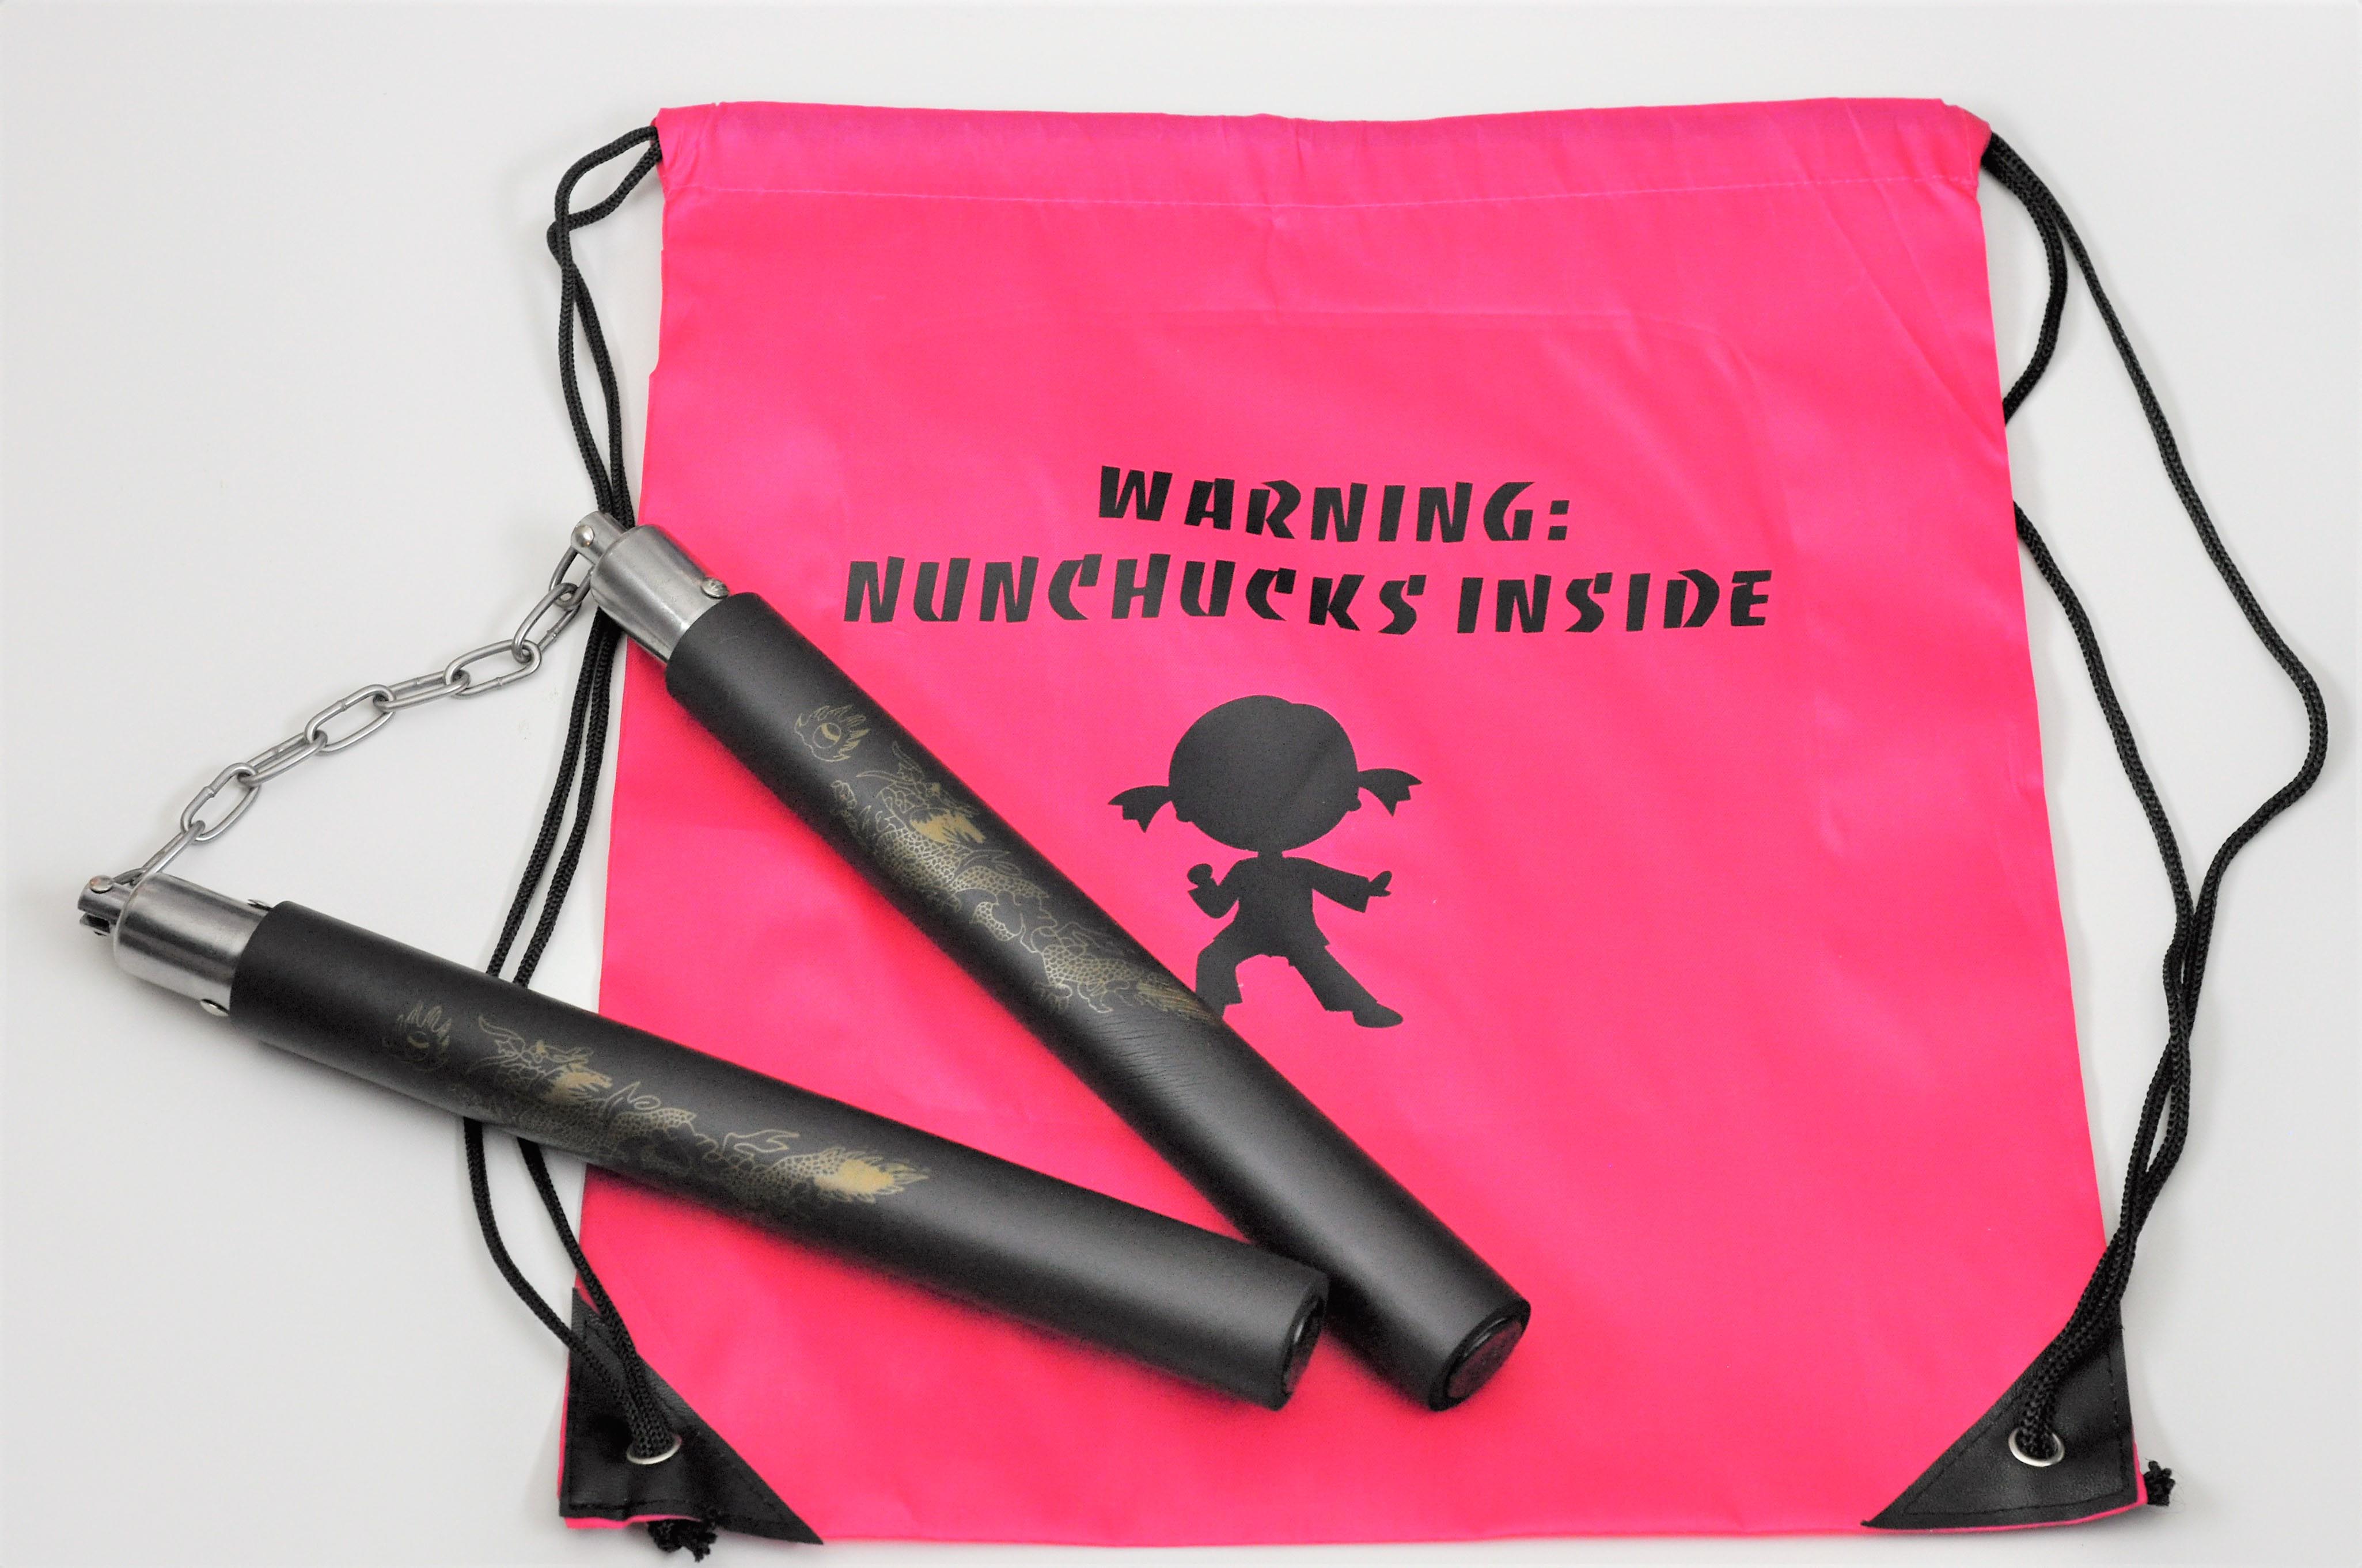
I hope you enjoy this Kung Fu Kit project as much as I did creating it for my daughter. Can I add – she has not taken the shirt off for 3 days …OMG!!
Happy Crafting with Cricut™ and…
This is a sponsored conversation written by me on behalf of Cricut. The opinions and text are all mine.







Leave a Reply