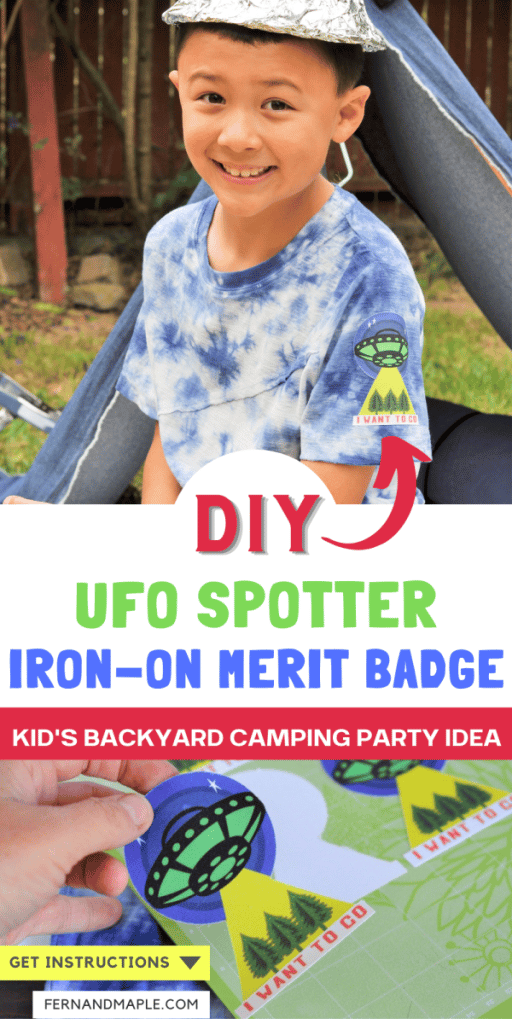
Aliens are such a fun mysterious party theme for kids. It’s perfect for backyard sleepovers or Halloween parties. My UFO Spotting & Outdoor Camping kids party was full of DIY details and keepsakes for the kids to take home. One Kids UFO Party Craft project was a DIY UFO hunter t-shirt, a keepsake made to match the theme of the camping party. On the sleeve of that t-shirt, I also created a fabric merit badge. A little like a scout merit badge, only for UFO spotting accomplishments.
Even UFO spotters need to get awards for achievements! I’m so excited to share how you can recreate this fun fabric merit badge and then use this technique for any themed party!
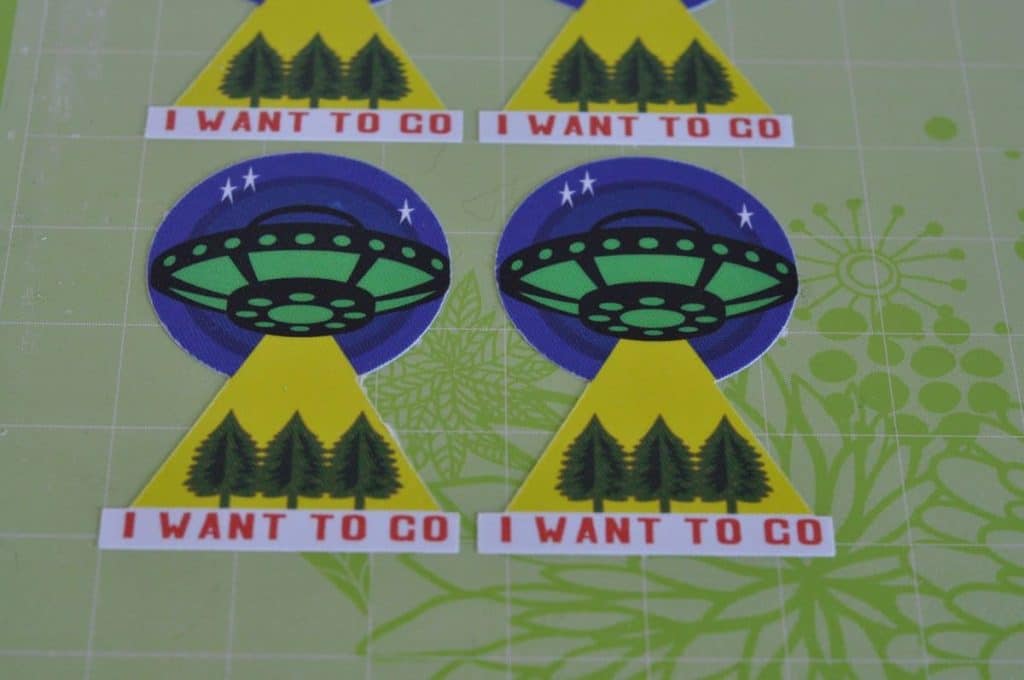
How to Make a Merit Badge for a DIY Kids UFO Party Craft
As a blogger, I sometimes receive compensation and/or products in exchange for my styling and crafting services. I also may earn a small commission from any sales that result from affiliate links on this page. As always, all project ideas and any opinions expressed here are my own. For further information on our disclosure policy please check out our disclosure page.
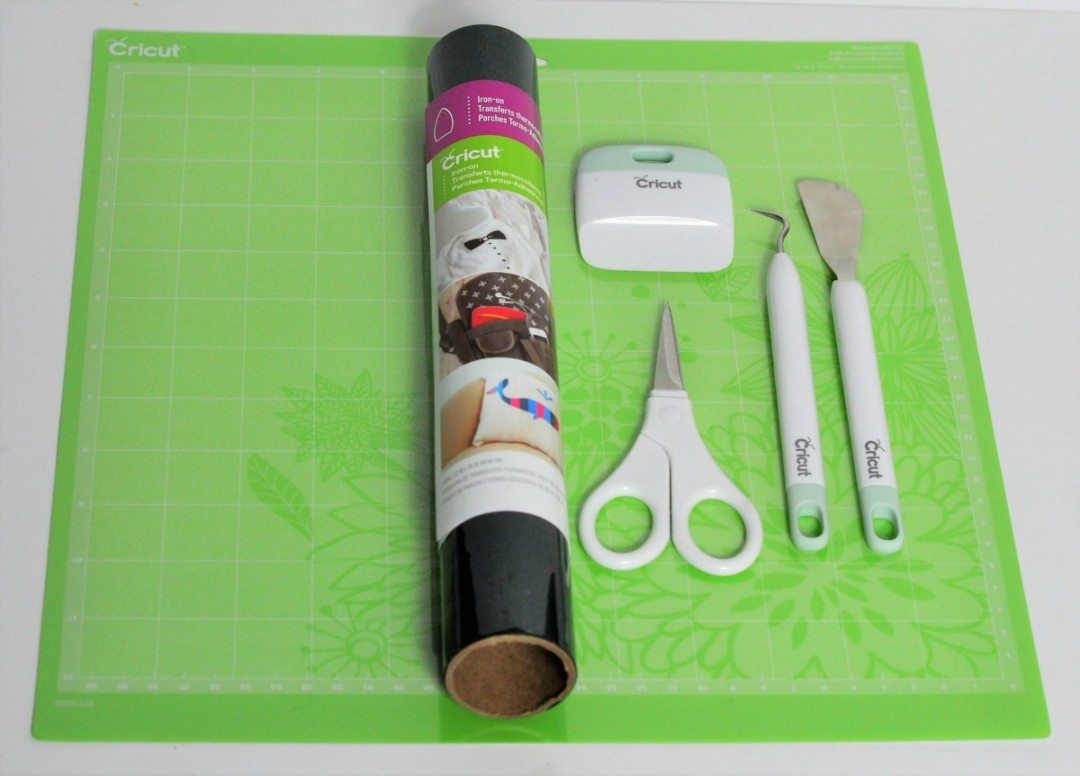
What You’ll Need:
- T-Shirt
- Cricut Machine
- Cutting Mat
- Printable Fabric
- Space Party Cartridge (for the UFO)
- Cricut Annas Christmas Cards Embellishments Cartridge (there are free pine tree designs available as an alternative)
- Font – A Frightful affair (free)
- Basic Shapes – Triangles & Circles (free)
- Cricut tools basic set
- Iron
- Scrap of fabric
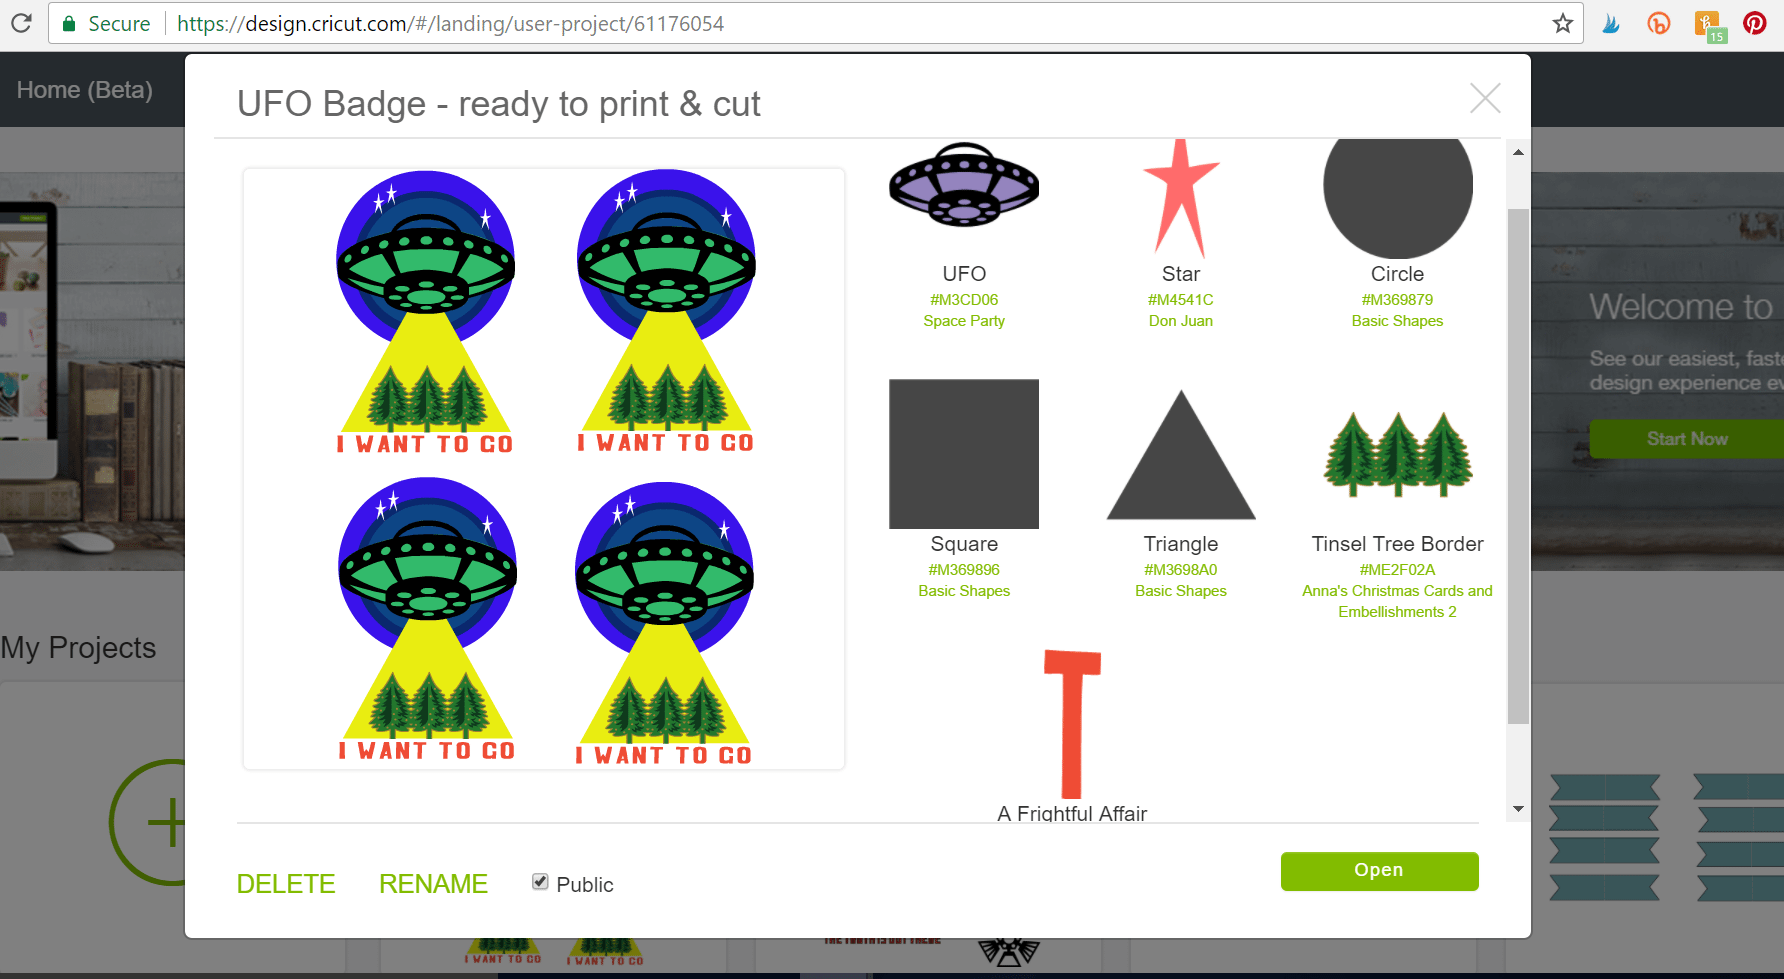
Step 1: Download images & shapes for the Kids UFO Party Craft Merit Badges
Open the Cricut Design Space and start a new project. Start by downloading the images and shapes you need to create the patch on your Cricut. These are noted above & in the design space screenshot below. You can edit each of these as required using the edit toolbar above. For example, I updated the color of the UFO shape to green.
If you prefer, I have made this design available for you HERE. It is ready to print and cut so skip to Step 4.
Step 2: Add the text
Click on the text button to the left and type in the appropriate text. Once you have added the text, edit and change to the font of choice. Click away from the text and then select the text again to have the edit toolbar appear. For this design I used “Wildcard 2” and the text is 2.5 inches long – you can edit the font size above or by dragging the text box to make it larger or smaller.
Step 3: Consolidate design elements
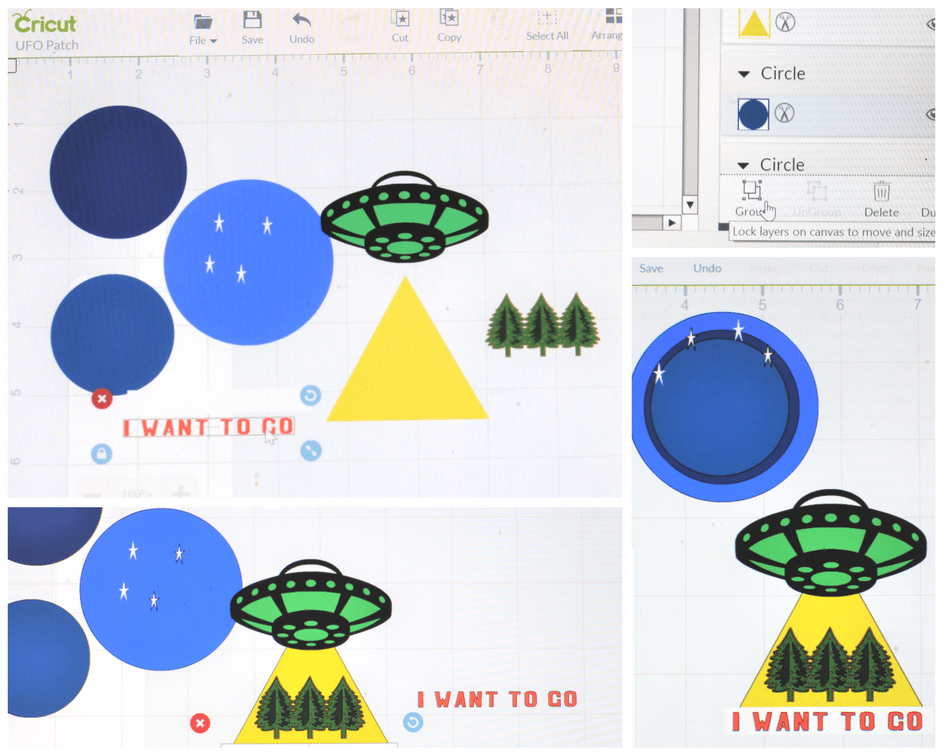
Once you have all of the elements of the design, arrange them to create the badge design.
Drag and drop the shapes and images, using the “arrange” edit function to move shapes forward or back to get the design how you want it.
For this design, I used the yellow triangle on the bottom layer with trees placed on top. The 3 circles (layered one on top of each other, with the UFO & stars on top of these) were placed on top of the triangle. Lastly, I placed a white box with the text bought forward to the top.
Once you have completed the layering, highlight all parts of the design using the mouse and group the layers together using the group function to the right.
Step 4: Printing
Now it’s time to prepare the design for printing. Click the grouped image and click on “flatten”. This is very important as it turns the design into a printable image. Printing the layers as one design, keeping the size and position relative to each other when they are printed and cut.
Next select to print with the green GO (or “make it” in the new design space) at the top of the screen. The Cricut will automatically send it to your printer to print. Note: Ensure you have the printable fabric paper loaded and ready to print.
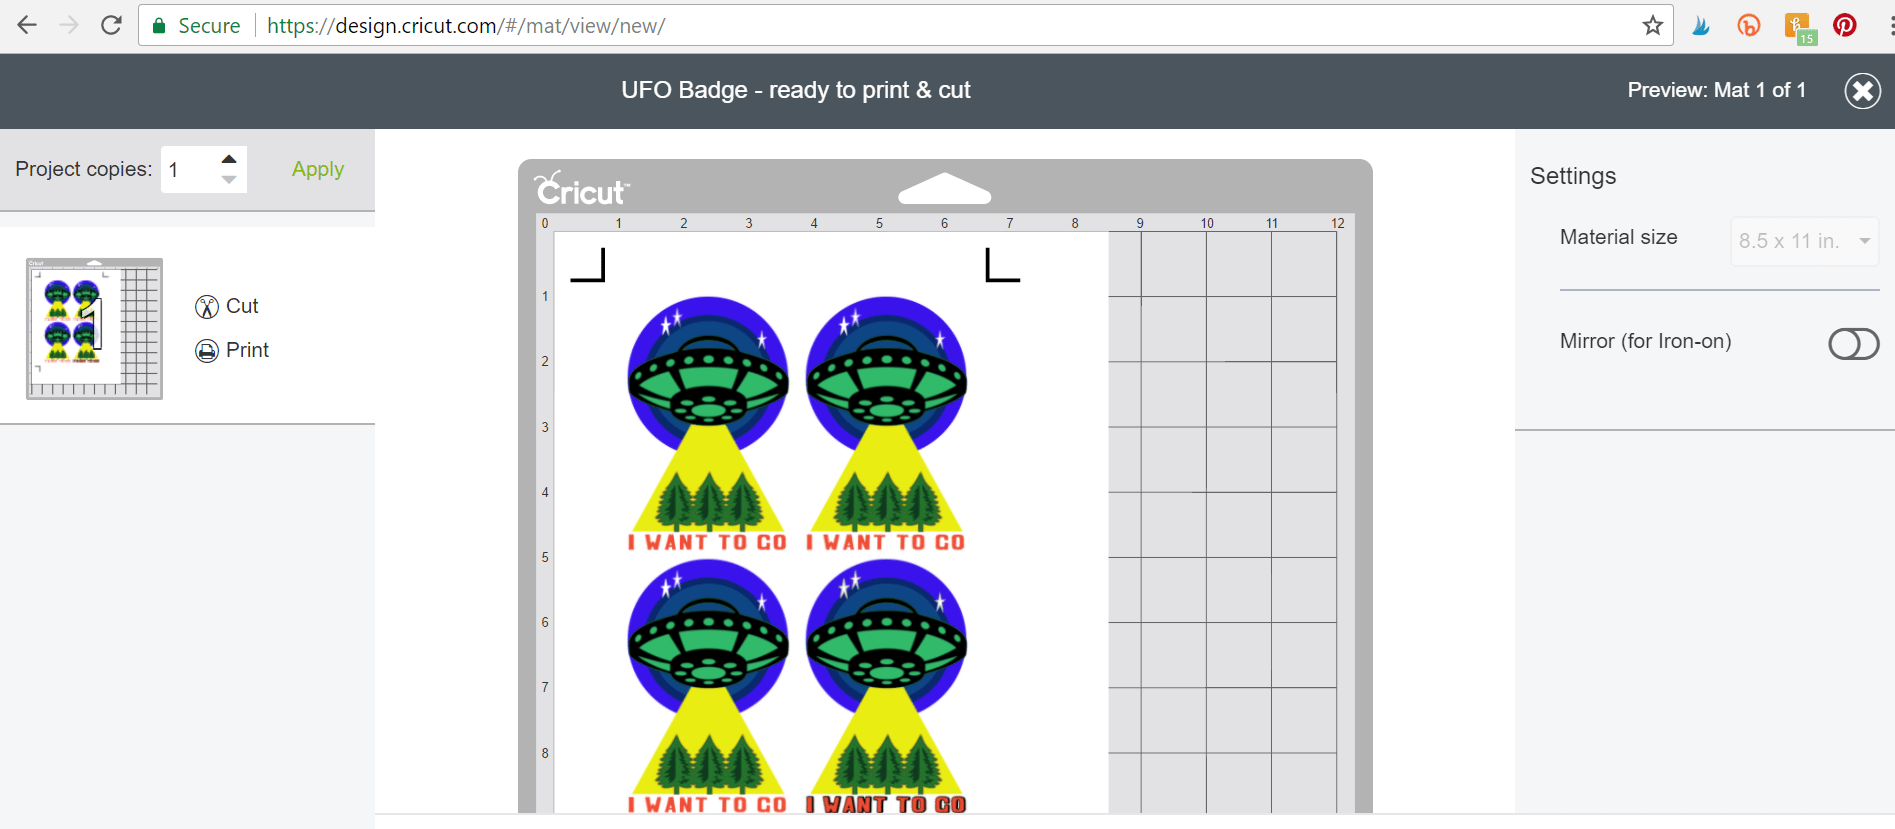
Step 5: Cut the fabric badge
After the image has been printed on the fabric paper, take the paper out of your printer and place it in the machine to be cut. Check you have the material set to “bonded fabric” on your machine using the dial.
Step 6: Apply the fabric badge
After the image has been cut, follow the printable fabric instructions to weed & remove the fabric from the mat. Printable fabric is usually used as a sticker, applied to surfaces that will not be washed.
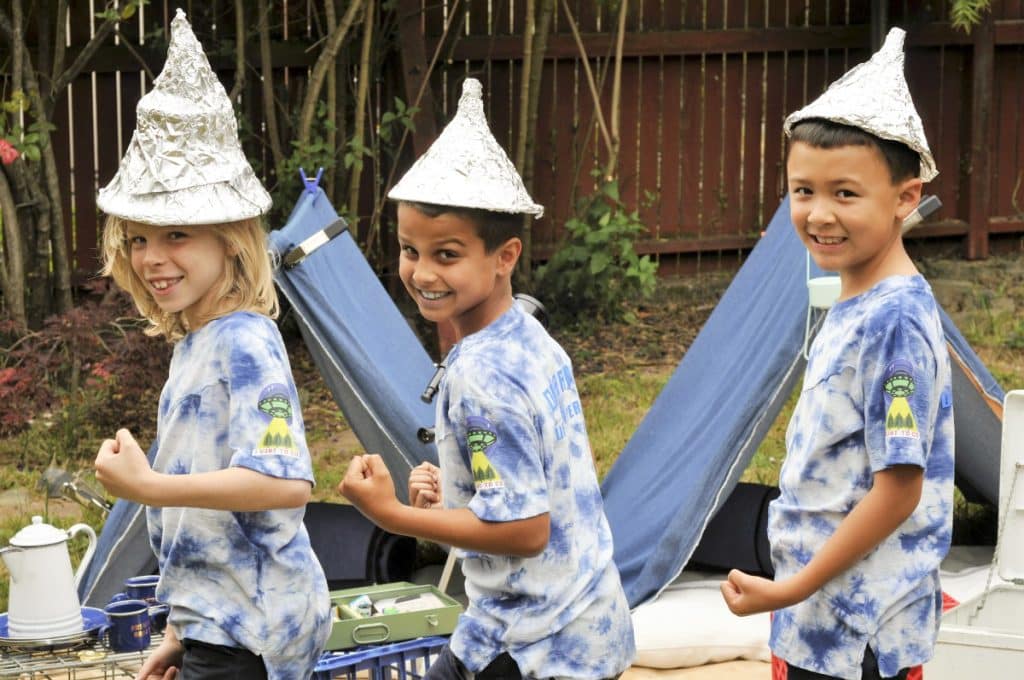
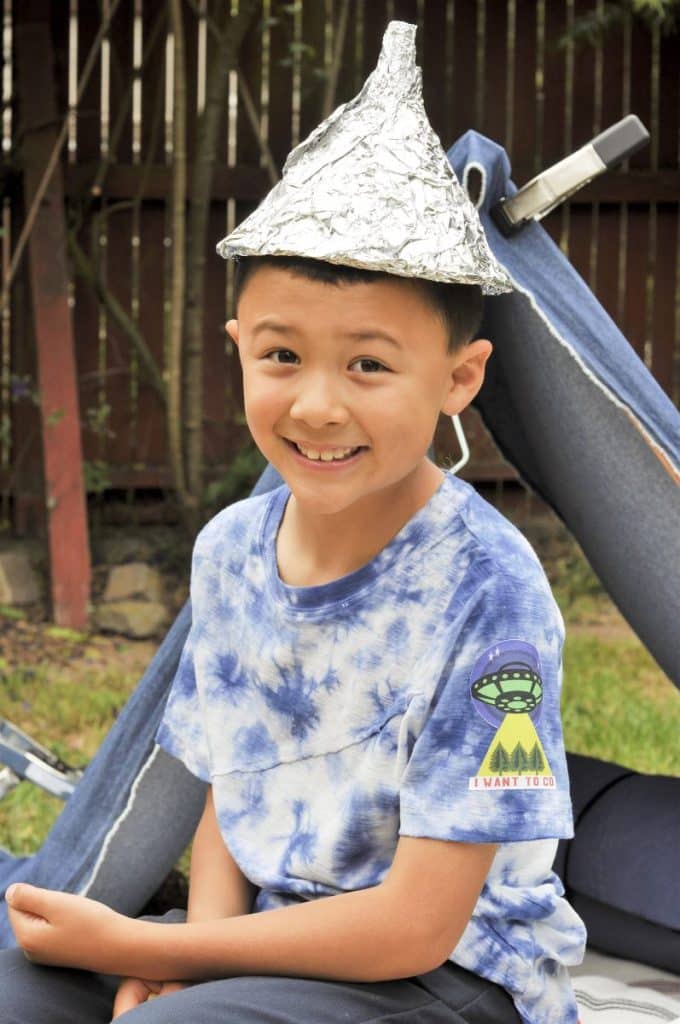
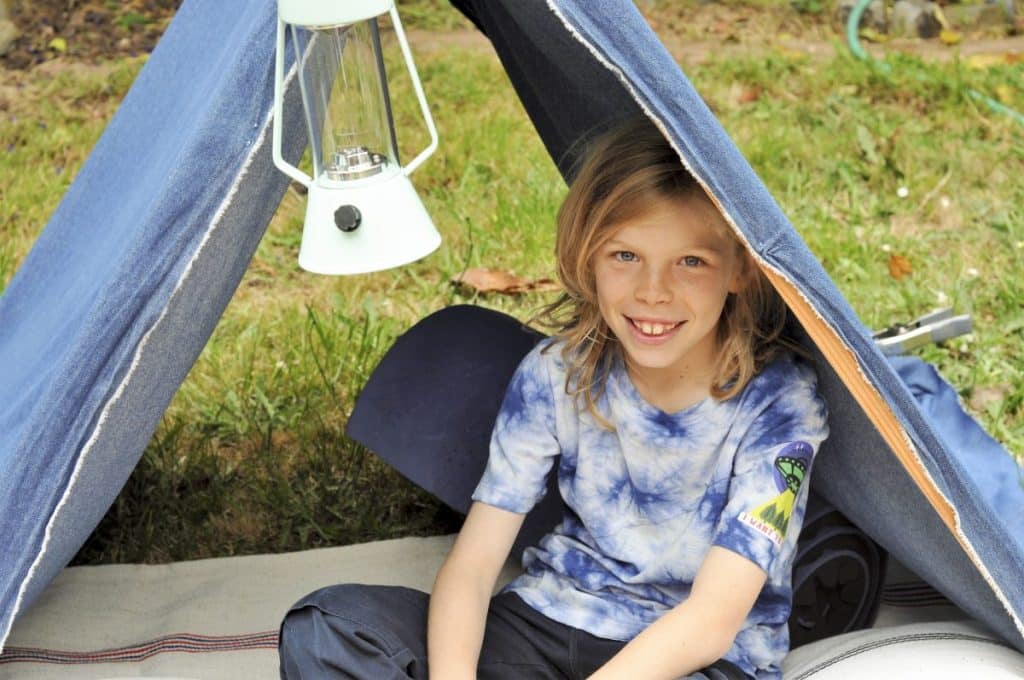
For this project, I applied the badge to t-shirts that would be washed (these have subsequently stood up very well to washing so far). To apply the fabric badges to the t-shirt I followed the instructions for applying iron-on vinyl. Placing the fabric merit badge on the sleeve of the t-shirt. You can find the iron-on instructions in my DIY UFO spotters t-shirt post.
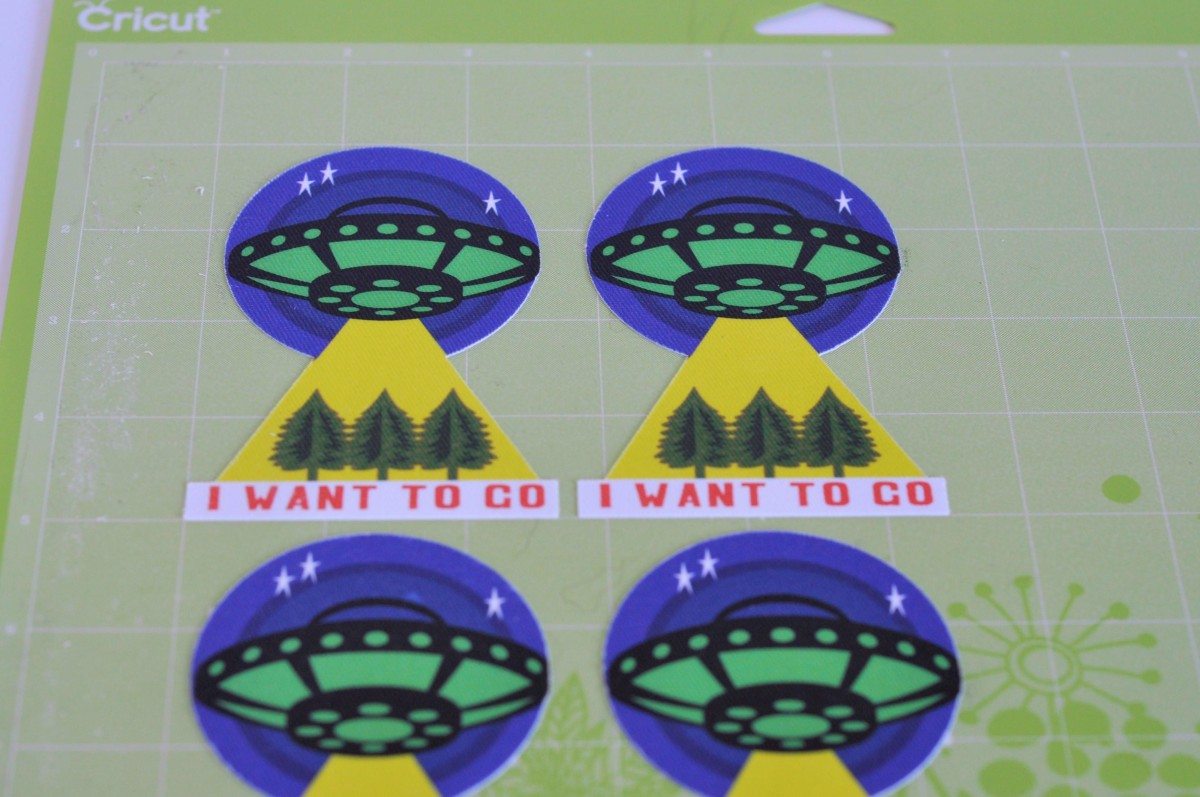
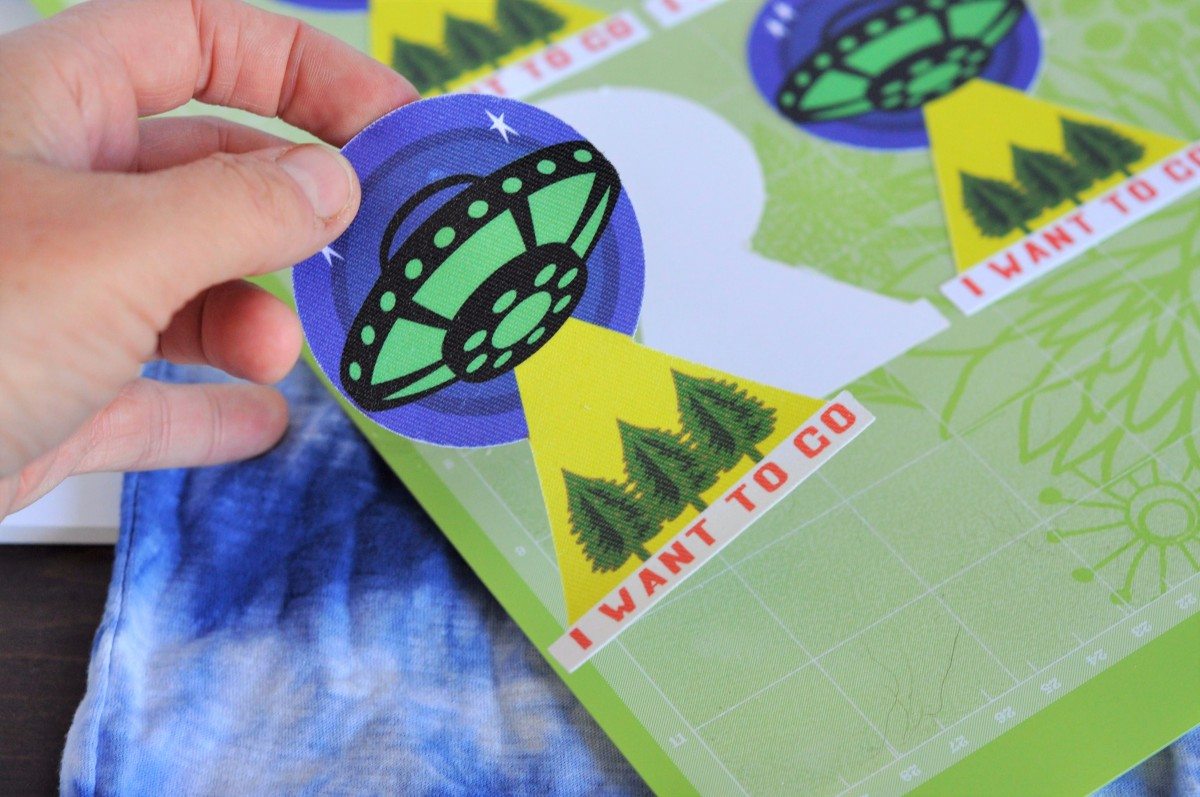
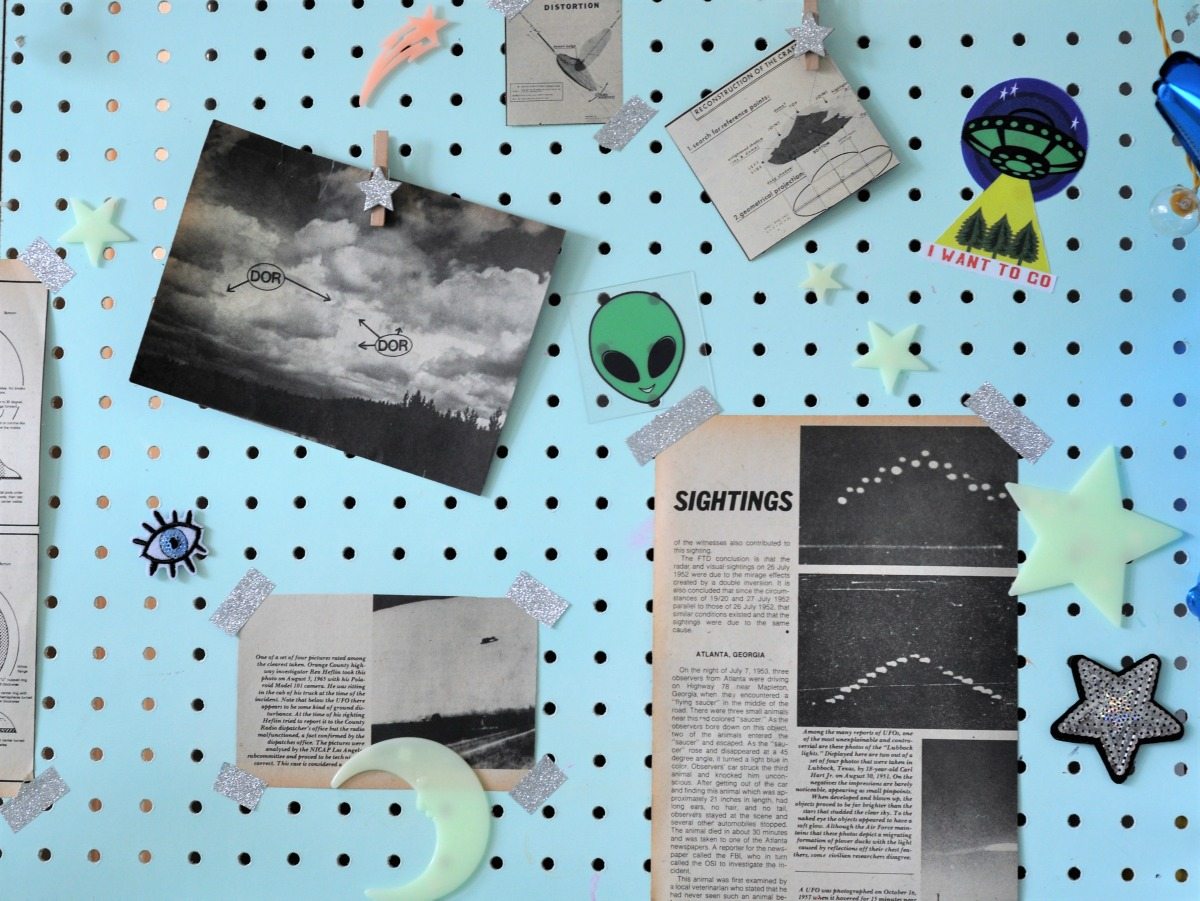
You now have fun, fabric merit badges for the sleeves of your t-shirts. I also used them as sticker decorations on the backdrop.
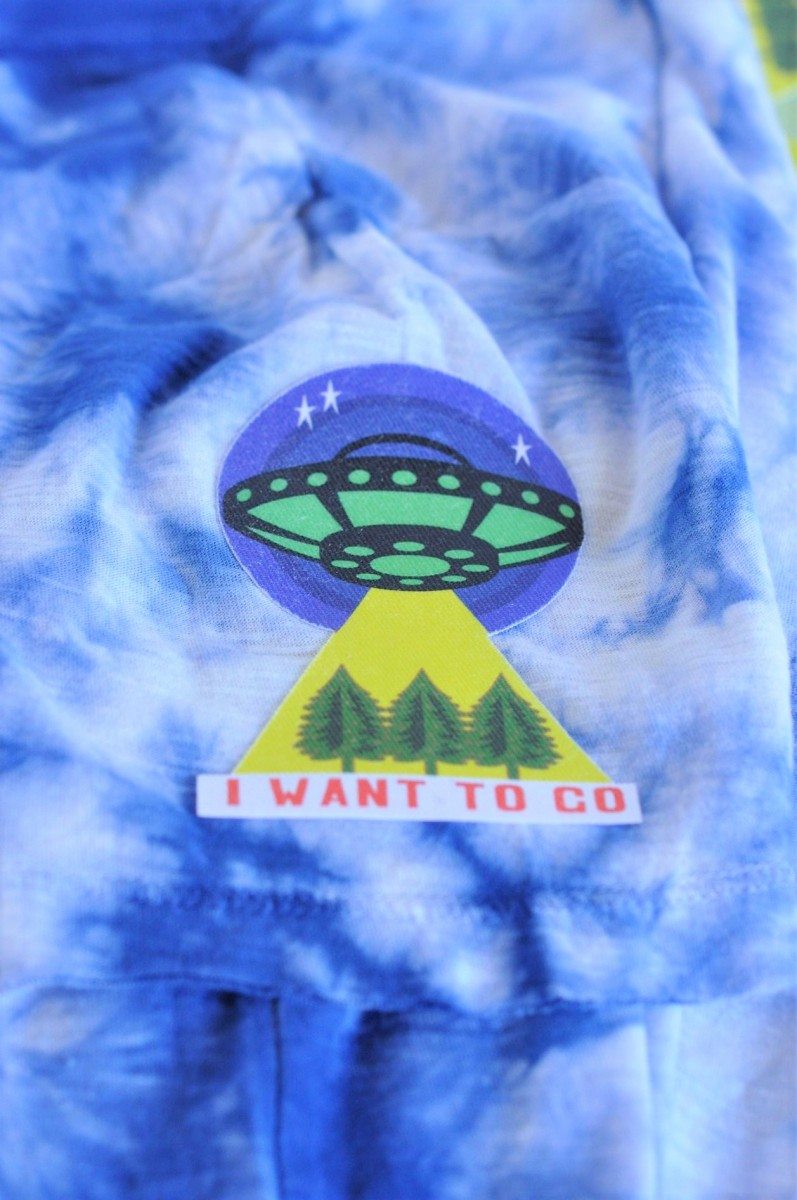
I hope you have fun creating your own fabric merit badges, they make a fun addition to your party!
Thanks so much for stopping by! Make sure to check out my UFO Spotting & Backyard Camping kids party and other fun Cricut projects for this theme.
Happy Creating!
PIN FOR LATER:









Leave a Reply