I have been wanting to create a mermaid party for quite some time now. I’m a big fan of mermaids, they are up there with unicorns on the magical stakes in my book. I was finally asked to do one for the sister of one of my sons friends, Mia. Oh what fun, so many ideas swimming (excuse the pun!) around in my head. Especially after attending the Snap Conference in Utah, lots of fantastic products I had seen and wanted to try out.
I love to DIY a lot of my party props, centerpieces and backdrops, as well as mixing new props with vintage. This is especially true for kids parties. I like the contrast of materials and making something unique that incorporates a little bit of magic, something that is personalized especially for the birthday child.
I had a lot of fun with this party and this post is going to focus on how I decorated the mermaid centerpiece and created the rocks I had her sitting on. In my next blog post I will focus on the party backdrop, centerpieces and treasure display box DIY instructions.
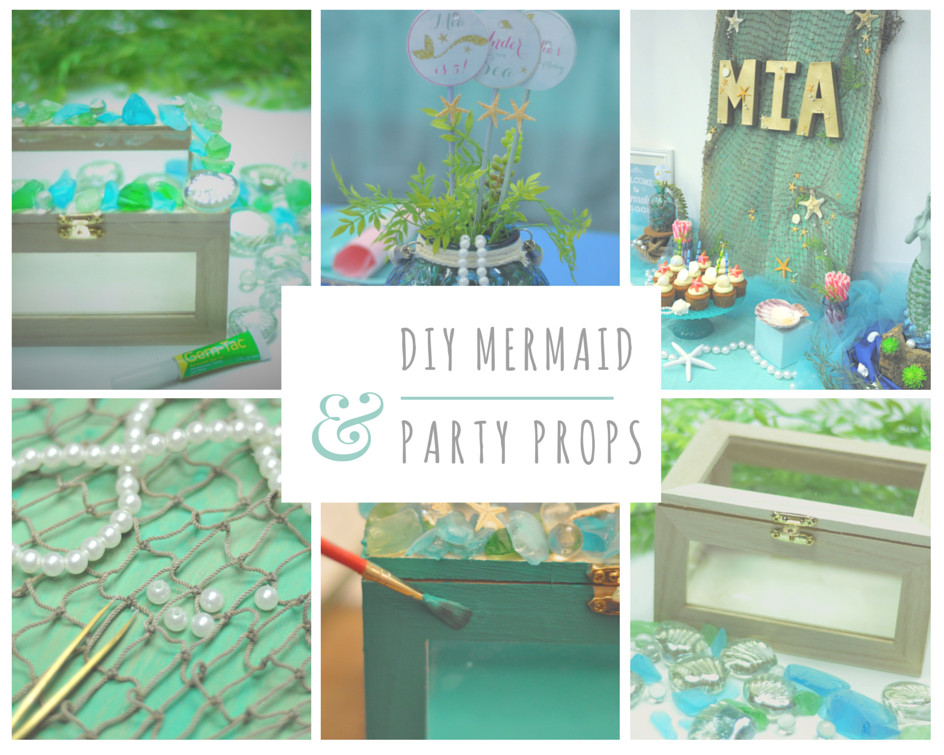
I started this party the way I always do, by drawing up a rough picture of how I wanted the party to look. This helps me work out the basic supplies I will need. Its always a flexible plan as without fail I will be out and about and stumble upon something I hadn’t thought of or inspiration will strike when I spot something “perfect”. Such was the case with Miss Mermaid.
This party was held at a local party venue that I often do custom party themes for so I know the space really well. I also know that I have about 30 minutes set up time so I really have to plan and make sure everything is prepared and easy to set up and take down. I was on my first buying expedition at one of my local haunts (any local or not so local craft, art, party and vintage store!) looking for shells, starfish and netting…mermaid supplies 101! when I spotted her….a white ceramic mermaid atop of some waves. I had to have her!
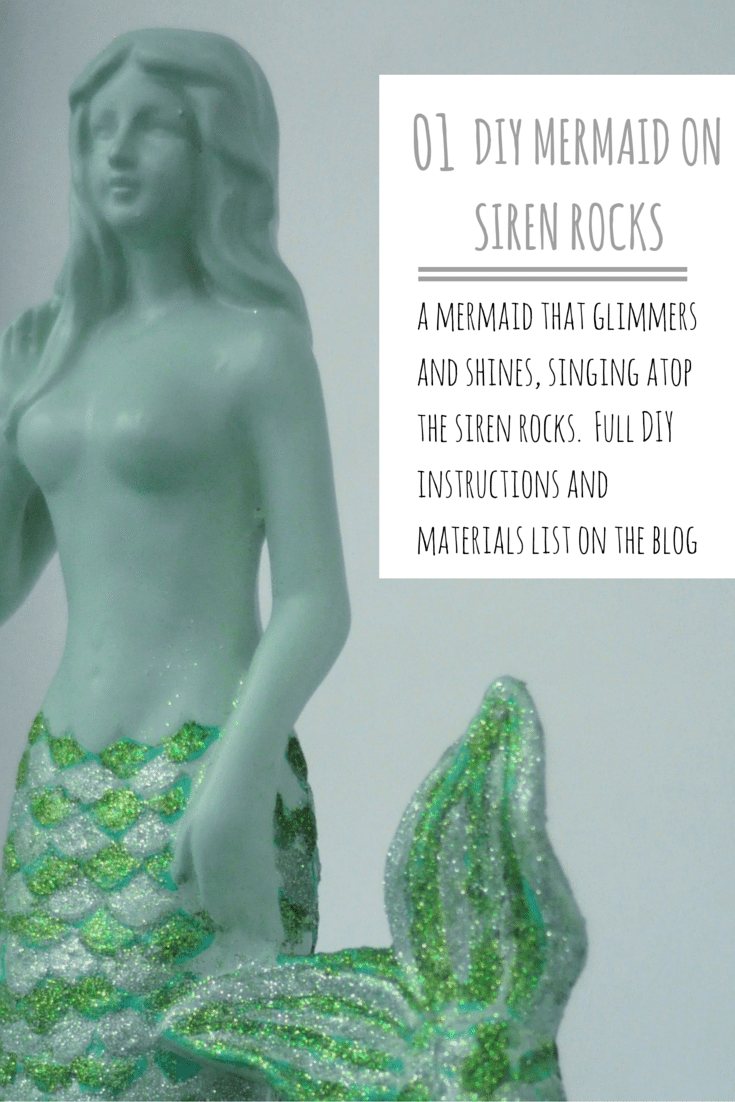
I whisked her home and promptly spray painted her with a sea green / aqua color I had at home (I have a large stock of colors at home, some people would call this an addiction….I wouldn’t argue!). She looked great but this was a birthday for a 5 year old girl, I needed more! more bling! Inspired by the products I had used in the the beacon booth at the Snap Conference (we had painted & glittered some gorgeous butterfly desk weights / picture holders) I knew it had to be glitter. Lots of glitter. Here is what I did.
DIY MERMAID:
Materials you will need:
- An object to work with, in this case a ceramic mermaid
- Paint (I used an aqua blue and teal mint. Teal mint is a new 2016 color from Decoart , I received a sample when I was at Snap and it was the perfect color for mermaid scales)
- Glitter (Silver, blue and aqua)
- Glue (I used Beacon craft glue, 3-in-1, next time I will use their new product called Glitter It. I tried it while at the Snap Conference, it has a great clear finish and I loved how you can mix the paint into the glue easily)
- Disposable tray to catch excess glitter
- Paintbrushes

Step 1 – Paint the mermaid
Using a fine paintbrush I painted alternate scales with the darker teal mint color. This gave a great under color that would peek through the glitter and gave a clear edge to the scales. I painted the ocean waves a blue/aqua.
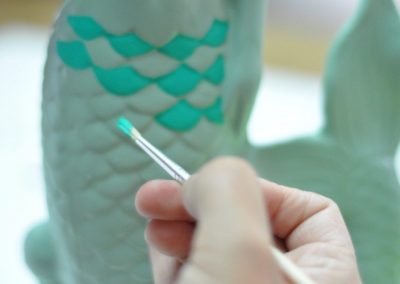
Use a fine point brush
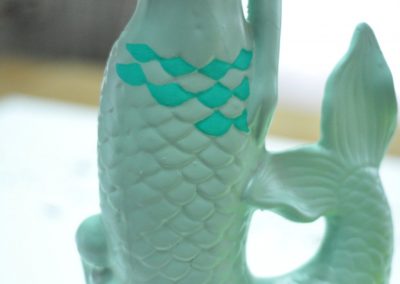
Paint alternate scales
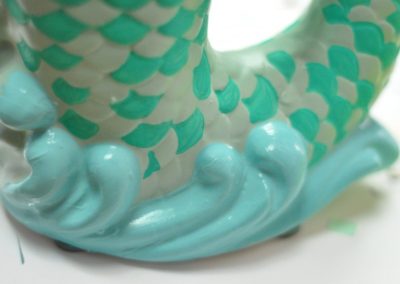
Quick dry paint
Step 2 – Add the glitter
First apply the glue. The glue I used has a fine nozzle which was great for those small scales. I put a small drop on the dark color scales first and used an old brush to work the glue over the scale. I then shook the glitter (over a disposable pan) onto the glue. I didn’t do all the scales at once, rather I did about 5 or so at a time. This glue is quick dry so I didn’t want it to dry before I got to the glitter.
This worked great but next time I’m going to try using Beacon’s glitter glue to do more! It isn’t as tacky so it spreads even better and you can mix the paint into the glue before the glitter for a really cool result.
Once the first color was done (super quick dry so this doesn’t take long at all) I moved onto the lighter scales using the same method but with silver glitter on top. l then finished with the ocean waves, using blue glitter. I spread this a lot thinner so that the lighter blue came through as highlights.
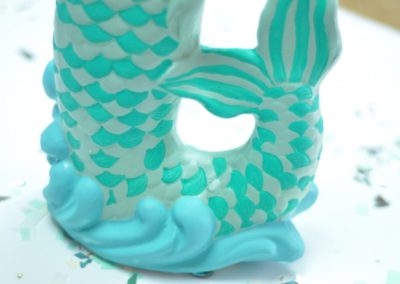
Wait for paint to dry
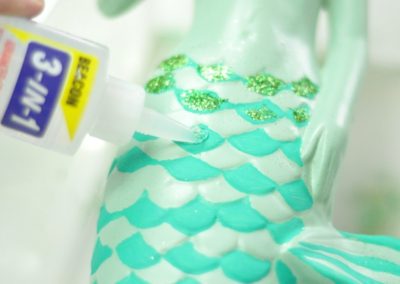
Glue Application
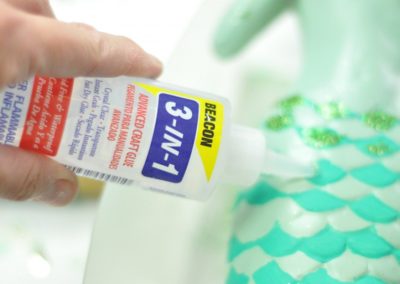
Glue bottle
DIY SIREN ROCKS:
Materials you will need:
- Two 5″ x 5″ FloraCraft® Foam Cubes
- FloraCraft® StyroCutter® Plus
- Kids Craft Craft Glue
- FloraCraft® Succulent Picks
- Faux pearl, sand dollars and mini starfish
- Disposable tray to catch excess sand
- Coarse tan & coarse black decorative sand
- Black marker
- Paintbrushes
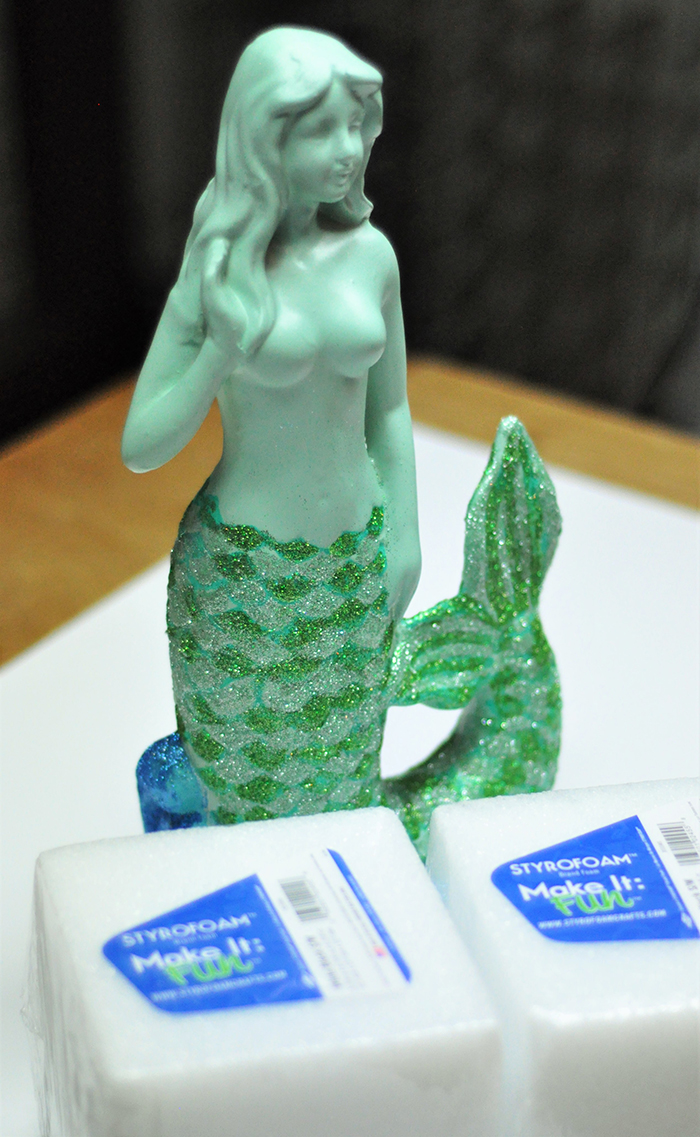
Step 1 – Trace mermaid base
So that the mermaid doesn’t slide off the top of the foam or get knocked off easily (it is a kids party!) I wanted to nestle the mermaid into a small dip. In order to cut into the foam and ensure the mermaid fit snugly I first sat her on top of the foam and traced a cutting line.
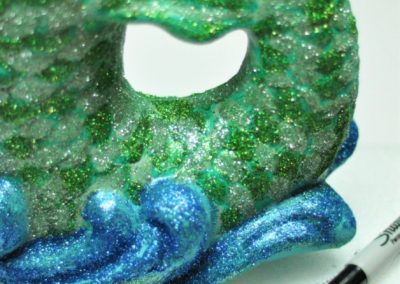
Trace base of mermaid
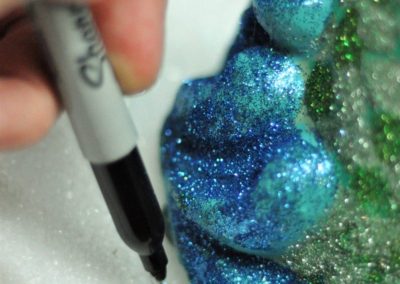
Use a marker
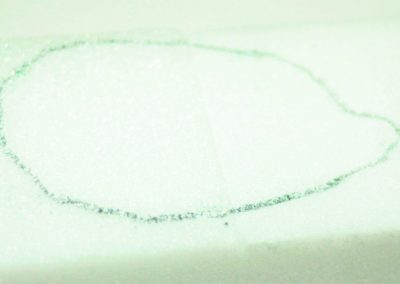
Remove the mermaid
Step 2 – Cut a shallow hole
This is the start of the super fun bit! I tried out the FloraCraft® StyroCutter® Plus at the Snap conference. It was love at first sight and the first purchase I made when I get home. They retail for around $27 but there are always coupons to get 40-50% off like I did. This tool is amazing and worth the investment. It gets super hot and with very little pressure you slice through the foam like butter!
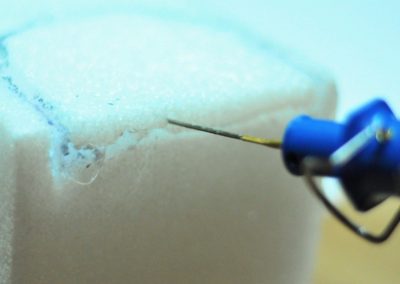
Easy slicing
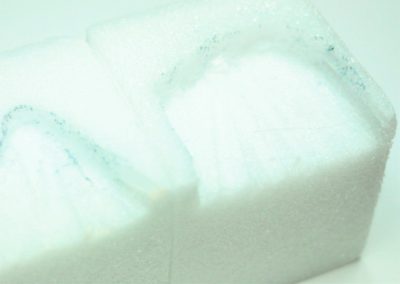
The perfect resting place
Step 3 – Cut rock ridges
This step is totally free form, but you could take the marker and pre-mark areas you are going to cut before hand if that is easier. I took the cutter and rolled it over the straight sharp edges, the heat rounded the edges so they started to look like rocks. You don’t have to smooth them all out as rocks would have jagged edges as well as smooth.
I then cut and sliced into the foam in random places, this was to make ridges in the foam just like rocks would have. Don’t worry if you cut a little to much somewhere as the next steps involve covering the foam with sand and other sea creatures, so you can always cover it up! Have fun and slice away.
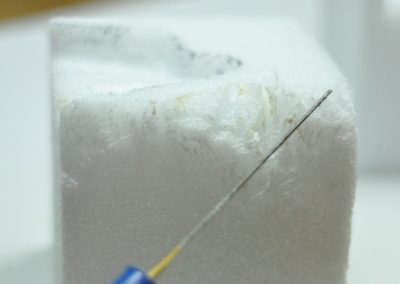
Cut ridges into foam
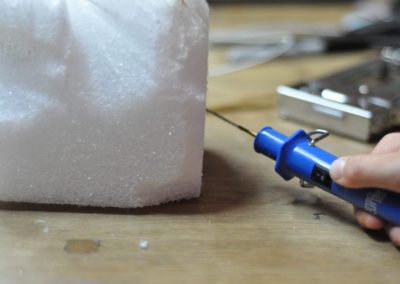
Round the square edges
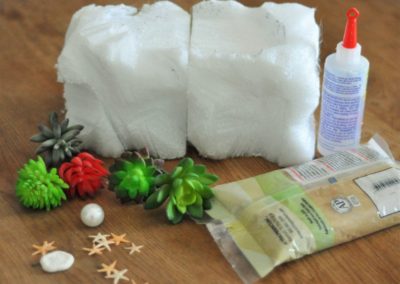
Rocks ready to decorate
Step 4 – Coat with sand
Next comes making the foam look like rock with a smattering of sand swept over them. To do this I coated the foam with 2 types of sand, both coarse but different tones / colors. I used the tan, lighter color first and then went over parts of it with the darker grey color. I wanted the tan to really show up and if the dark was underneath I didn’t think it would show up as well.
The sand is really easy to apply. Use kids craft glue, thick white goo! it coats the foam nicely and then you just pour sand over the foam or roll the foam in the sand, whichever you prefer, both methods work well.
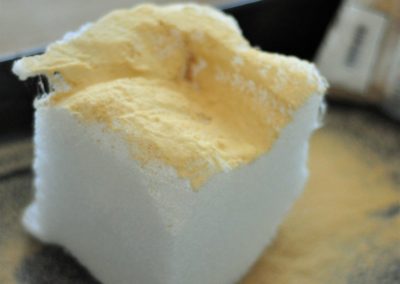
A light tan coat
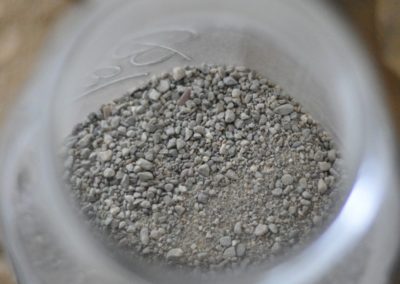
Dark and coarse sand
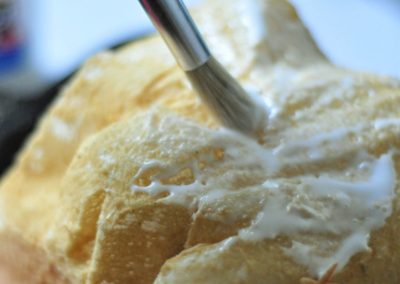
Kids craft glue
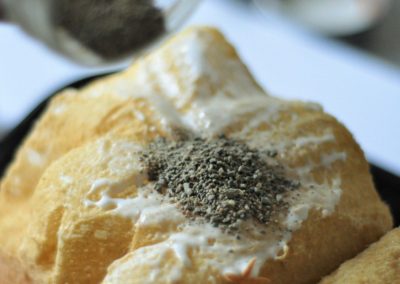
Use glue to add sand
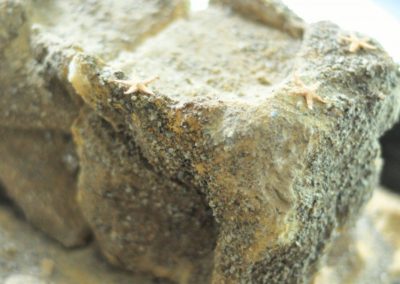
Use glue to add sand
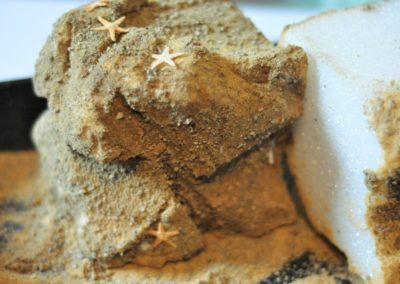
Leave patches of light
Step 5 – Add rock life and connect the rocks
The succulent picks I used (I was given this sample pack at the Snap conference) have very long stems on them and I was able to use these to connect the two pieces of foam. They also look very much like coral and sea plant life (like kelp pods and seaweed) so were the perfect addition to the rocks. I used the craft glue to stick on a few (randomly placed) mini starfish and sand dollars. Last but not least a pearl, what mermaid doesn’t have a pearl or two?!
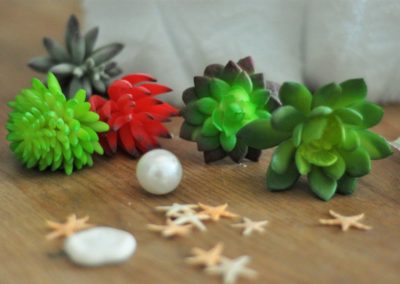
Sea life
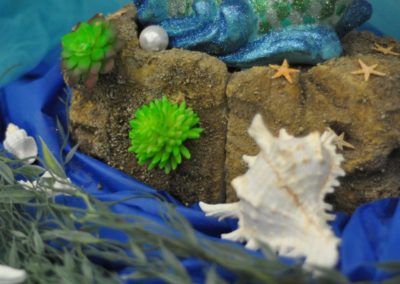
Dressed rocks
All done! Miss Mermaid had her platform and was ready to be given prime position on the dessert table. To give the effect of the rocks emerging from the ocean I placed the rocks (with the mermaid atop) on top of a large blue platter, I wrapped a blue plastic table cover & a lighter blue tulle around this. A few scattered shells and she was ready to sing Happy Birthday to darling Mia!
I hope you are enjoying the party details so far, my next blog post will cover the rest of the party DIY.
I did NOT receive compensation for this post. Any product received free is noted in the blog post, all other product I purchased. All project ideas and any opinions expressed here are my own.






This is so pretty! I want to go buy one of those cutters!
you will love it!
Stunning!!
thank you!
Beautiful party! I can’t wait to see more.
thank you