The superhero party theme is one of my all time favorites and one of the most popular for the 3 to 6 year old age range. This totally holds true in my house. My son had one for his 4th birthday and my daughter is now itching to have her own. Maybe my next one could be a superhero theme too!
I’m a long time superhero fan, more so now both Marvel and DC comics have put out so many great movies. There are so many classic characters around to work with and use to create a party.
However, if your child is liked Connor (or CJ as he is known), then one superhero is not enough. CJ not only loves Superheroes, he dreams of being one too, so giving him a background for his SUPER imagination was a lot of fun.
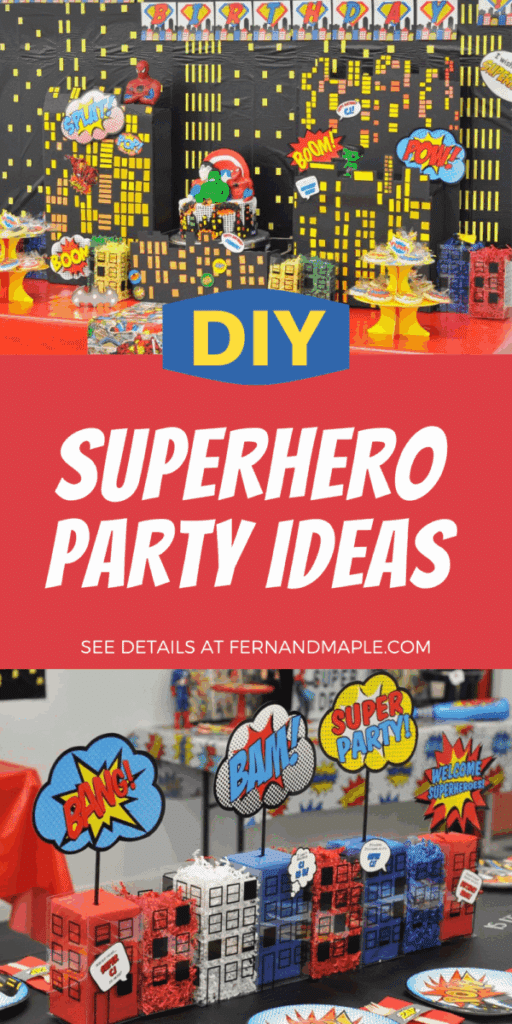
To “set the scene” for CJ’s party I went with a superhero cityscape & comic book theme. A cityscape of tall buildings and lights shining into the dark mysterious night, combined with comic book style words and phrases leaping out at the kids. It’s a brilliantly bright and engaging theme and encourages imaginative play and flight!
I’m sharing my decor ideas and DIY tips to help you put together a Superhero cityscape & comic book party for your very own jr. Superhero.
I did NOT receive compensation for this post. I did receive some free products to review. All project ideas and any opinions expressed here are my own. For further information on our disclosure policy please check out our disclosure page.
Step 1 – The Backdrop
Tip: Use a large background scene setter
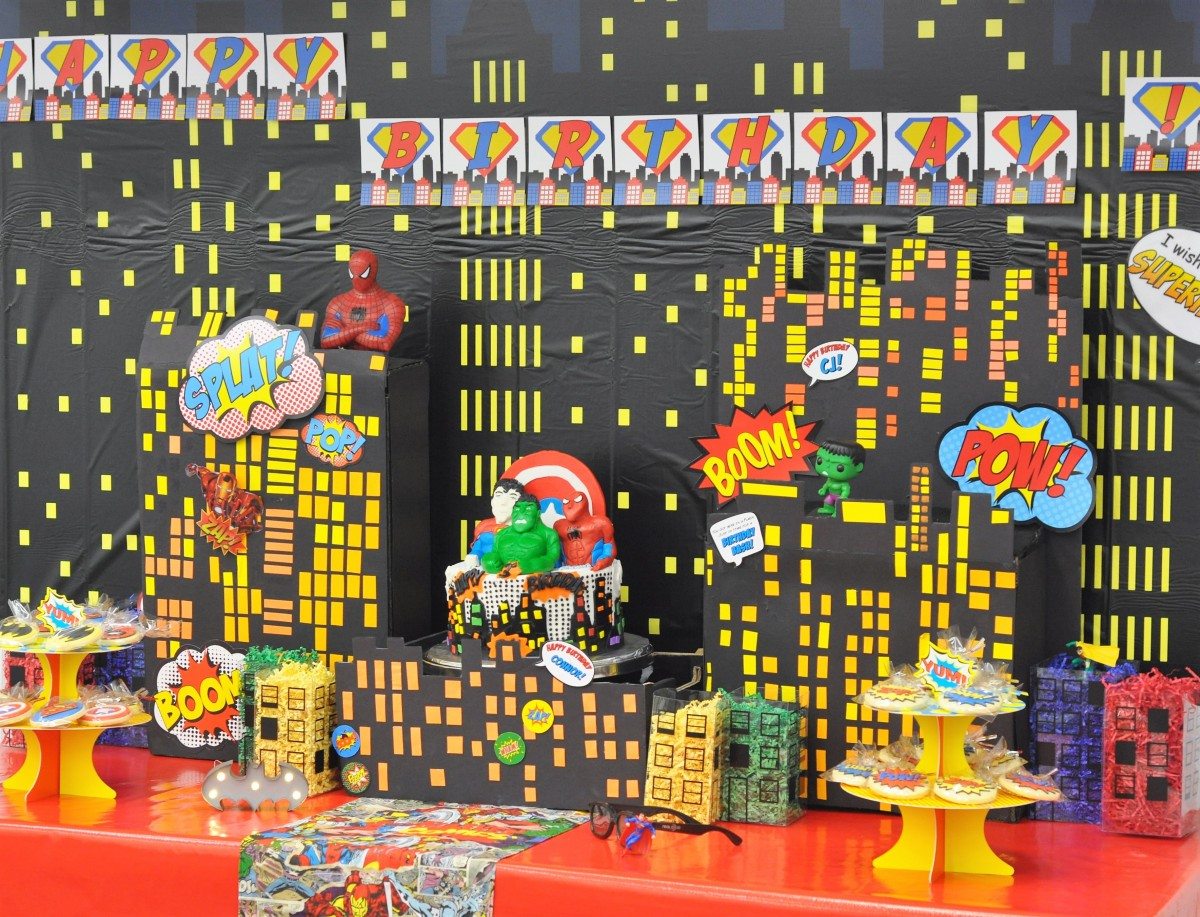
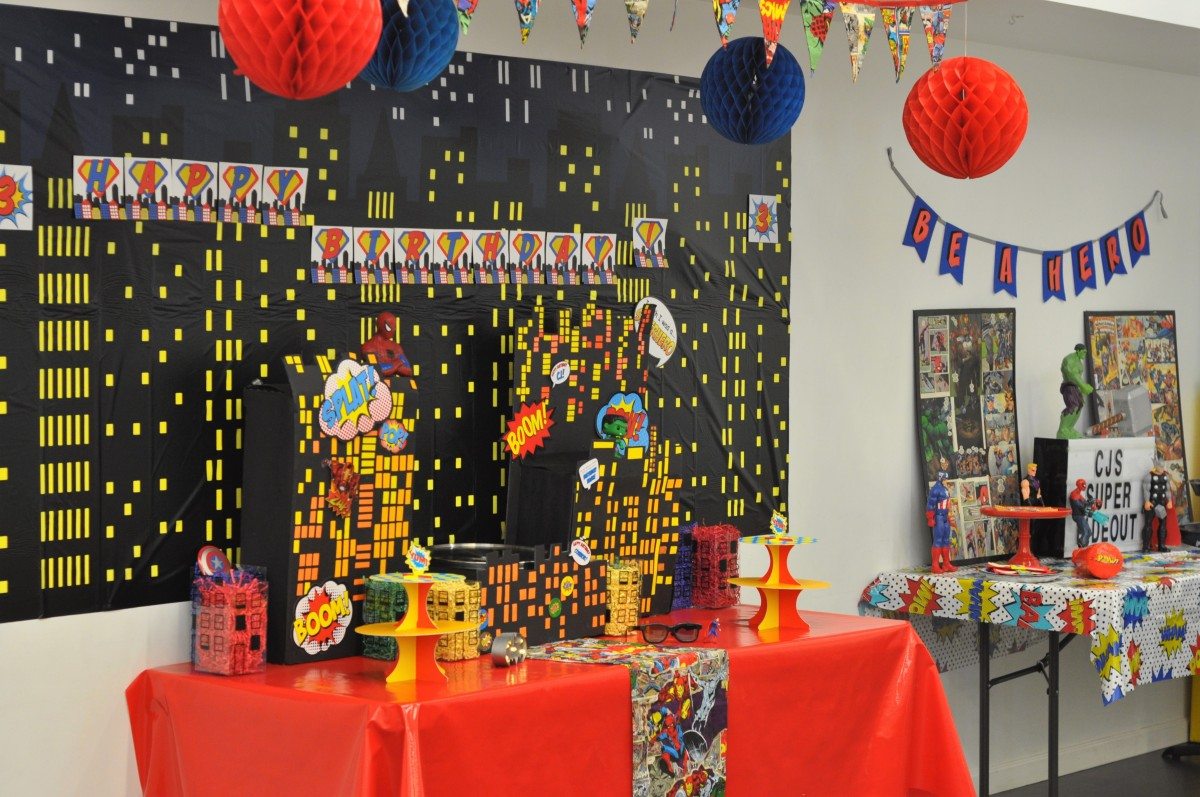
As I’ve said before, the backdrop really sets the scene for the whole party. I found the perfect city scene backdrop on Oriental Trading. Their large plastic city scene is HUGE. At 8ft x 30ft there is enough to make it feel like you really are in a city, which totally draws you in.
It was so quick to put up. I do suggest a couple of helpers to hold up each end while you cut the amount you need off the roll. Then you can get it straightened and attach it to the wall at the same time. It actually has a little static which makes it cling to the wall so you don’t need much to keep up this super light backdrop. It also comes in 2 pieces so you can make the buildings varying heights by using both pieces or just one.
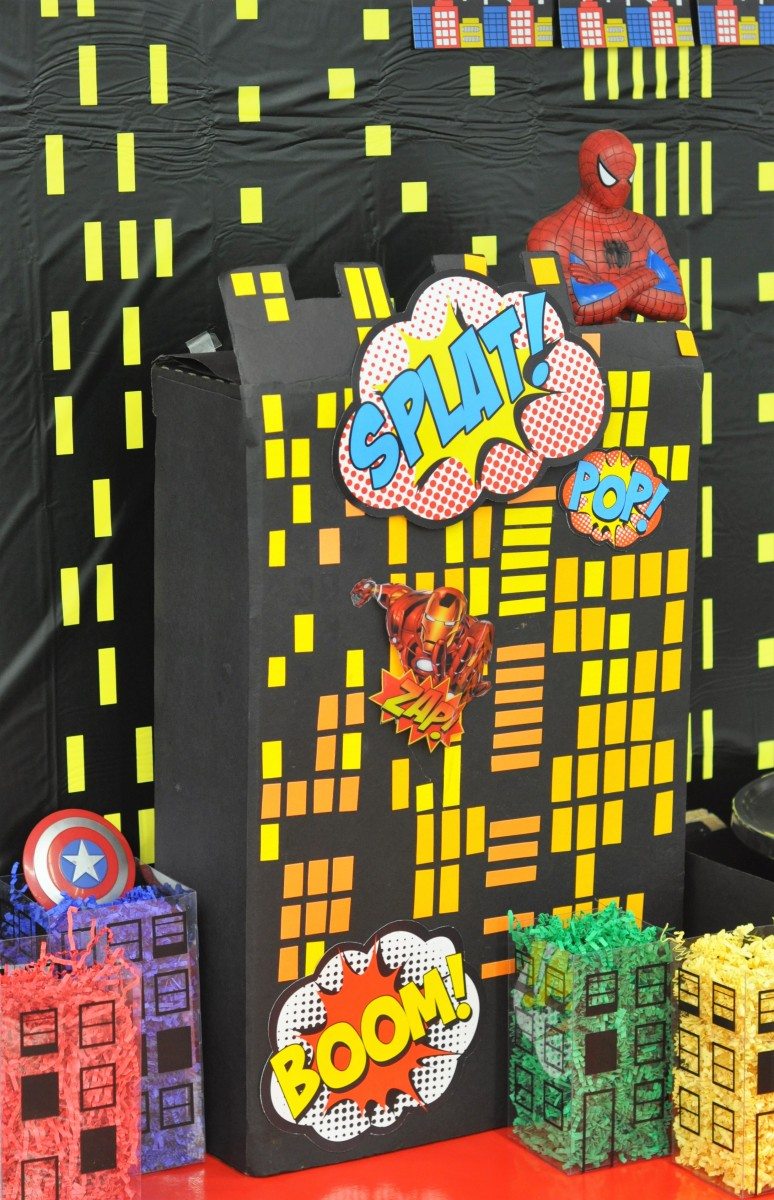
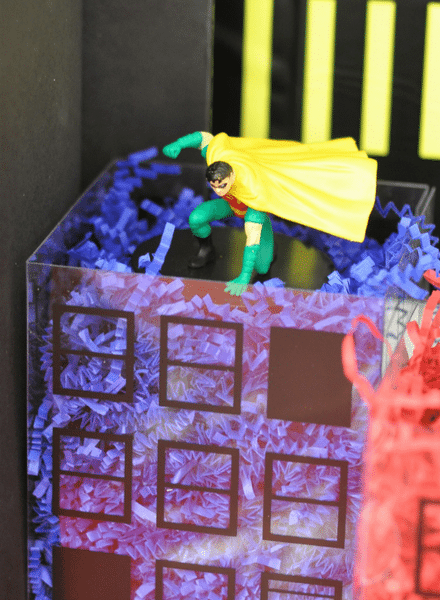
To give the scene a 3-D effect, I added some DIY buildings in front of the scene as well as some cityscape candy boxes with colored paper shred inside instead of candy. Visit their coupon page to grab a coupon and save on the boxes!
The DIY buildings I made a few years back for my son’s birthday. I kept them and they have been really handy every time I have another superhero party request. I made them out of fruit boxes which I painted. I then glued black foam board onto the bottom of the box which then became the front building cityscape once I cut out building shapes at the very top. The building shapes were totally random. I then had friends help me cut pieces of yellow and orange card stock which we glued on the front to become windows with lights shining through. I remember my friend Anna joking I was never allowed to throw them out after all that hard work and I must tell her I never did! Her efforts were so worth it.
To personalize and coordinate with the theme I went onto Etsy and bought a happy birthday banner in superhero fonts. There are so many options on Etsy, you won’t find it hard to find one you like. Many will also personalize for you.
Step 2 – Create a Wow Factor
Tip: Use Bright Colored Bubbles and Cutouts For Eye Catching Impact
I bought amazing action packed superhero words and phrases from several places; pre-printed from Oriental Trading and graphics that I could personalized and print out via Etsy.
If you prefer the DIY route, you can also try using the Comic Life App. I LOVE this app and have used it to create mini comic books out of my photos before. You can make comic strips and all sorts of words, speech bubbles and call outs in classic comic book formats, even in a range of comic book styles.
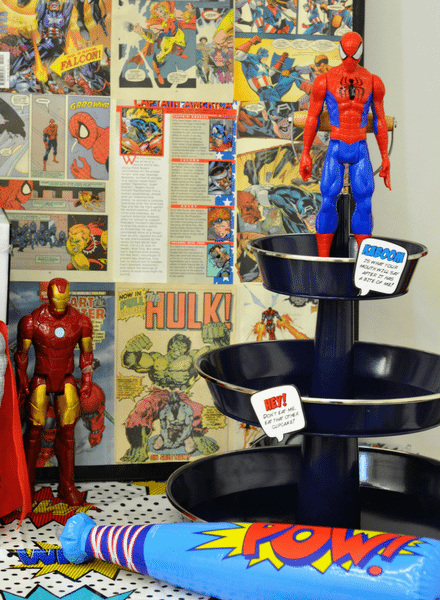
Have a bit of fun with the speech bubbles
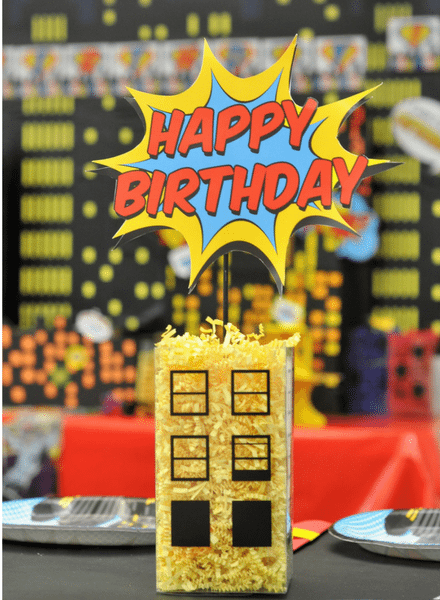
Wow what a happy birthday
Step 3 – Incorporate props into your dessert table design
Tip: Use Superhero figures & toys as Decorations
Superhero figures and toys can double as party decoration. This means you can either use existing toys you have at home or purchase new ones that can double as gifts for your jr. Superhero.
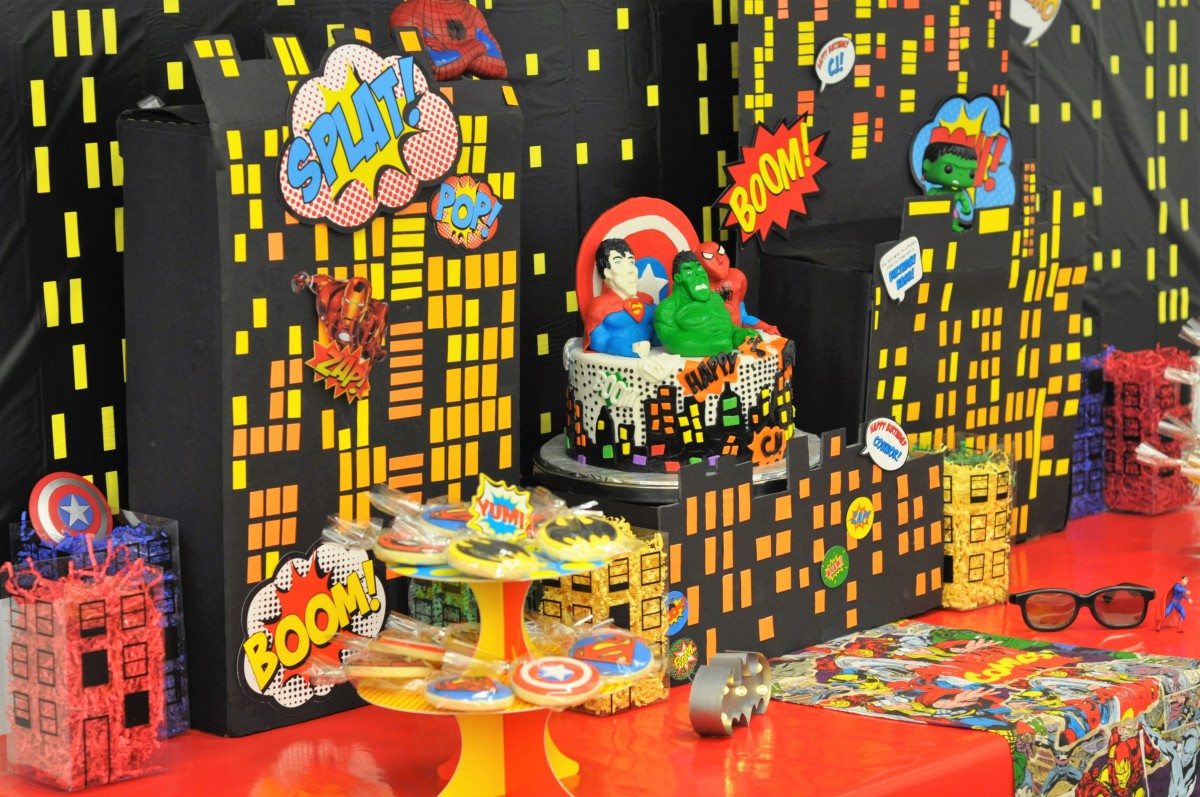
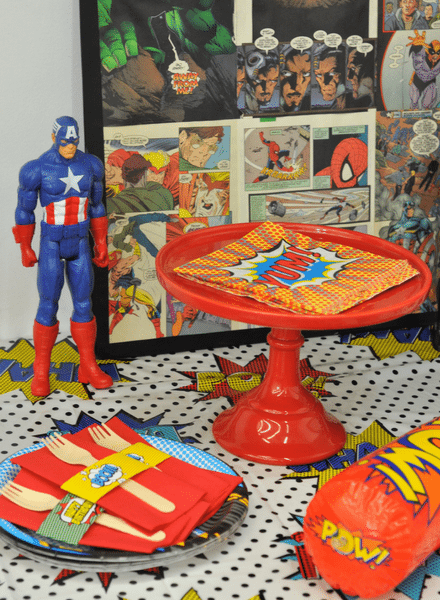
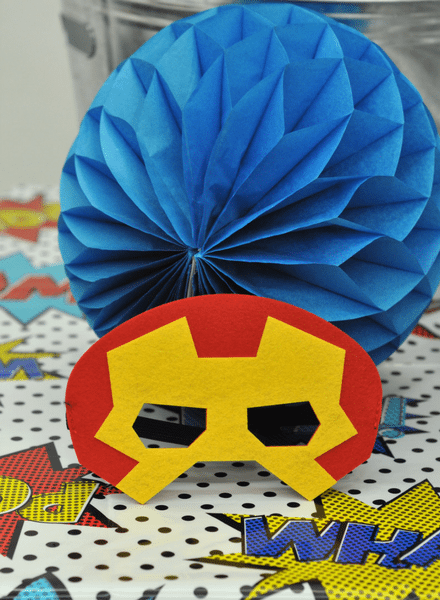
Using the figures can be a lot of fun and I don’t just mean the actual character toys like Batman, Superman, The Hulk and Spiderman. I used a pair of Clark Kent black glasses, Thor’s hammer, a mini Bat symbol light, blow up bats and even a Spiderman coin bank. You could also use superhero masks, cars or parts of your child’s costumes, like gloves or belt packs.
You can use the characters on the tables but also in the buildings, making them look as if they are watching over the city.
Although not technically a “toy” you can also use comic books themselves. I used pages of comics as smaller backdrops on the food table. Previously I have used even more to create a larger backdrop. They are easy to stick together with tape or glue and are a cost effective solution to covering larger areas.
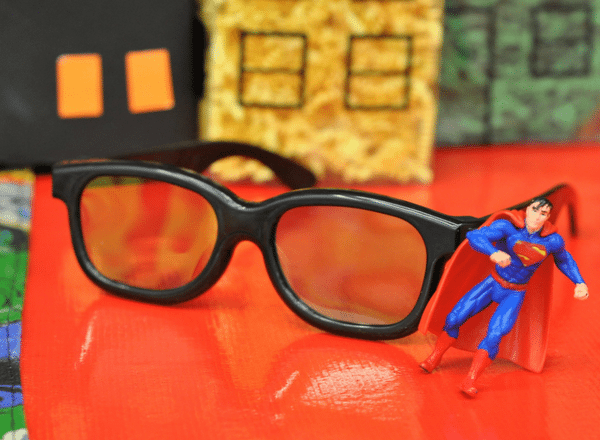
Clark Kent becomes Superman
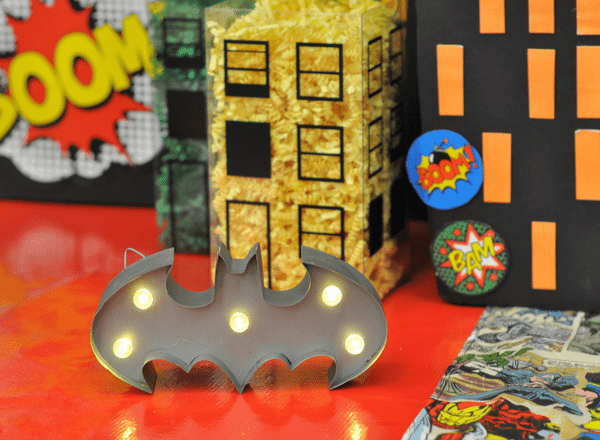
Commisioner Gordon calling for Batman
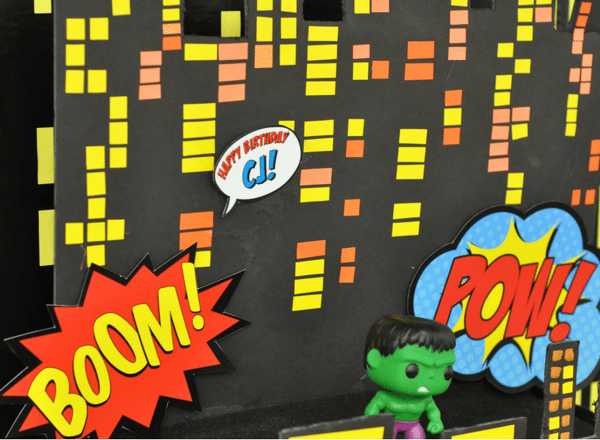
Don’t mess with the Hulk!

Step 4 – Use unusual ways to display items on the dessert table to give visual interest
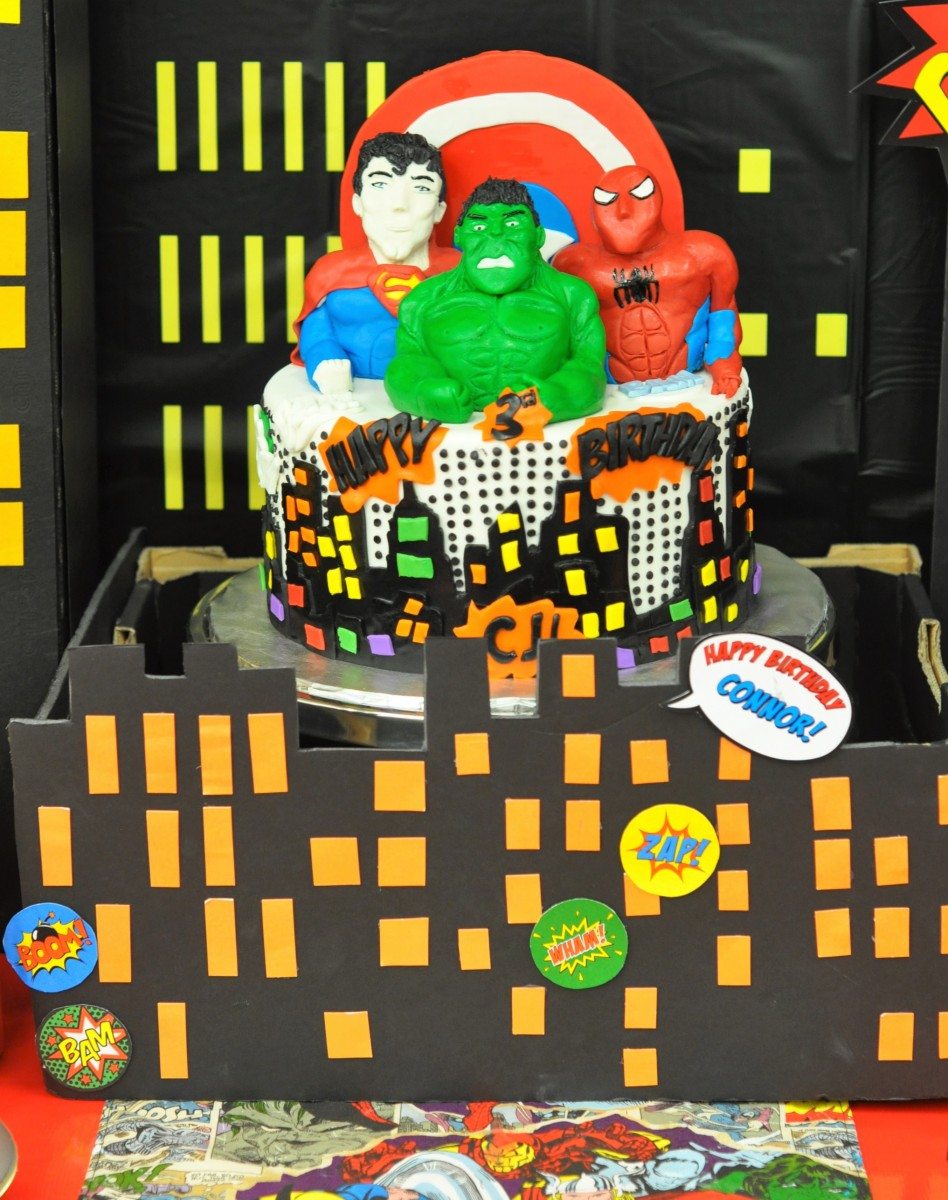
Tip: Insert cake stands into display buildings
I used one of my 3-D boxes to put the cake stand in so the cake looked like it was part of the cityscape.
Step 5 – Creating table centerpieces
Tip: Use Candy Buckets as centerpiece bases
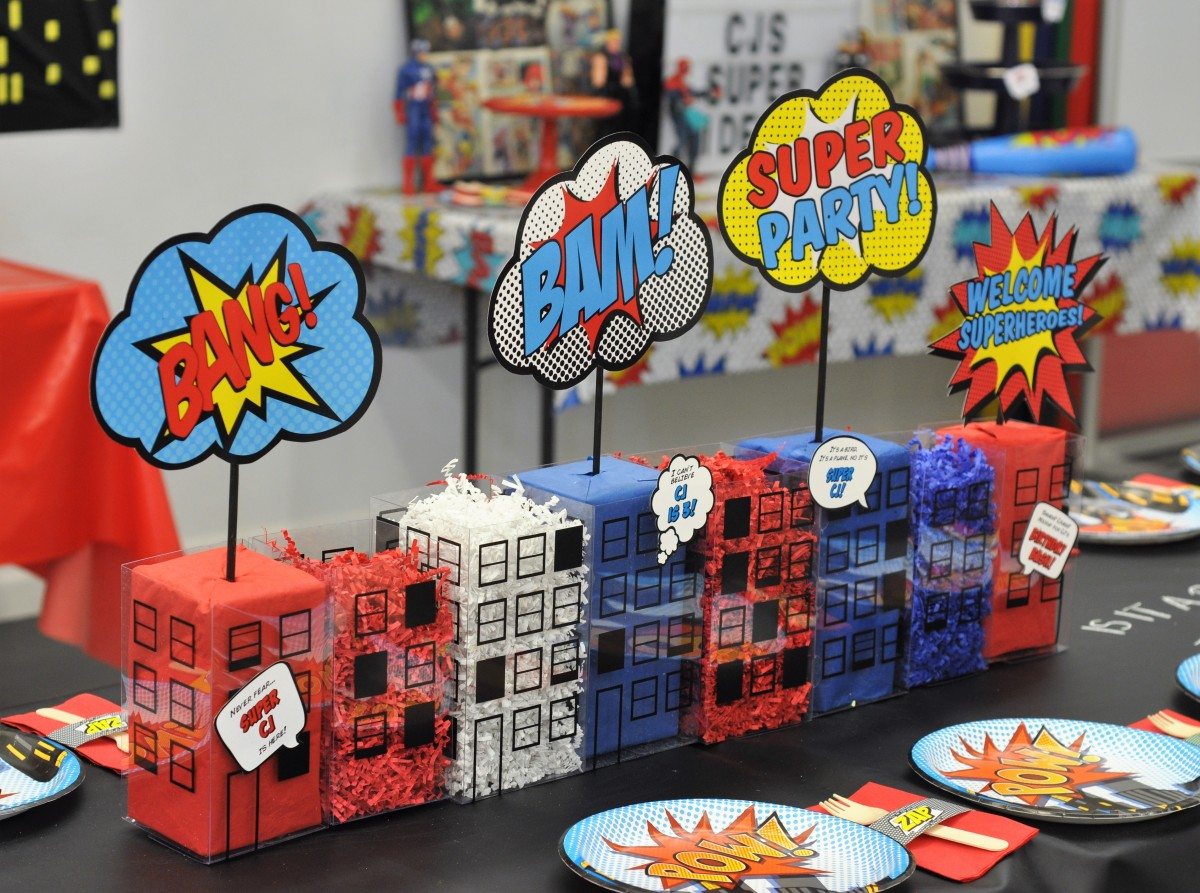
The candy buckets I bought made great bases for table centerpieces. Here are the DIY instructions for creating them.
Cityscape Centerpieces

What you need:
- 2 to 3 sets of candy buckets
- Floral foam (or extra paper shred)
- Paper Tissue
- Pins
- Wooden stick / dowels
- Adhesive
- Superhero cutouts
- Black paint (optional)
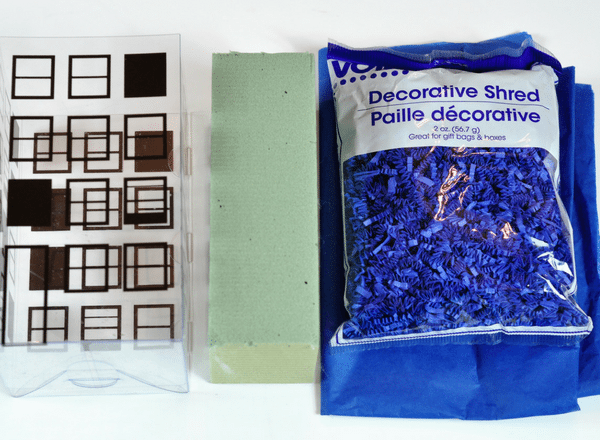
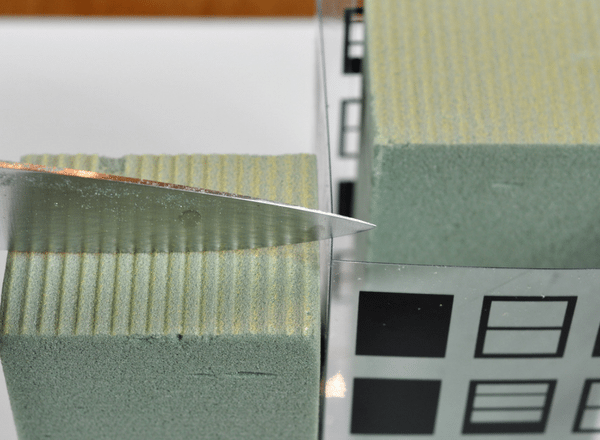
Measure and slice off enough foam to fill the bucket

Paint the wooden sticks
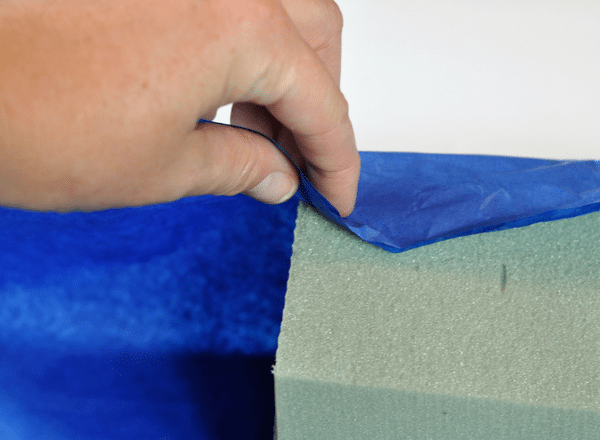
stack the foam and cover in tissue
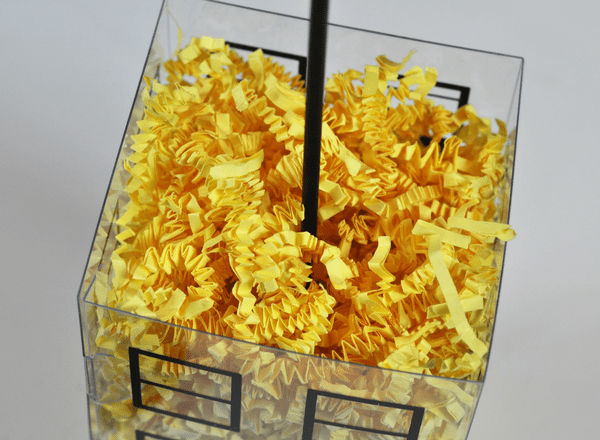
Push the stick into the tissue covered foam & then cover in paper shred (optional)

Pin the tissue to hold in place (or glue)

Glue and attach the cutout to the top of the stick

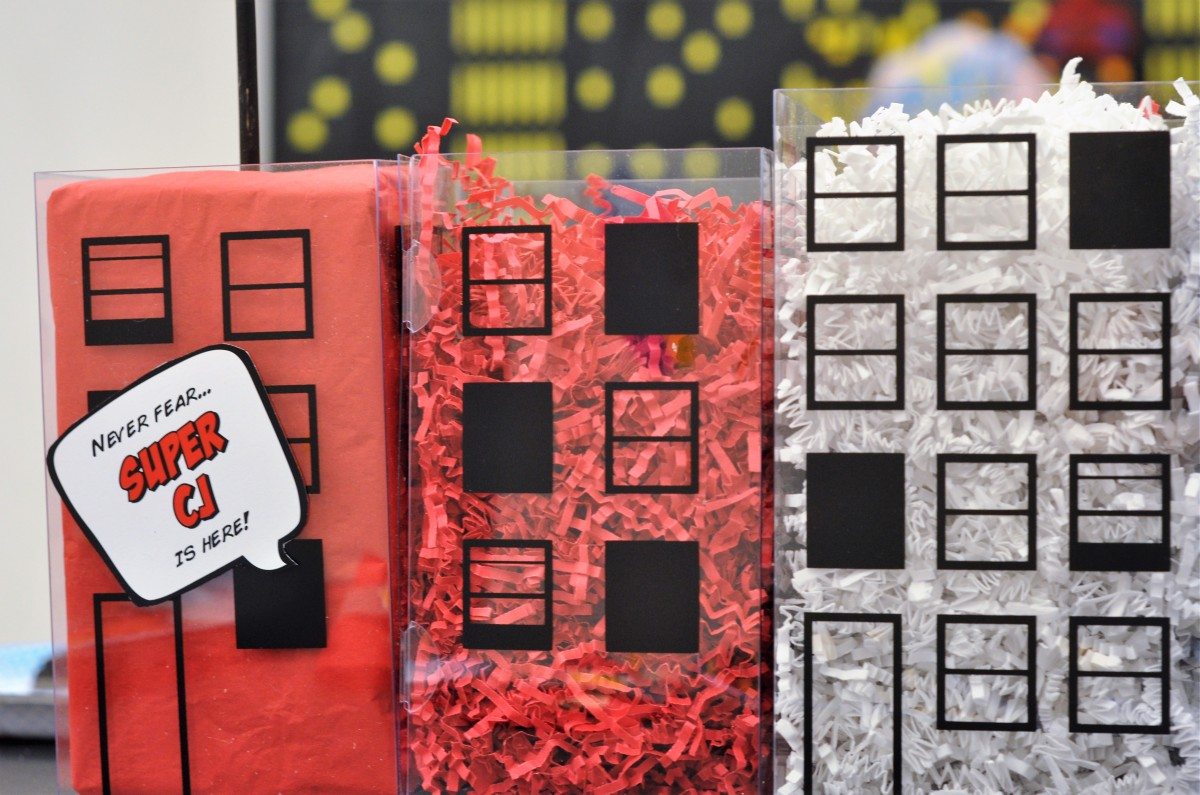
Step 5 – Add the Cake & Desserts
Tip: Go Bold!
Apart from the birthday child (of course!) the cake is going to get a lot of attention. It’s the centerpiece of your dessert table and the part the kids can’t wait to get stuck into! Incorporating the theme into the cake for me is a must! This cake was created by Cake Coquette here in San Francisco. I love what they do with their cakes. Amazing! They not only put a city scene around the outside but they molded the characters into the top of the cake so within the cake the superheroes also look watchfully over the city.
You don’t have to go out and get a custom cake made to capture the party theme though. You can use a simpler base cake from the supermarket or a bakery and add small character toys onto the cake to get a similar effect as you see here, just replace with a Hulk or a Superman. Consider themed candles and you can now buy sparklers and stars that you can put into the top of the cake.
You can also attached speech bubbles or call outs to wire and insert them into the cake for a different look.
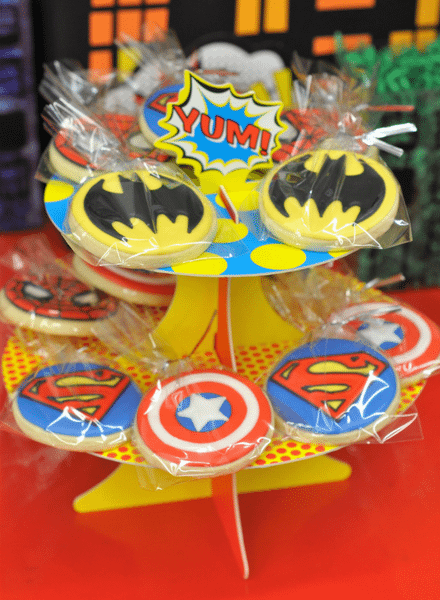
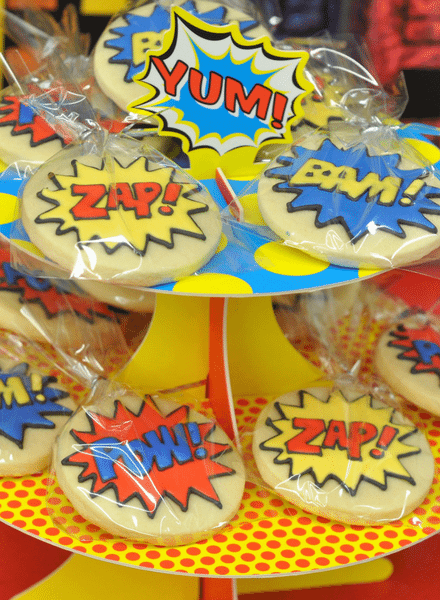
Cookies are also quite versatile, you can use superhero symbols like Captian Ameica’s shield or the Superman symbol or go with the Pow, Bam and Splat option.
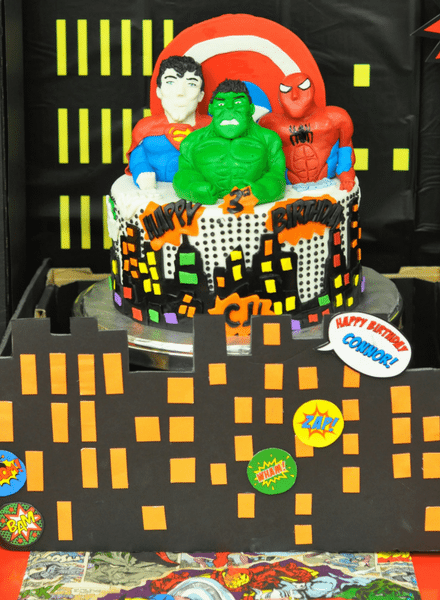
Step 6 – Table Covers & Place Settings
Tip: Have fun with these
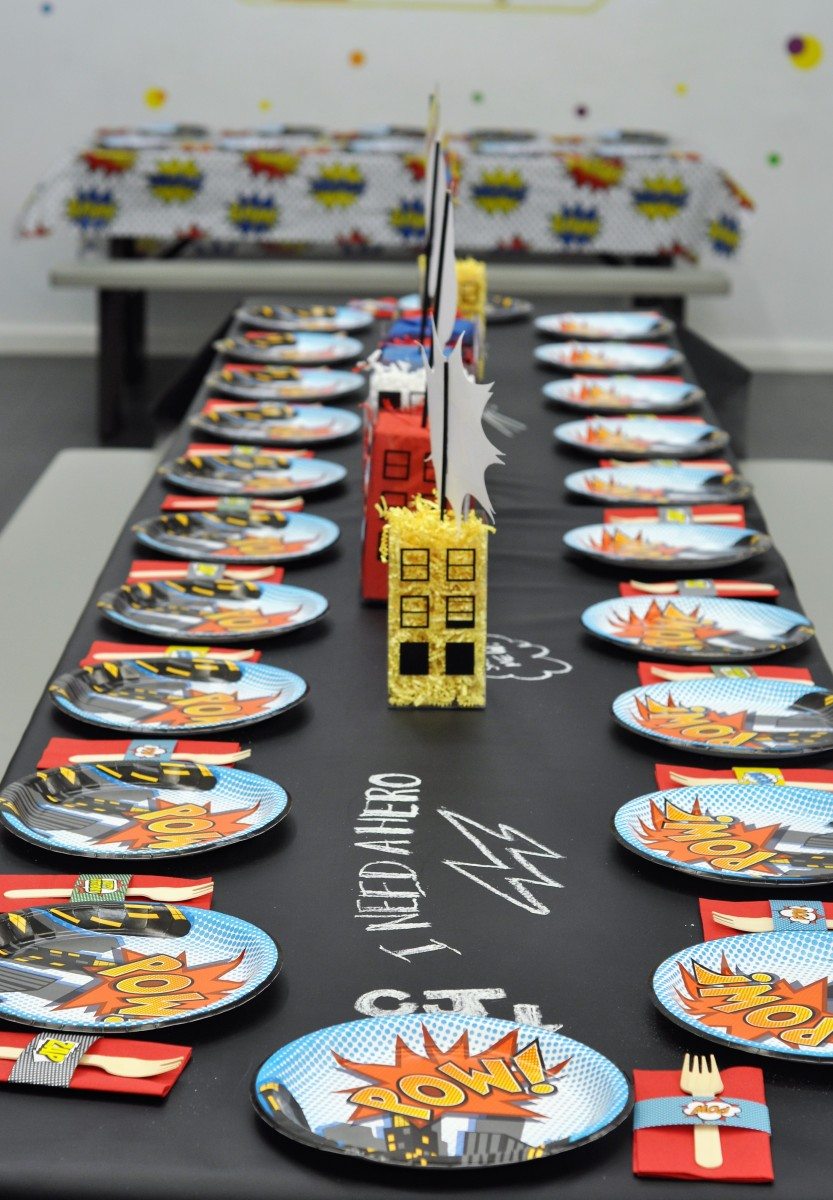
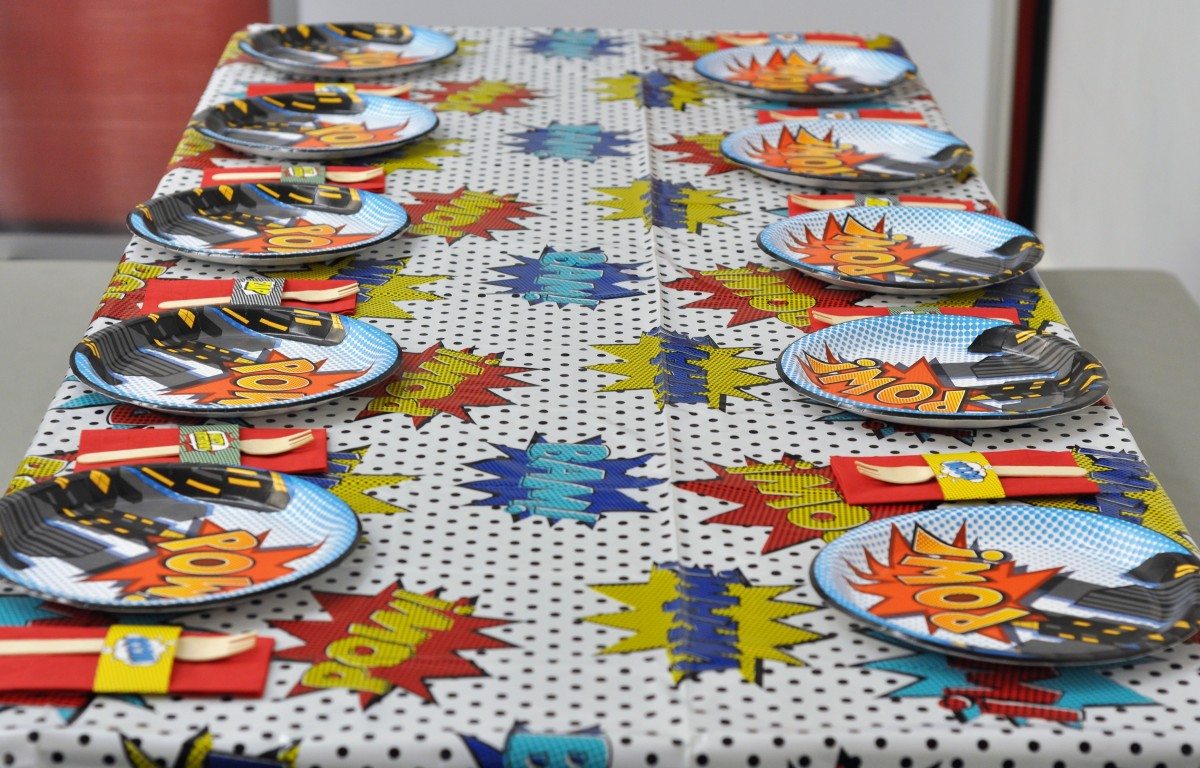
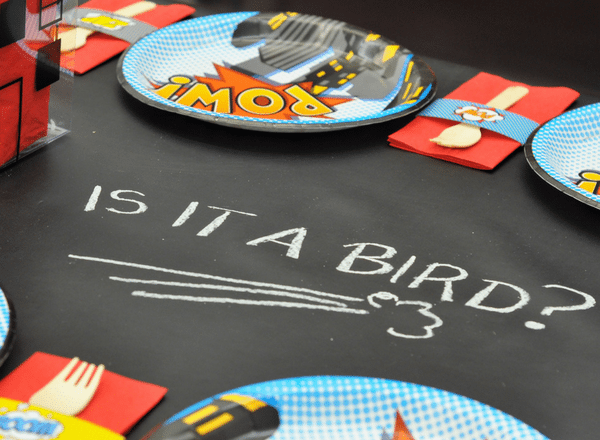
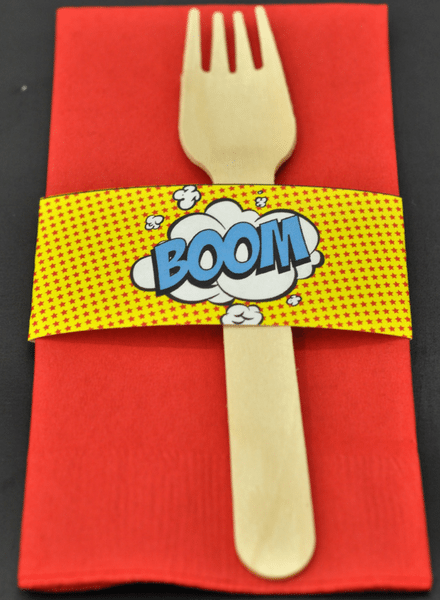
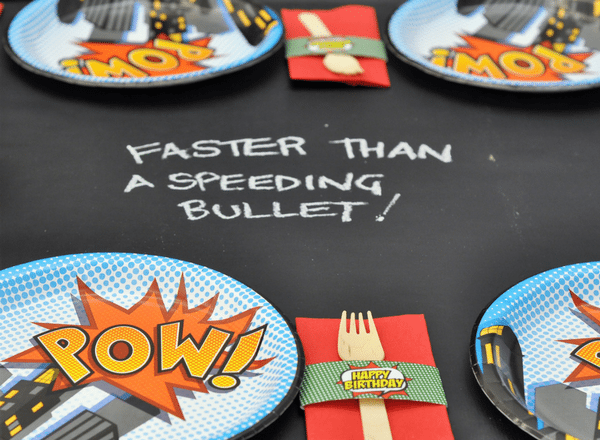
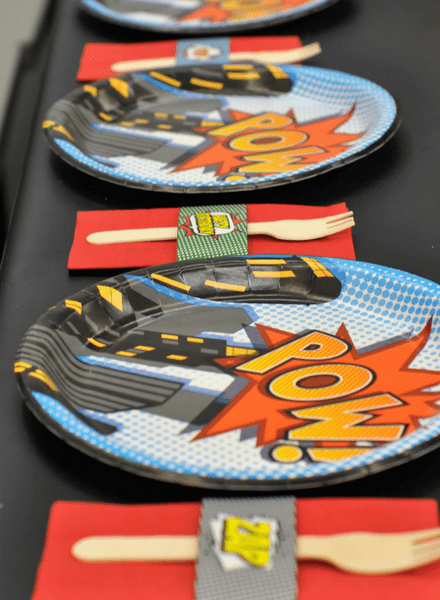
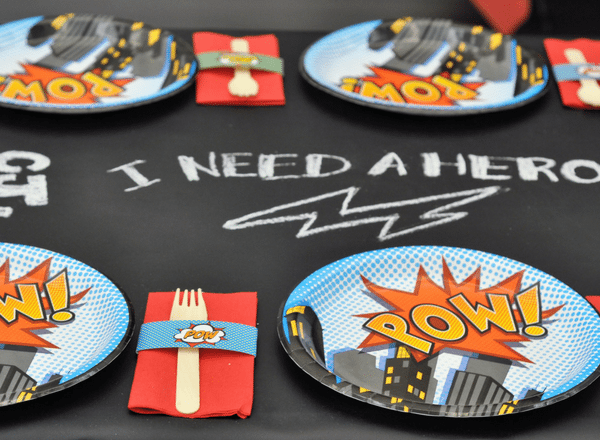
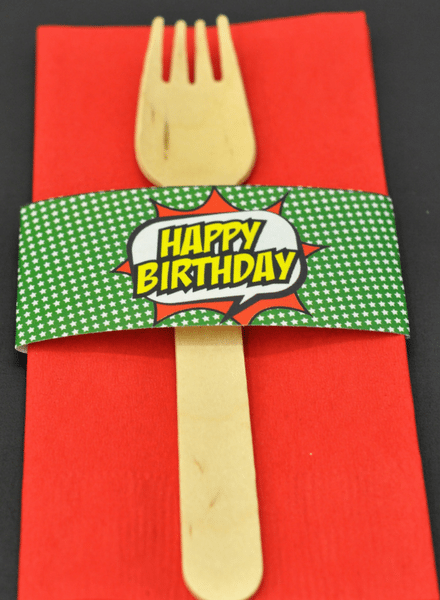
I kept with “pow” for the plates and then added a fork and napkin wrapped in more call outs . In my book, you can never go over the top with a bit of Pow Ka Pow!
These went on top of a black chalkboard oilcloth. Yes there is such a thing. Not only is it easy to wipe down, but you can write on it. So much fun! I put arrows and funny sayings on the table. Admittedly the kids can’t read yet but hopefully the adults enjoyed them.
The other option, which I used for 2 additional eating tables, are superhero call out table cloths. More of the Pow Ka Pow. These are from Target and are really reasonable, under $3 each.
Step 7 – A few Last Extra Details
Tip: Keep your eye out for themed details
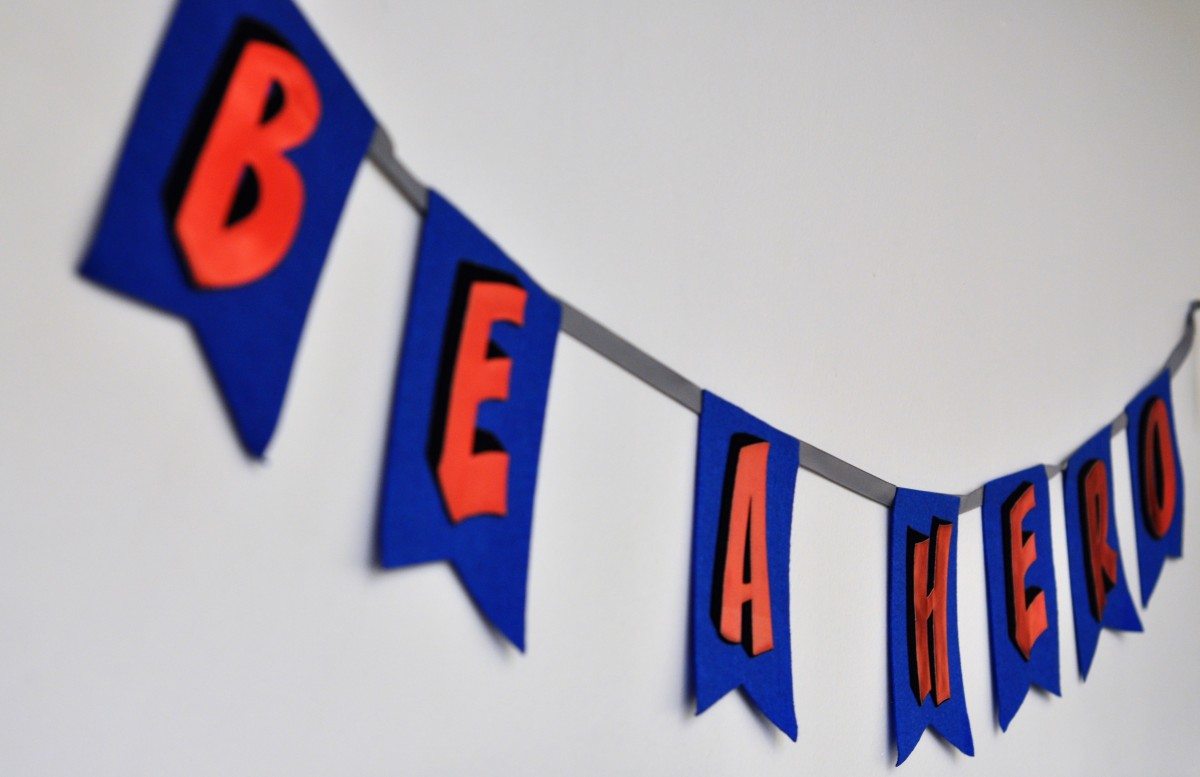
You never know what you might find when your out and about! I found a cute “Be A Hero” banner at Target on Sale for $1.50. The perfect addition to the food table.
Then I added my trusty lightbox. This lightbox is a staple for all of my kids parties. Quick and easy personalization. This time it marked the spot of a special secret superhero hideout.
PARTY TIME
You are all set. The kids are at their places finishing off that pizza and the candles are ready to be lit. CJ and his friends loved the city decor and were acting out superhero actions around the room before you knew it. They loved seeing their favorite characters around the room and even took a few on a quick flight.
I hope this gives you some inspiration for your very own superhero party.
Have fun & happy partying!
PIN FOR LATER:








Who made the cookies?
My girls are currently obsessed with PJ Mask super hero… Conner is one of them 😉
Hi Eve,
her name is Dina, http://www.bakedbydina.com
enjoy!
This is wonderfully creative! Thank you so much for the post and resources. Great inspiration for planning my daughter’s 5th birthday party. She’s a huge Iron Man fan, and loves all the superheroes. Girl power! 🙂