I am so excited to be part of Cupcake Wishes and Birthday Dreams’ annual 13 Days of Handmade Halloween! This is the first time I have played along and I’m loving it. Have you been following along with all the fun DIY crafts? If you haven’t it’s not to late to check them out. Such fun ideas; games, pedestal centerpieces, costumes, decor and more.
For my crafting contribution I’m sticking to my obsession for the year of all things ancient Egypt. It is totally inspired by my love of the classic 90’s action adventure series The Mummy starring Brendan Fraser (swashbuckling good fun!).
From Trunk or Treat, to dinner party centerpieces, I’ve been incorporating scarab beetles, scorpions and a range of other creepy tomb dwelling bugs.
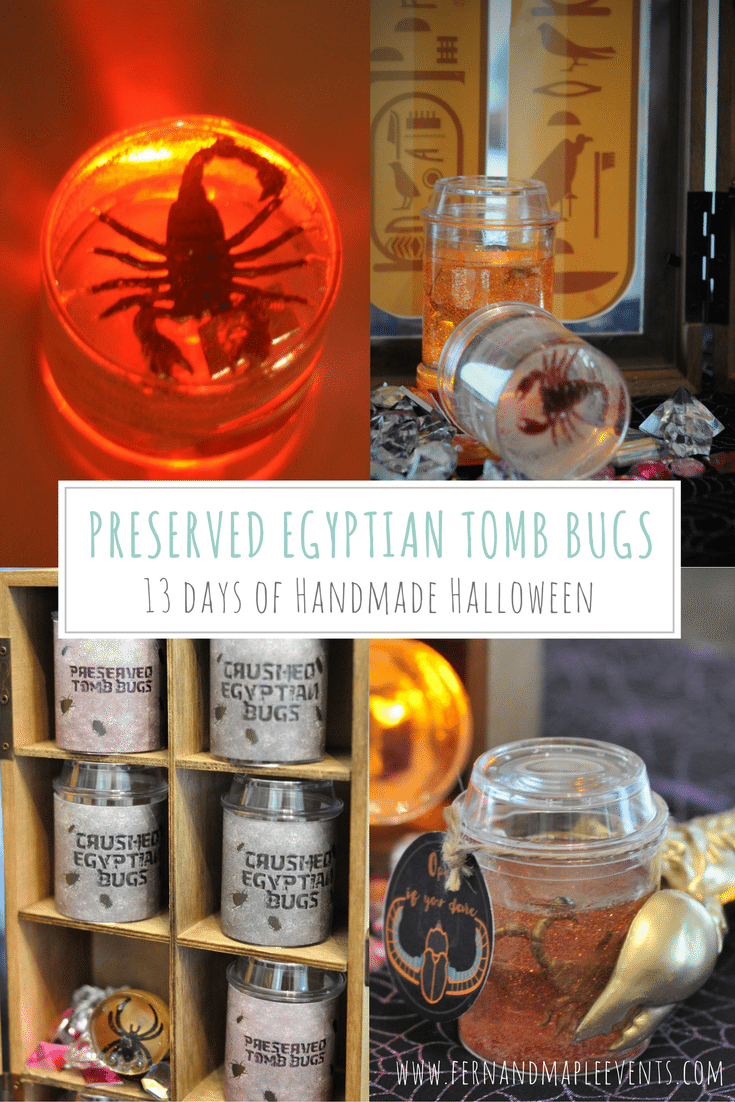
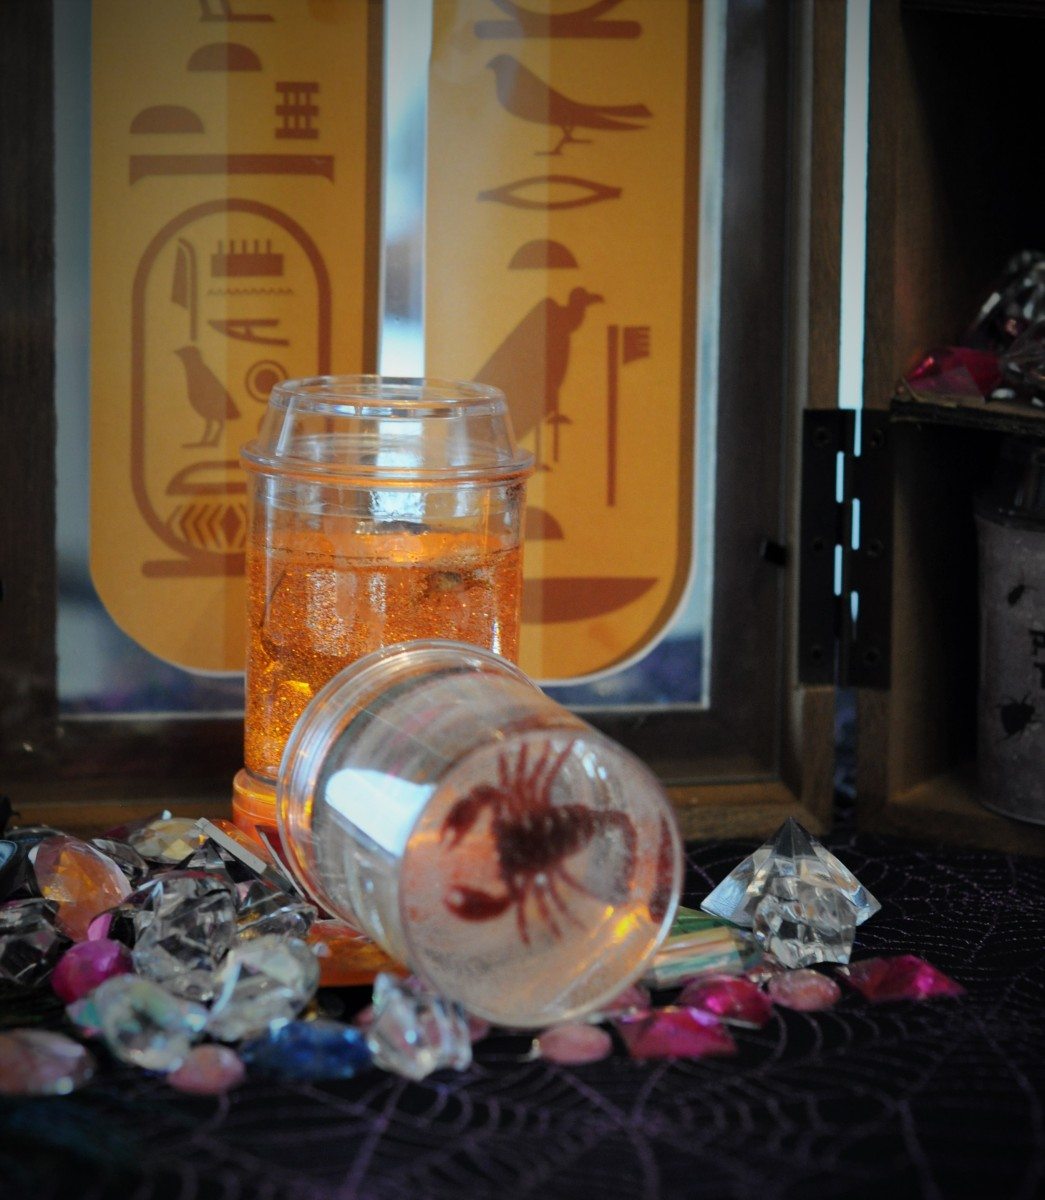
So for this years Halloween party I thought the kids would get a kick out of a “trick” favor. A keepsake of the creepy crawly bug nature! These fun and unique favors preserve the bugs in such a way that the creep just keeps giving and giving and I have to say my kids have been entranced. You’ll also find a link to free printables.
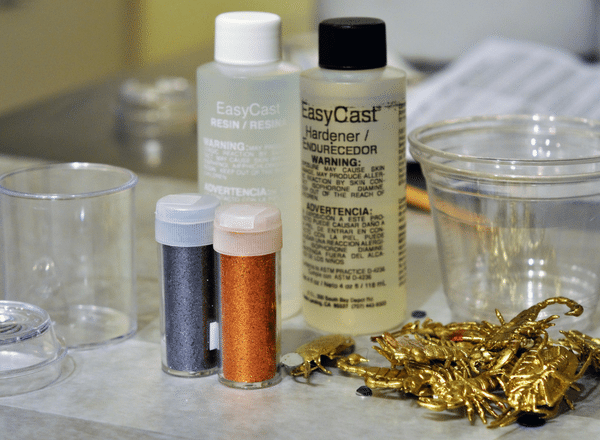
Materials you will need:
- Bugs – beetles, scorpions, fly’s, spiders, cockroaches, any creepy crawly will do (mine are from Oriental Trading)
- Mini see-through bug containers (mine are from Oriental Trading)
- Clear, easy casting epoxy, you need both the resin & the hardener (stocked by most craft stores, I found mine at Michael’s)
- Cute labels (details to follow)
- Twine or string
- Mixing cups & stirring sticks
- Wax paper, to protect surfaces
Optional Supplies:
- Glitter or colorant
- Bugs that have been spray painted a different color (e.g. gold)
- Gems, or other items you may want to put in the cast that fit with your theme
- A mini LED or finger light (the kids taught me this one last night!)

DIY Steps:
- Cover work surface with wax paper
- Read manufacturers and safety instructions (e.g. recommendation is to wear gloves)
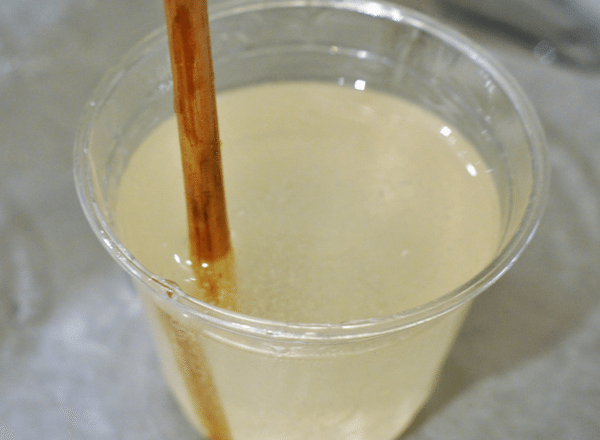
Step 3: Pour equal parts resin & hardener into 2 different cups
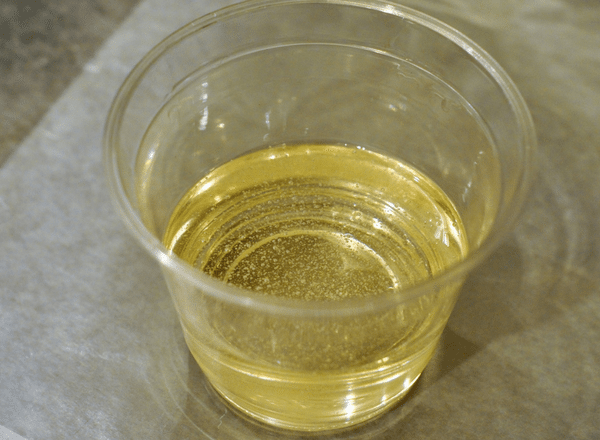
Step 4: Stir cup 1 with resin for 2 min
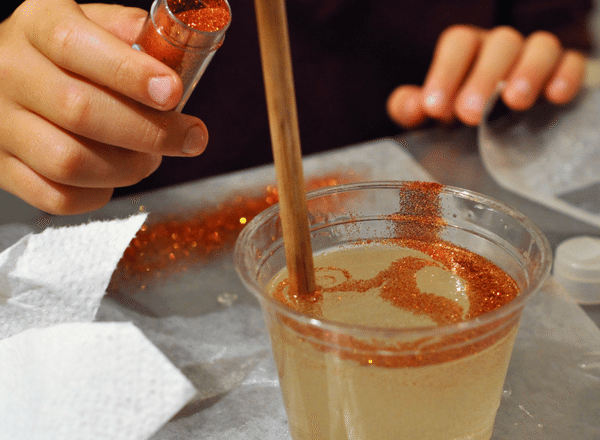
Step 5: Pour resin into cup with hardner & stir for 1 minute, then Step 6: Add glitter

Step 7: Stir in glitter
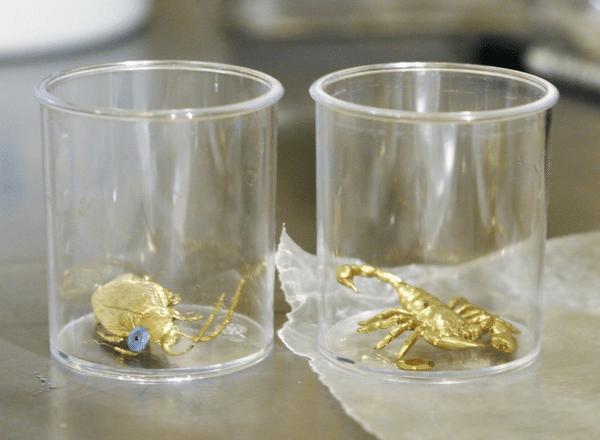
Step 8: Have bugs ready in containers
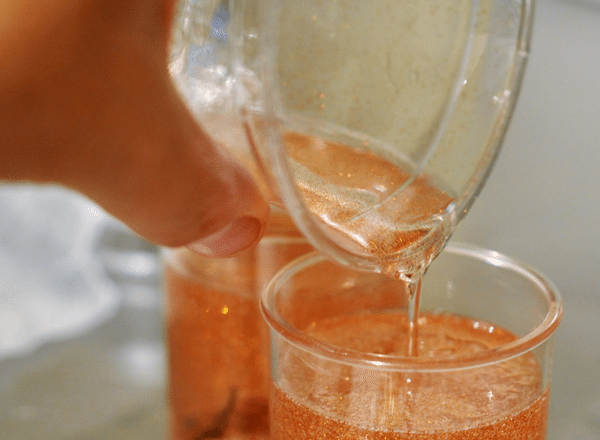
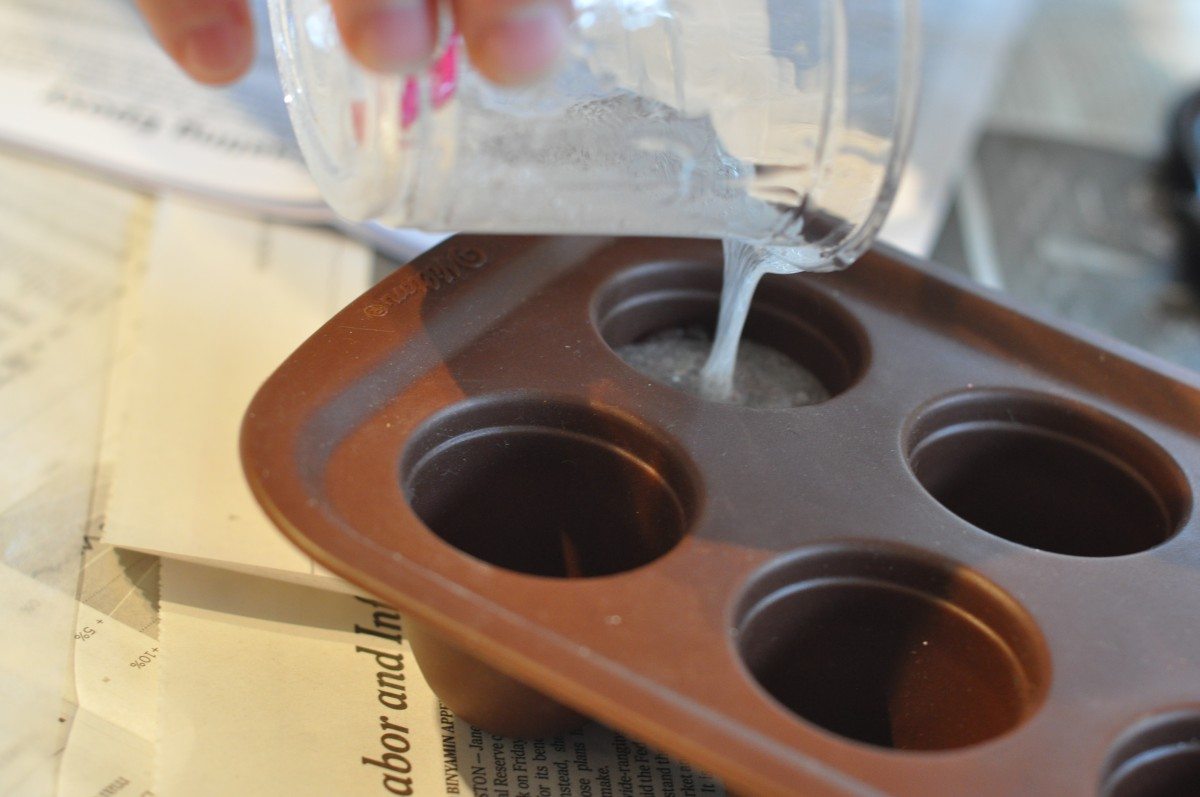
Step 9: Pour mixture into containers
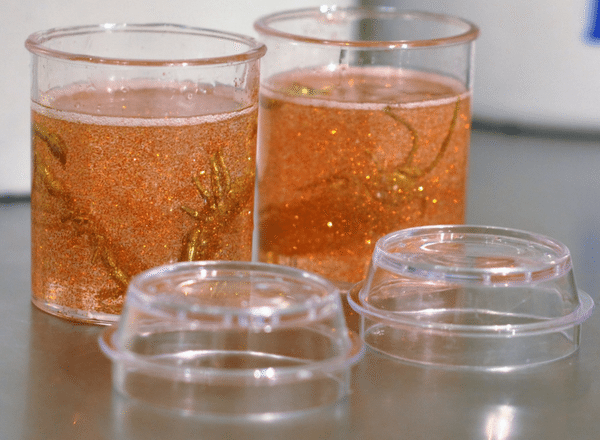
Step 10: Let harden
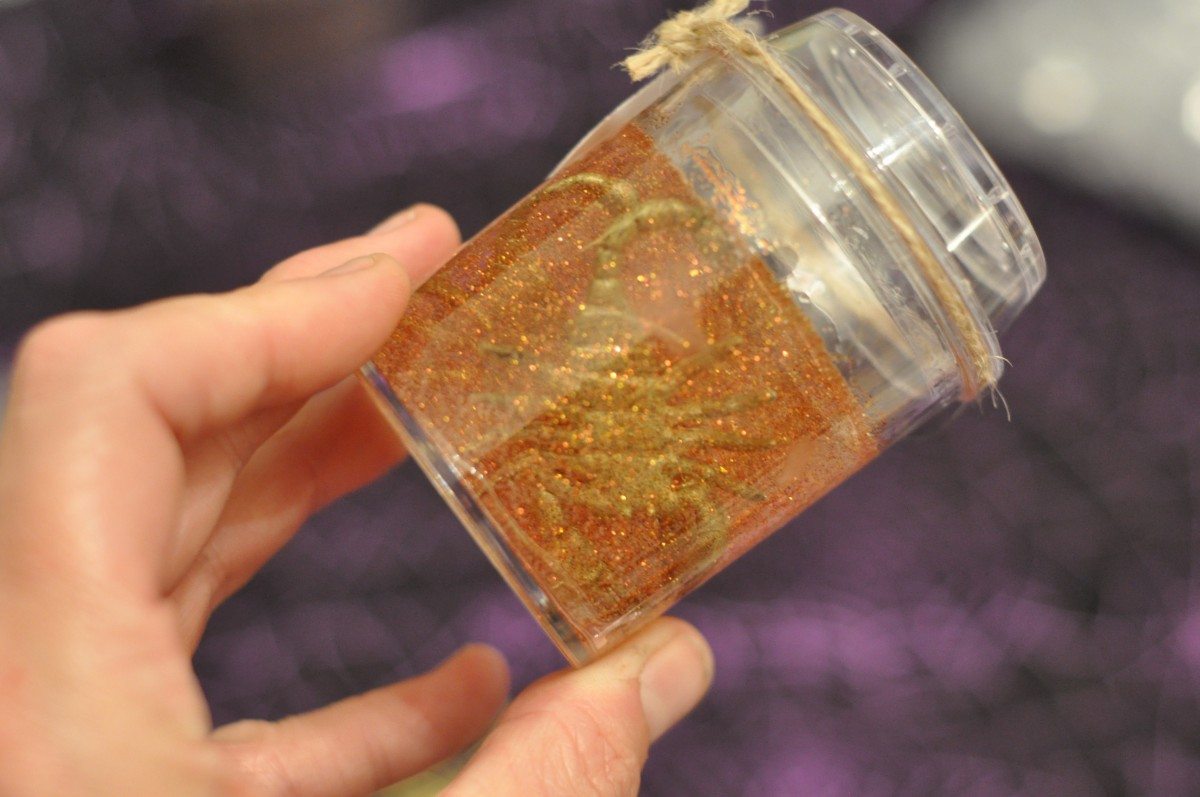
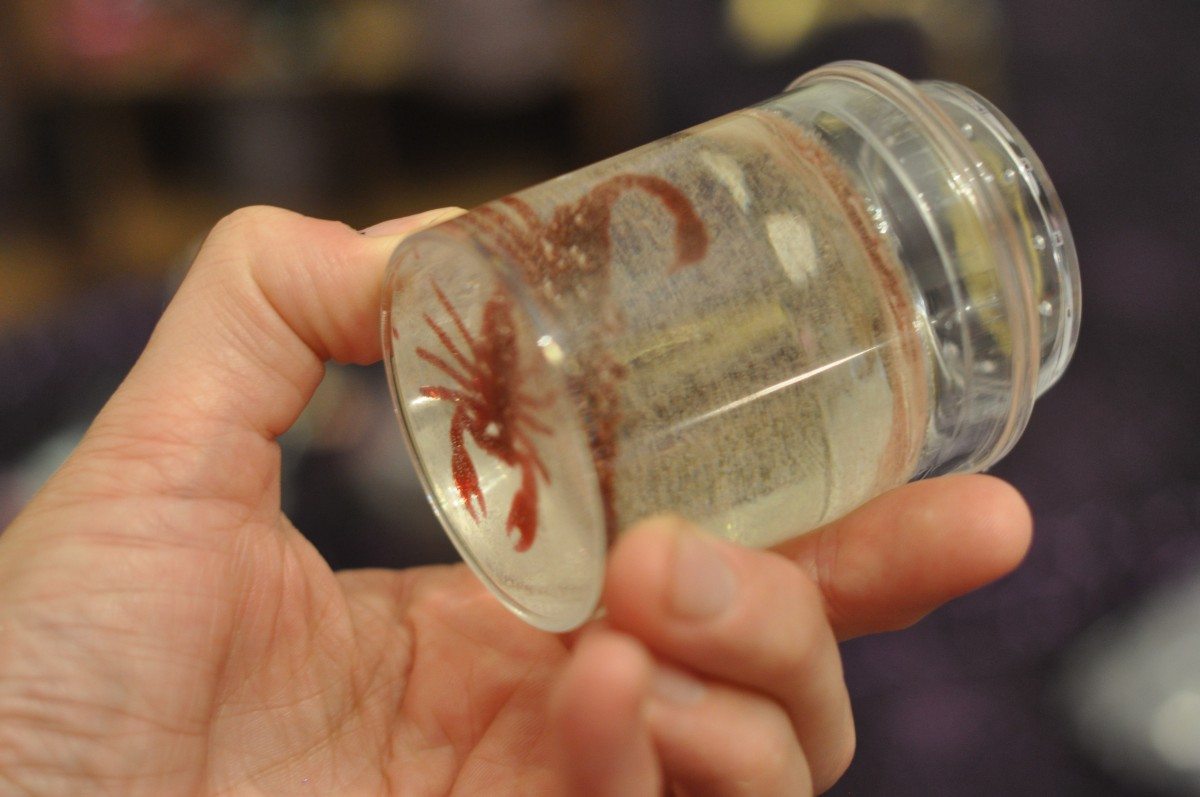
Glitter is optional. Above you can see how they turn out with and without glitter. Darker bugs can also be used. There are so many options.
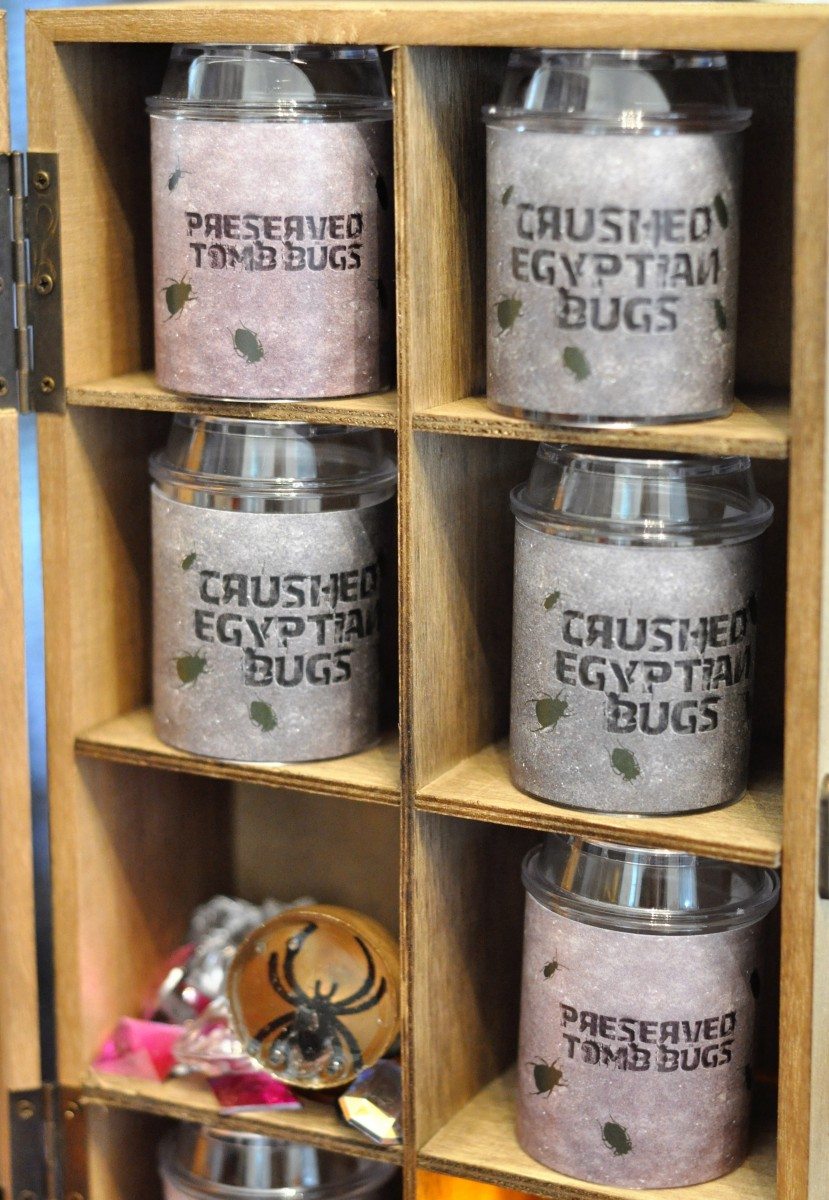
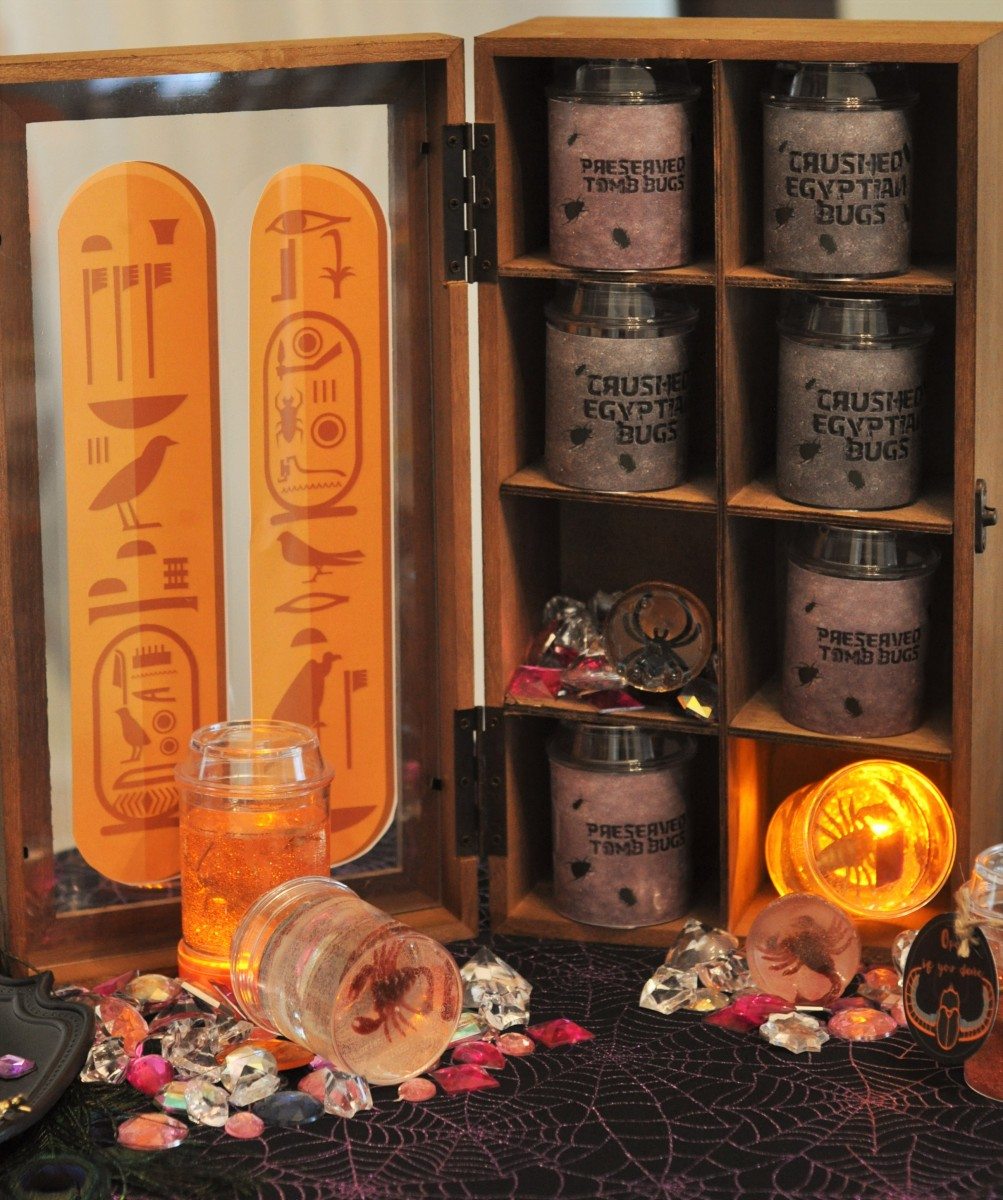
I then used labels that my friend Elena at Worldwide Party made for me. I had two I used: “Open if your Dare” circles that I tied on with twine; as well as labels that wrapped around the container like a water bottle label. These had things like “preserved tomb bugs”, and “crushed Egyptian bugs” on them, and look like the words have been chipped out of stone like hieroglyphics.
Elena has put up all of the printables for these favors (and for the Trunk or Treat) over on her blog. Click HERE for the free printables.
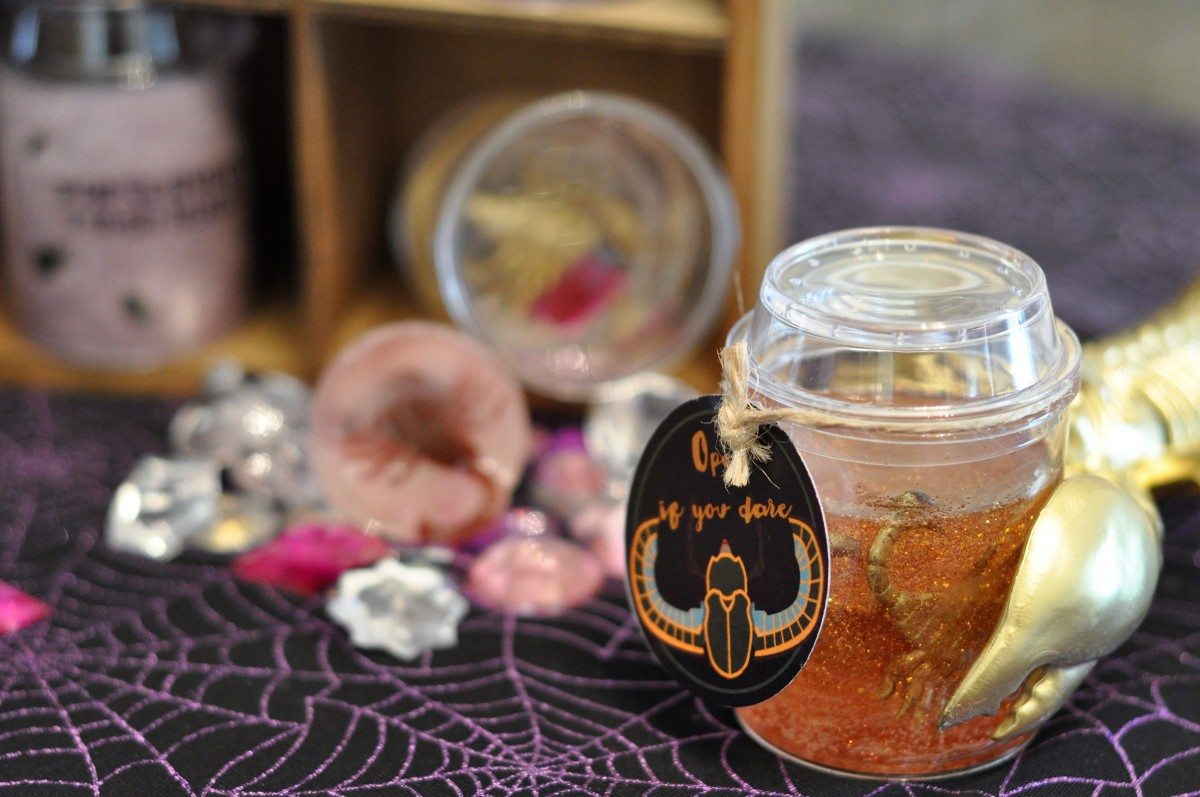
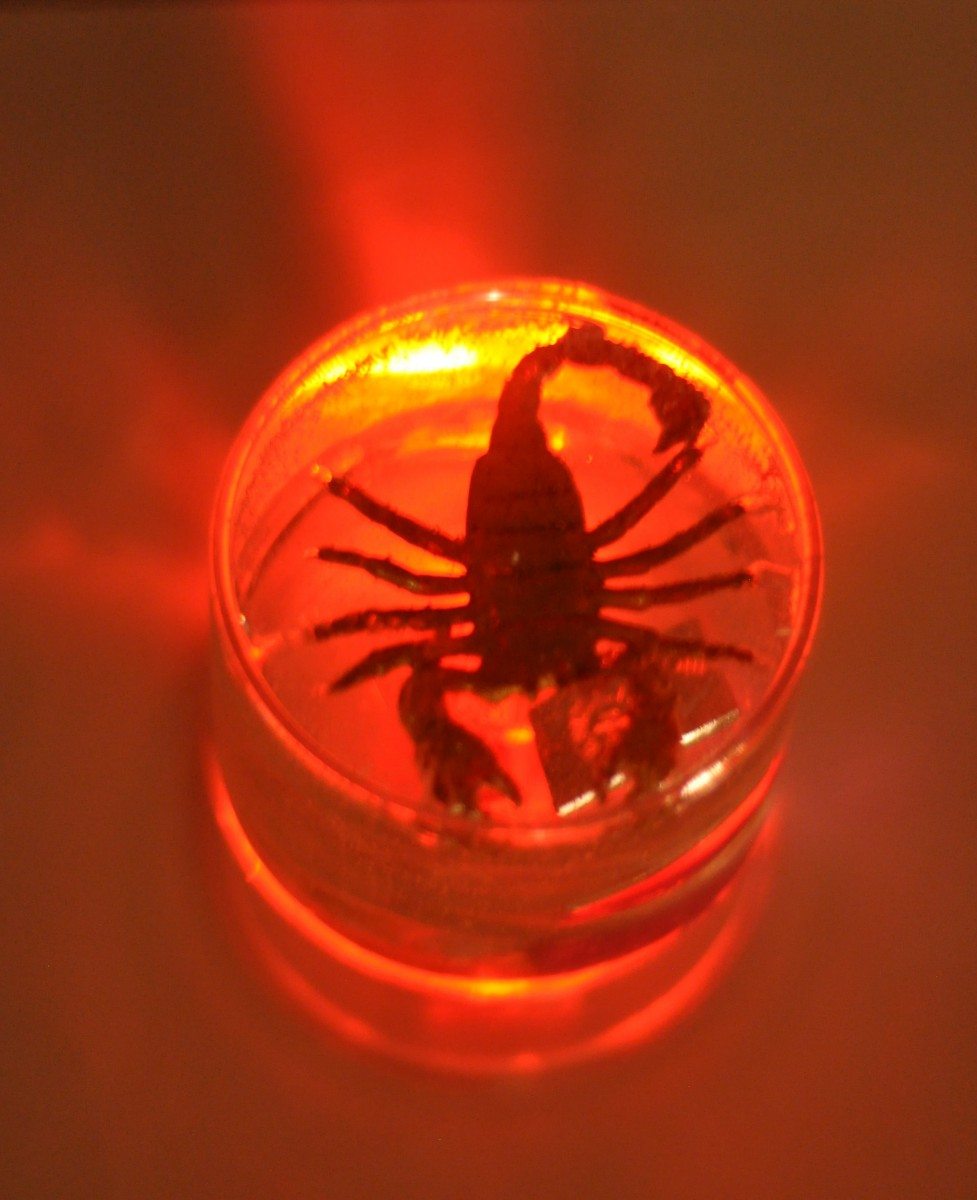
Once they are hardened you can have some extra spooky fun with the favors. I tried lights behind them in a display and we also turned off the main lights and put mini lights inside (my kids had those finger lasers). This made the bugs glow even more and look super spooky!
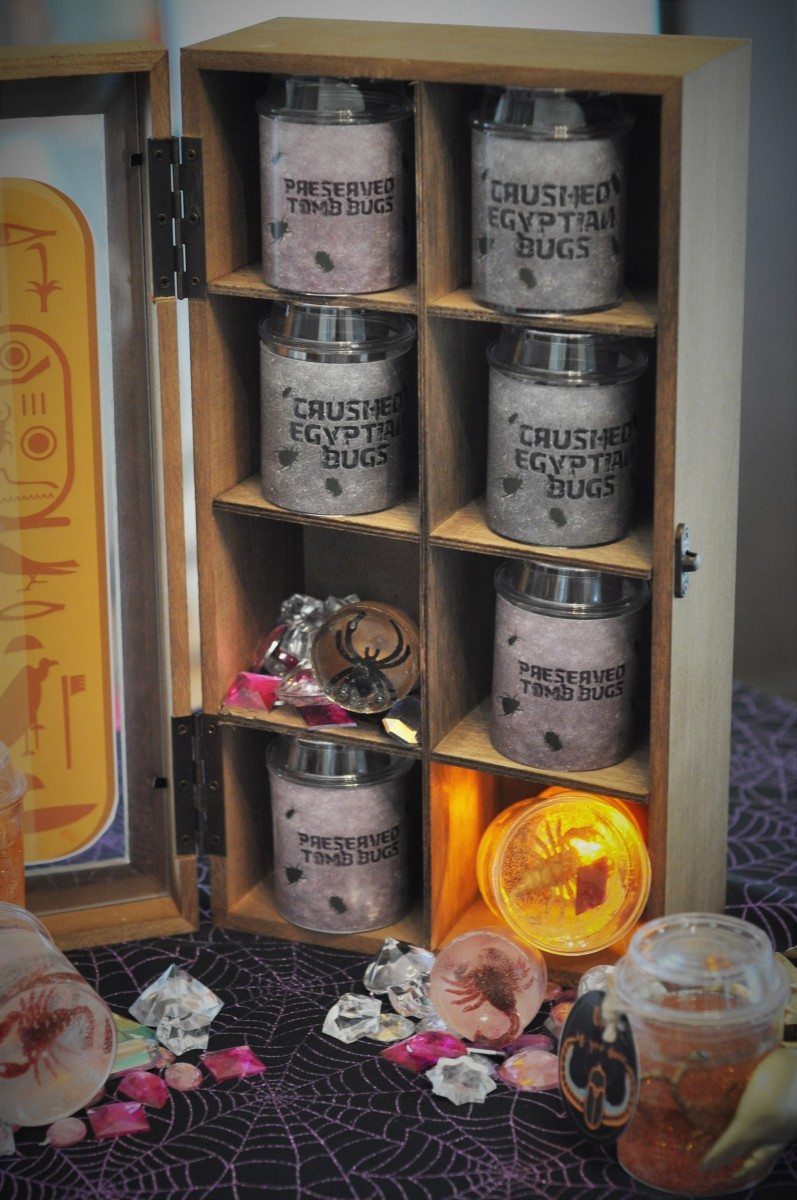
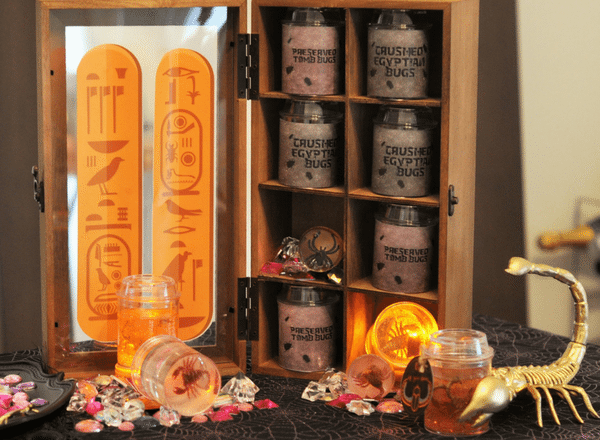
The last step was setting up a “TOMB TRADERS – TREASURES FROM THE CRYPT” mini store to put the favors into. The kids can take their preserved bugs from here along with a collection of other non-candy goodies like gems.
To create the mini Tomb Traders store front I used a box with shelves to display the bugs, added gems, feathers and other tomb treasures.

Tomb Traders
Lots of printable options to use
I also created more resin bugs, but in flexible silicon molds. That way I could pop them out (they don’t have to be in a container) and use them in the display. You can buff & polish these and use them as paper weights later on, or even drill a hole and add a key chain extension.
Then to finish decorating your Tomb Trader station there are are several printable options you can use from the selection Elena has put online – hieroglyphic panels or something a little scarier like a skeleton pharaoh.
I hope you get some fun preservation inspiration and decide to throw in a couple of trick favors for your kids too.
I did NOT receive compensation for this post. I may have received free sample products to use or try out to this project. All project ideas and any opinions expressed here are my own. For more information on our disclosure policy, please visit our disclosure page.
Be sure to follow along on the 13 Days of Handmade Halloween!






How fun!! I love this idea!!
thank you so much, fun to make