Make this year extra special with a magical Harry Potter Birthday celebration! The beloved book and movie series about the Wizarding World have captivated people of all generations, making it the perfect theme to bring fun, magic, and mystery to any occasion. And with the recent release of the new Hogwarts Legacy game, this theme is sure to be popular as ever.
From decorations to desserts, and tablescapes to favors, I have all the ideas you need for an unforgettable Harry Potter Birthday party. With some magical supplies and imagination, you can transform your home into Hogwarts in no time! This post will help you plan this special day with ideas perfect for budding wizards.
P.S. I got most of my supplies at Oriental Trading. Check out their amazing selection of Harry Potter Birthday supplies!
How to Throw a Magical Kid’s Harry Potter Birthday Party
Decorations
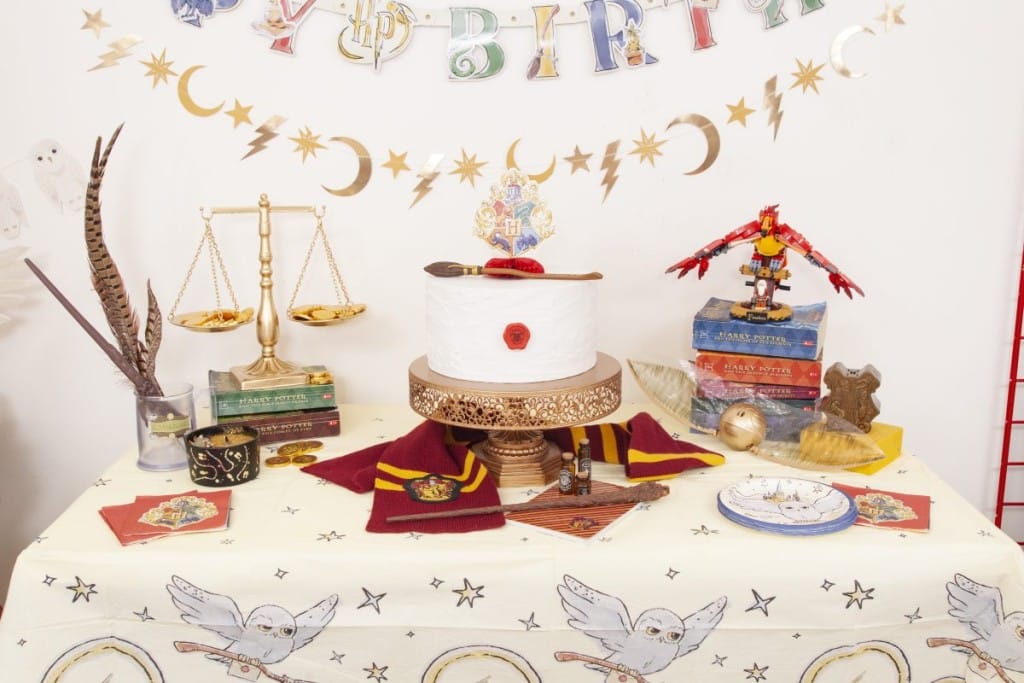
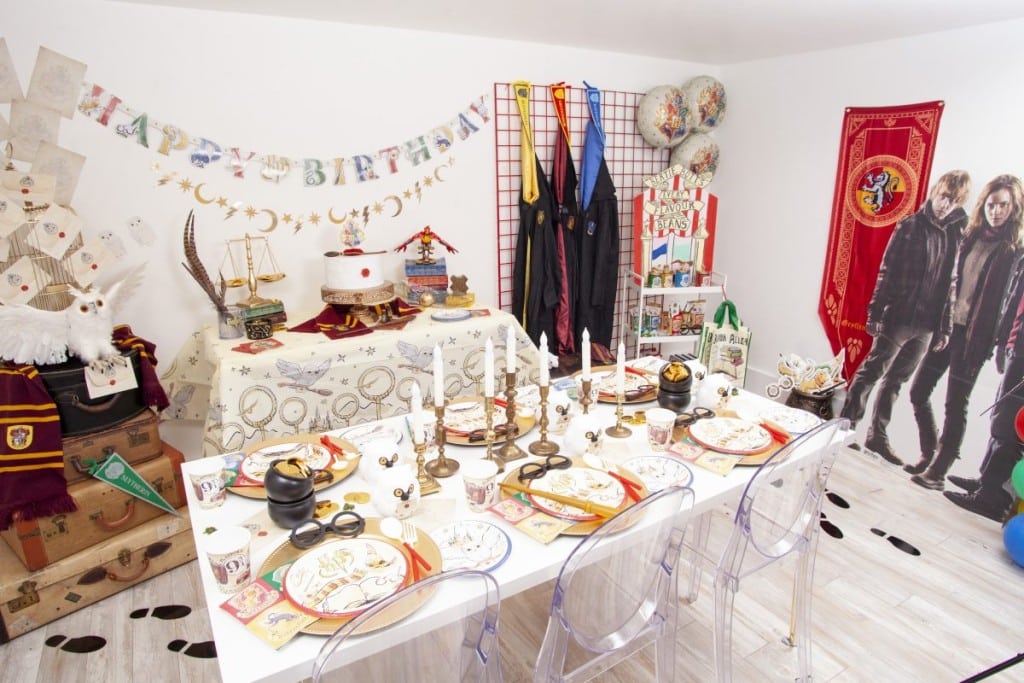
First, I set up my favorite area of almost any celebration – the dessert table! I hung a Harry Potter Birthday-themed garland and a moon, stars, and lightning bolt garland. Underneath, I set up a table covered in a tablecloth of quidditch goalposts and illustrations of Hedwig in flight.
Speaking of the snowy owl, I highlighted her in my decor next to the dessert table. In front of some Hedwig garlands on the wall, I set up a stack of vintage-style suitcases. You’d be sure to find these being loaded up on the Hogwarts Express at Platform 9 3/4. On top of the suitcases, I added Hedwig’s cage. Surrounding the cage, I placed a flurry of Hogwarts acceptance letters.
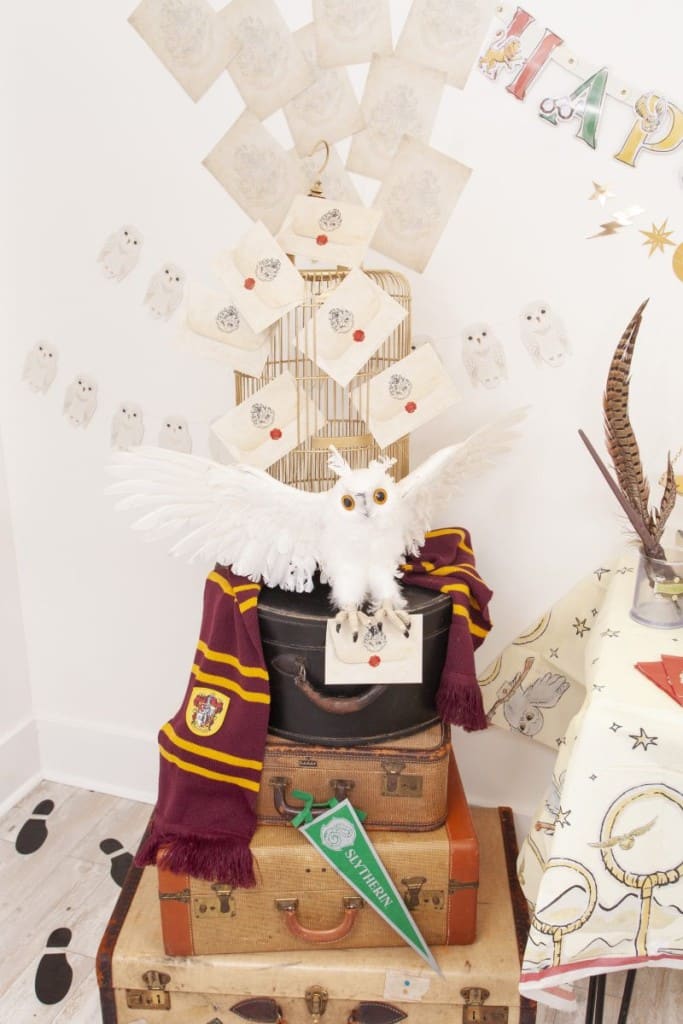
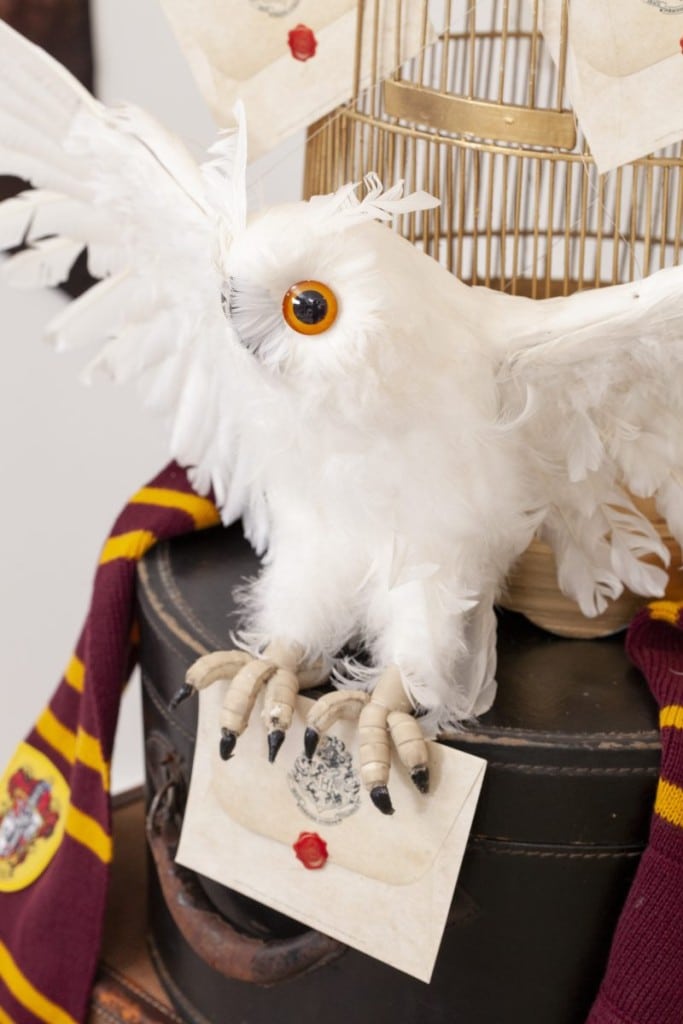
In front of her cage, I added Hedwig herself. She was armed with an acceptance letter in her talons. No way anyone will miss getting their letter inviting them to Hogwarts when Hedwig is in charge of delivery!
Dessert Table
Then, it was time to set up the dessert! I used a white cake, topped with a Hogwarts Crest and a miniature version of the Nimbus 2000 quidditch broom. On the side, I placed a red wax seal, to invoke the feel of a Hogwarts acceptance letter envelope.
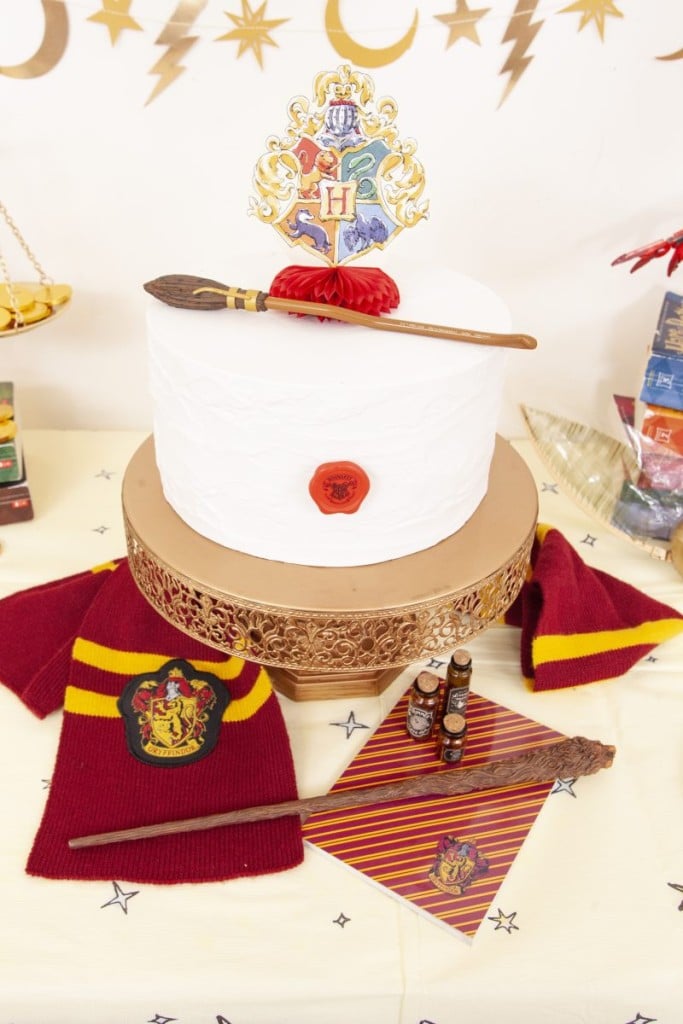
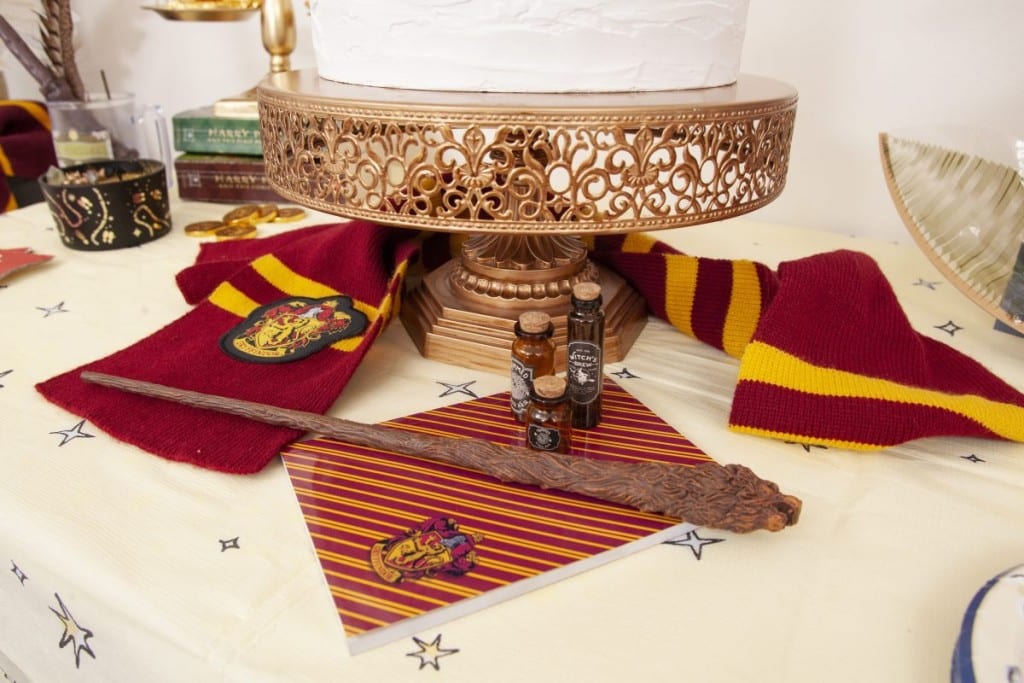
The cake was set up on an ornate gold cake stand, perfect for an antique Hogwarts feel. I wrapped it in a Gryffindor scarf for decoration. Additionally, I added a Gryffindor notebook, potion bottles, and a wizard’s wand in front of it.
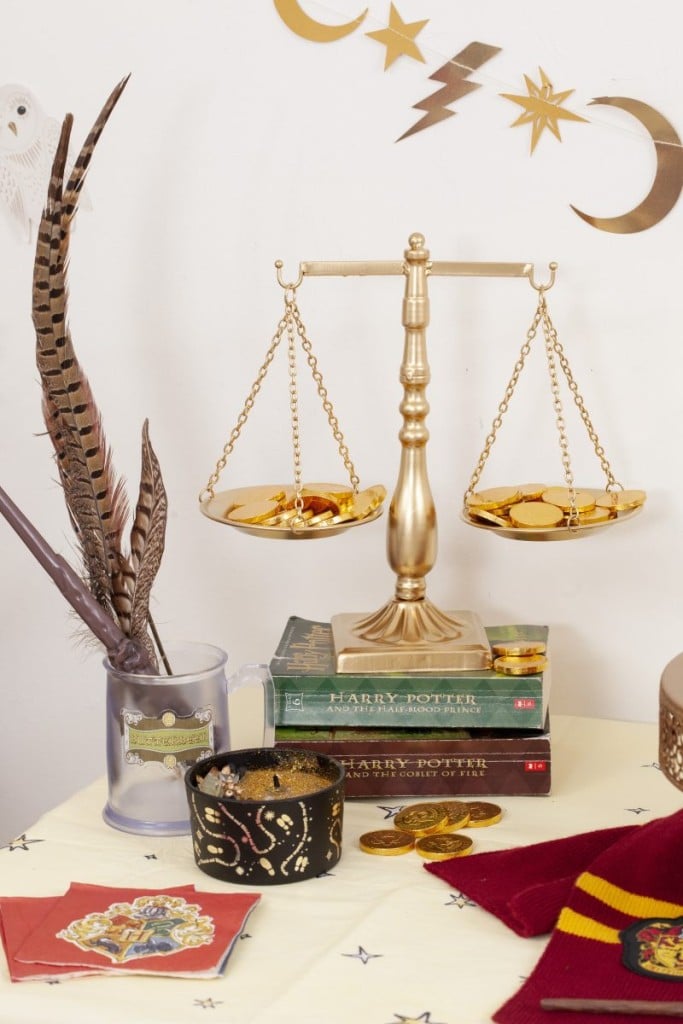
Then I added a Gringott’s Bank-style coin scale full of gold chocolate “Galleons” from Harry’s vault to the table. I added some lift to the scale by setting it atop a couple of Harry Potter books. Additional table decor included a butterbeer cup of feather quills and a Marauder’s Map candle. Those quills are long enough to have come from the hippogriff Buckbeak!
Then I decorated the other side of the table. I set up a stand of the remaining five Harry Potter books, which held a Lego Fawkes the phoenix. A mini Lego Dumbledore stood guard in front of his beloved bird pet. I also added a large Golden Snitch and more Hogwarts Crest decor.
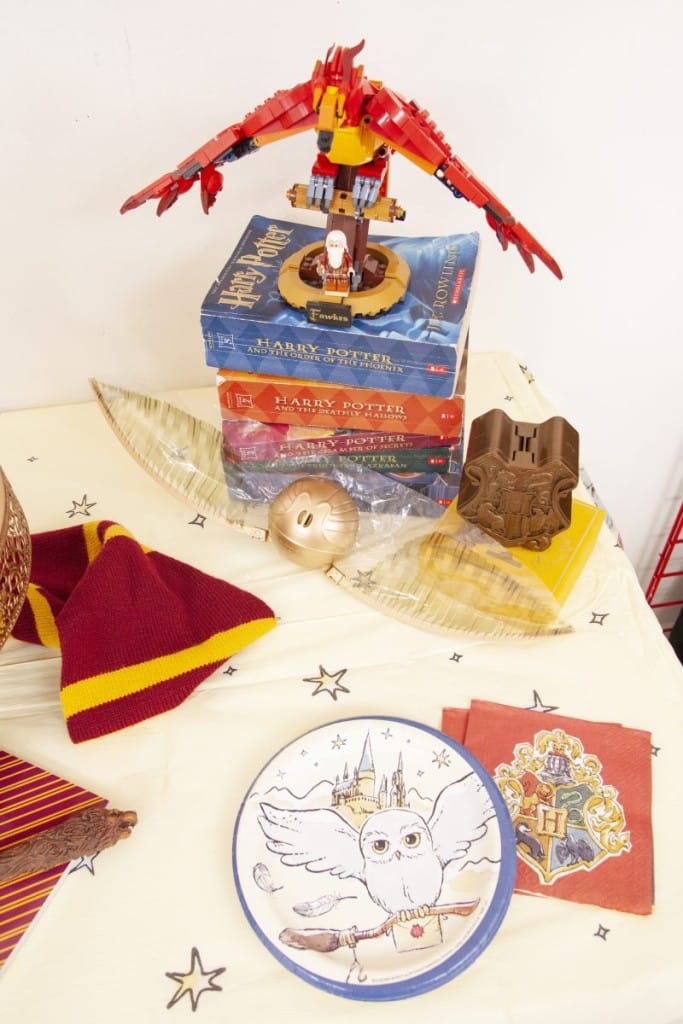
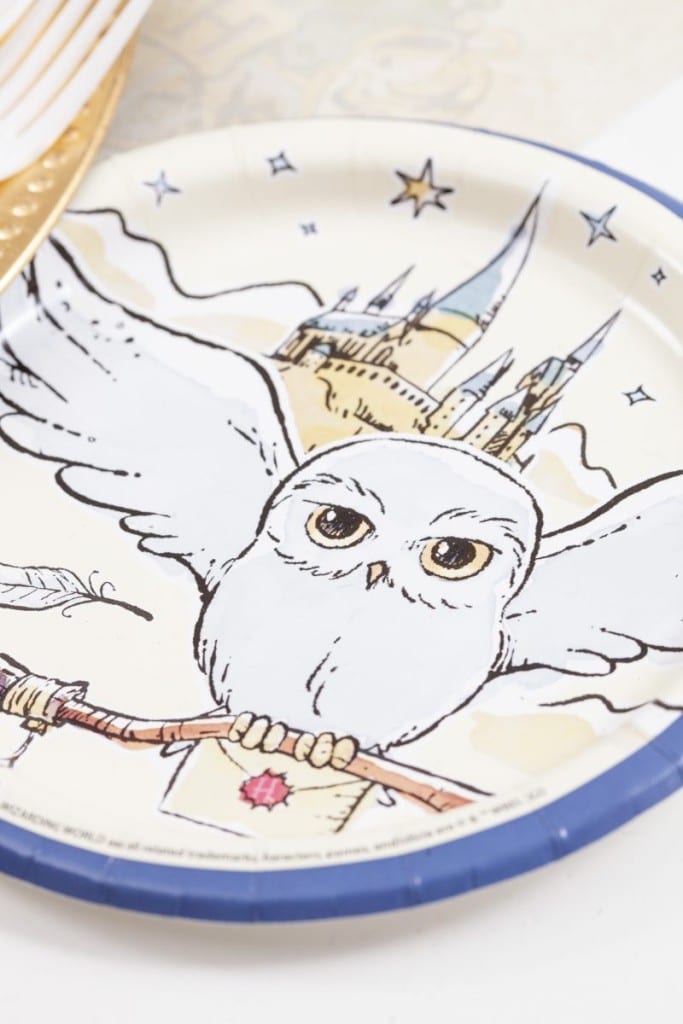
The dessert plates featured Hedwig flying in front of a gorgeous Hogwarts backdrop. The dessert napkins featured the Hogwarts crest.
Table Setting
Next, it was time to set my main table. While I didn’t have floating candles around my ceiling like the enchanted ceiling of the Hogwarts great hall, I wanted to give a nod to them by adding a variety of antique gold candle holders as a centerpiece of my table.
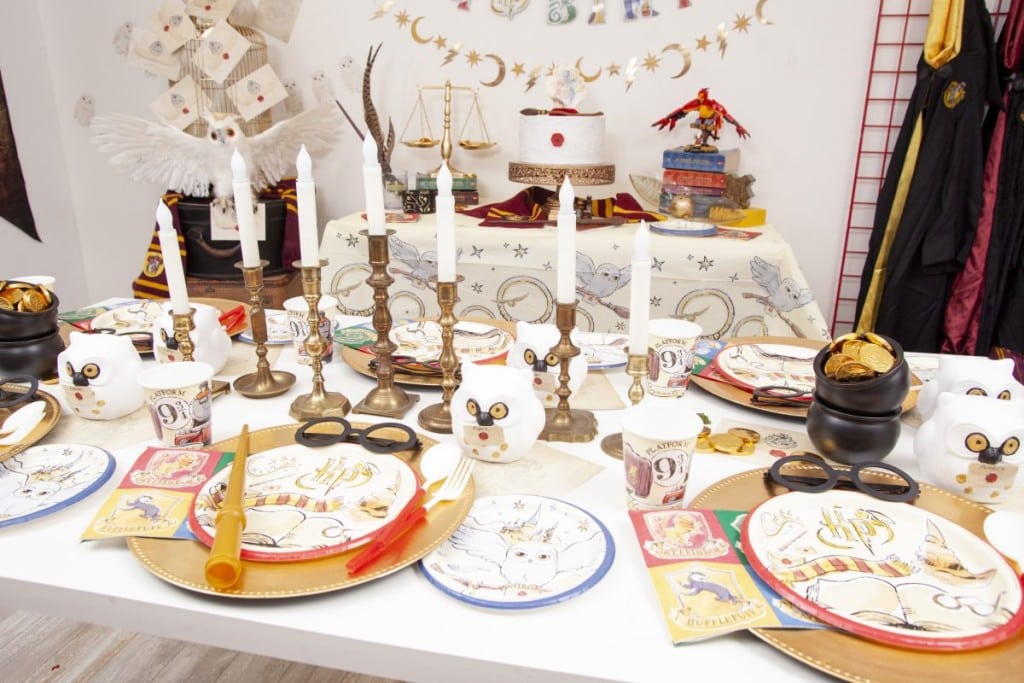
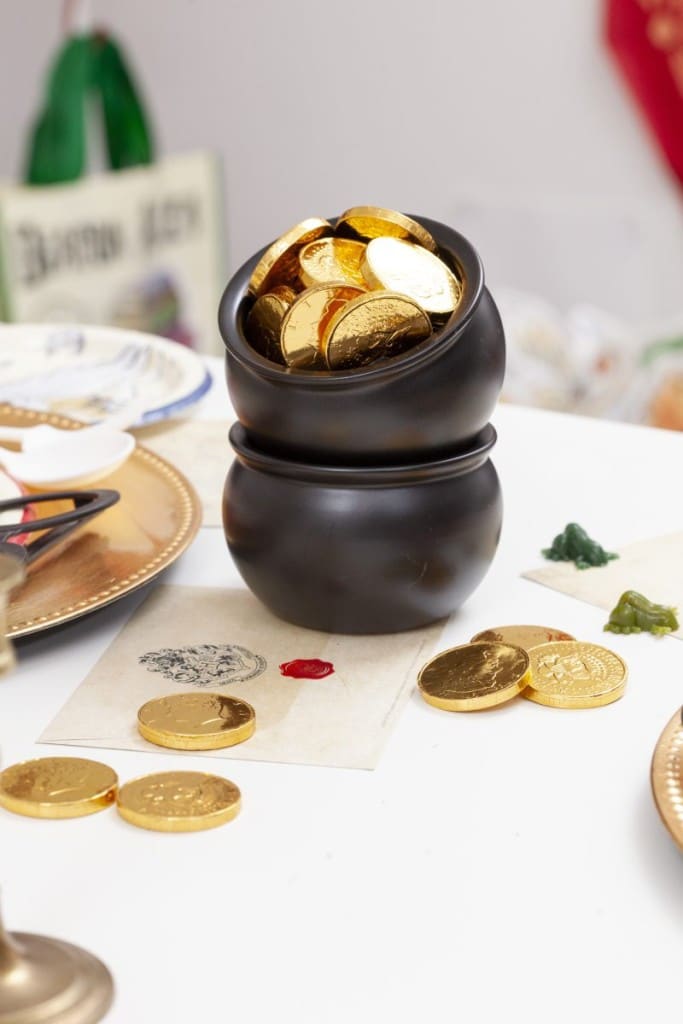
On either side of my candlestick centerpiece, I placed mini cauldrons of gold Galleons. I also sprinkled these throughout the table settings, along with some “chocolate” frogs and more Hogwarts acceptance letters.
Place Settings
Each individual place setting had a beaded gold charger. I layered these with a Harry Potter birthday dinner plate, Hogwarts house crest napkins, and red and white plastic flatware.
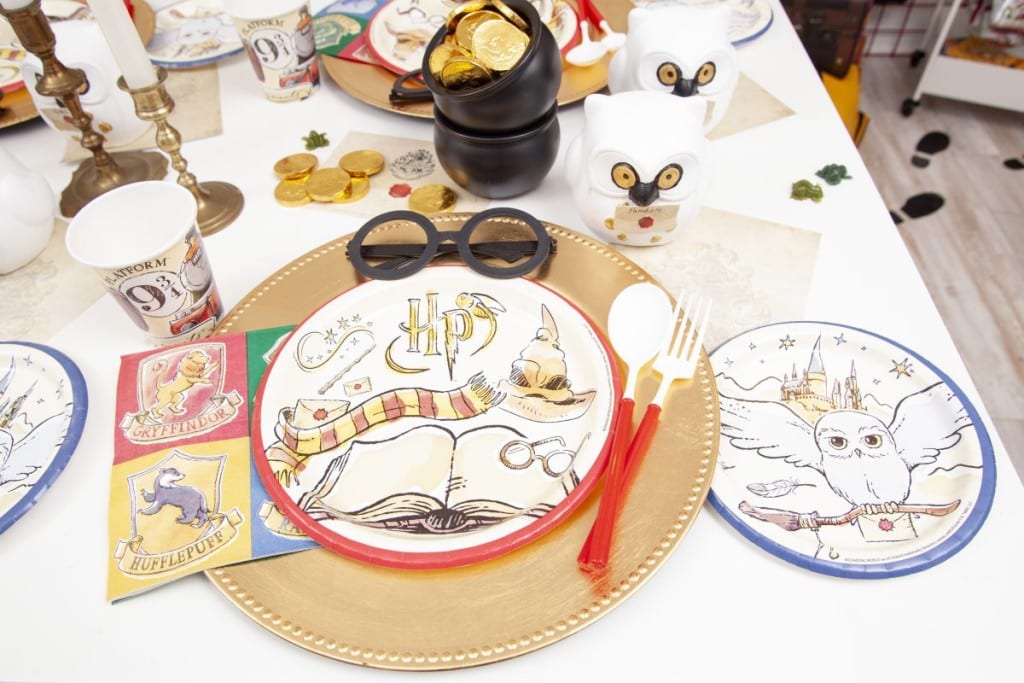
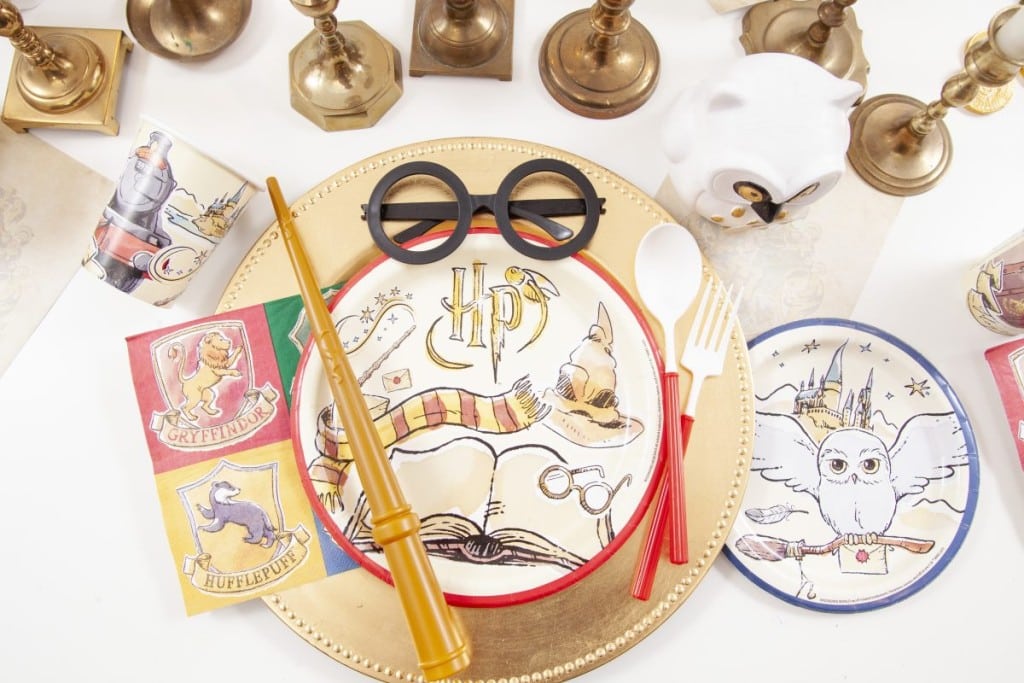
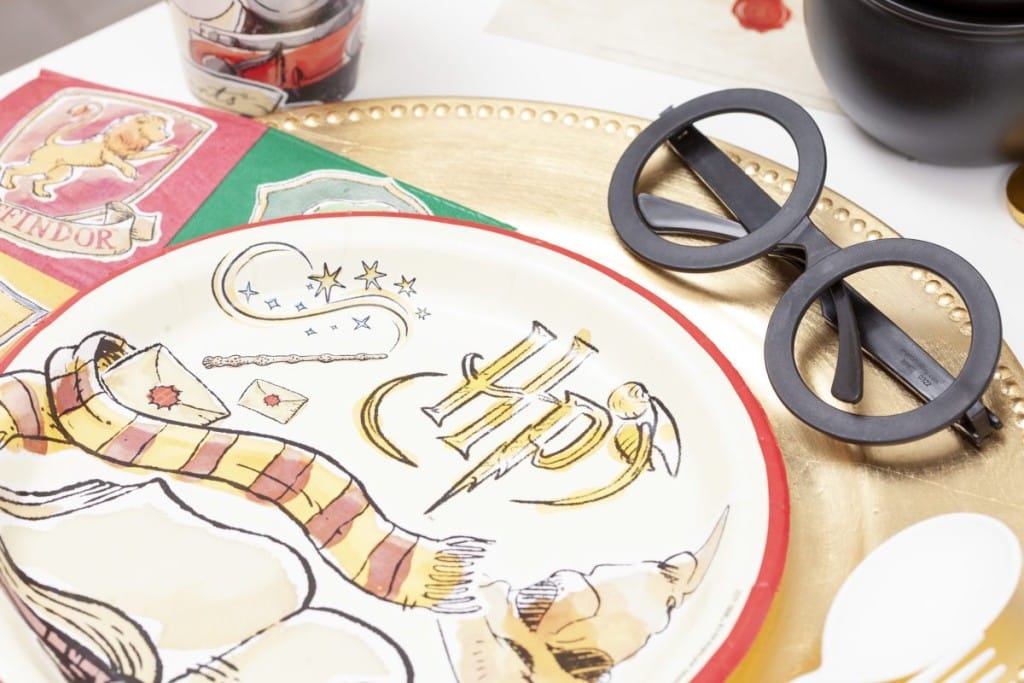
I also added a pair of Harry Potter-inspired glasses to each charger. These are super fun for kids to wear during dinner!
Next to each main plate, I placed a Hedwig and Hogwarts dessert plate.
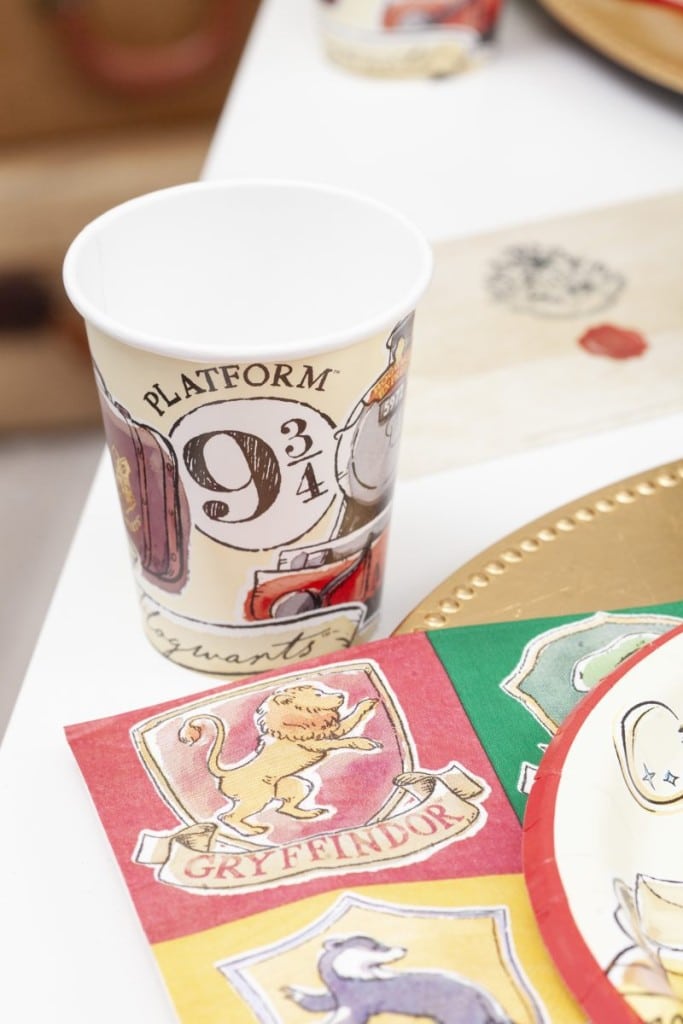
Each place setting also received a Hogwarts Express-inspired party cup.
For place cards, I painted white snowy owl figurines and added teeny acceptance letters to their fronts. The letters featured the names of each guest.
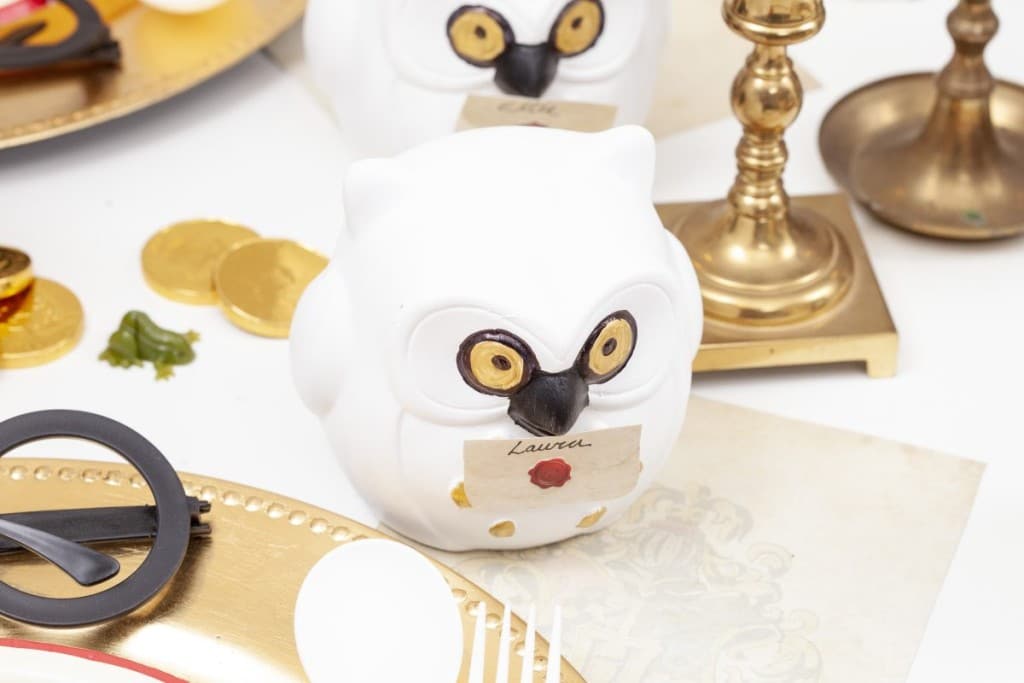
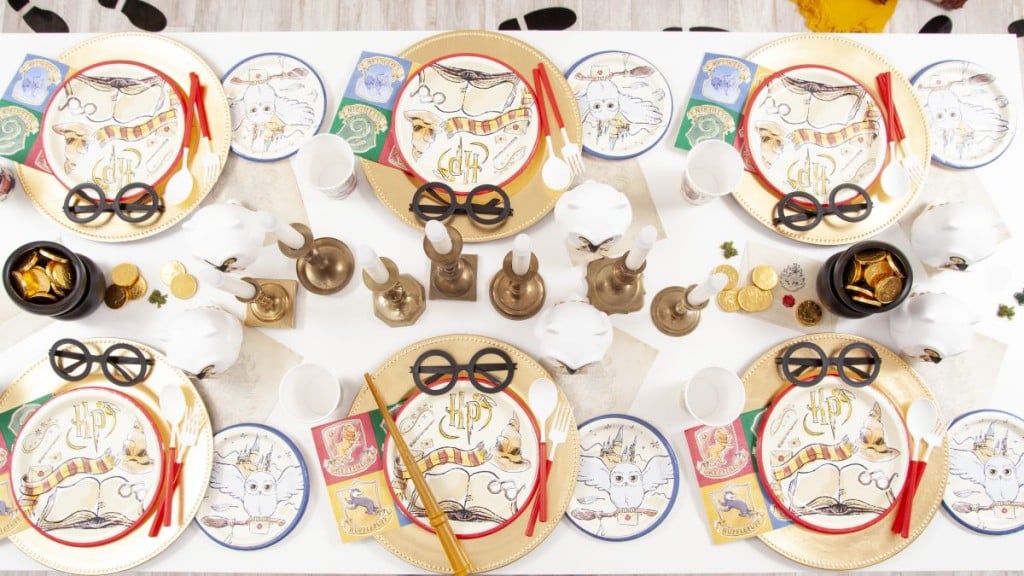
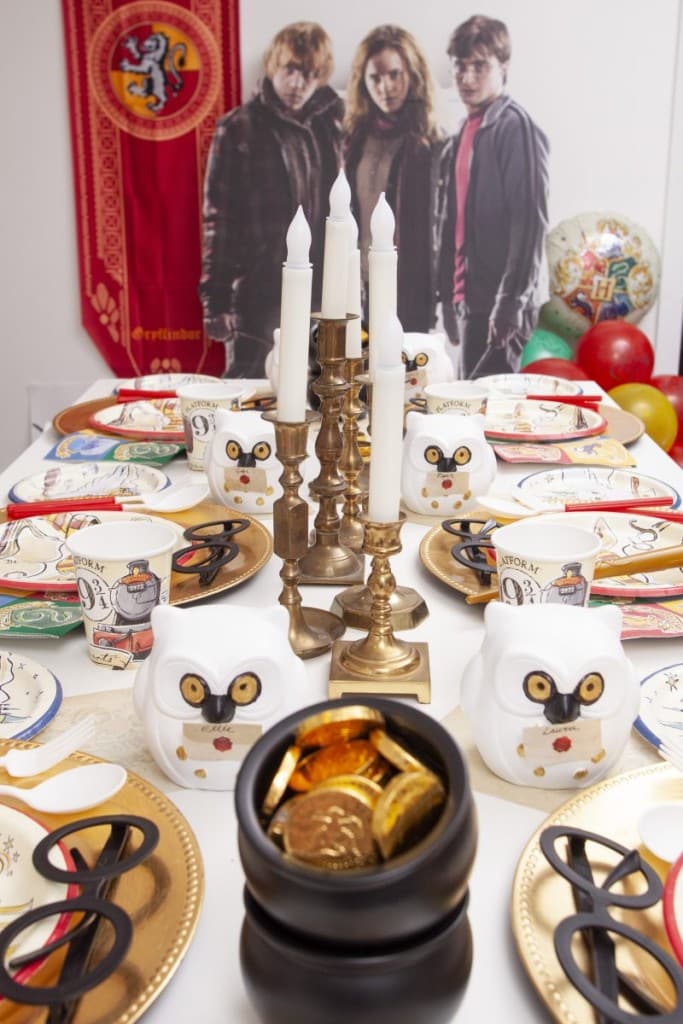
Photo Booth
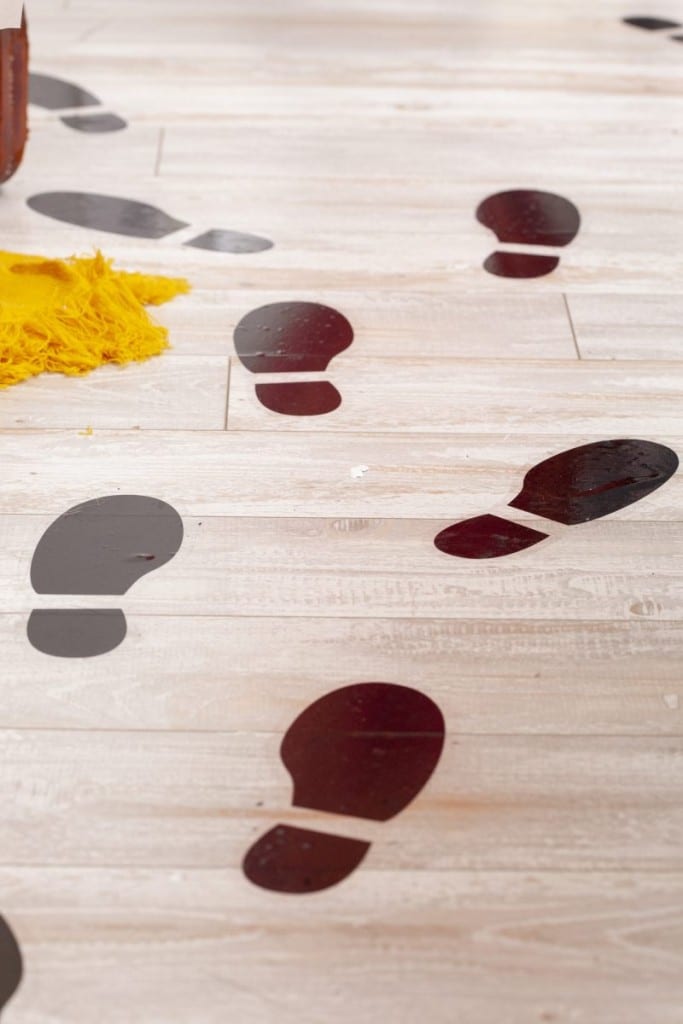
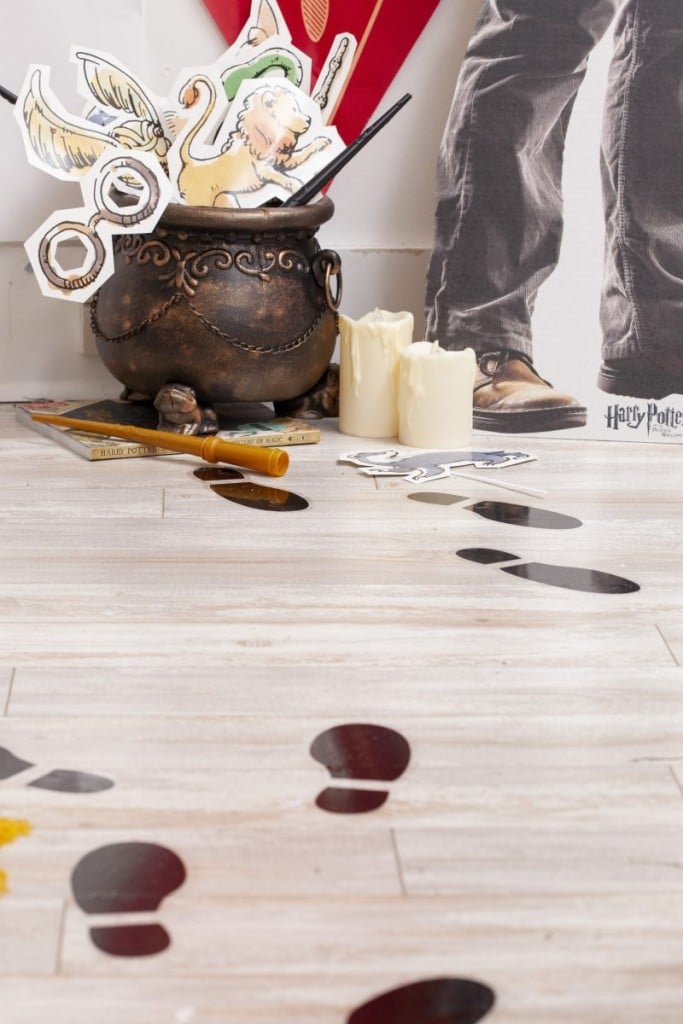
After dinner, it’s time for photos! I set up Marauders Map-inspired footprints on the ground leading to the Harry Potter photo booth area.
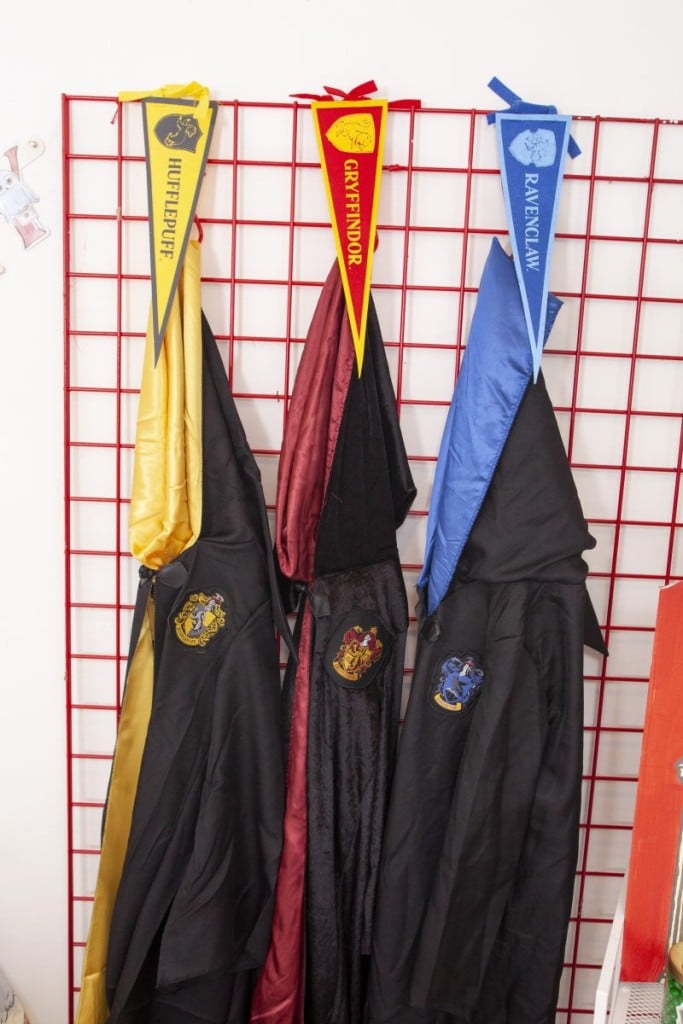
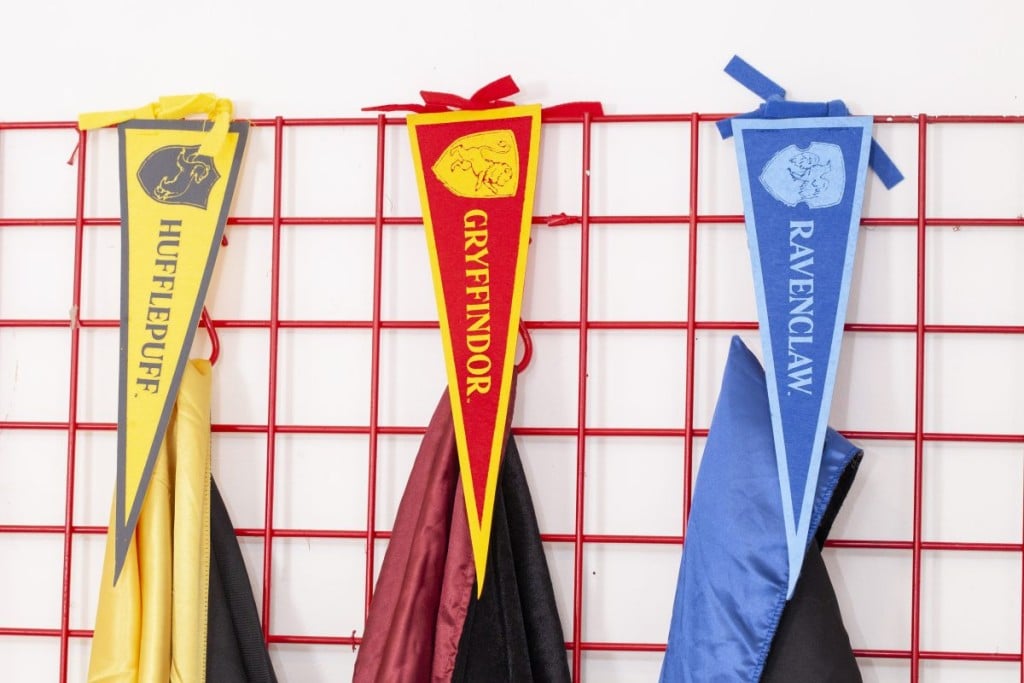
Before taking photos, guests could grab a Hogwarts House cloak to wear. I hung these from a grate backdrop with matching House pennant flags.
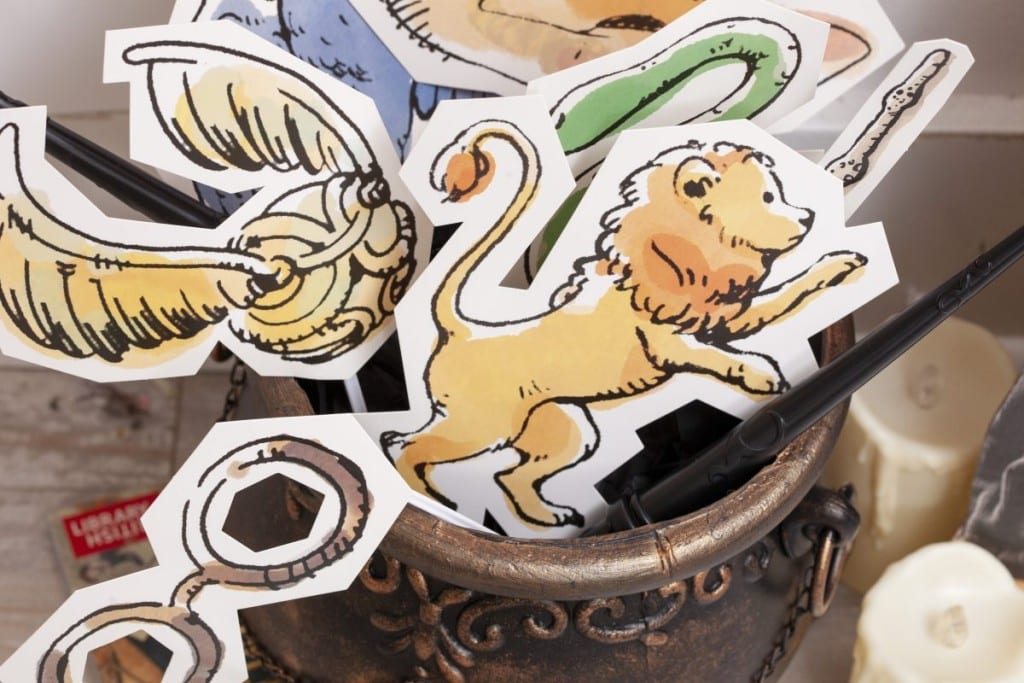
Then, they’d be able to peruse a cauldron that held a variety of photo booth props. These props matched the rest of the watercolor-style Harry Potter Birthday decor used throughout the party.
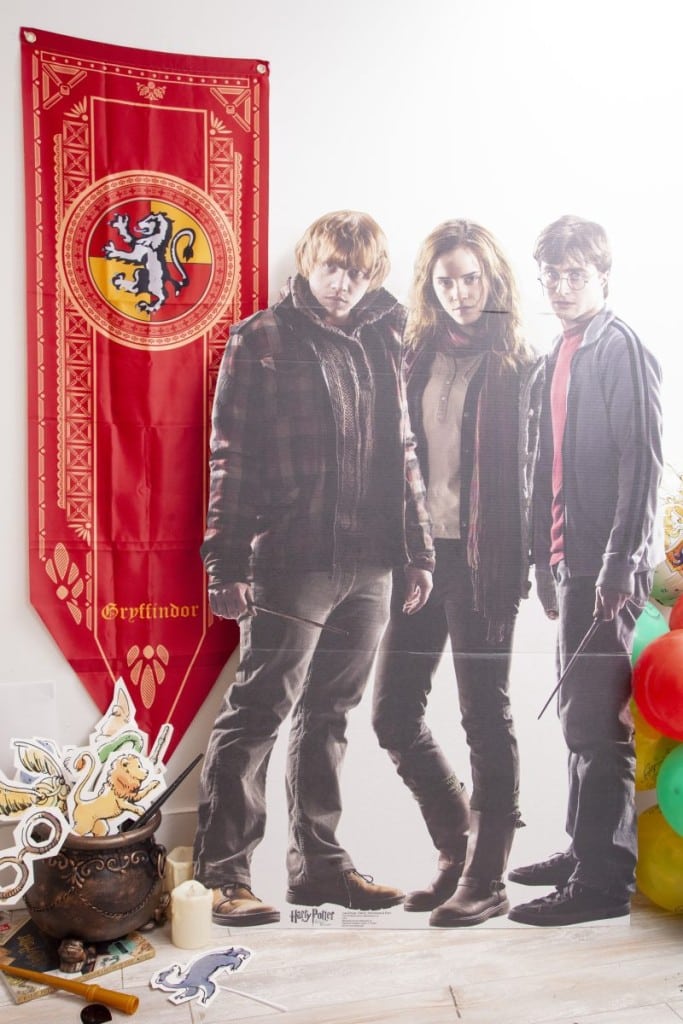
After selecting props, guests would be able to take photos with three of their favorite characters! I set up a life-sized cardboard cutout of Harry, Hermione, and Ron in front of a Gryffindor House banner.
Favor or Sweet Station
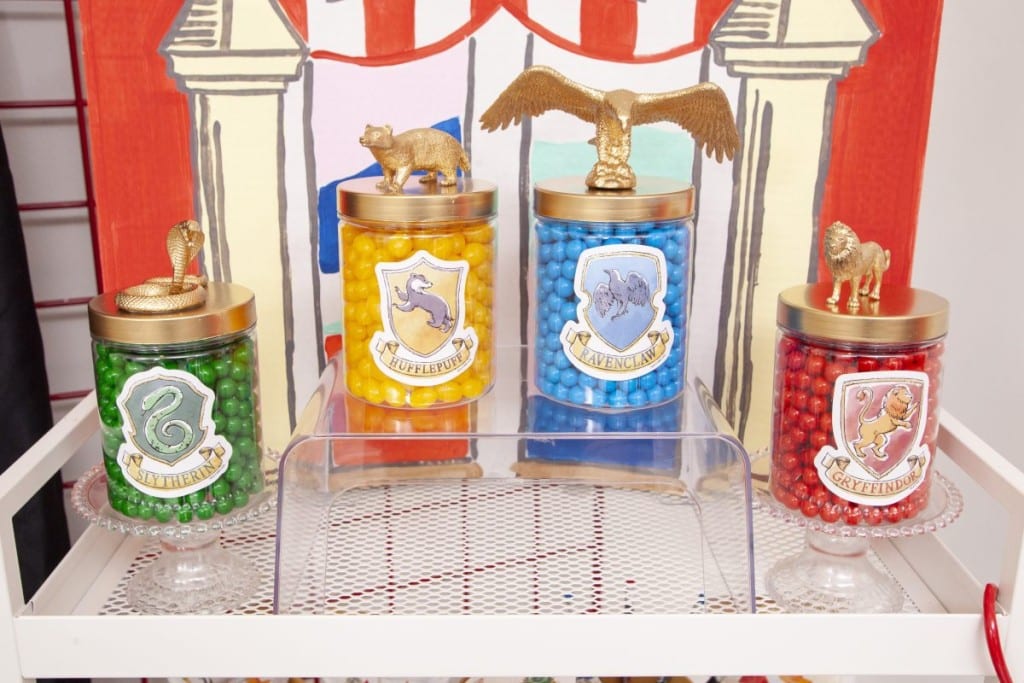
Before heading home, each guest would stop by the party favor station to pick up a variety of Harry Potter-themed treats or trinkets! I styled a rolling craft cart as either a favor station or a sweet station, depending on what you want to provide your guests with most. Check out my post on 2 Ways to Style a Harry Potter Favor or Sweet Station for details on each setup!
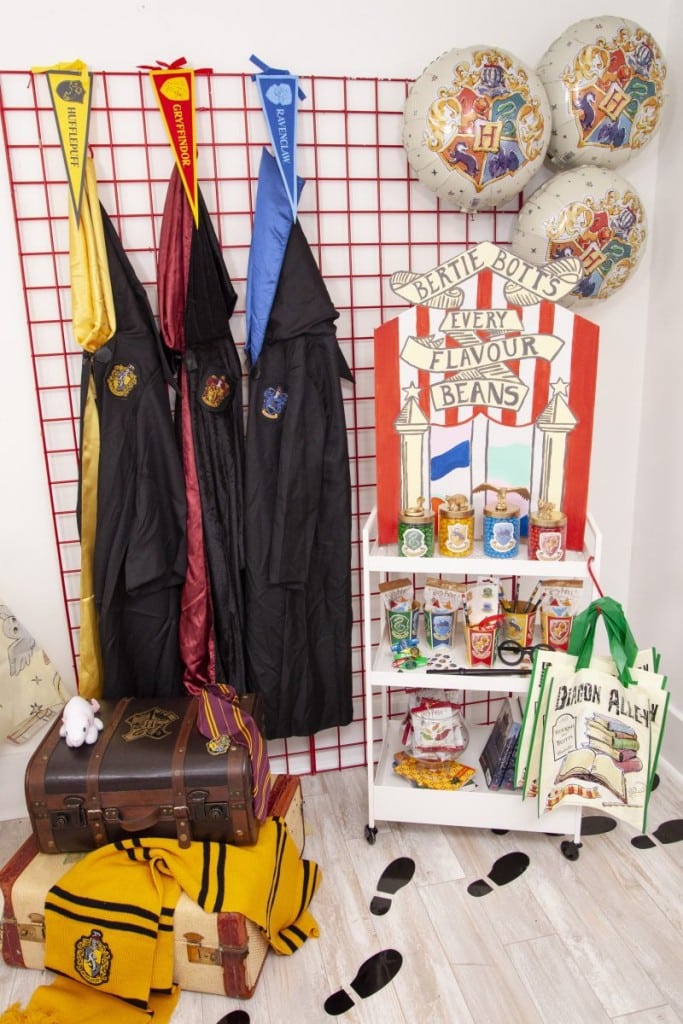
Plus, get instructions for creating DIY Hogwarts House Treat Containers HERE.
A Harry Potter birthday party is the perfect way to celebrate your child’s big day! With some Hogwarts-themed decorations, a fun dessert table, an impressive tablescape, a photo booth for guests to take pictures in, and a favor station where everyone can choose their own treats and trinkets, you’ll be able to create an unforgettable experience that will make all of your guests feel like they’re at Hogwarts!
I’d love to hear what you think (and what Hogwarts House you belong to) in the comments below.
For more fun themed birthday party ideas, check out my LEGO™ Elves Party, or A Star Wars™ Movie Party for All Ages. Or if darkness is more your delight, don’t miss my Wednesday Addams Party!
Happy Partying!
As a blogger, I sometimes receive compensation and/or products in exchange for my styling and crafting services. I also may earn a small commission from any sales that result from affiliate links on this page. As always, all project ideas and any opinions expressed here are my own. For further information on our disclosure policy please check out our disclosure page.
PIN FOR LATER:







Leave a Reply