School is nearly over and summer is nearly here….did I just say that out loud?! Yikes I better get myself prepared! These final weeks are flying by, it has been full of school programs, baseball games and parties, lots of celebratory parties.
In the midst of this craziness, like every year, I design & create the backdrop for our school program. It is so much fun. I work behind closed curtains up on the stage (a little like the Wizard of Oz) and get to surprise the kids with something new each time. They always try to peek so it’s challenging to maintain a big reveal, but somehow we manage to wow them every time.
This year I went tropical for the backdrop, there are so many fun things you can incorporate with a tropical theme – everything from palm trees, to flamingos and my favorite, pineapples. In addition to the main stage backdrop I create a mini version for my son’s class, a photo booth for their post performance party. I love seeing them acting so goofy in front of the camera. Very funny and I get to see a whole different side to my son!
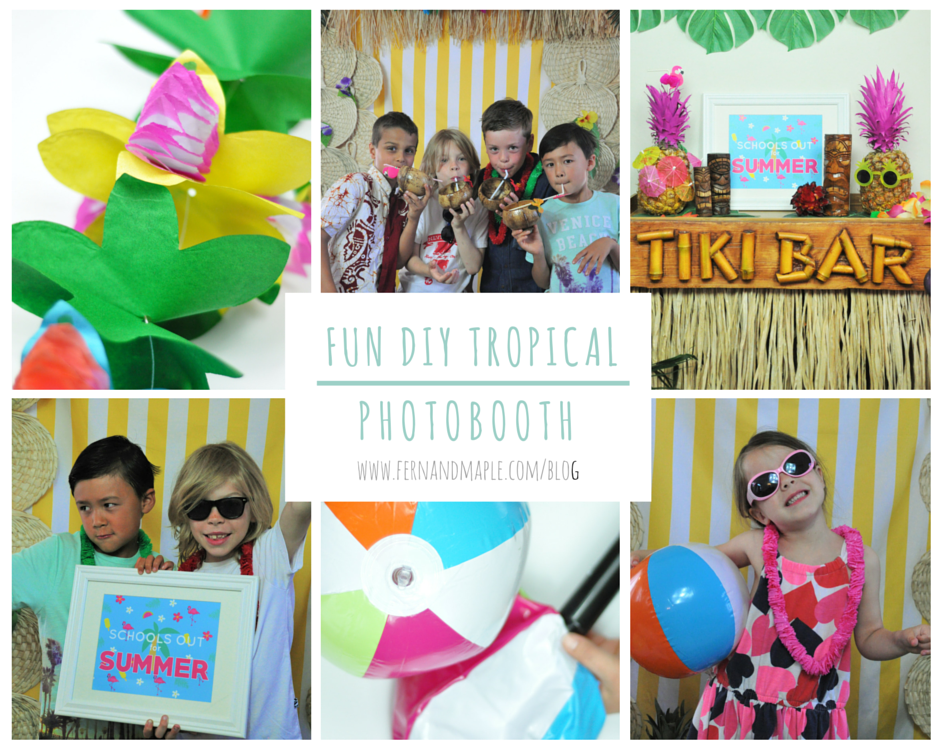
If you’ve ever done anything for your local school, from a festival, a party, to prizes or costumes for Halloween, then you know that Oriental Trading is the go-to source for supplies. This backdrop and photo booth was no exception, Oriental Trading had the perfect selection of products for the tropical theme.
In this blog post I am going to give you a shopping list and DIY instructions on how to make this booth and a matching photo prop bar. I’m also going to give you some alternative photo booth options that you can also find at Oriental Trading.
I did NOT receive compensation for this post. Disclosure: I did receive some free products to use to try out and create this photo booth. All project ideas and any opinions expressed here are my own.
DIY TROPICAL PHOTOBOOTH:
Materials you will need for the booth:
- 1 Photobooth Stand (or alternative)
- 3 yards of your favorite summer fabric (I chose a yellow & white fabric that reminds me of Palm Springs beach towels)
- 6 Palm Leaves
- 24 Natural Raffia Fans (2 sets of 12)
- 2 Colorful Flower Garlands
- 1 Beach Fringe Decoration
- 1 Large garland with palm leaves
- Photo booth clips or something similar
- Twine
- Scissors
Optional Materials:
- Fake grass
- Buckets for over run of props or to stand a flamingo in
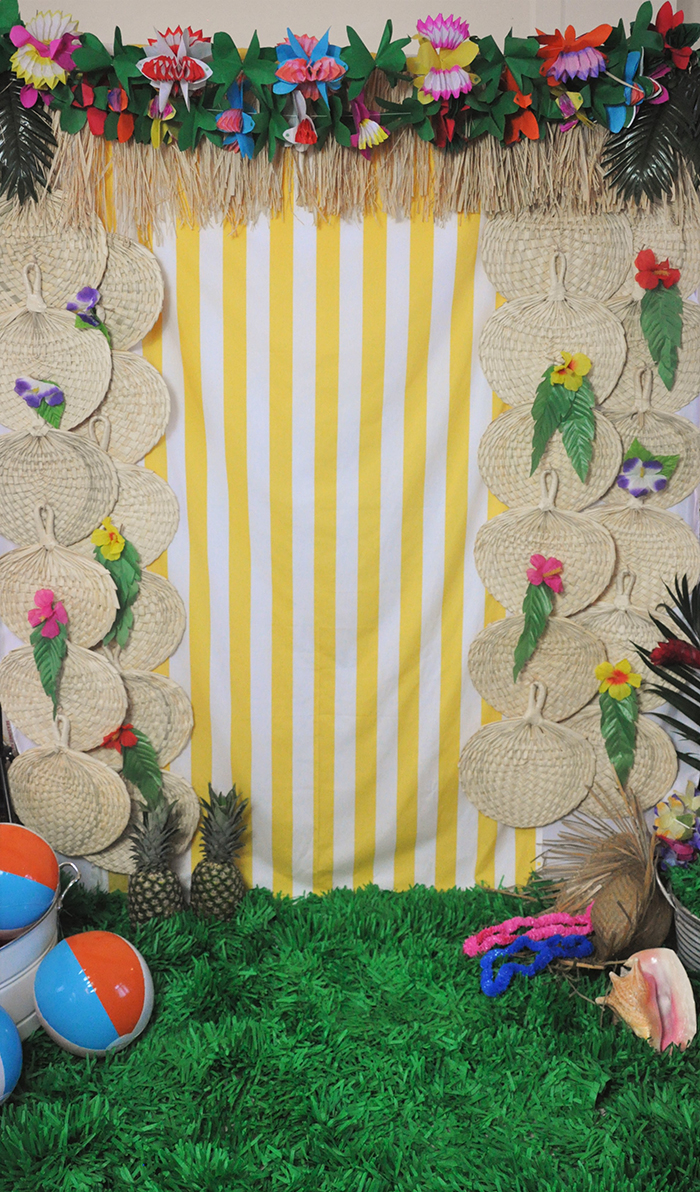
Step 1 – Clip Fabric to Photo Booth Frame
Take the fabric and clip to the top of your photo booth frame. I used a metal backdrop structure but you could make your own using pvc piping, a broom, a piece of bamboo (to fit in with the theme) or even over a string / twine that you hang between 2 hooks.
TIP: If you choose a light “see through” fabric I suggest putting a white table cloth or sheet and putting it behind your choice of fabric so that you don’t see through it in photos.
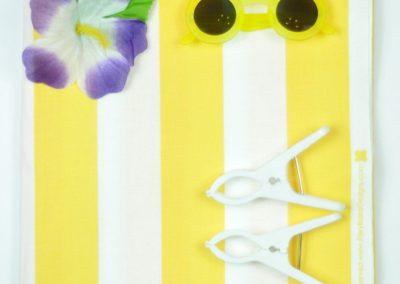
You need fabric and grips
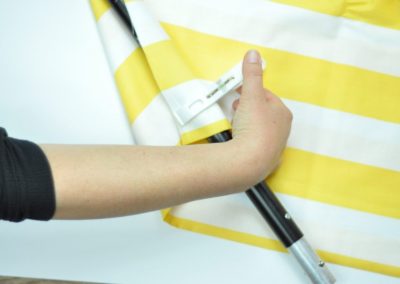
Clip to top bar
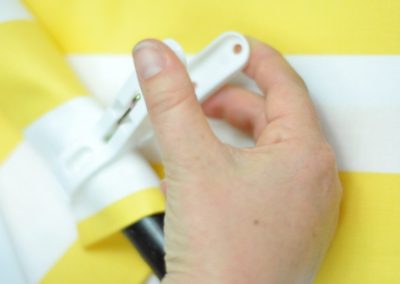
Clip tight
Step 2 – Connect Raffia Fans
When I set up my photo booth frame I had the height set for both children & adults at approx 6ft. Down each side I set up 2 strands of raffia fans, 6 to each strand. So in total I needed a set of 12 raffia fans for each side. To connect them I first tried a fishing wire but found it a bit fiddly to work with. Twine worked much better and blended into the color of the raffia really well.
I connected the fans by putting a hole into the lower middle of one fan (using the scissors to make the hole and hold it open while I threaded the twine through) and then tying it to the handle of another fan. So they were staggered as you go down.
TIP: I cut up one of the flower garlands with large palm leaves (these are also strung on twine) and randomly tied these to fans to add some color to the raffia.
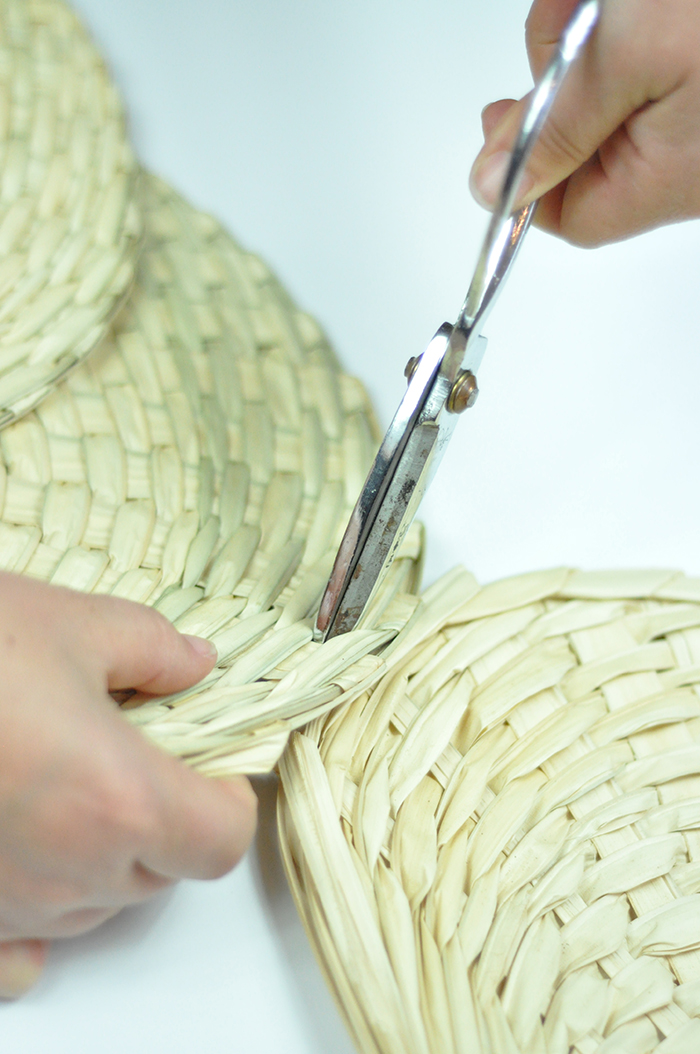
Punch hole in fan with scissors
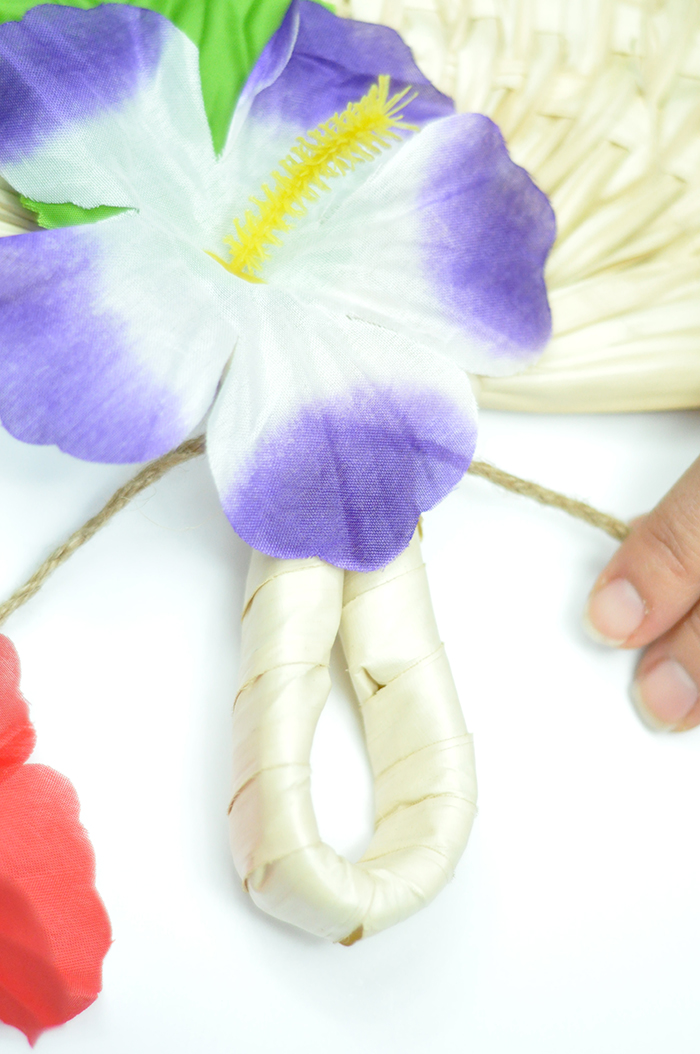
Tie flowers to handles
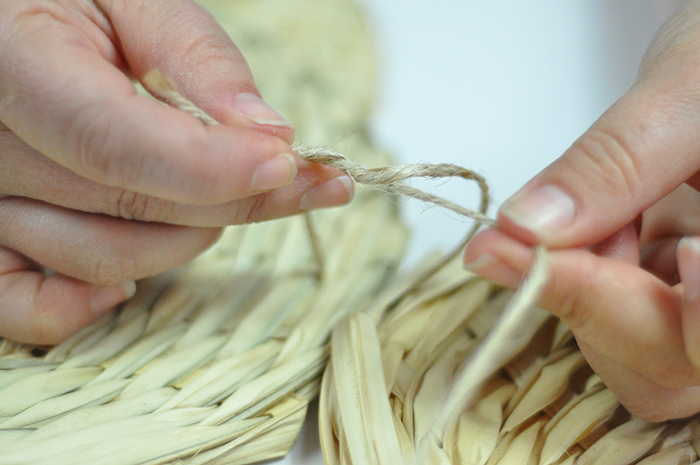
Tie together with twine
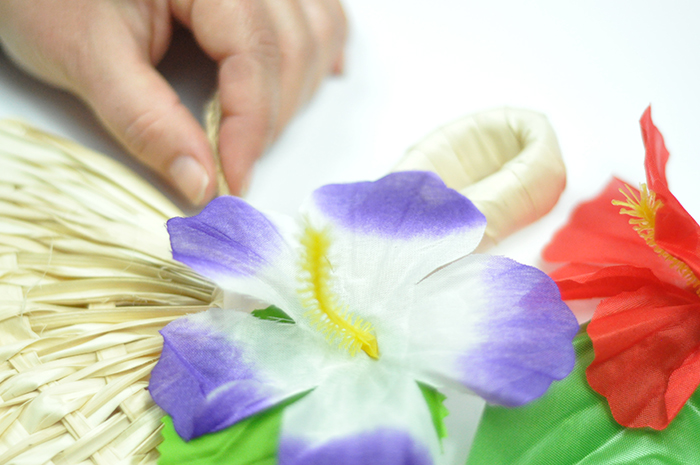
Using flowers & twine from garland
Step 3 – String Fans to the top bar of the booth
Using another piece of twine, thread through the top fan’s handle and tie tightly to the top corners of the booth bars. Left & right side.
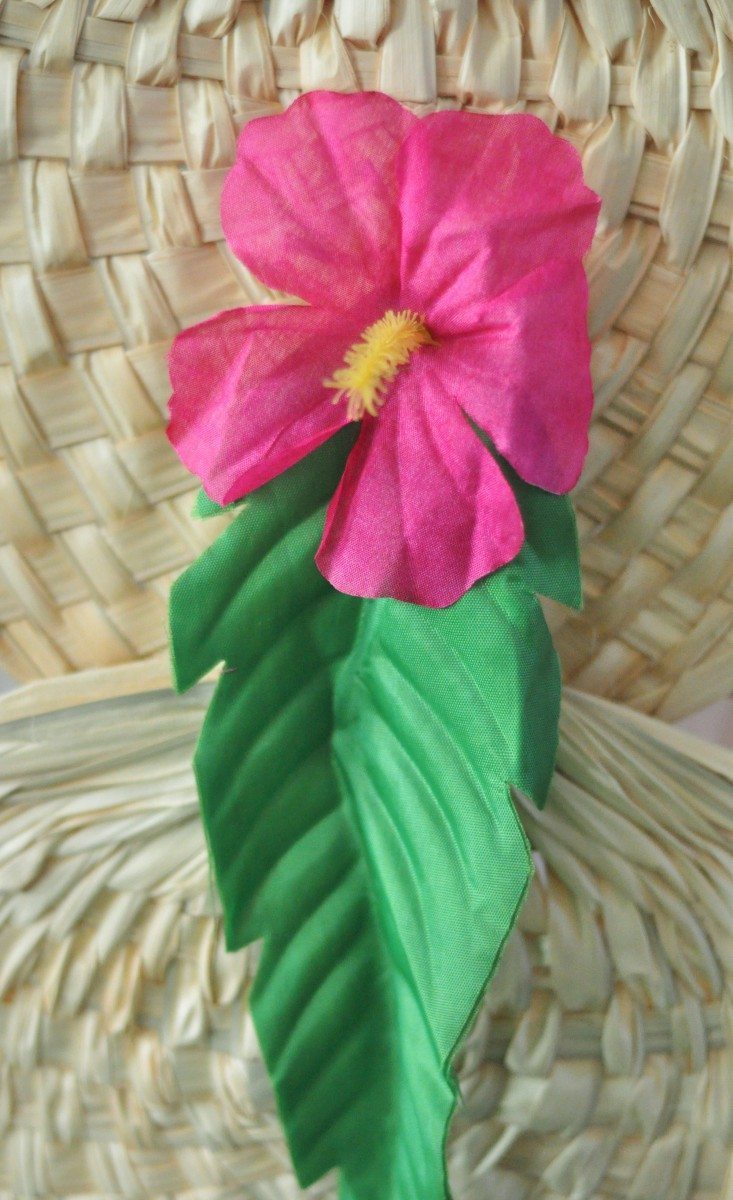
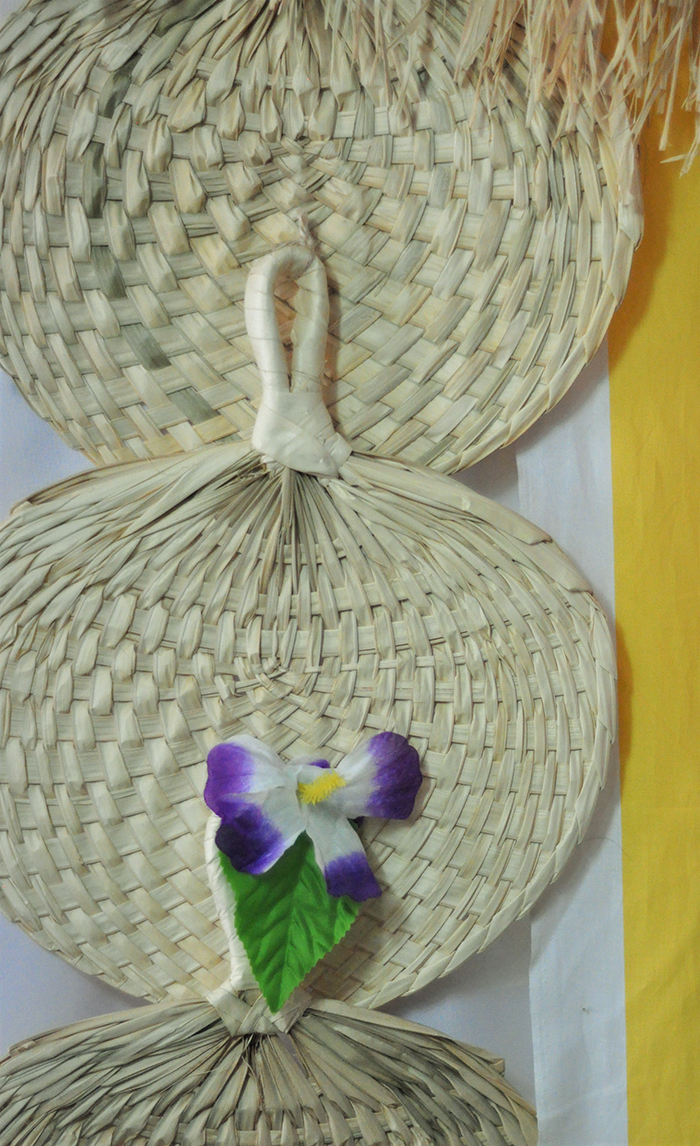
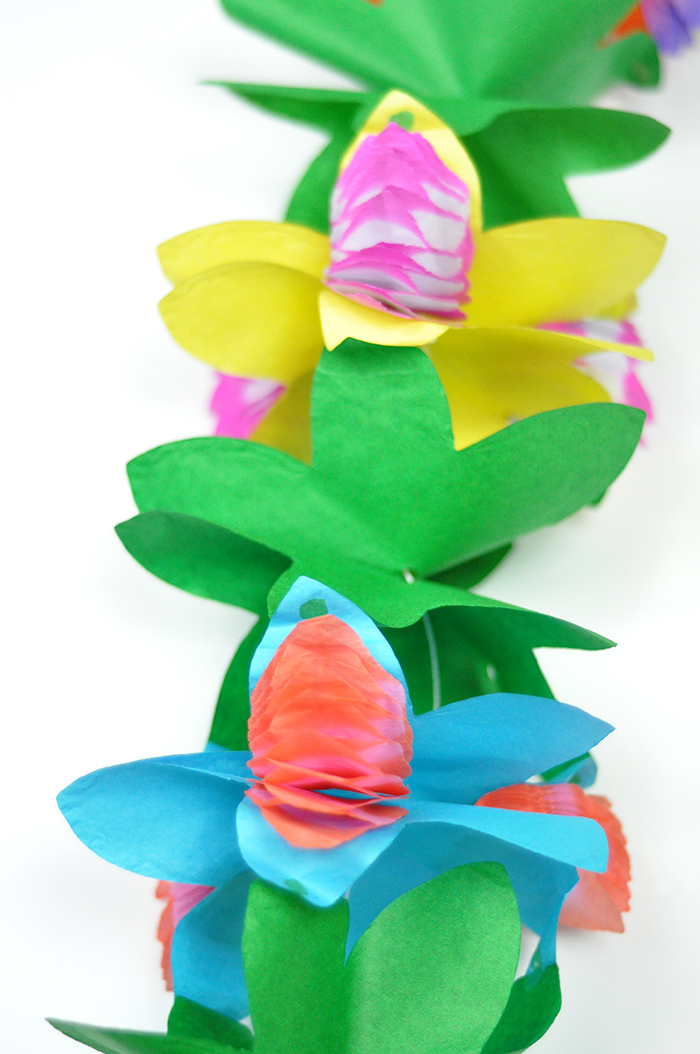
Step 4 – Decorate the Top Bar
You notice that the top bar where you have hung the fabric and tied the fans, you can still see the clips, twine ties and part of the bar. You now want to use some of the other decorations to cover this area.
I first tied the natural raffia skirt around the top of the bar. It is quite long so it is relatively easy to tie it all the way around the front and tie it off at the back of the photo booth.
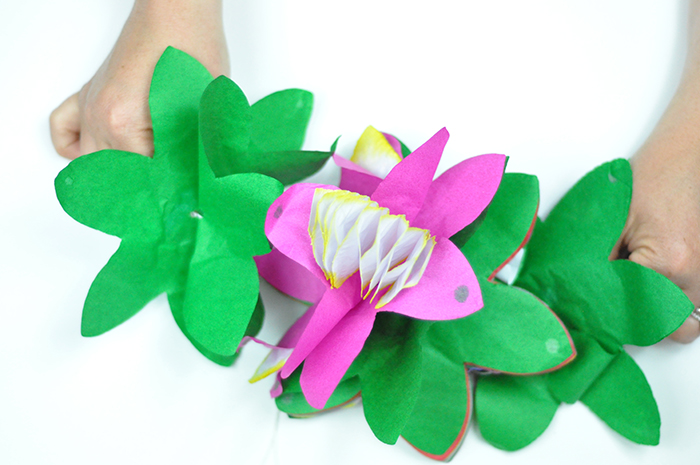
Once you have done this, decorate with 2 of the flower garlands. These cover any sins, so don’t worry if you have lots of ties, they will be hidden with the way these flowers fan out. You can always use clear tape to connect a flower over a specific piece of the bar. To use these garlands, gently pull from each end. I found standing tall and holding one end and dropping also worked out well. Once done, connect them to each corner of the photobooth. Again, these are long so if you don’t want to tie off at the back you can let them fall to the sides to add extra color.
Lastly, at the corners the palm leaves have wire stems that can be wrapped onto the bar or around the fans at each corner to hide any clips. Also gives a nice pop of green to each side.
Other Decoration
You’ll notice I also had some other decoration around the photo booth. I had some fake tissue grass left over from last years backdrop so used it on the ground to up the tropical feel.
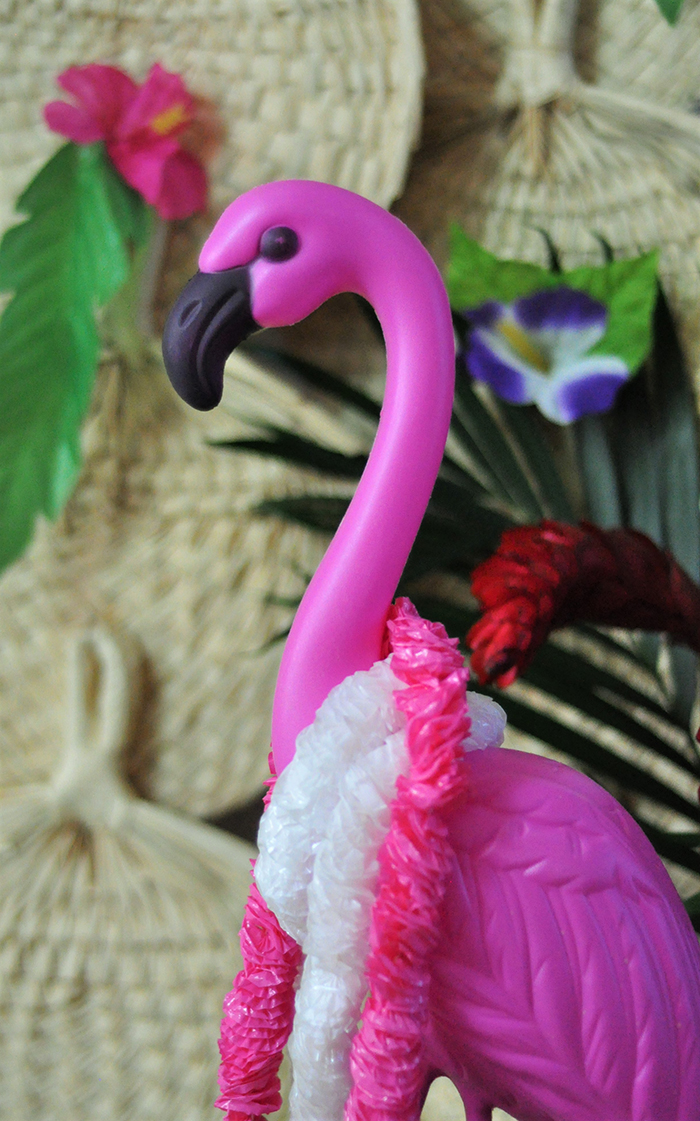
I also had buckets full of even more props to either side, including Ms. Flamingo propped up beside it. So don’t limit the props to just being used in the booth, they can really add to the decor and overall feel of the booth.
Alternatives to Raffia Fans
If raffia fans aren’t your thing then there are some other easy and cost effective options.
- Try out the round fringe placemats for a similar look. These are easy to tie together (using the pieces of the fringe) and hang and, because of their size, cover more area. You could even consider covering the entire backdrop with these!
- Use beach balls! The kids LOVED the beach balls so I set up an alternative where I strung beach balls together on fishing wire and hung them from the photobooth frame. You’ll need the same quantity per strip as fans (6 for each column) but you’ll need more columns across to fill the entire background.
TIP: If you decide to use beach balls, tie off each beach ball as you string it on the fishing wire as it will slip if you don’t. You can thread the fishing wire through the closed nozzle where you inflated them. There is a small hole the string goes into. Be ready for a lot of blowing up!!
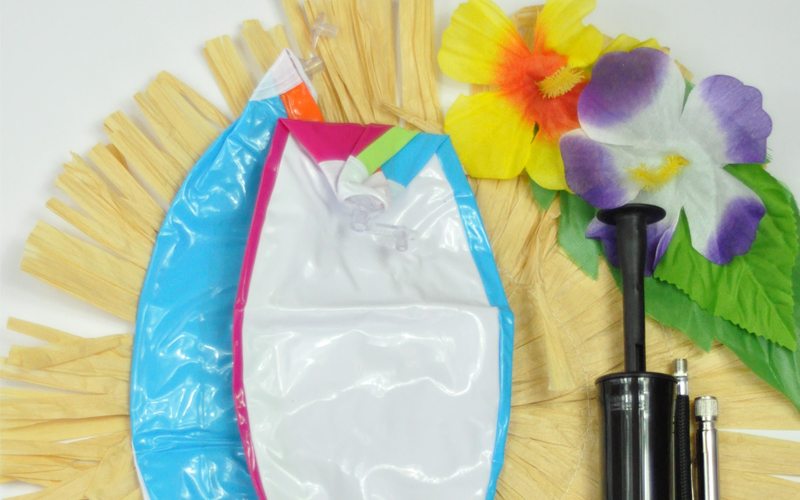
Try beach balls or table mats
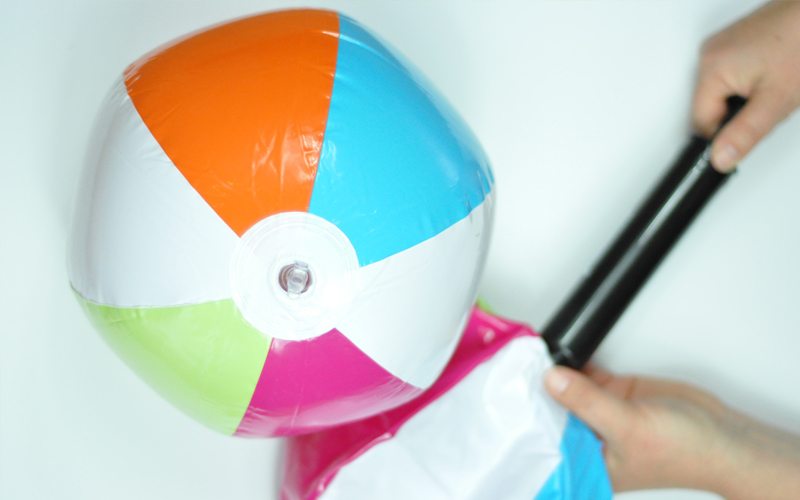
Tray a ball pump
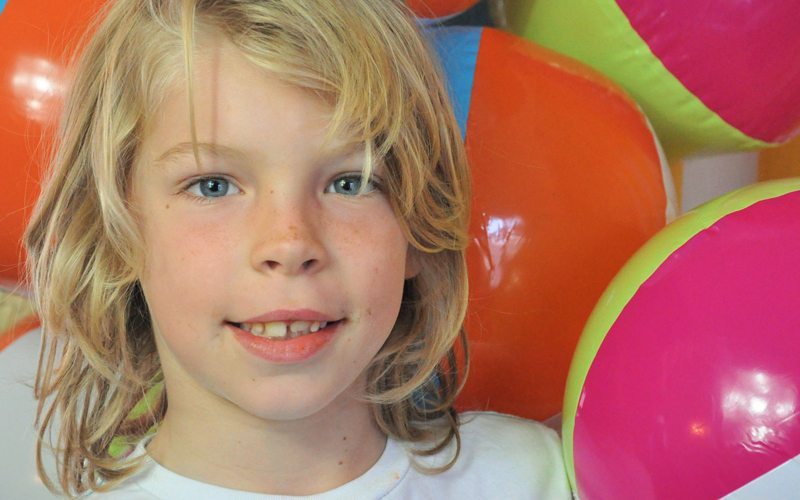
A quick & easy beachy feel
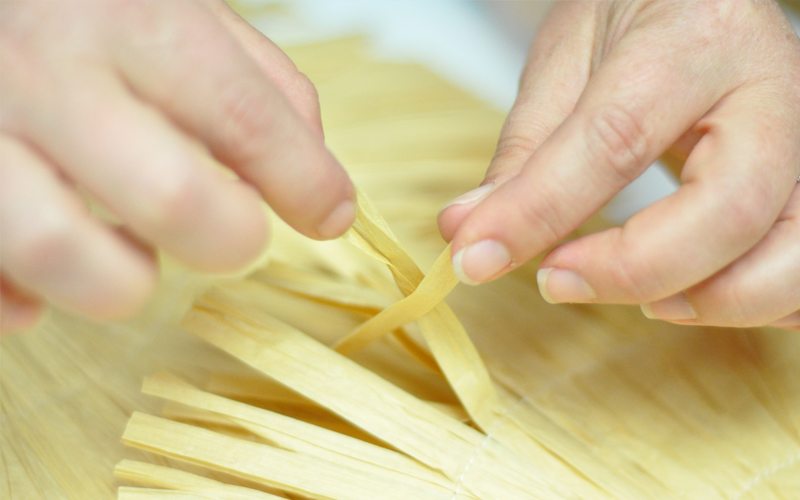
Easy tie table mats
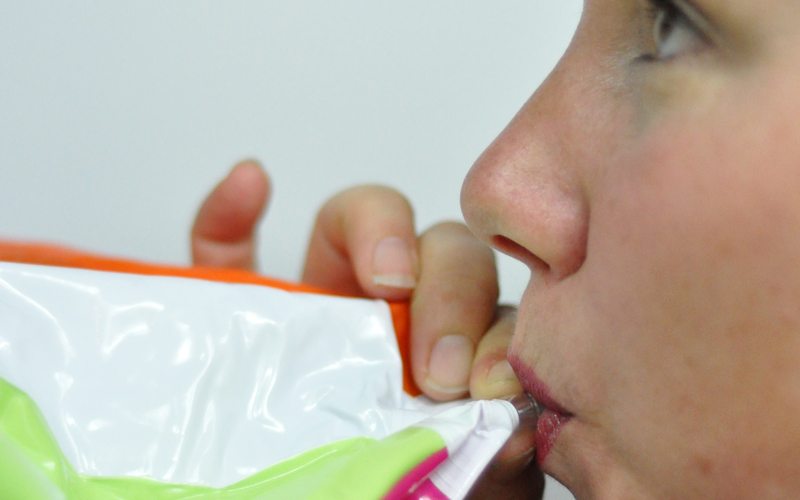
Or get your friends to add hot air!
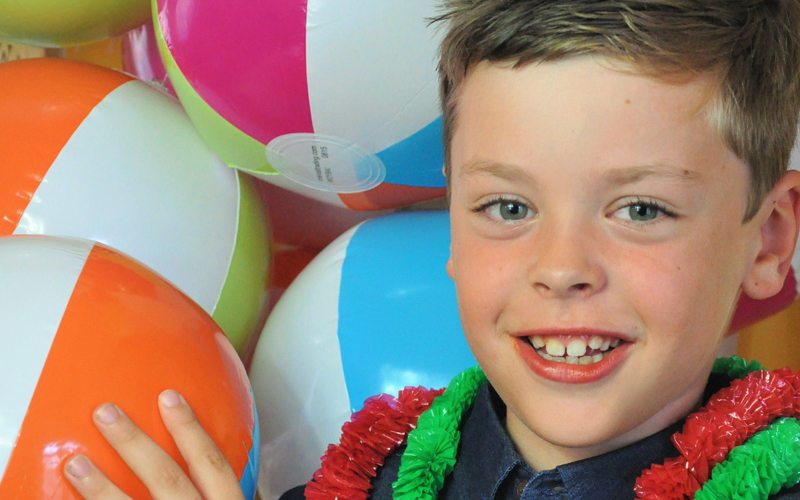
Need 24 for 4 columns of balls, 36 for 6 columns
DIY PHOTO BOOTH PROP BAR (AKA TIKI BAR):
Materials you will need:
- Tropical Luau table skirt
- Flamingos
- Large palm leaves
- Bamboo sign
- Beach Hats
- Beachcomber hats
- Leis (a great volume buy for school!)
- Floral Leis
- Beach balls
- Tikis
- Coconut cups
- Real Pineapples
- Large shells
- Shell necklaces
- Assortment of novelty glasses
- Paint
There is a huge selection on Oriental Trading. Have some fun and mix and match to create the look and feel you want or to suit the age / quantity of guests.

Step 1 – Create a Banner
Materials you will need:
- Large palm leaves
- Letter stickers
- Earthquake putty (or removable sticky pads)
Add stickers to the palm leaves and spell out a word or words. I used “summer” as we were celebrating summer. You could use “Celebrate” “Summer” “Luau” or even a name!
I then stuck the leaves directly onto a wall with putty. They are so light you barely need anything. I overlapped each leaf slightly so the letters where close enough to read out the word.

Step 2 – Set up your prop table
Materials you will need:
- Large palm leaves
- Tiki Bar Wooden Sign
- Raffia table skirt
- Tray, stand or table
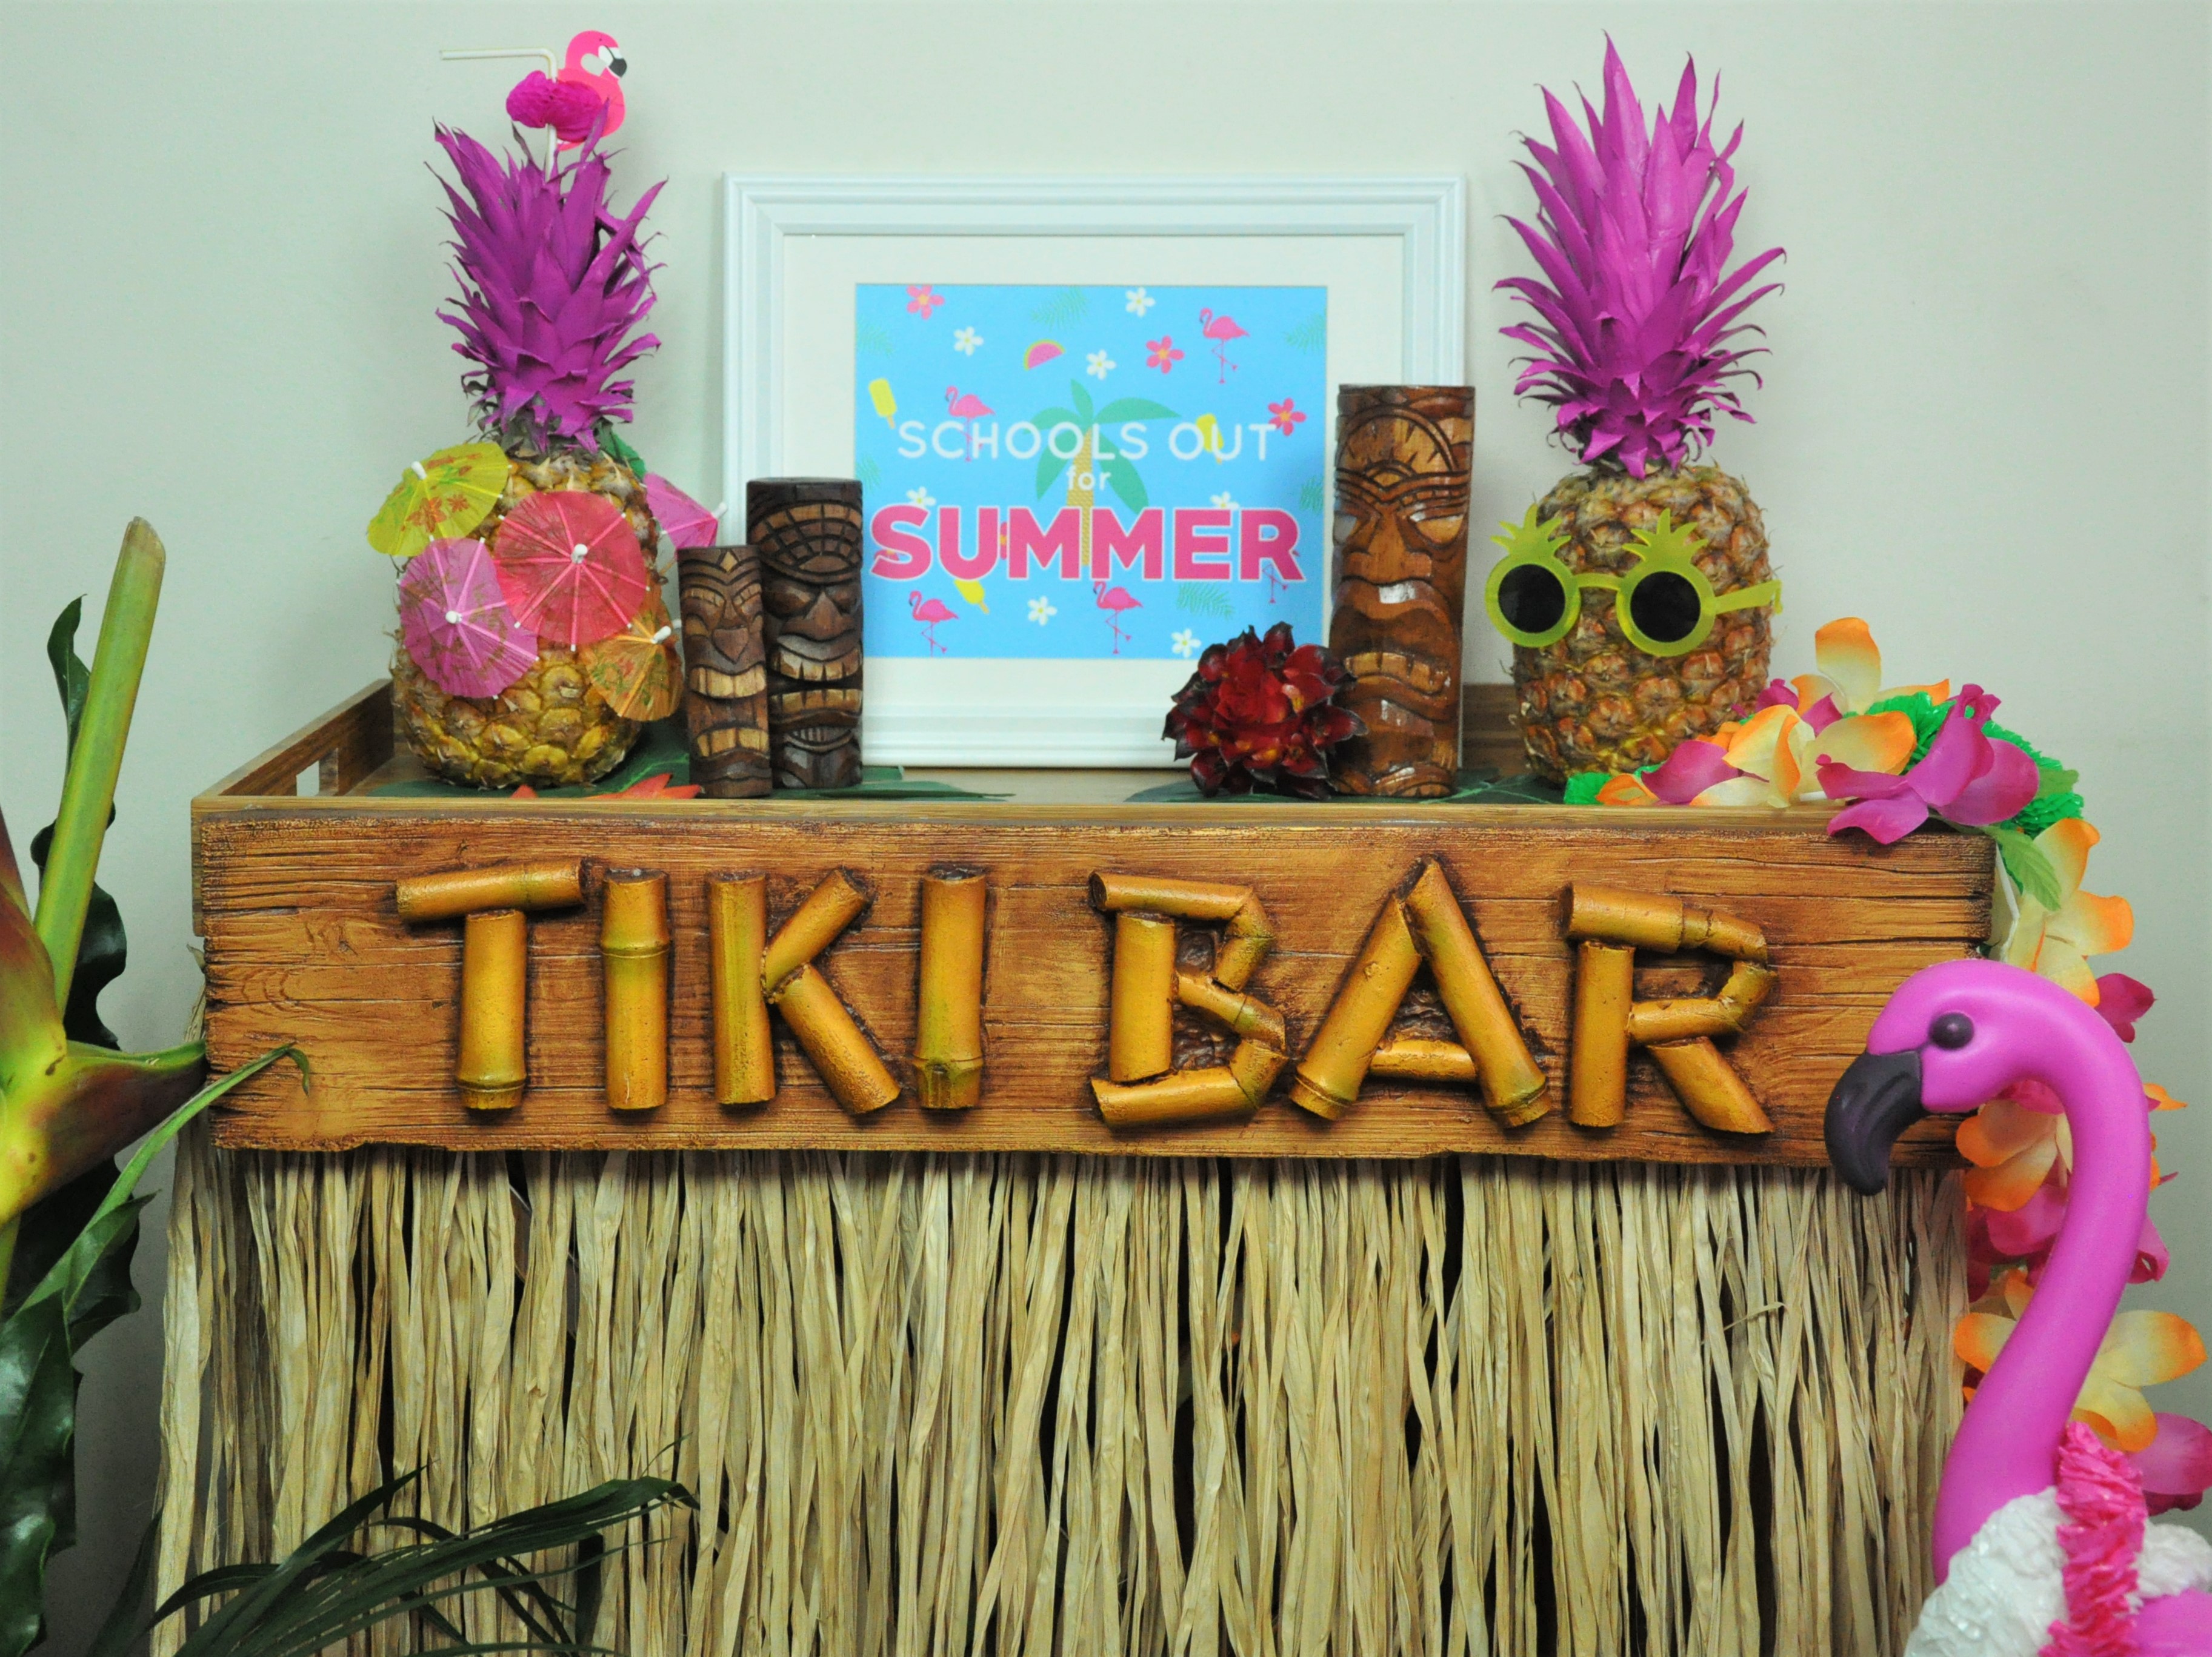
I found a small butler tray I had at home and I added a piece of the beach table fringe around the bottom using tape. I also had a Tiki Bar sign we had found in Hawaii on holiday that I stuck to the front. Don’t worry if you don’t though, Oriental Trading have you covered. They have this great sign you can add, Tiki Bar Wooden Sign.
Add the palm leaves on top and you are now ready to add any of the props you have bought.
Step 3 – Add your props
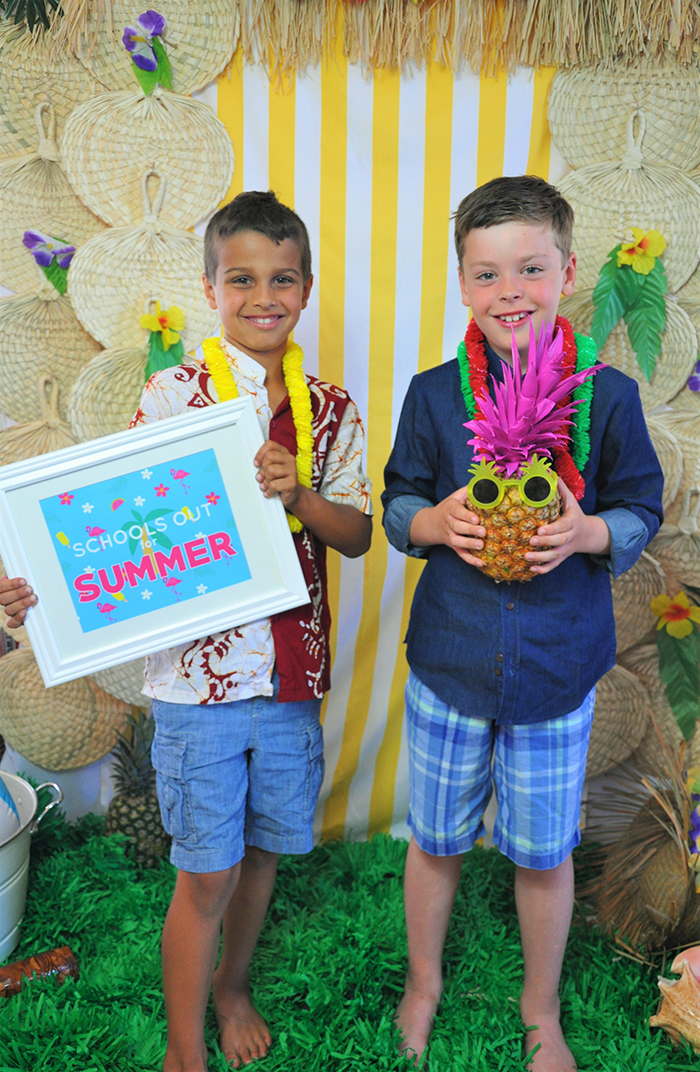
I had a couple of pineapples I got at the grocery store that were first on. I had a bt of fun with them and painted the stalks pink. All you need is some acrylic paint and a wide brush. Add some glasses or cocktail umbrellas and you are good to go!
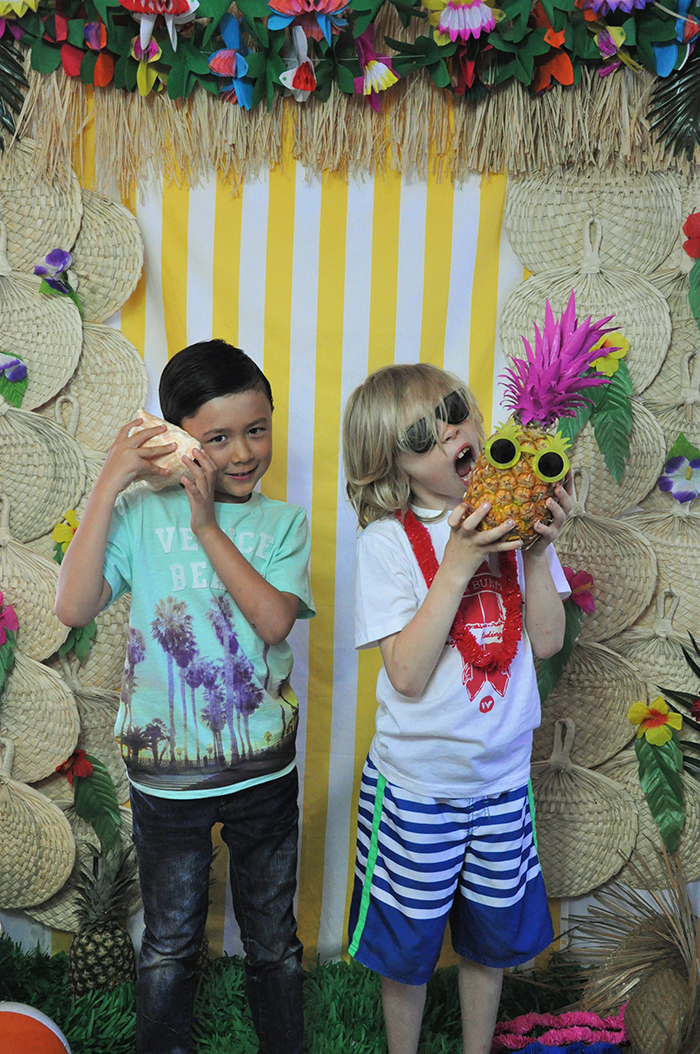
I then put a sign for the kids to have some fun with “schools out for summer”, a few lei’s, tikis, a conch shell, MORE beach balls, hats, glasses and flamingoes. The table was full of goodies to try out….even a limbo pole (bamboo)!
Note: The graphic “schools out for summer” was done by Elena at World Wide Party. We used to be mom’s at the same school and totally connected over our love for parties. If you get a chance check out her cute graphics, I use her for a lot of my parties.
We were all set, time for the fun to begin!
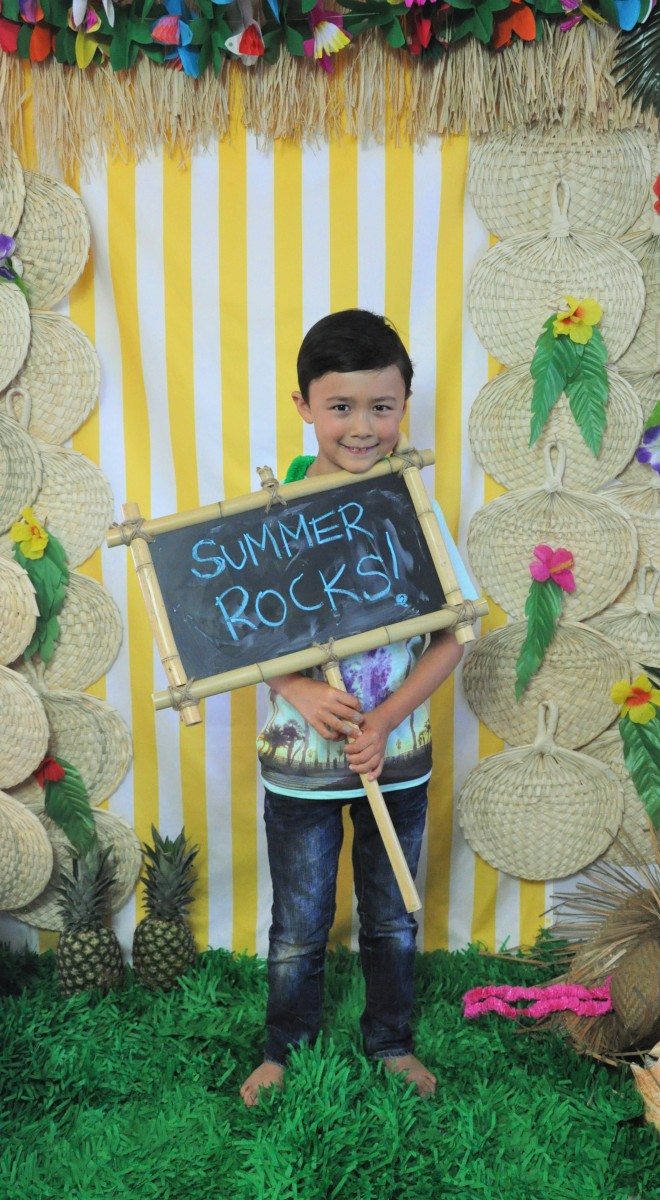
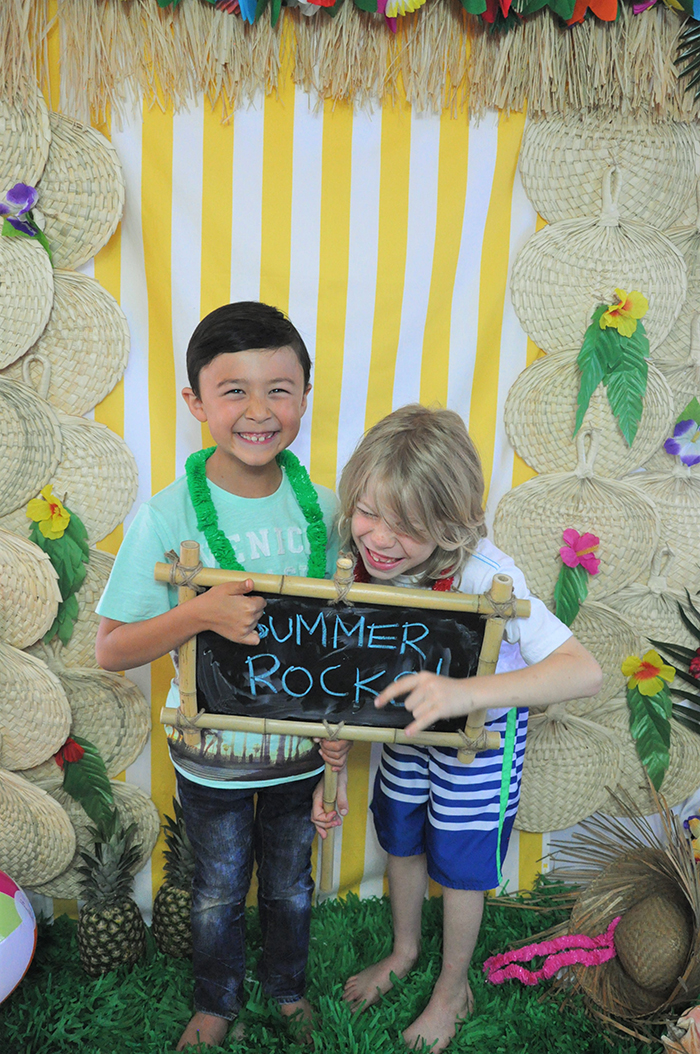
Summer Does Rock
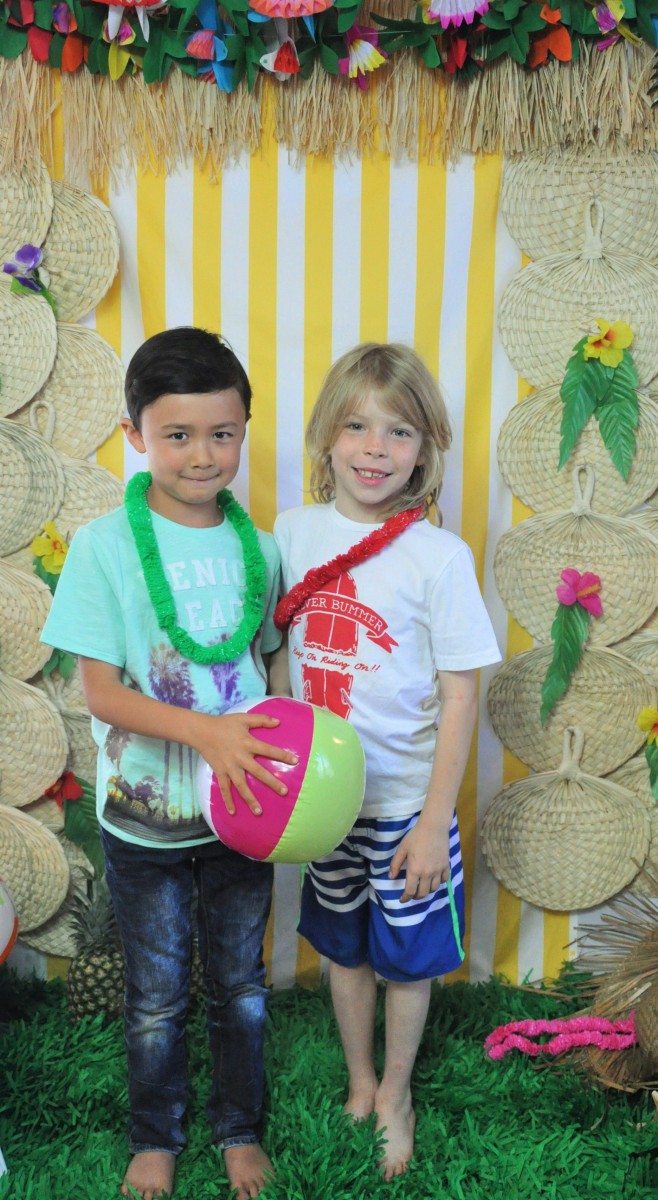
Besties
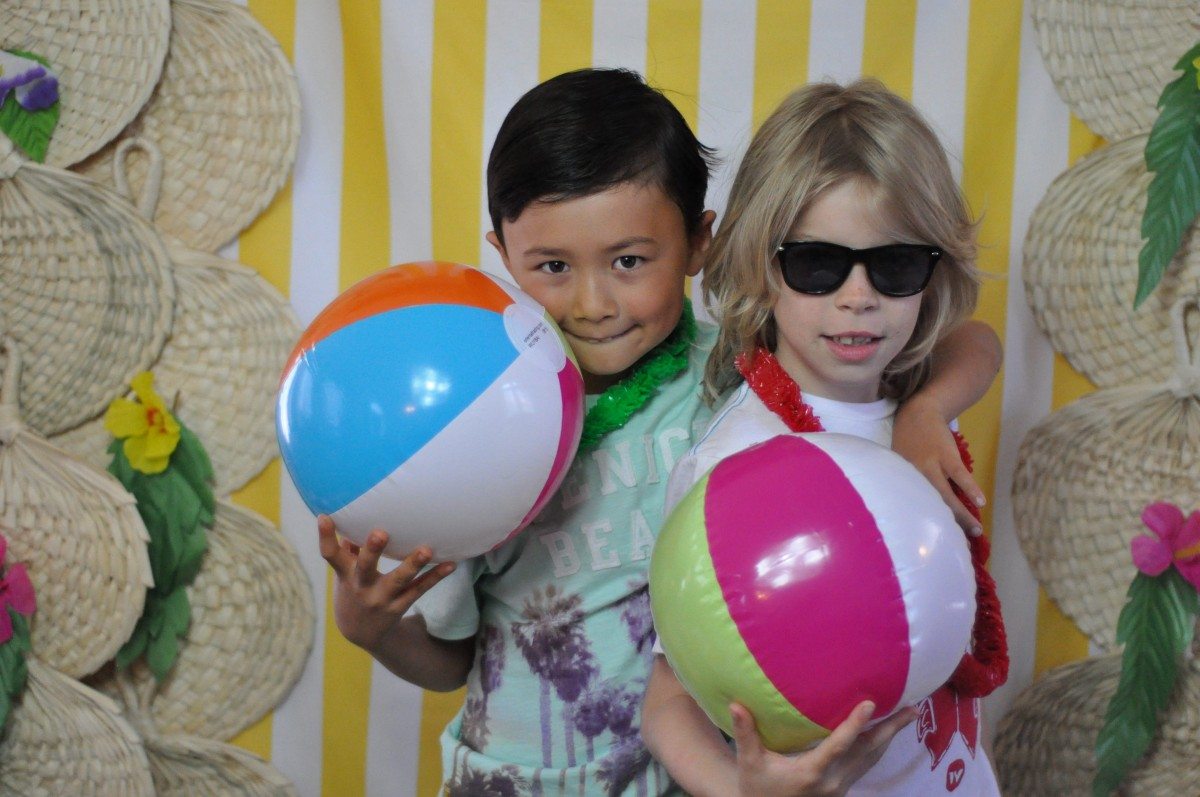
Little Dudes
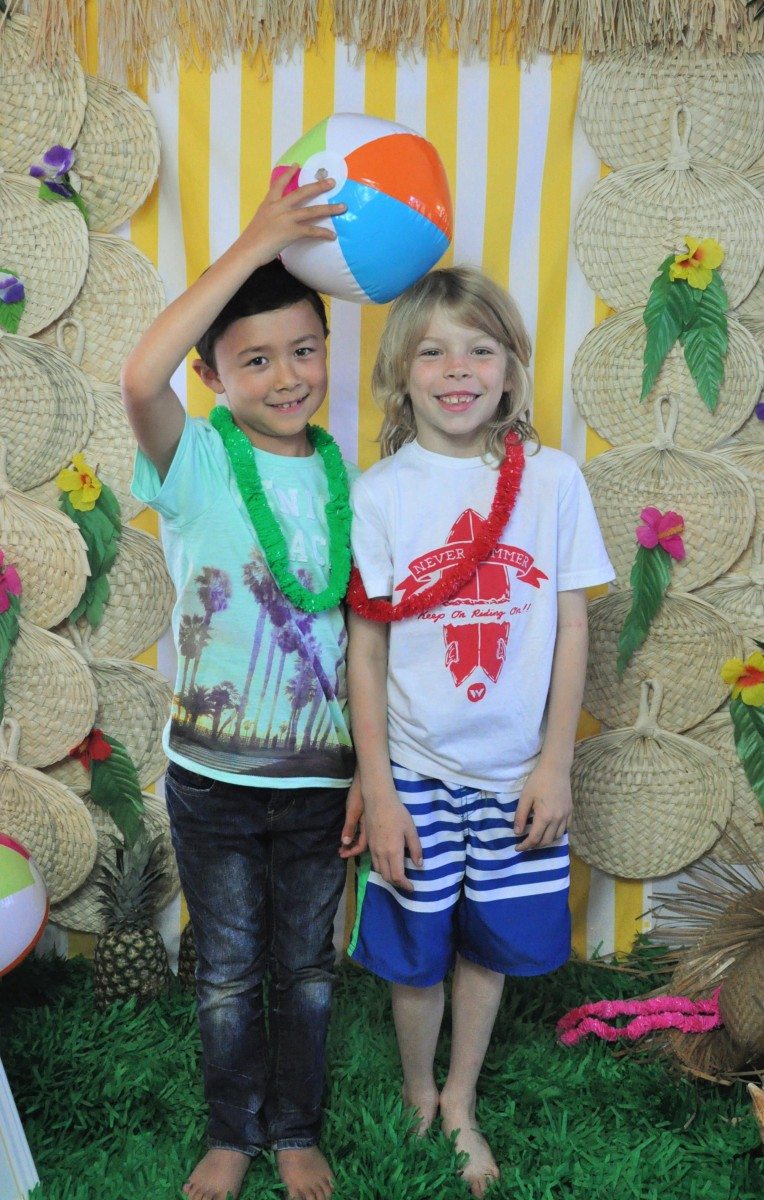
Funny Boys
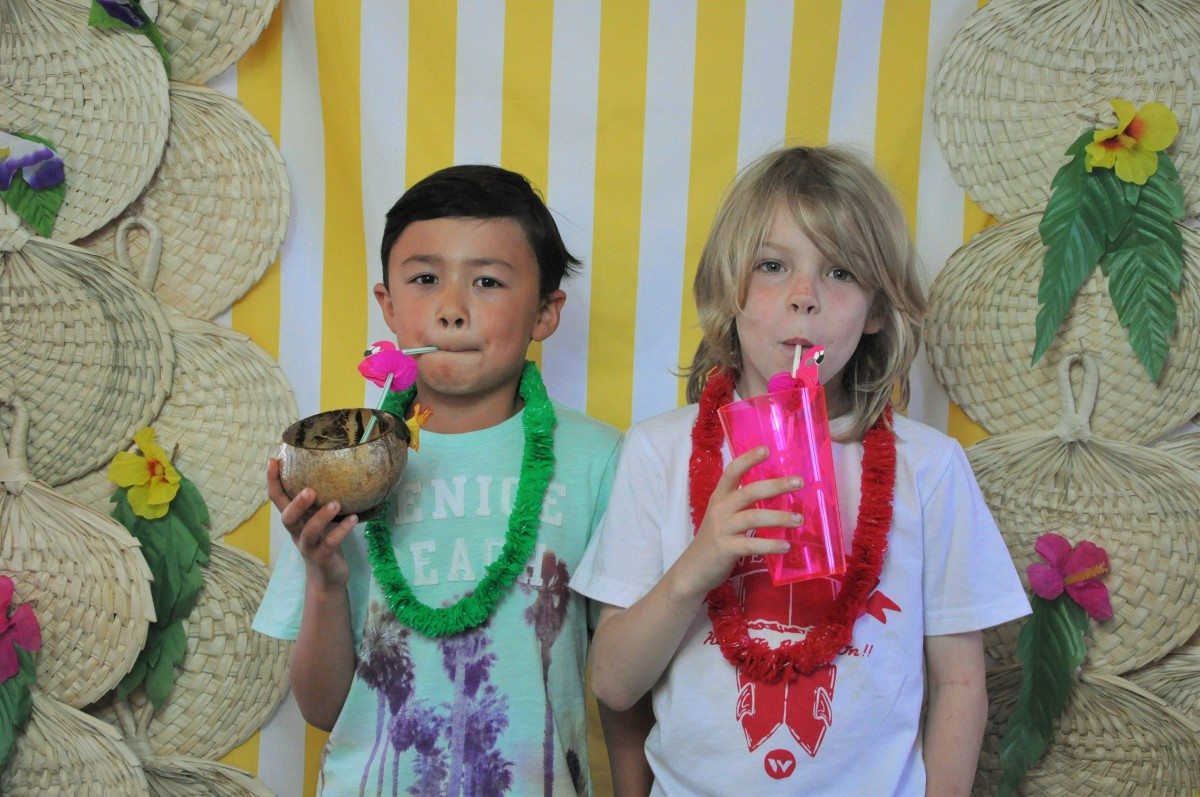
Slurp!
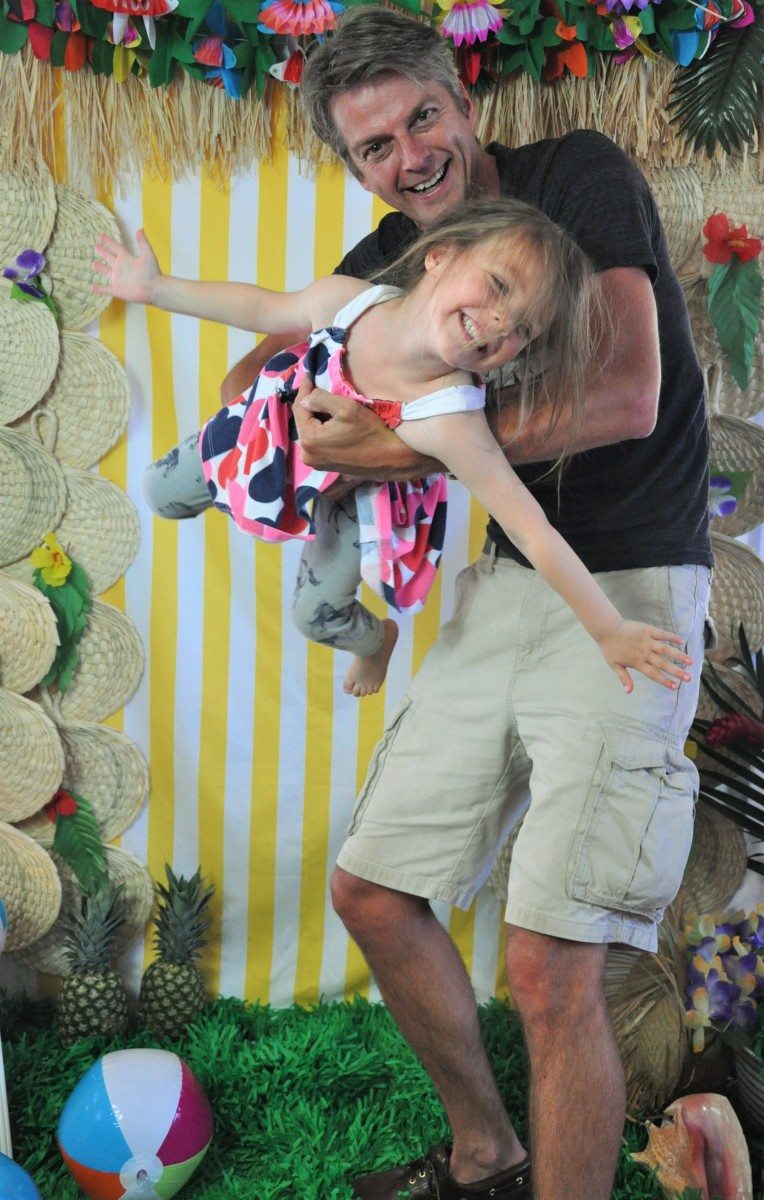
The adults wanted to play too!





So cute and clever! Love how you demonstrated how to do the backdrop!
Love Oriental Trading…Go to for all our party props too! Love this backdrop. Super fun!
Great post Natalie! Love the tiki bar props table! What a great idea!
that is so nice of you to say! thanks!
THIS is such a fabulous tutorial! Love it all!
that means so much! thank you!!
Love everything! So fun!
thank you!