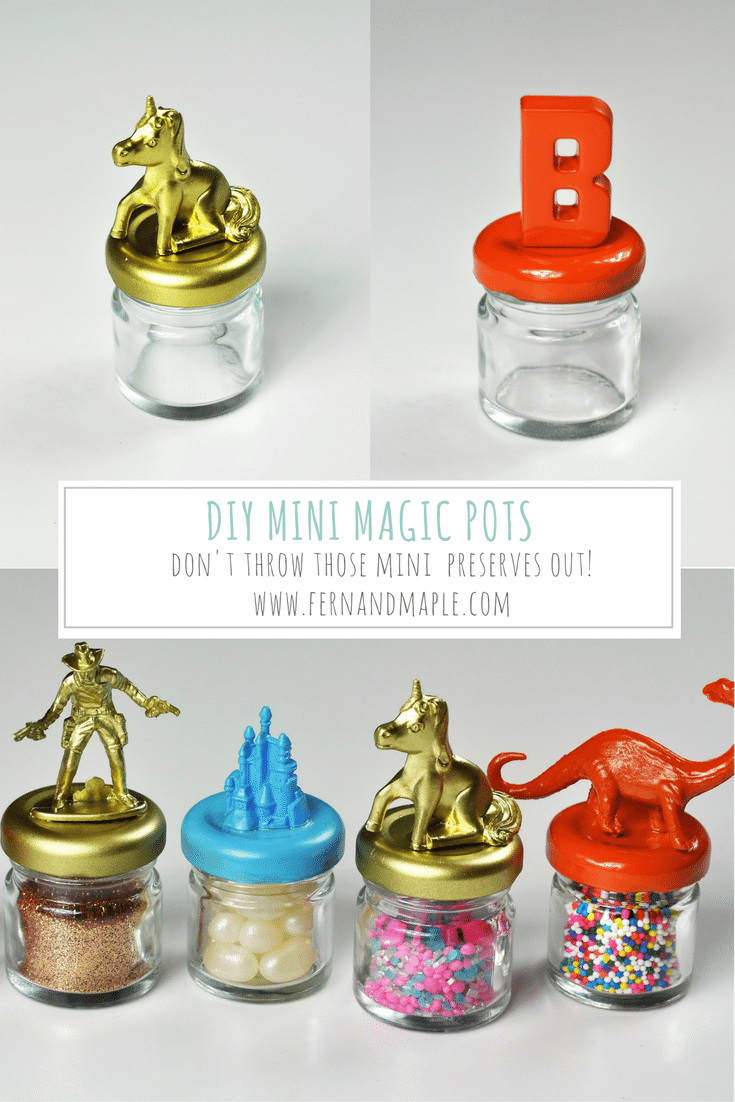
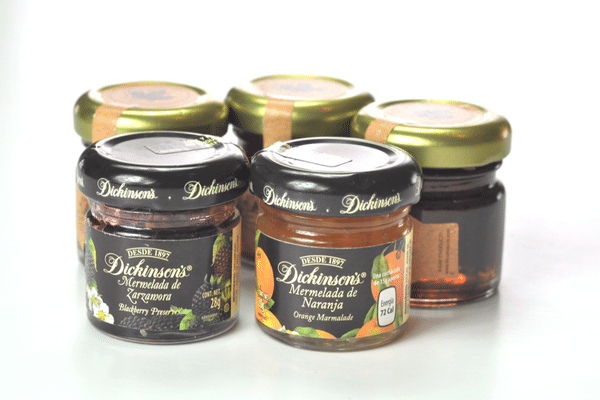
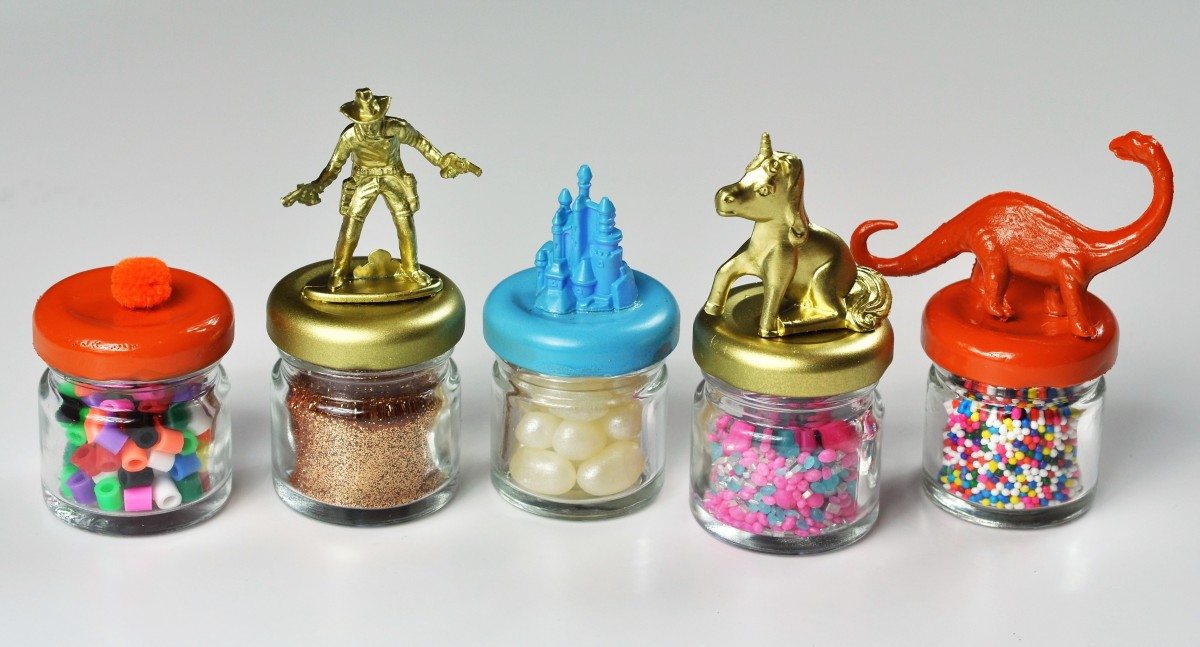
Am I the only one out there that thinks the little preserve (we call them jams in NZ) jars you get at hotels and breakfasts are beyond adorable? I mean seriously, aren’t they just the cutest. They inspired me to make these little pots of magic!
These DIY magic pot’s can be used as a favor at a kids birthday party, to bring a little magic (e.g. glitter or candy) into your child’s life after school or at home as a little container for something small and precious your child just loves.
In one of my earlier posts I mentioned my family and I had recently been away to Mexico for our summer holidays, it was the perfect opportunity to stock up on these little cuties!
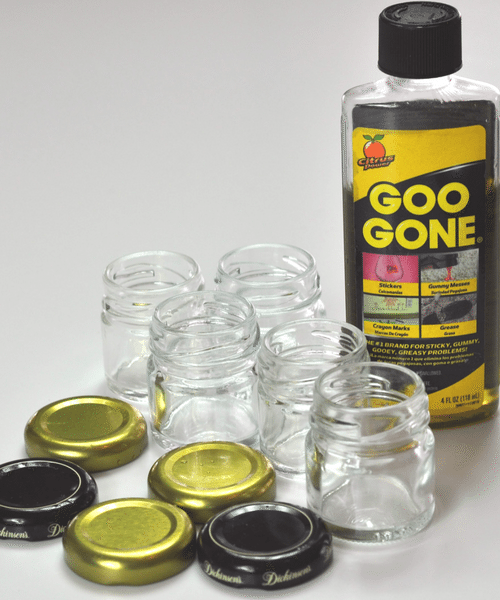
This is a super quick and easy craft. I hope you enjoy making magic with your kids. First step before we start is emptying the pots of the preserves inside, or if you’ve used them already you’ll only need to clean out any excess.
Here’s what you need:
- Mini spread jars
- Spray paint
- Go-gone (or something similar in case of stubborn sticky labels)
- Mixed Media Glue (I usually use this for wood, cork, paper etc but it held up well to the task of plastic toys)
- Magic for inside the pot
- You’ll also need something cute to attach to the top of the pot
- e.g. plastic toys, fake flowers, lego pieces etc (picture below)
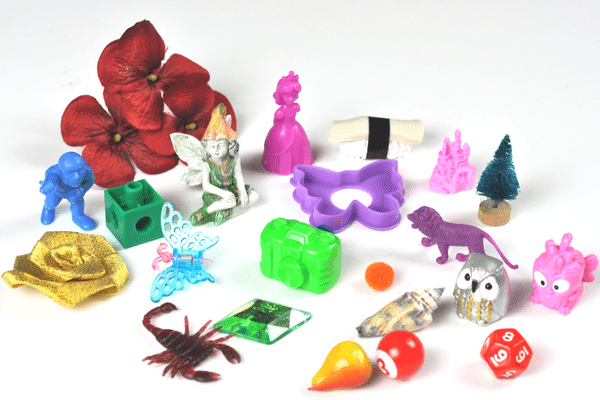
I find a lot of these trinkets and toys at local flea markets, Target dollar spot, local scrap resources in your city and places like Oriental Trading where you can buy in bulk. I’ve added in links for my local San Francisco resources.
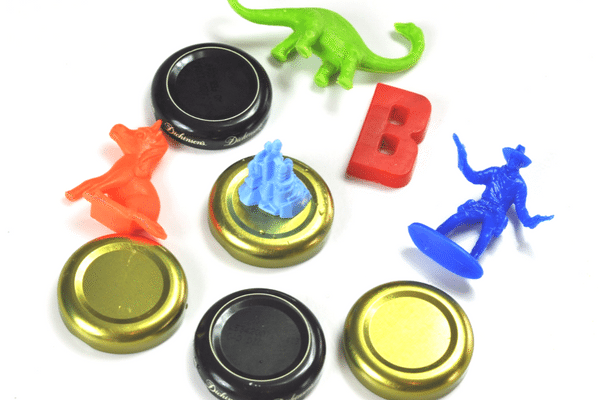
Select your toppers
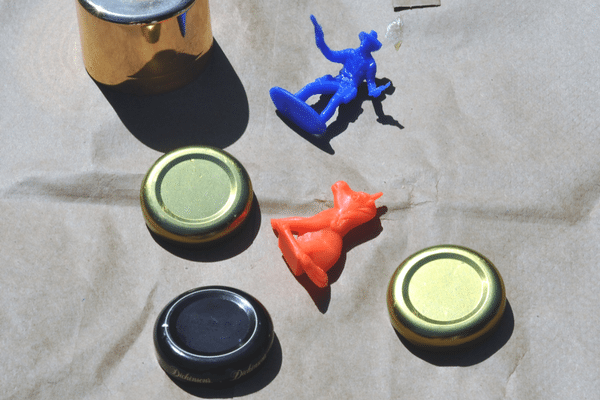
You are ready to spray!
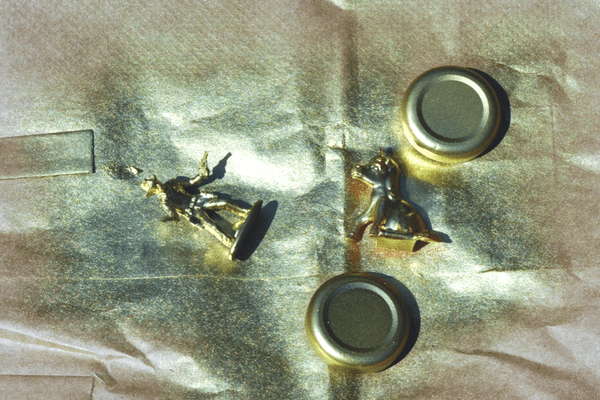
Get spraying
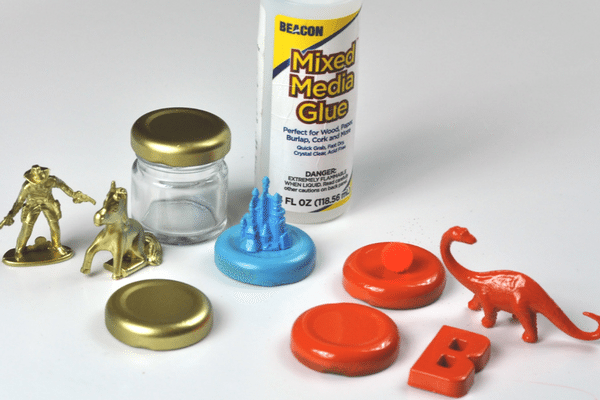
All sprayed & ready to glue. I used mixed media glue from Beacon, now you can start gluing the tops and trinkets together
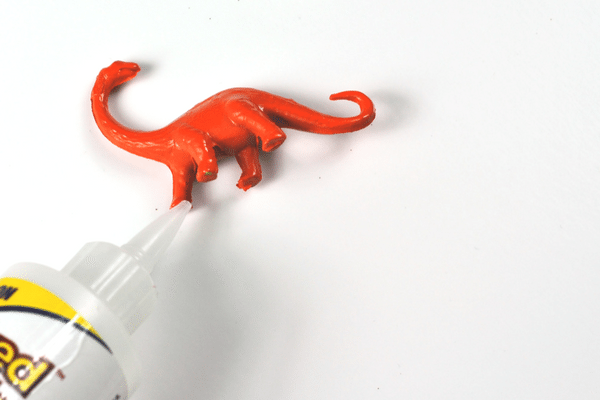
A dab on each foot
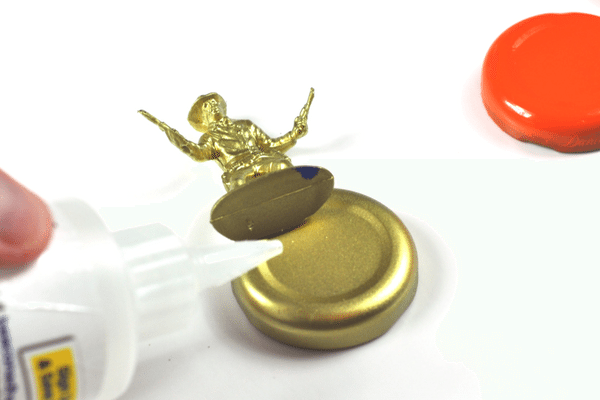
A couple of dabs is all you need
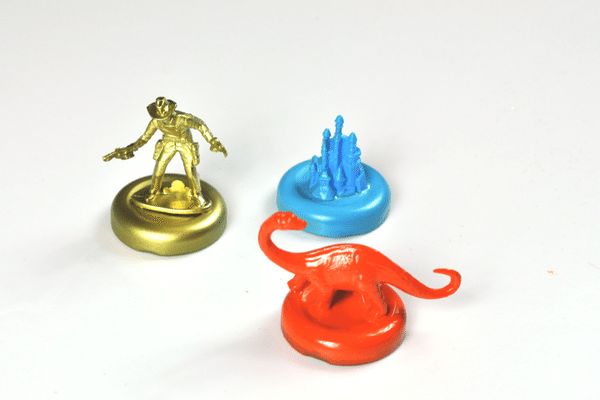
All stuck on, now let them dry
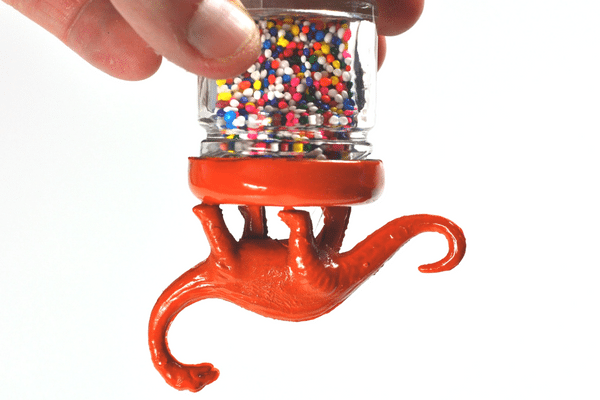
Stuck fast
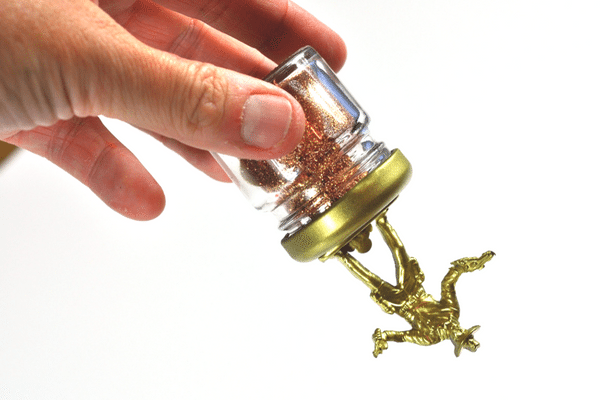
I’d outrun mr. Dino, he can’t move!
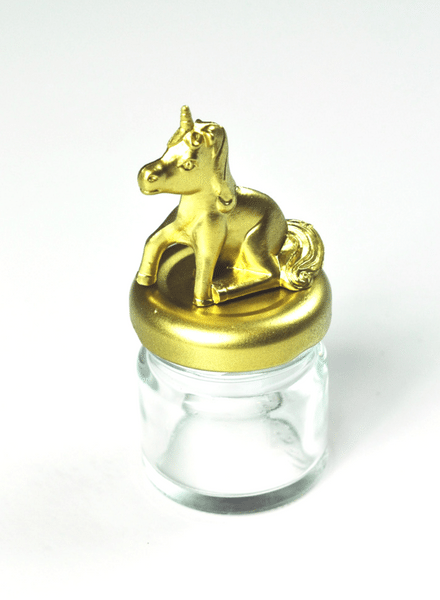
So many topper options
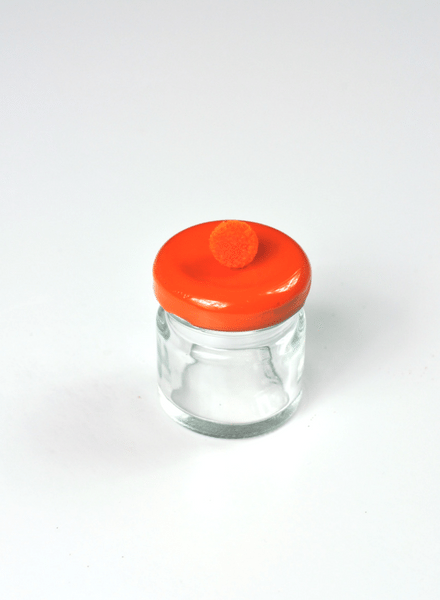
Even pom poms

Or mini letters
The last step is filling the pots with magic, again so many options. I used gold glitter (fools gold!) for the cowboy, sprinkles for the dino (just add to an ice cream sundae), a good number of jelly belly’s in the castle pot, beads for the pom pom (a mini craft kit) and my favorite sweet treat/ favor candy sweets indeed (a custom mix of sprinkles & sweets in multiple color combos) for Ms. Uni the Unicorn.
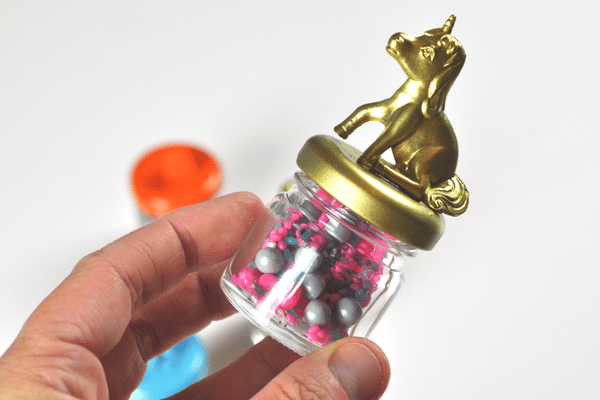
So that is it, a super cute and easy DIY you can do yourself or with the kids! The joy my kids got from an after school jelly belly treat in a special jar was worth every second!
Have fun! Please send me pictures of what you create. I would love to see them.
Nat x
I am Beacon Maker, this post is NOT sponsored but as a maker I do receive Beacon products to try out and use in my crafts, all opinions and experiences are my own.






These are adorable!
I’m so glad you like them! thank you for letting me know. 🙂
These are darling! We love to make them around here!!!
Oh yay! thank you
I have been surfing online more than 2 hours today,
yet I never found any interesting article like yours.
It’s pretty worth enough for me. Personally, if all
website owners and bloggers made good content as you did,
the internet will be a lot more useful than ever before. http://yahoo.org
Love these little jars so much!
thank you so much!
Baby oil generally works as well as go gone and smells much better! Love these! Received the advent calendar of jams from my daughter and looking for upcyclevudeas.
thanks for the tip!