As a kid I grew up with my mom, my nana and aunt always knitting. We were always clothed in intricate knitted sweaters, dresses, booties and honestly some attire I’d rather forget! As I grew older I appreciated this a lot more as I used them to dress my dolls and my mom was always able to knit me the current trend in sweaters.
So the look and feel of yarn always brings back fond memories of the click clack of knitting needles. I wish I could have picked up the knack for knitting too, but alas that gene passed me by. I’m all about other ways of incorporating yarn into my creative pursuits. I’ve been known to create a complete party out of yarn flowers after getting hooked on a flower loom!
There are just so many color combinations and textures to choose from, this in itself always inspires me. I recently found some luscious green yarns on Premier Yarns that got me started on the path to creating some fun wall art.
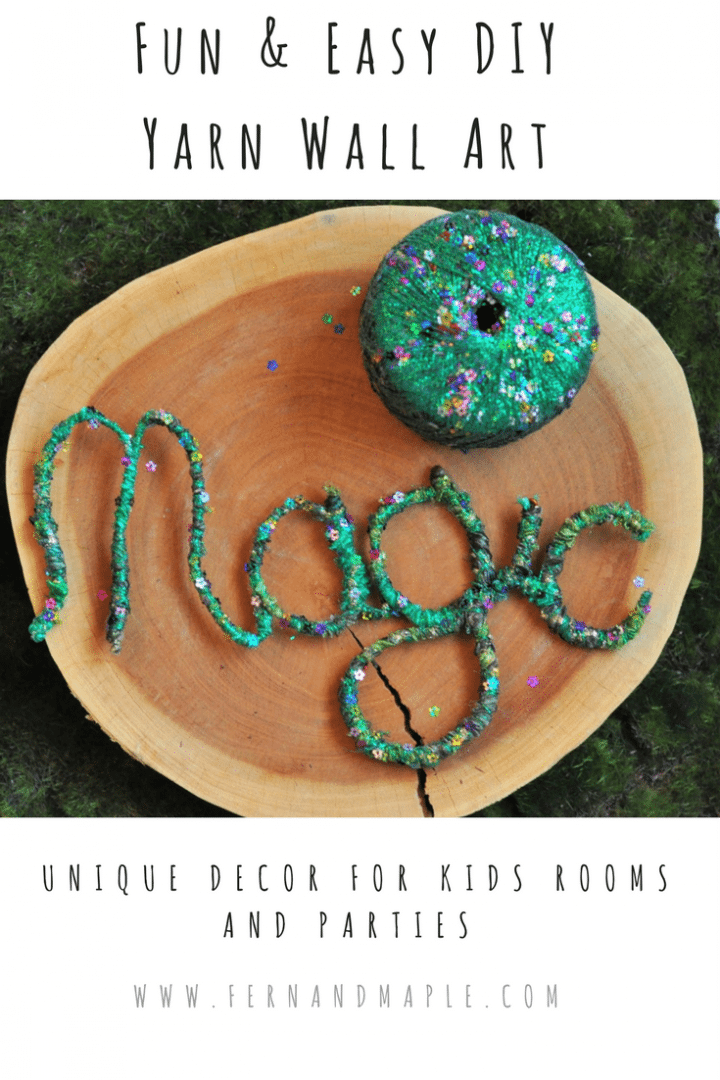
I went with 2 types of yarn that I knew would work well with this type of wall art. To create these wall hangings I’m used a relatively simple wrapping technique that even the kids can help with.
It does however require 2 types of yarn. A wider yarn to wrap & cover wire with and then a finer, brighter yarn to give the art some sparkle.
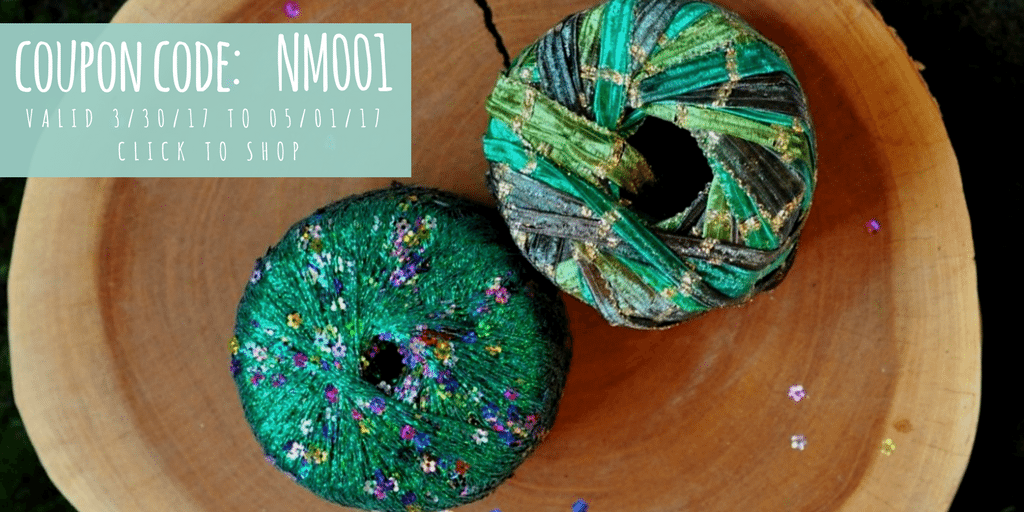
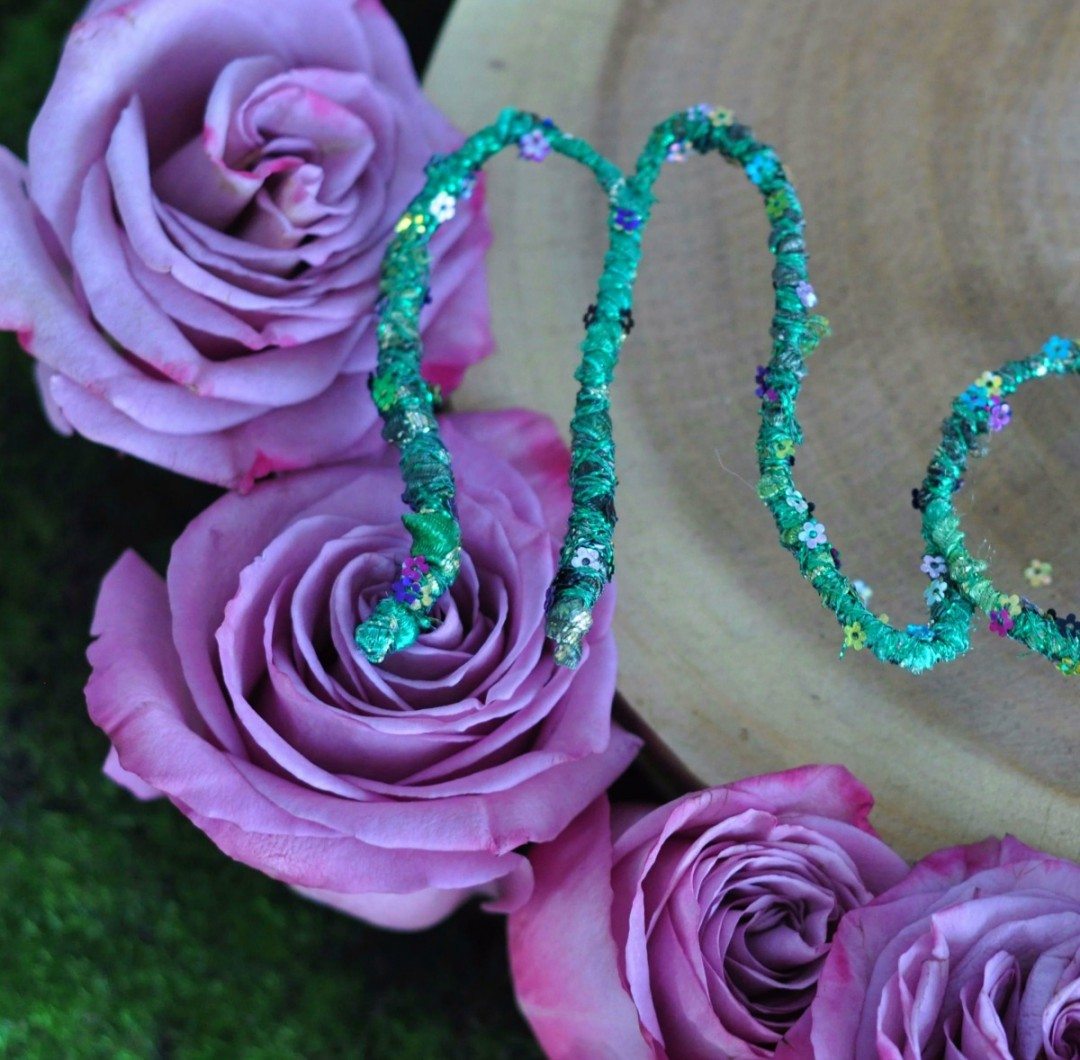
I chose a wider green called Starry Nights ® in the emerald green. It is so lush with multi-colored shades of green, almost like ribbon, and is accented with a gold metallic providing some extra sparkle. Then I chose the finer metallic yarn, Enchant ® in the “meadow” shade which has sequin flowers woven into the thread which add the bling I’m looking for. They are both magical and inspired the words and silhouettes I decided to create.
This post is sponsored by Premier Yarns. All project ideas and any opinions expressed here are my own. For further information, please visit our disclosures, page.
DIY WALL ART:
Materials you will need:
- Thick wire
- 1 ball of Starry Nights ® yarn
- 1 ball of Enchant ® yarn
- Pencil & paper
- Scissors
- Glue
- A popsicle stick
- Wire cutters or pliers
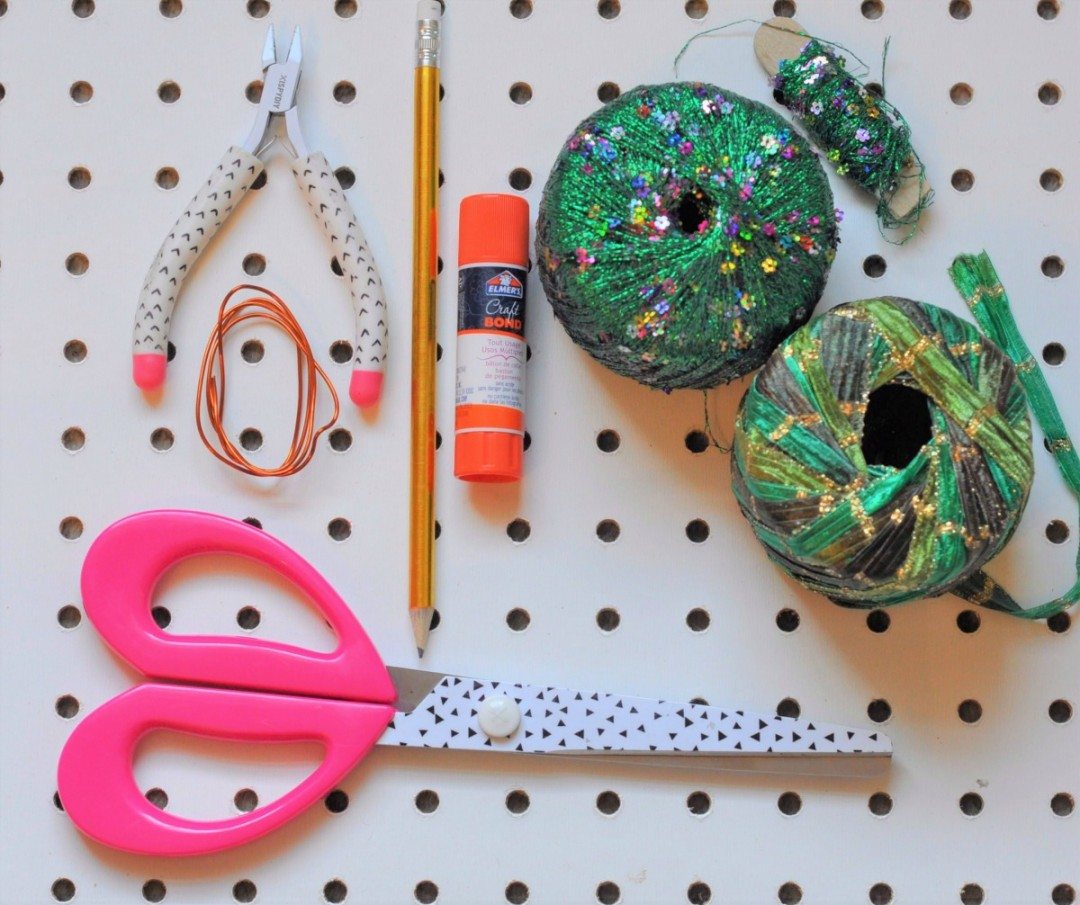
Step 1 – Draw or Write on Paper
Choose the image or word you’d like to create and draw it on paper first to create a template. Alternatively you could print out the image or word on paper to create the template.
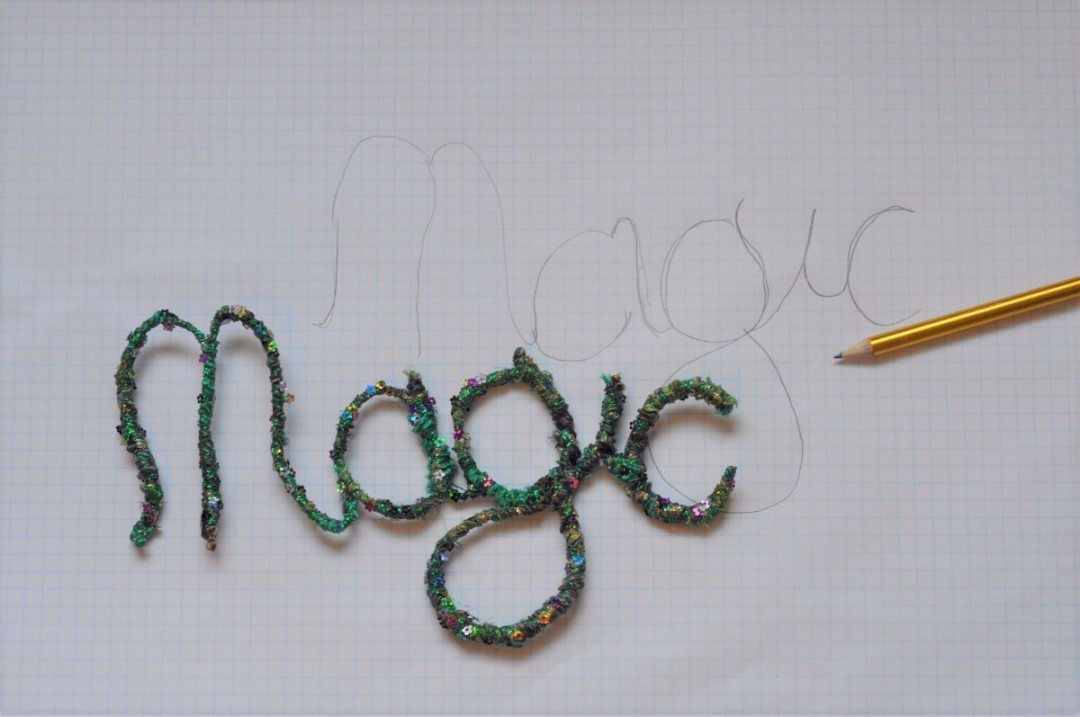
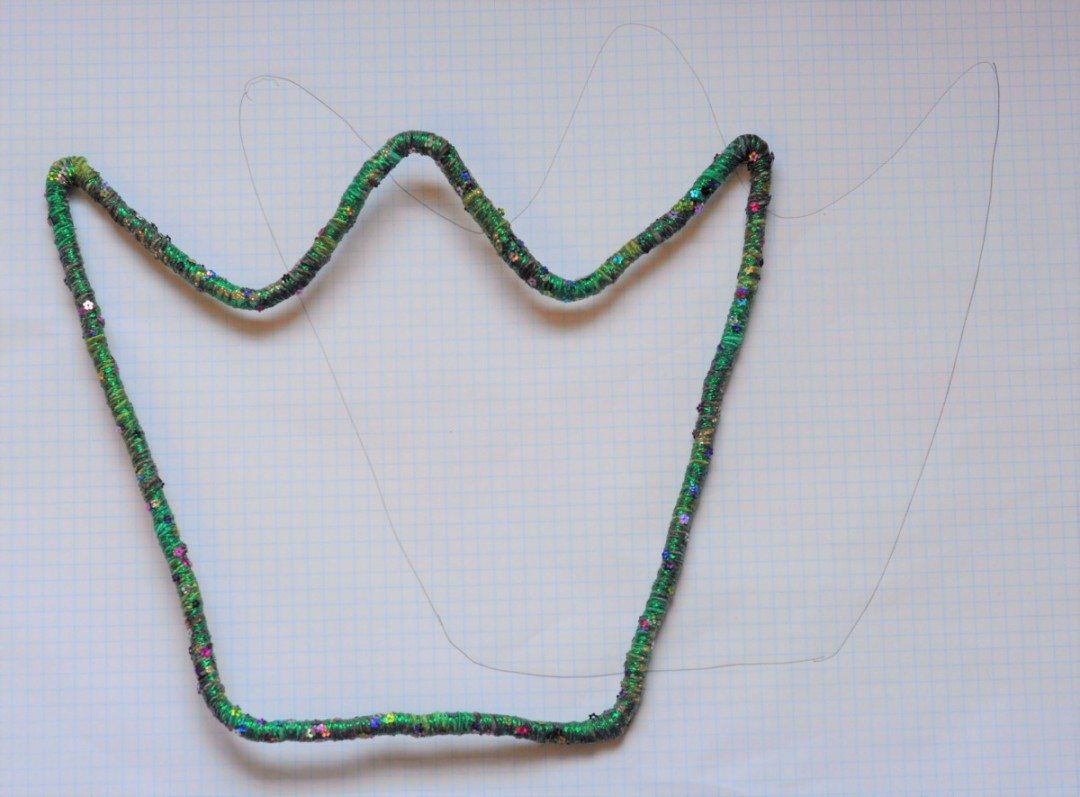
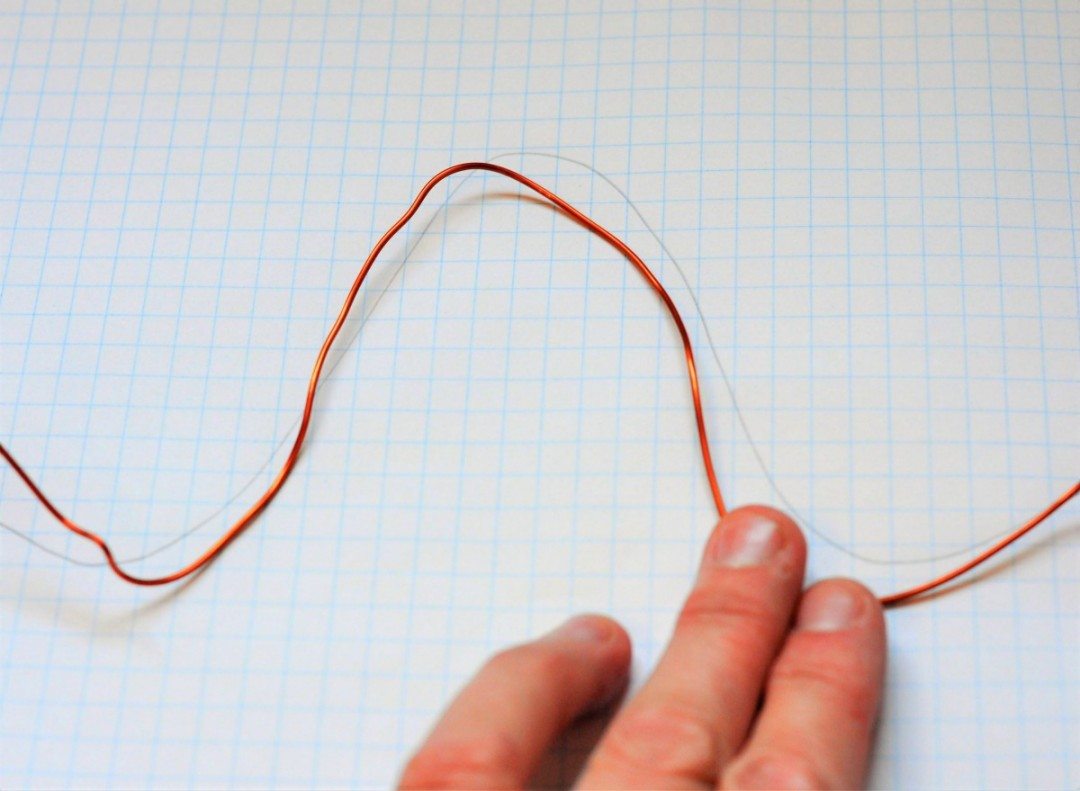
Step 2 – Bend the wire to match the template
Bend and mold the wire along the lines you have drawn.
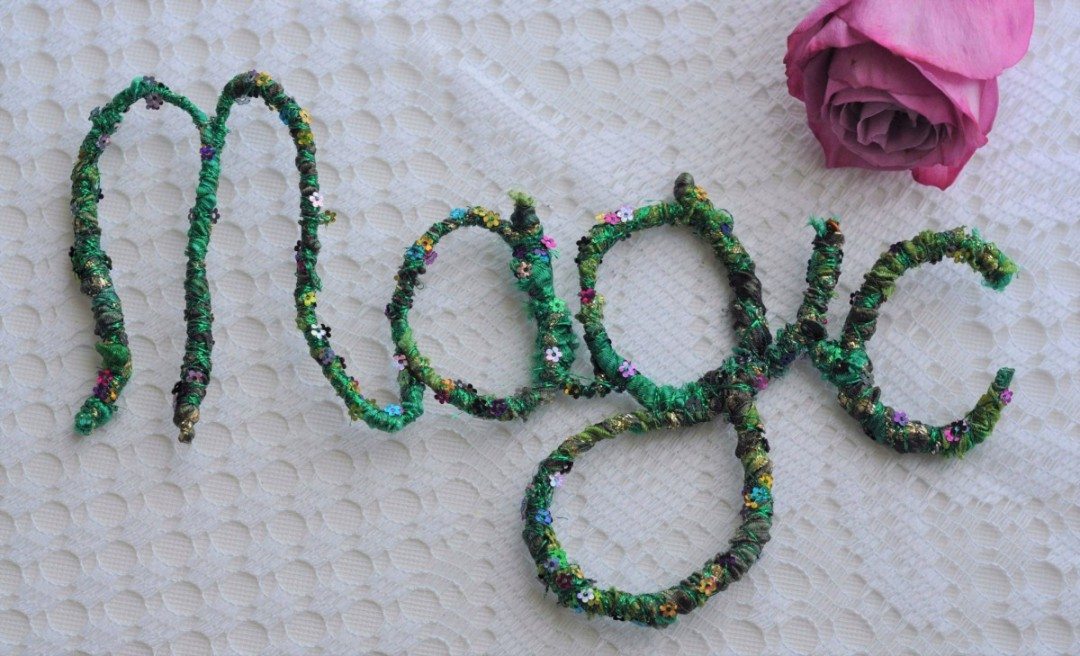
When creating script text I doubled the wire where necessary, to move from one letter to the next.
When creating a shape like the crown or unicorn in this post wrap the ends of the wire together to complete the shape.
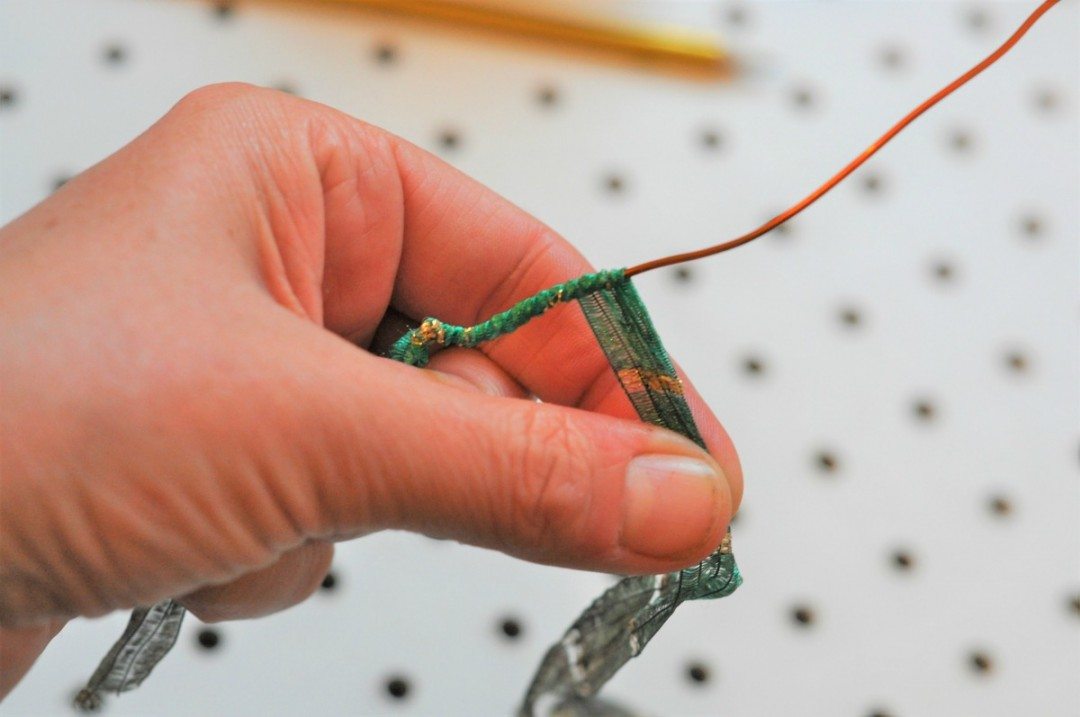
Step 3 – Wrap with wider yarn
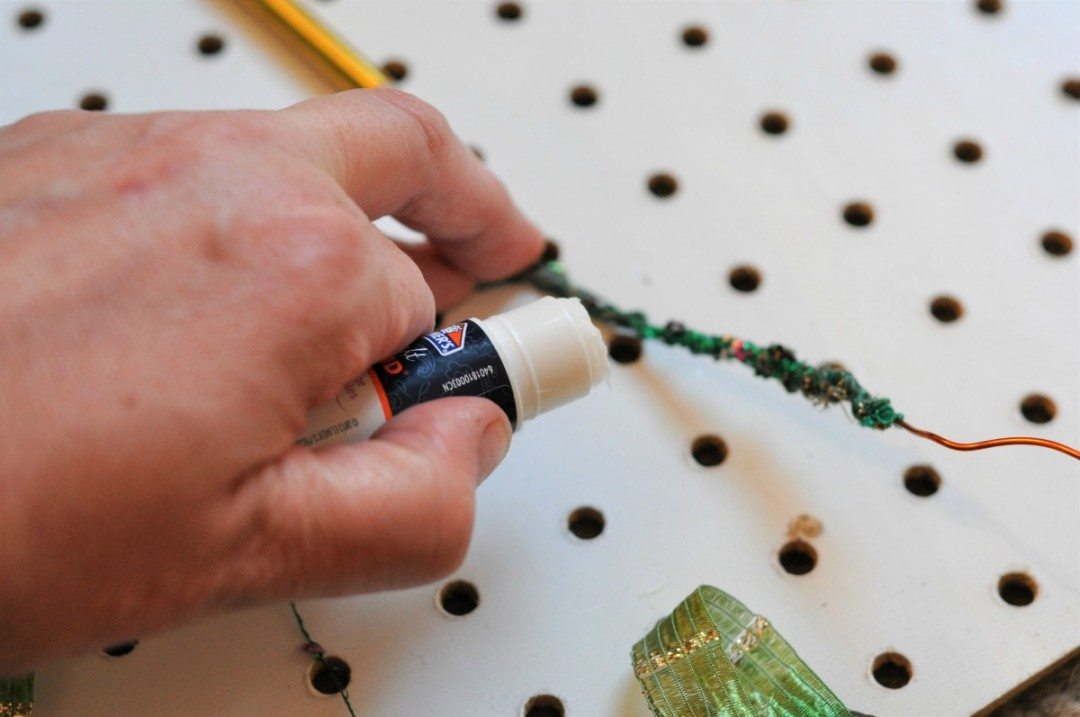
Tie the yarn to the starting point you choose, wrap the knot and continue wrapping with an overlap. Wrap until you reach either the end or the start again if the wire is one complete silhouette. When you reach the end point tuck the yarn under the previous loop and glue down.
When wrapping text and you have doubled the wire, wrap the 2 pieces together.
Tip: When wrapping smaller spaces or inside a letter like “d” or “a” put the yarn (wrap the yarn) onto a popsicle stick first and then use that to thread through the smaller spaces to wrap the word.
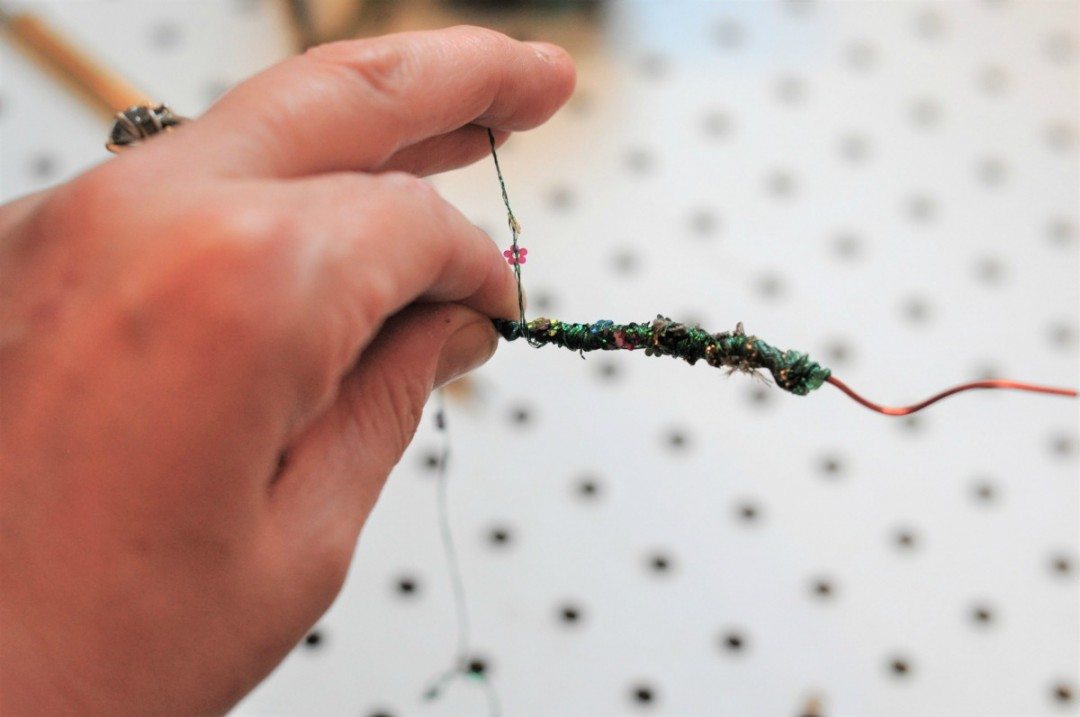
Step 3 – Wrap with fineryarn
This is the same process as the previous step only this will take a longer period of time given the yarn weight. Again when you reach the end point, tuck the yarn under the previous loop and glue down.
Final Tip: Once the wire is covered in yarn, it becomes a lot more firm. I found as I was creating bigger shapes like the unicorn it became misshapen during the wrapping process. Once firmer you can reshape the word or silhouette as it will hold the shape even more firmly.
Your wall art can now be hung on the wall, on a hook, leaned against the wall on a shelf or even hang by a peg off peg board. These are super light so you have a lot of flexibility when it comes to hanging it.
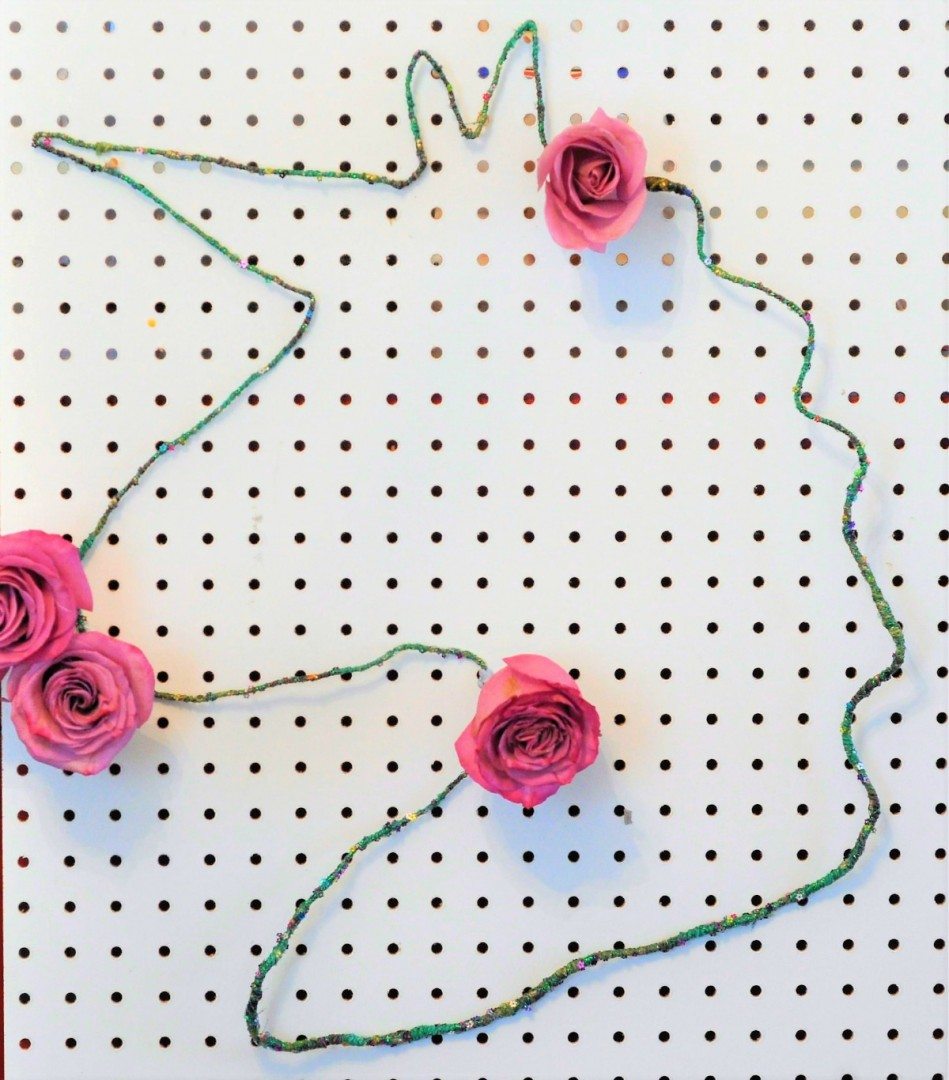
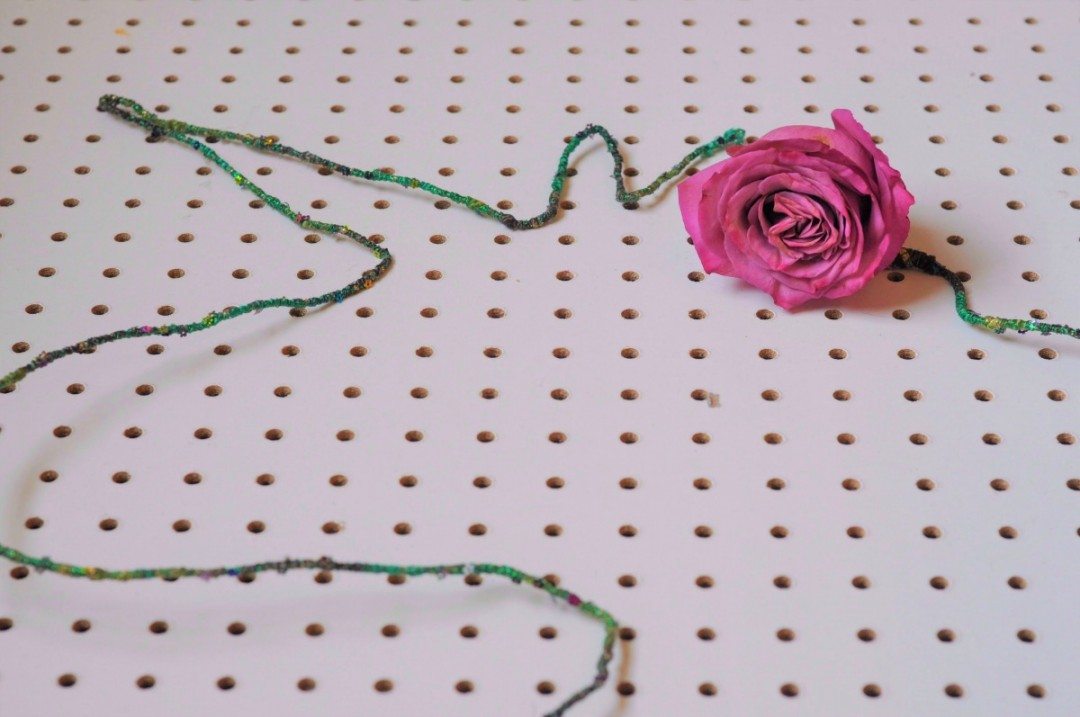
This art works really well in kids’ rooms and for party backdrops. Try creating a crown, heart or moon and placing it on your childs book shelf. There are so many styling options with such a lightweight and textile versatlietype of wall art – shapes and words both work and can be displayed in multiple locations and in multiple sizes..
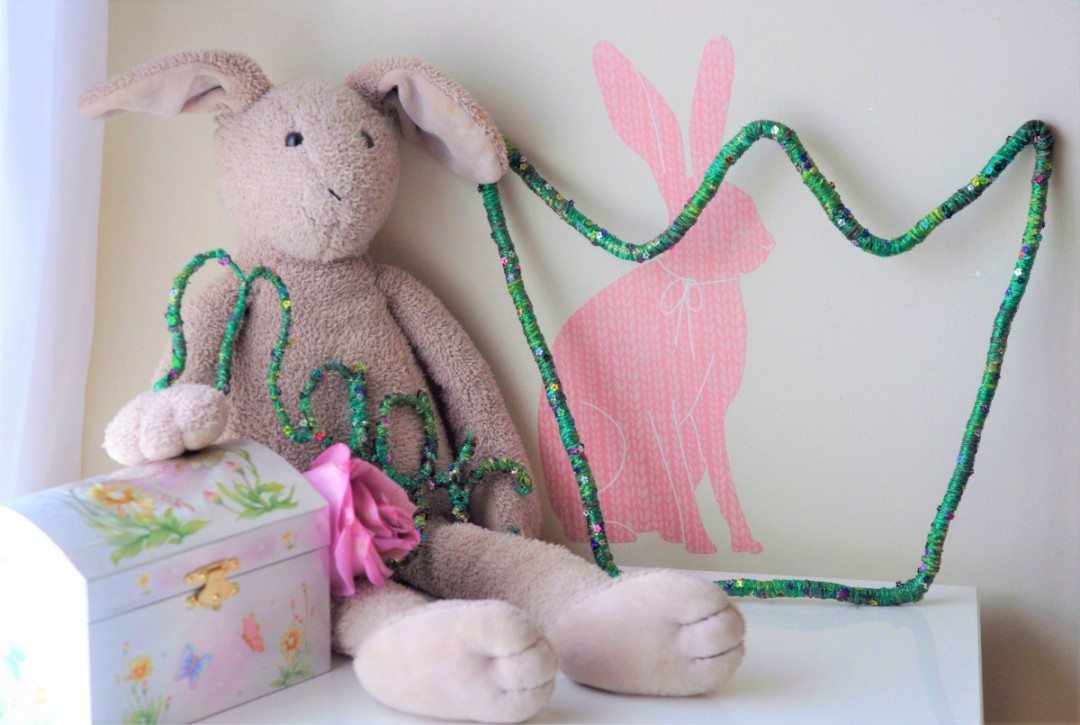
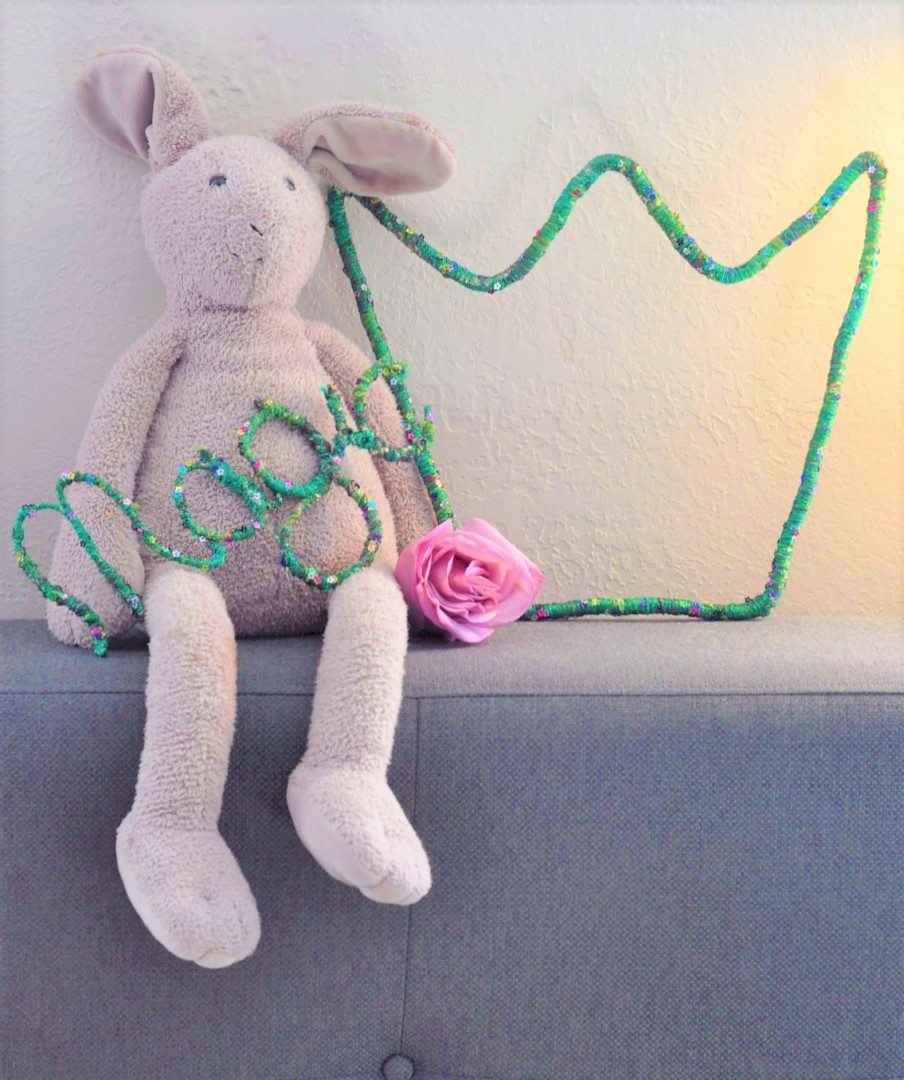
Your wall art can hung on the wall, on a hook, leaned against the wall on a shelf or even hung by a peg off peg board. They are super light so you have a lot of flexibility when it comes to hanging it.
If you’d like to try this wall art pop on over to Premier Yarns. There are so many color options and plenty of magical bling. Don’t forget to use your coupon code to get 10% off through May 1st, 2017! Either shop this link and use the 10% off coupon code (NM001)
OR
Use this coupon to purchase these magical yarns
If you liked this project, you’ll love this one by another fantastic maker. A fun project using Premier Yarns, by the talented Albion Gould!
Don’t miss the next Midge and Madge Mingle, on Monday, April 2, the crafty duo will be showing you more ways to use Premier Yarns on Facebook Live at Midge and Madge Mingle!







What fabulous ideas! Looks great!
thank you lovely!!