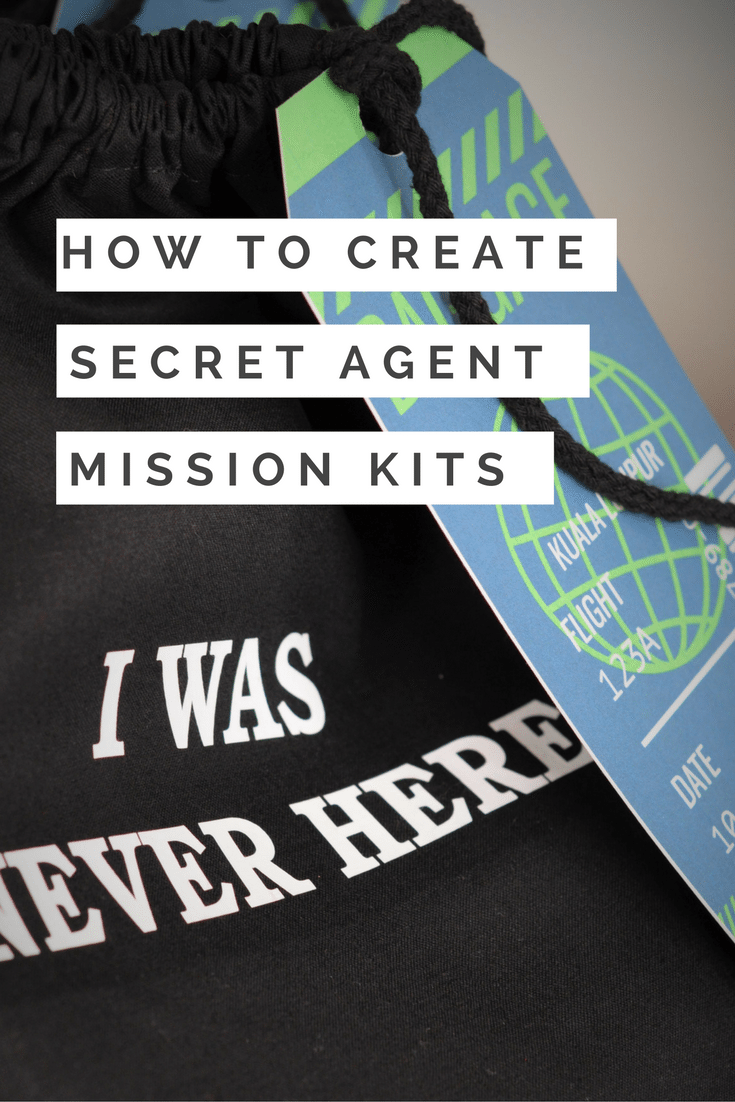
Every good spy needs a mission kit to establish their cover, or a go-bag in case their cover is blown! So if you’re having a spy or secret agent party, these mission kits make fantastic spy party favors. You can have a lot of fun with the contents, as well as the bag itself. Plus, they keep the kids entertained at the same time!
For my son’s birthday several years ago, he wanted to do something that involved puzzles, clues, sneaking up on his friends and nerf guns. So the secret agent or spy theme worked perfectly. This was one of my favorite parties to design. I really got into the role of Commander in Chief! Read on to see how I created the spy party favors, and then be sure to check out the other posts at the end of this one to get tons more Spy Party inspiration!
As a blogger, I sometimes receive compensation and/or products in exchange for my styling and crafting services. I also may earn a small commission from any sales that result from affiliate links on this page. As always, all project ideas and any opinions expressed here are my own. For further information on our disclosure policy please check out our disclosure page.
SPY PARTY FAVORS – MISSION KIT SHOPPING LIST:
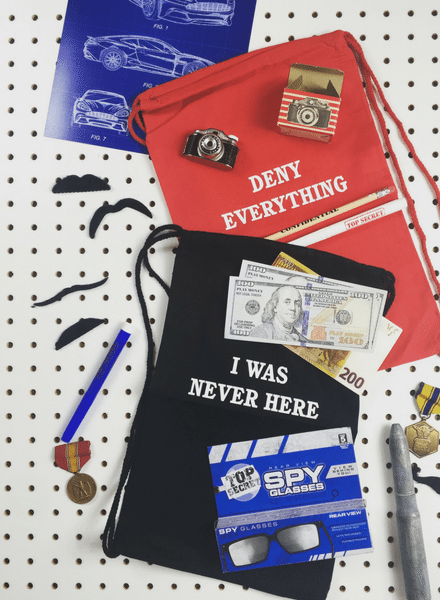
- A bag or backpack
- Top secret invisible ink markers & Top secret pencils
- Fingerprint tattoos
- Fake passports
- Fake money (movie props or play money)
- Spy glasses (either rear view or black disguise glasses)
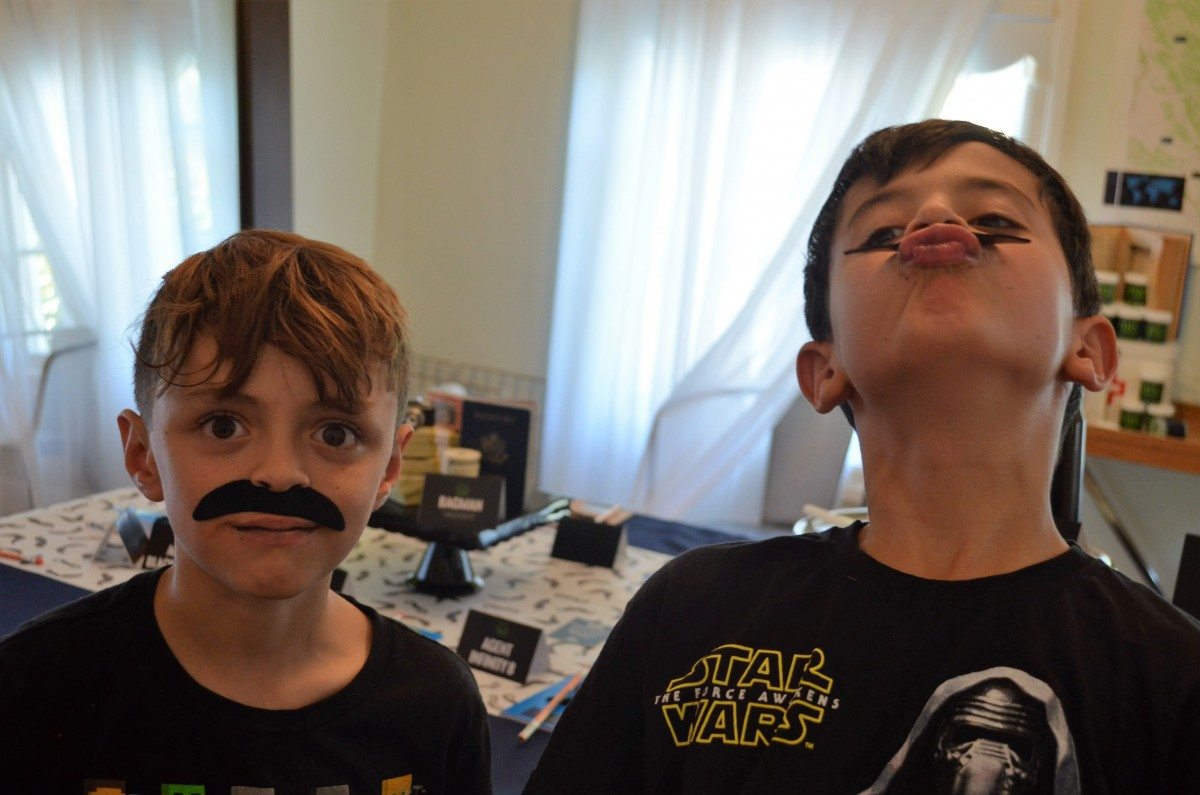
- Fake mustaches
- Target range stickers
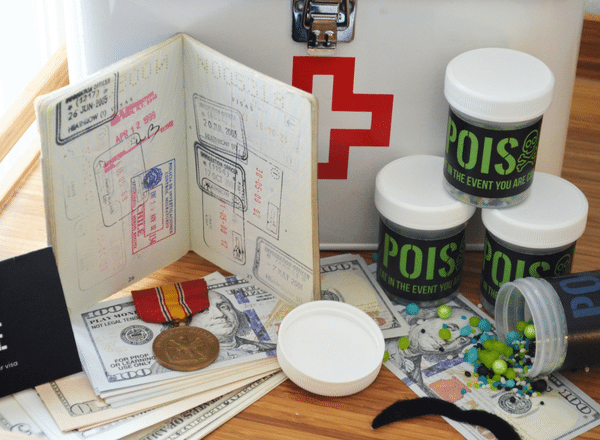
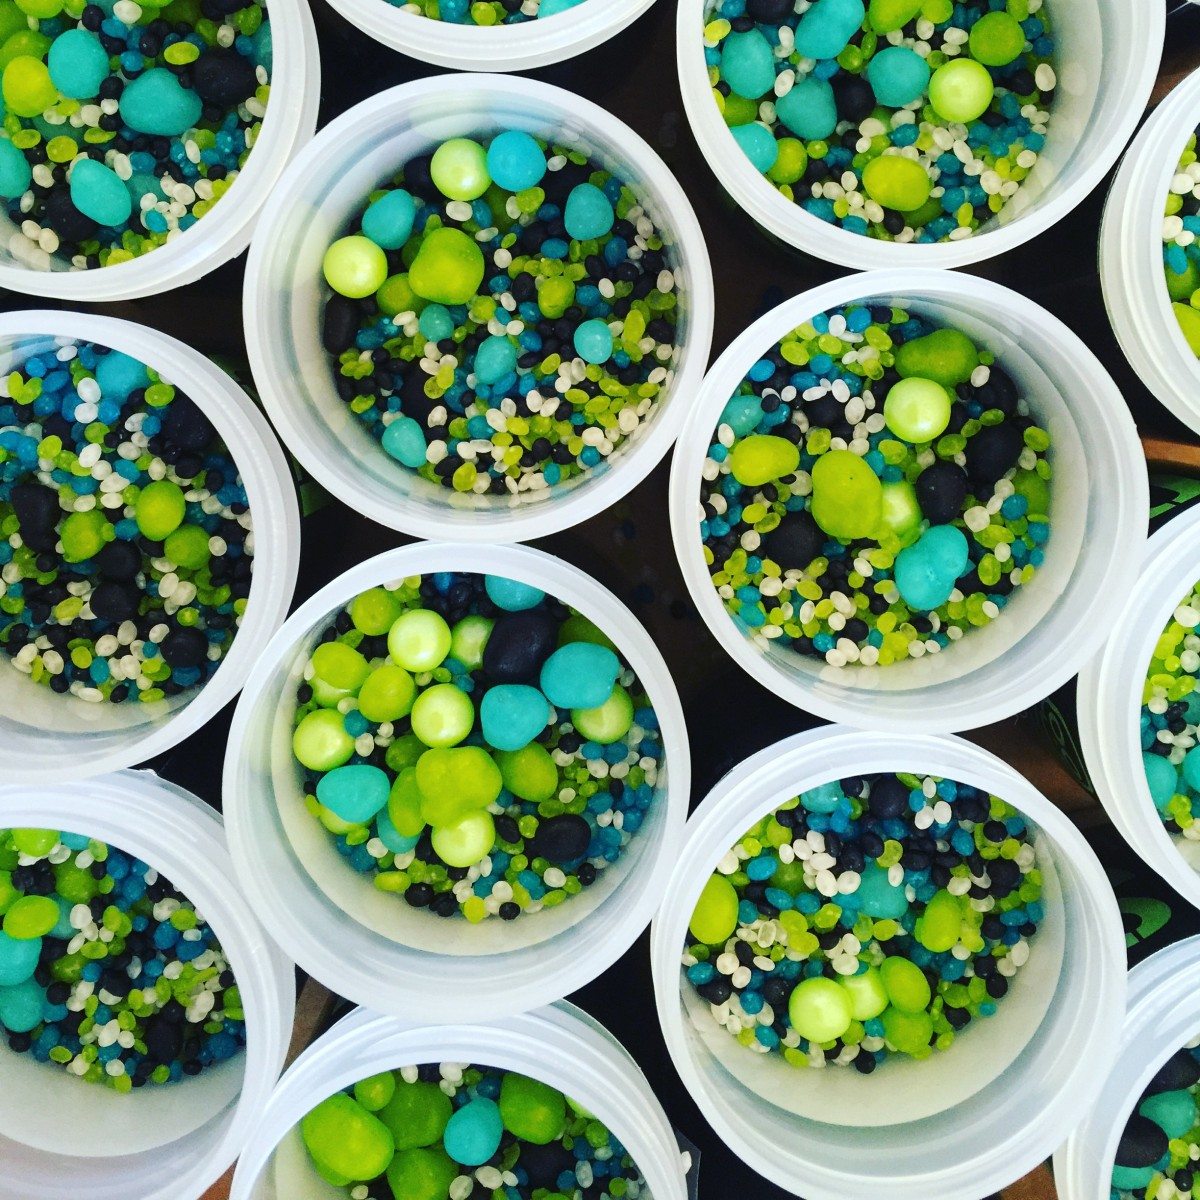
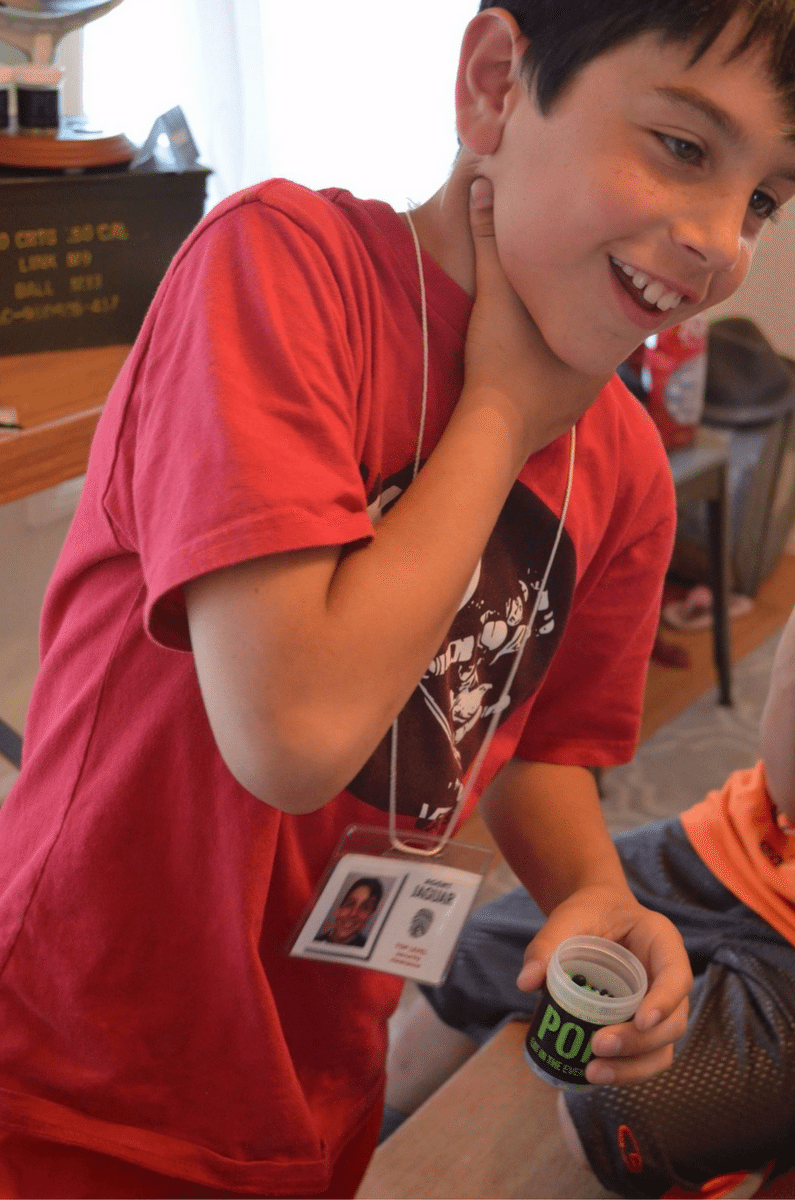
- Small containers of “poison” aka. Candyfetti
- Favor tags or labels
Step 1 – The Bag
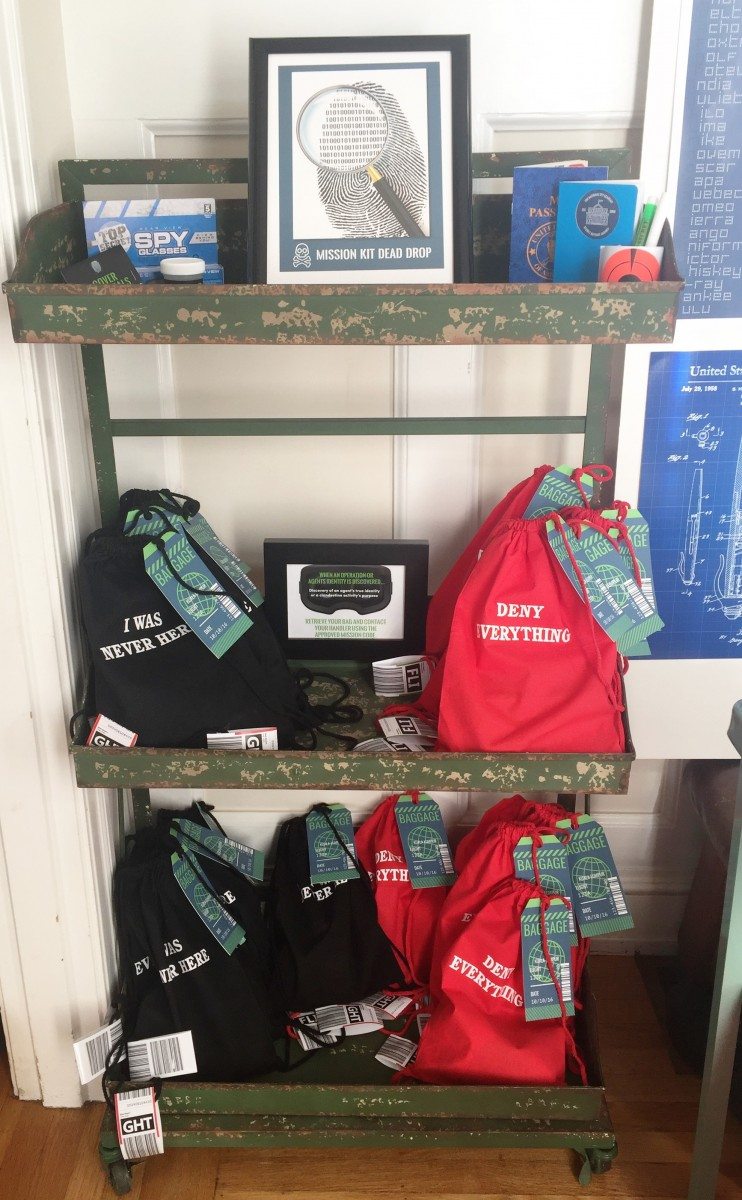
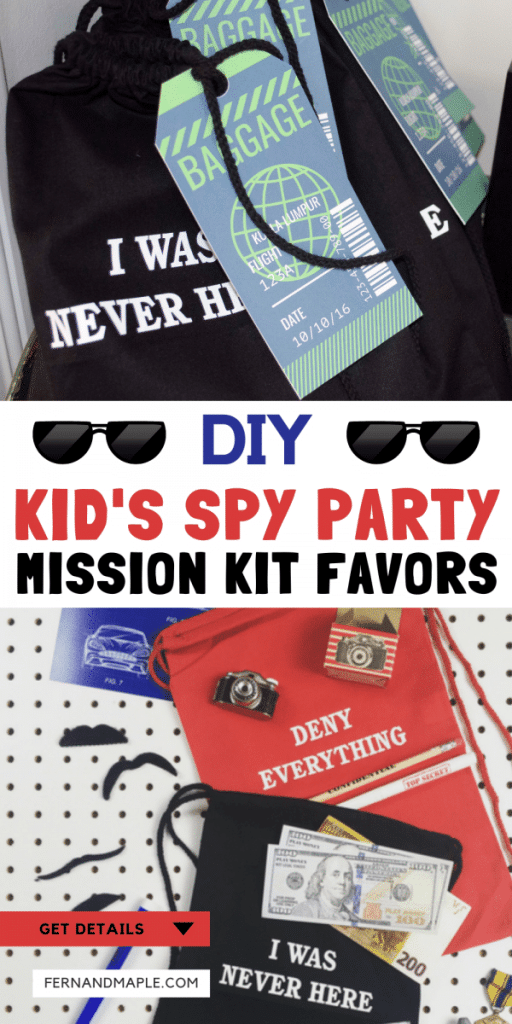
For a spy mission kit, you want a bag that is easy for the kids to carry around – nice and lightweight. I found cotton backpacks that I was able to get personalized printing added to. They come in packs of 12, are really reasonable and a great size for this age group.
I had a lot of fun with the personalization on these. For half the bags I used the phrase, “Deny Everything”, and for the remainder I used, “I was never here”. Classic spy terminology, but also something I tend to get a lot of around the house…”It wasn’t me!”.
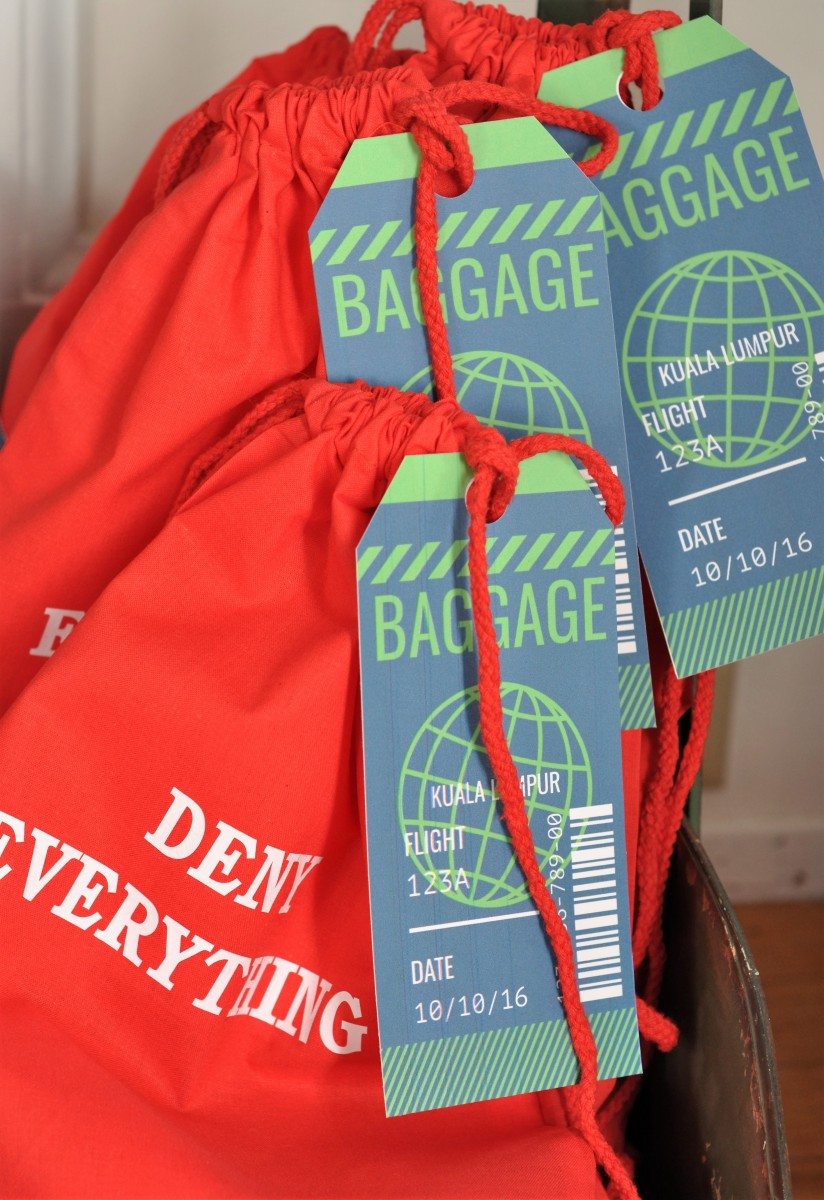
As these were mission kits, Kim from Small Moments created luggage labels and airport bag scan tags as the favor tags. These were so cute! She always thinks of every detail and these were no exception. Check out the destinations – exotic spy resorts only!
Step 2 – Lay-out the favor contents
This is the bit that when the kids go, “Can I help?”, so I get them to do it. I give them the pile of my purchases, and they have to create a pile for each favor that contains one of everything. Then I do a double check to make sure we have it done, and they get to fill each bag!
Most of the items pop straight into the bag as is, but for the money, I got the kids to roll up several notes (1 of each denomination), and we popped them into a bag with a cute label – “Cover Essentials“.
Once the bags were full, we tied them off with the luggage tags and bag scan labels.
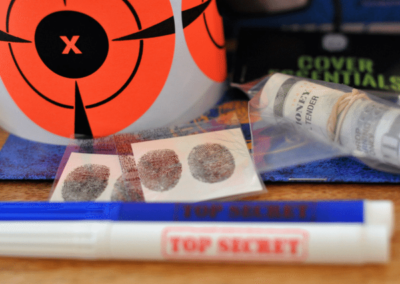
Fingerprint tattoos
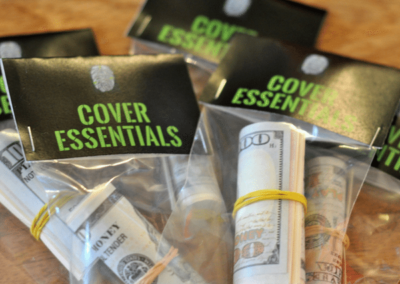
Every spy needs cash
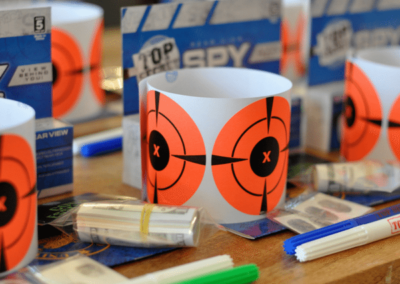
Target practice – covered!
Step 3 – Displaying the Favors
The mission kits were displayed as if they were bags left in a luggage compartment. A set of vintage shelves in my office were repurposed for this! I also used signage to tell the spies what the bags were for, and that they could be collected after training. I had a spare set of favors that I displayed on the top shelf, so they could see what they were getting.
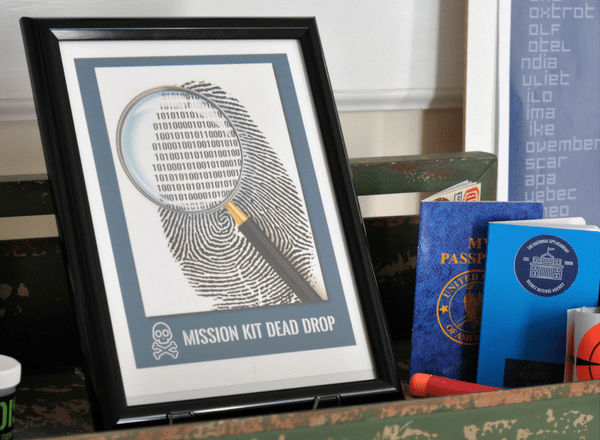
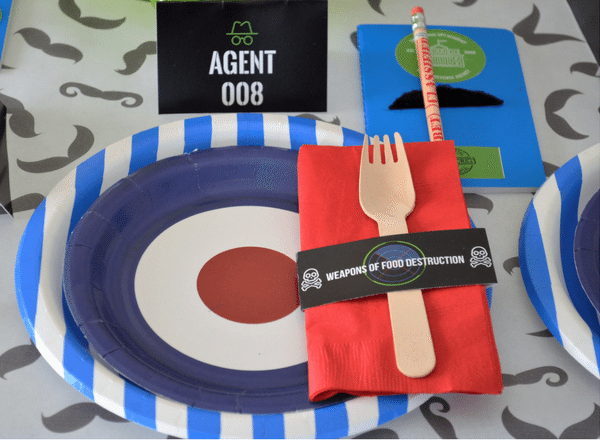
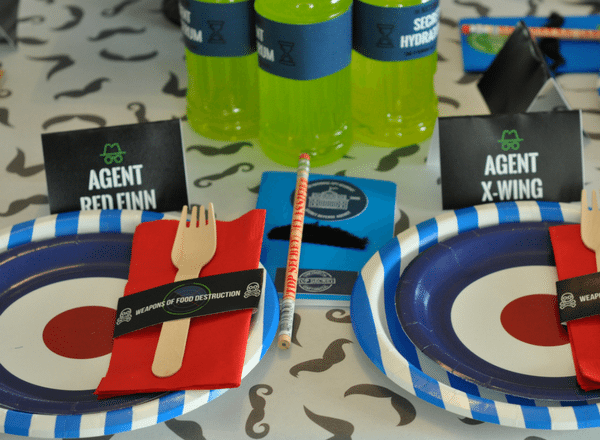
Some of the take home / favor items were left out of the bags so they could use them….or eat them. The notebooks, pencils and a fake mustache were at their table setting. They needed to take notes during training!
The capsules of “poison” that were to be eaten in the event of capture were also out on display in the enemy briefing room. We wanted our spies to take their training seriously! Of course, I think they then all tried to get captured!
Our spies all received their mission kits post-training, when they were ready to tackle the real world of undercover missions. Their handlers were on hand to pick them up and make of their undercover placements in the homes of unsuspecting parents!
You can have a lot of fun with this theme, you could try out hiding the mission kits at a dead drop location they have to hunt out with clues. Lots of fun options, and I hope you enjoy getting into this fun theme!
Don’t forget to check out the posts on the Spy Party Set Up, Spy Party Photo Booth, Spy Party Dessert Table, and Spy Party Activities, so you have everything you need to create your own amazing Spy Training Party!
Happy partying,
PIN FOR LATER:






thanks for including me in your round up, NAt