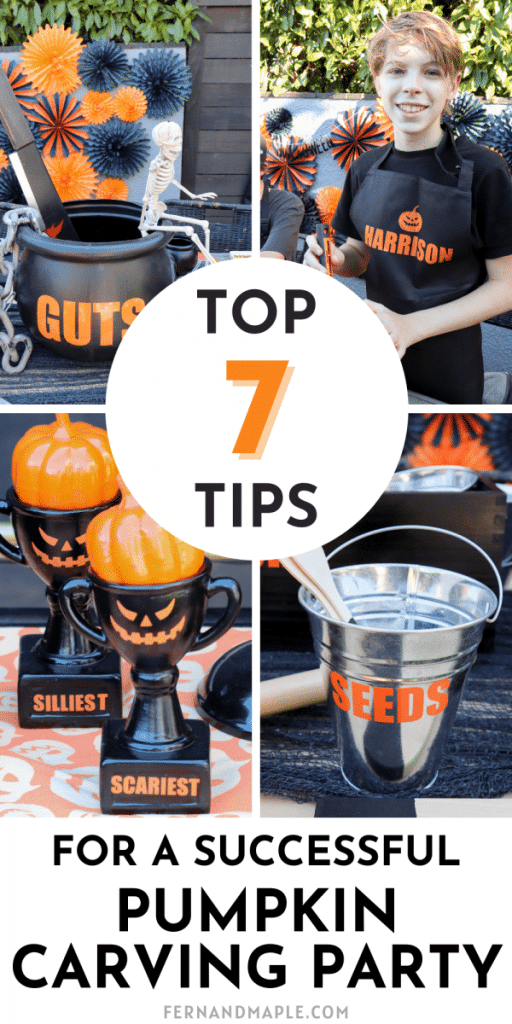
Carving pumpkins is one of those things that I want to do with my kids every year, but it can sometimes feel a bit overwhelming. Where do I set it up, what do I need, and how do I make it extra fun?! But this year, I buckled down and planned out a whole Pumpkin Carving Party for my teen son Harrison and his friends, and I’m going to share my top tips I learned from the process so that you have a head start on your planning!
The Best Pumpkin Carving Party Tips
As a blogger, I sometimes receive compensation and/or products in exchange for my styling and crafting services. I also may earn a small commission from any sales that result from affiliate links on this page. As always, all project ideas and any opinions expressed here are my own. For further information on our disclosure policy please check out our disclosure page.
1- Keep things clean(ish).
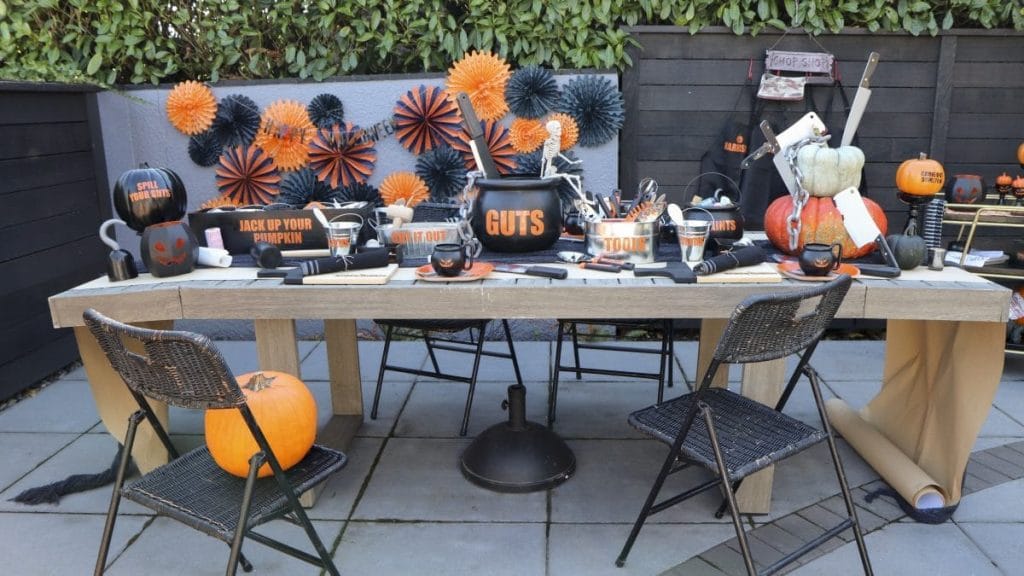
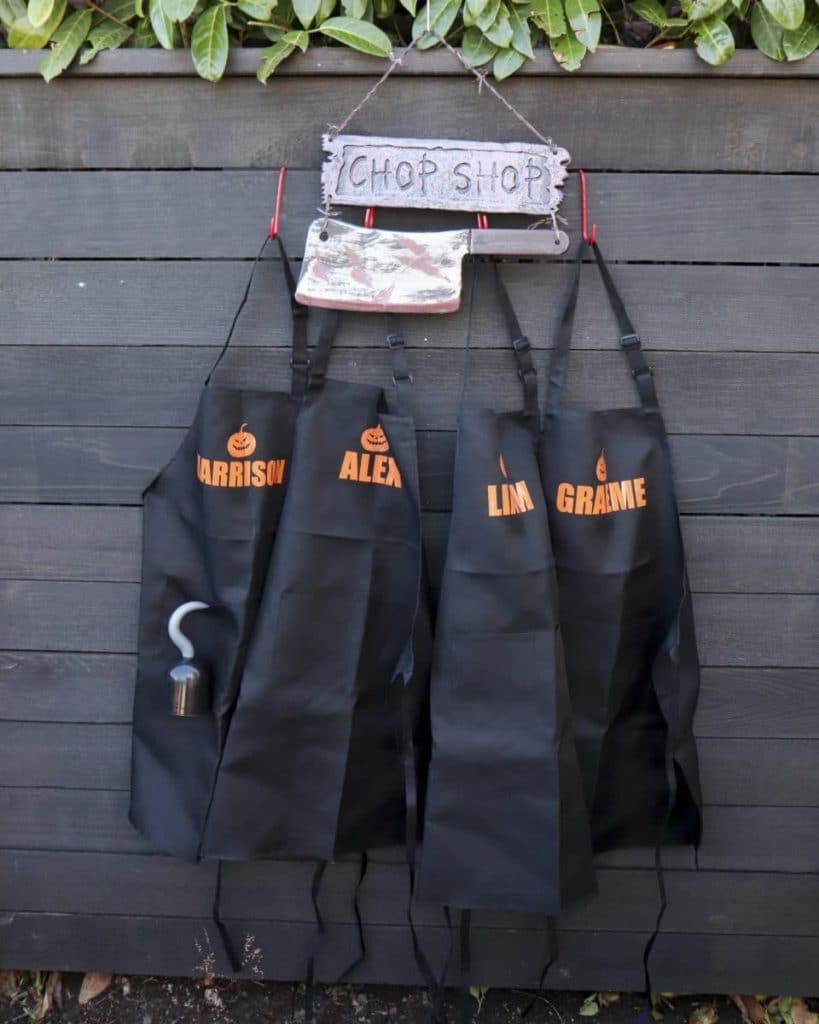
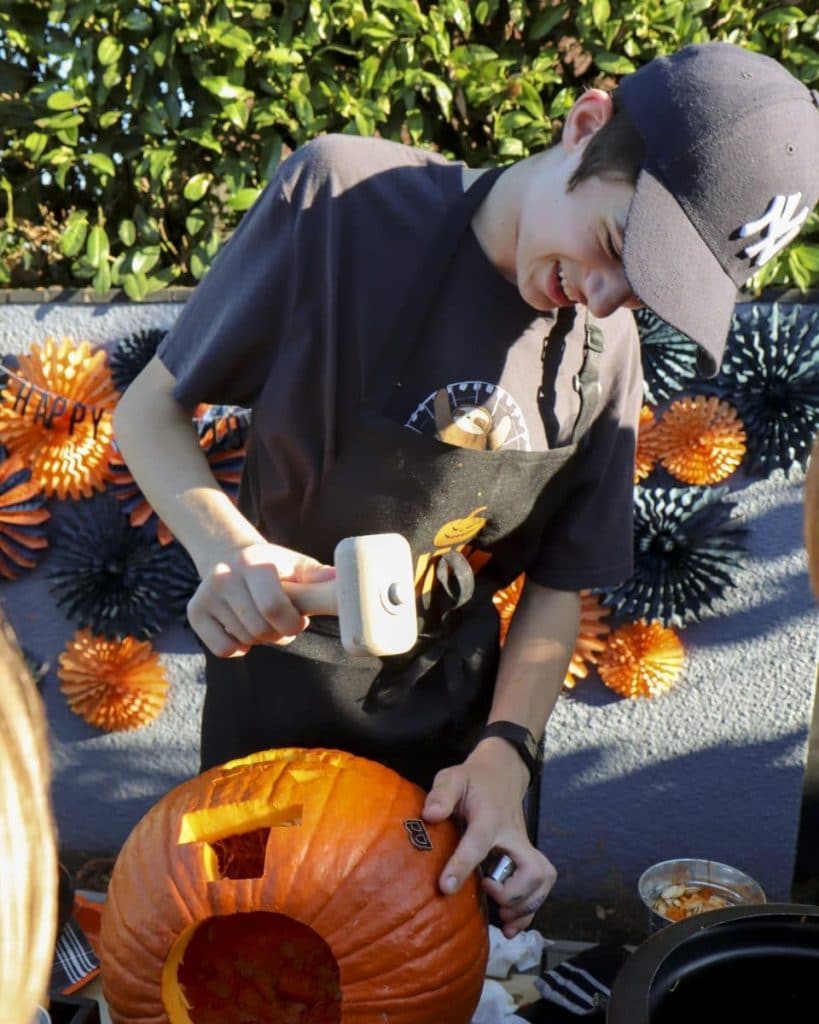
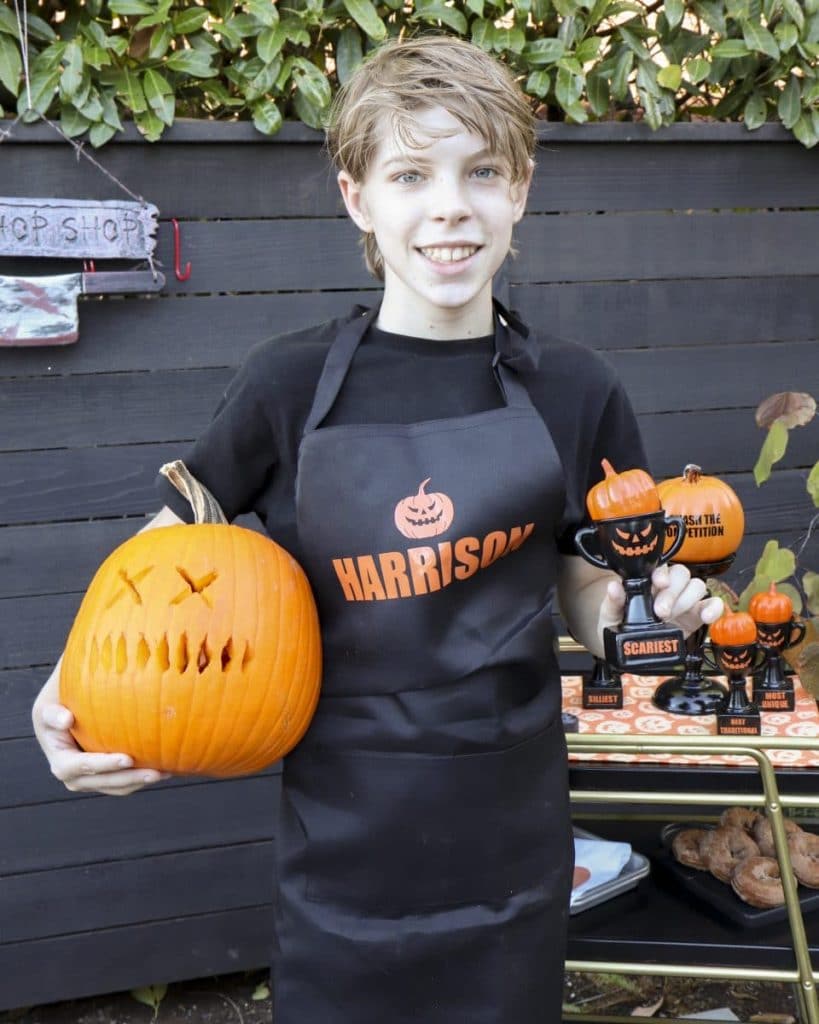
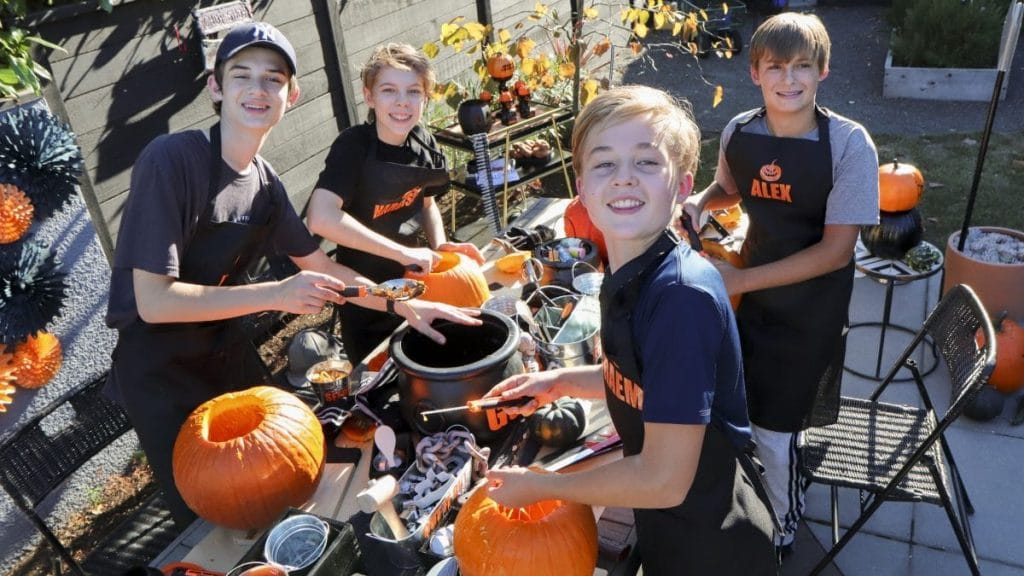
I’m going to go ahead and give you my number one tip right off the bat – PREPARE FOR MESS! Almost every time I’ve ever carved pumpkins, I feel like I’ve forgotten how messy it can be until I’m in the middle of it. This time, I was prepared, and you can be too! The best thing would be to do it outdoors, but if that’s not possible, you can place a drop cloth under your carving station for easy cleanup after. Another good idea is to lay a table cloth or craft paper on the table – also easy to roll up and dispose of the entire mess at the end. To protect clothes, provide personalized aprons like I did, or even provide old t-shirts to cover guests clothes. You’ll also want to have towels and a bucket of water or hose nearby to wash hands.
2- Label everything.
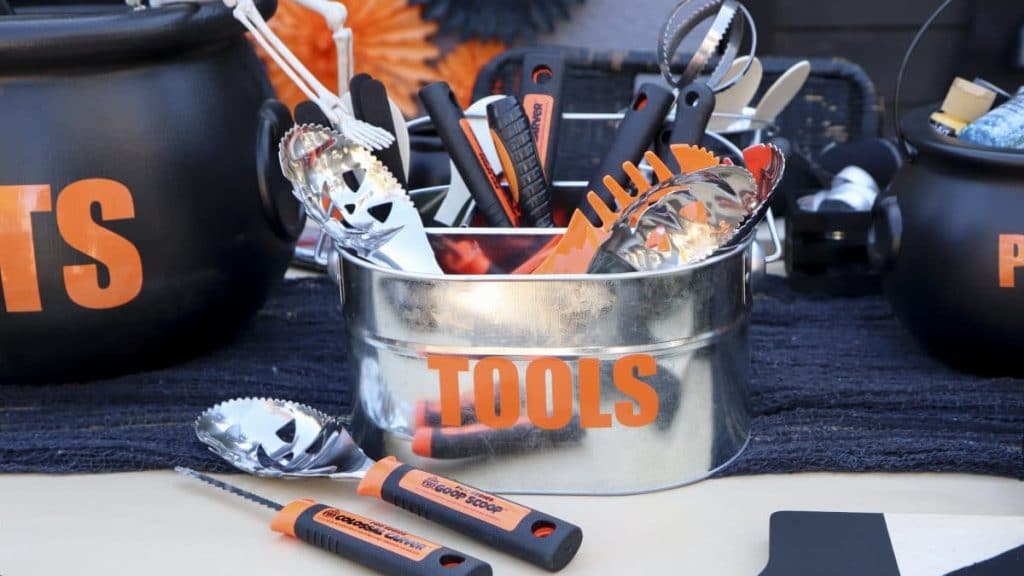
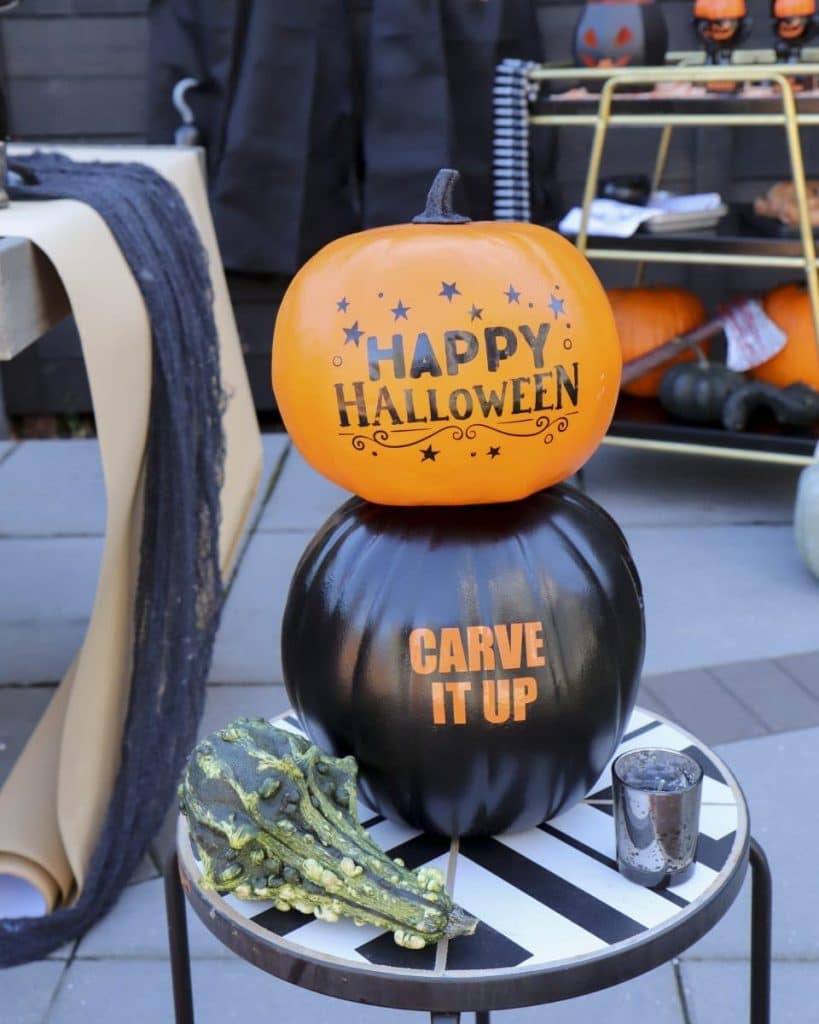
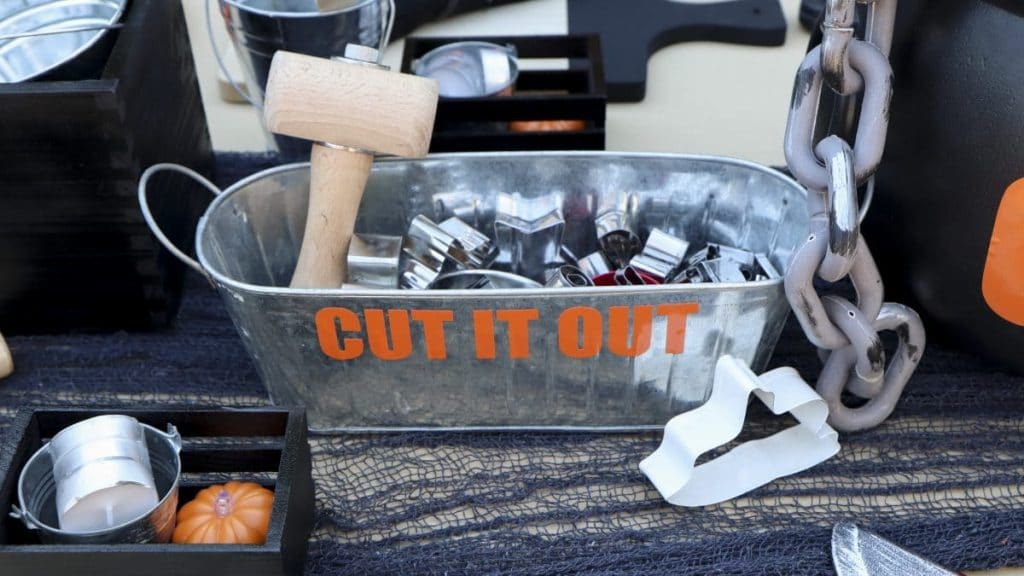
If you don’t want to be running around constantly telling everyone what and where everything is, label, label, label! I love using my cricut to create vinyl labels, but you can also use stickers, place cards, or even sharpies to just write everything. I labeled all of the various tools and supplies on the table, and I also used labels to welcome guests to the carving party and wish them Happy Halloween!
3- Save the seeds.
It’s a great idea to have a designated spot to separate out and save the pumpkin seeds for roasting later. I provided a small metal pail and some spoons for scooping the seeds out.
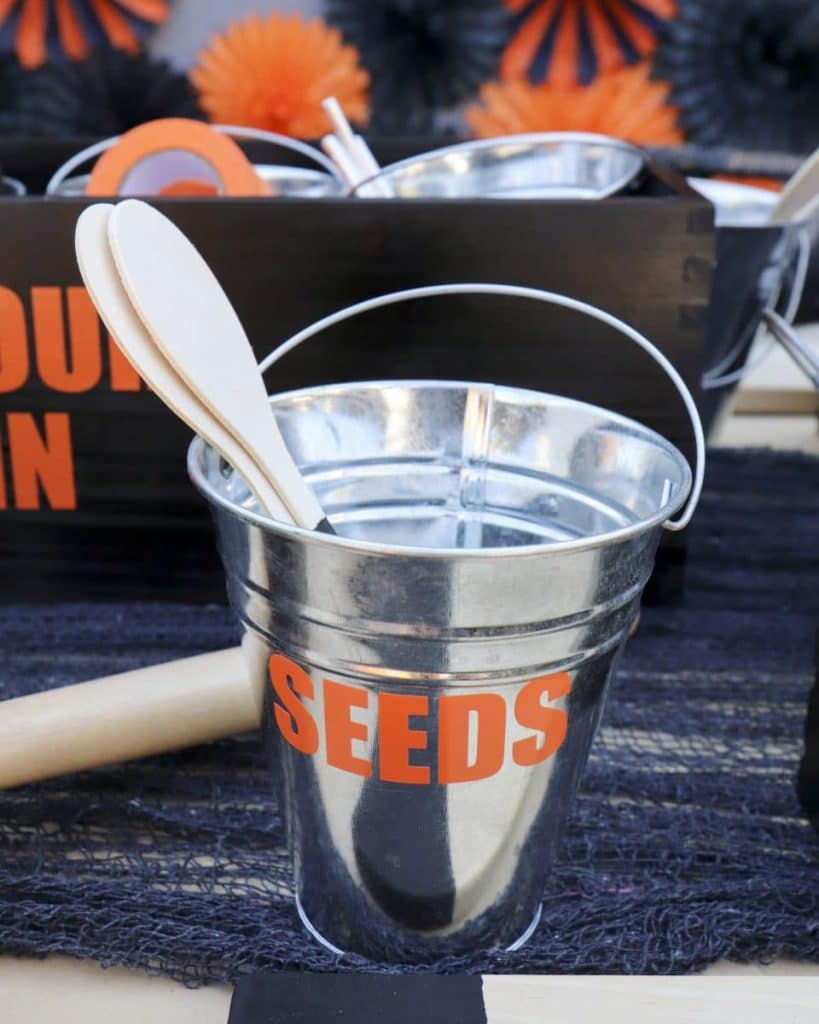
4- Prepare a place for the “guts”.
Of course, there’s more that comes out of the pumpkin than just seeds. The pumpkin is full of pulp and “guts”, and they need a place to go! I put a large plastic black cauldron in the middle of the table to easily contain these.
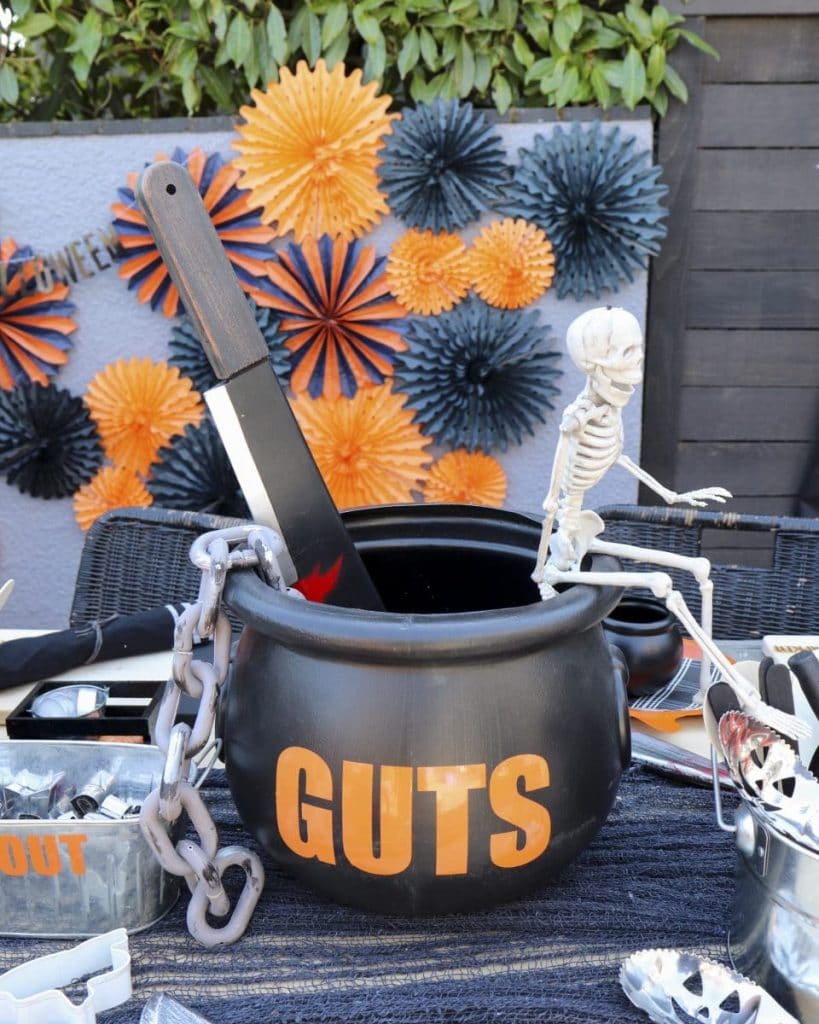
5- Provide decorating options.
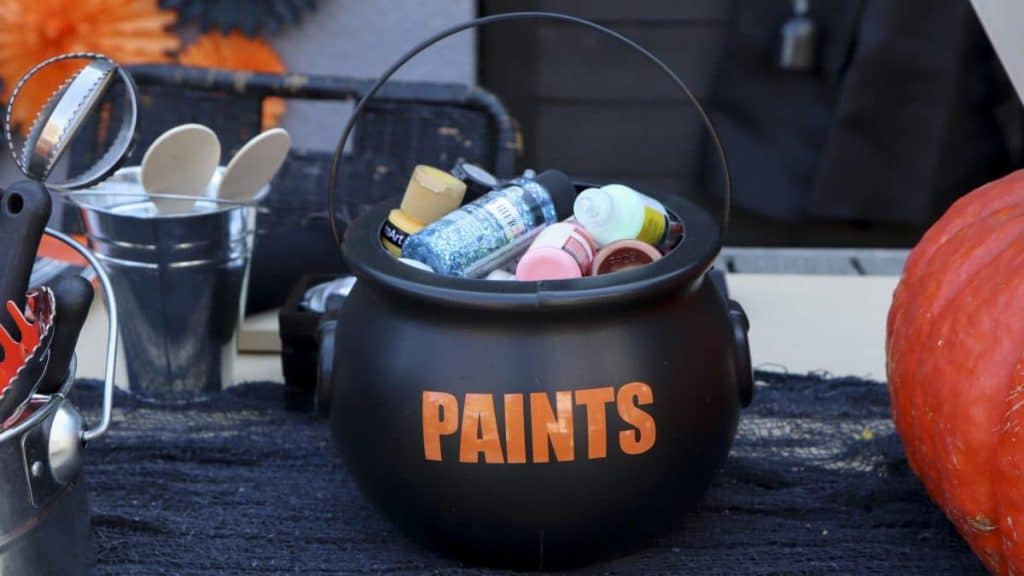
I like to provide a variety of pumpkin decorating options for my guests. This is especially important if you have younger guests, as they may not be able to use the sharp tools. In addition to the carving knives and tools, I added paint, tape, markers, pins, and googly eyes to the table.
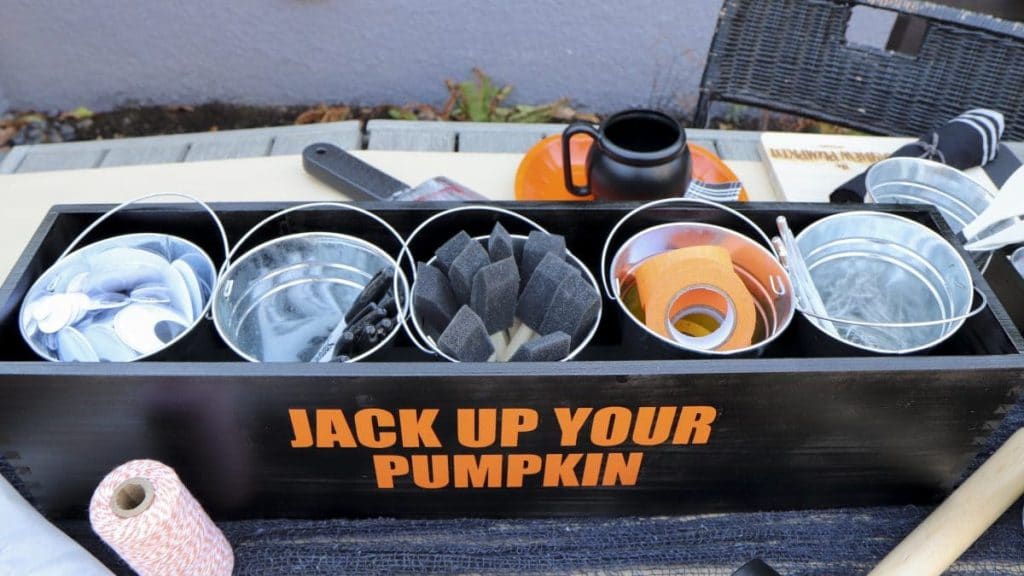
Another cool and easy way to carve pumpkins is to use cookie cutters and mallets.
6- Get creative & competitive.
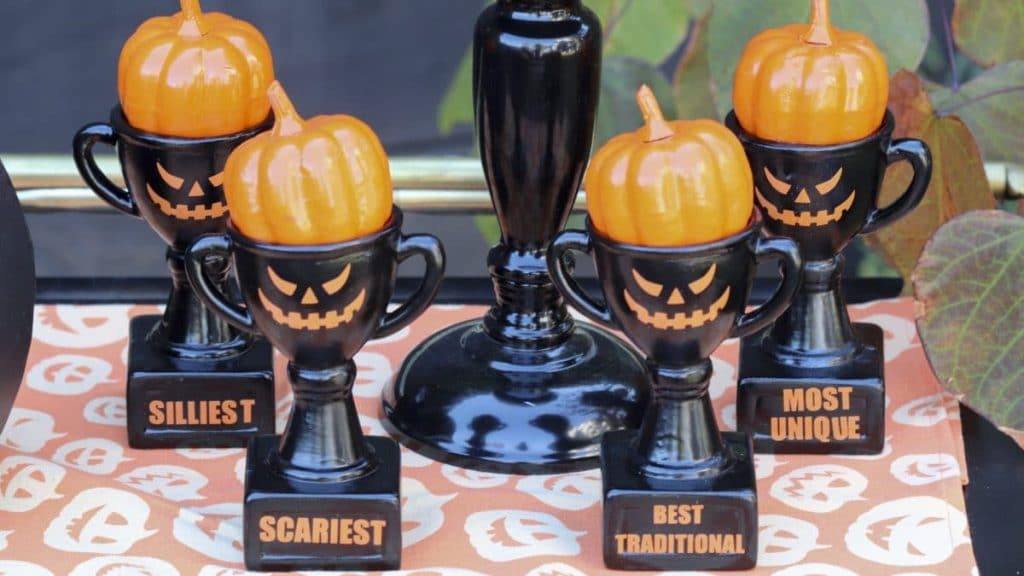
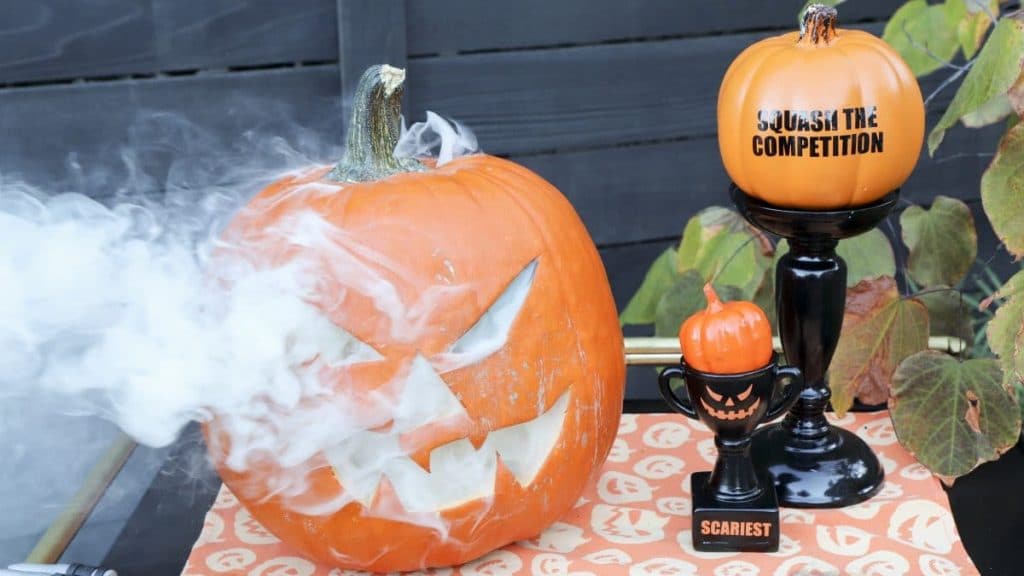
You can encourage creativity and a bit of fun competition by creating some awards to give out to the completed pumpkins. I didn’t want to hurt anyone’s feelings, so rather than doing “1st”, “2nd”, etc., I came up with categories like “Scariest”, “Silliest” and “Most Unique”.
7- Light it up!
Don’t forget to have supplies on hand to let the completed pumpkins serve their purpose in the end. Light them up with candles (real or battery operated).
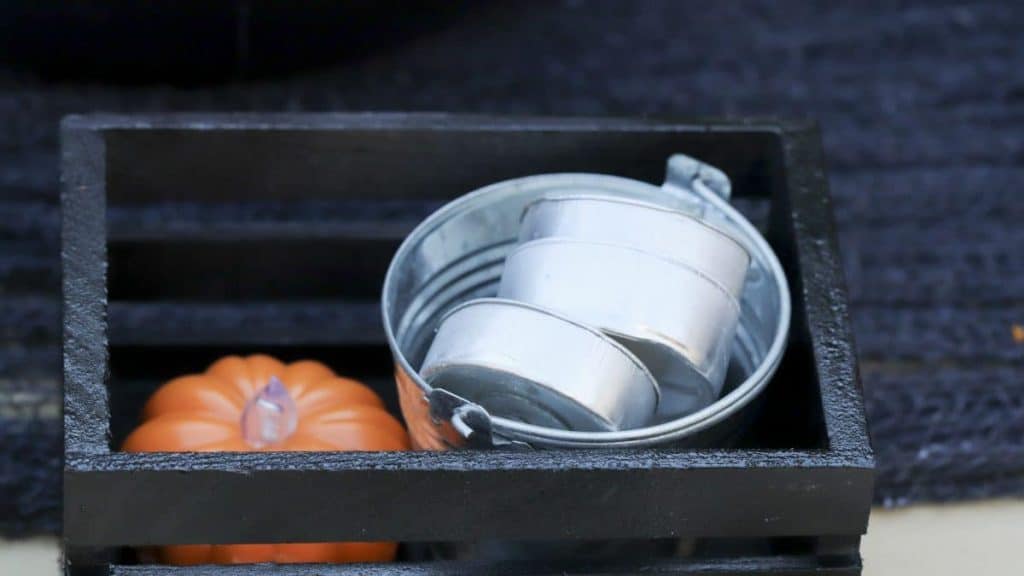
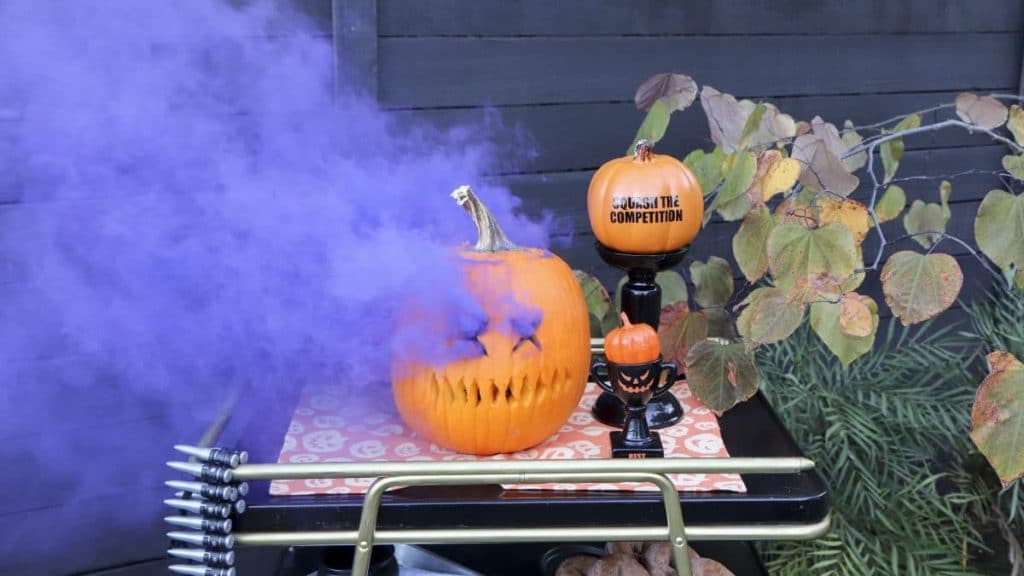
Another really cool way to showcase the pumpkins is by putting colored smoke balls in them. They look so cool and creepy with smoke pouring out of the carved faces!
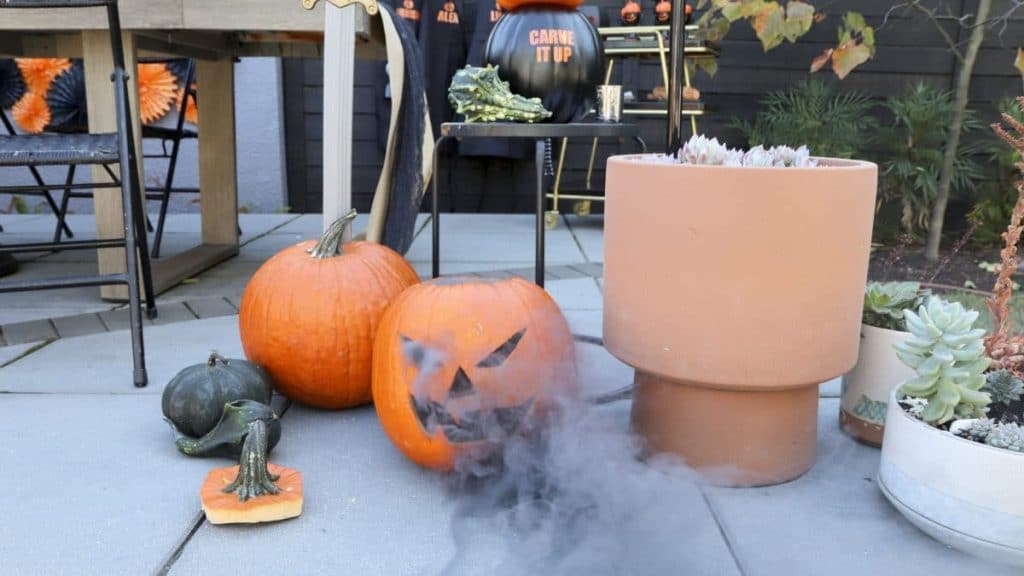
If you follow these tips, you’re sure to have a successful Pumpkin Carving Party – but never forget that the biggest tip of all is just to HAVE FUN! Perfection is not the goal here.
What other pumpkin carving party tips do you have? Let us know in the comments!
And don’t forget to check out how I set up the whole Halloween Pumpkin Carving Party for Teens, including the decor and place settings.
Happy Carving!
PIN FOR LATER:





Where did you get the colored smoke bombs?
Hi – they are from smokeeffect.com
Hi! where did you get the smoke bombs?
They are from smokeeffect.com
Where did you get your pumpkin trophies?
Hi there – I made them. I used ceramic trophies from Oriental Trading and insert mini pumpkins inside that I added vinyl faces too. I can do a video tutorial if you’d like? thanks
Where did you get the aprons?
I got these a couple of years back from Oriental Trading. I have some that are the same in my Amazon storefront here https://www.amazon.com/shop/fernandmaplestyle/list/38MXSVPK2RRHQ