How is it Fall already? It feels like this year has zipped by! If, like me, Fall has crept up on you here are 3 quick and easy no carve pumpkin ideas. Something for every style – Steampunk, 80’s funk and golden glam.
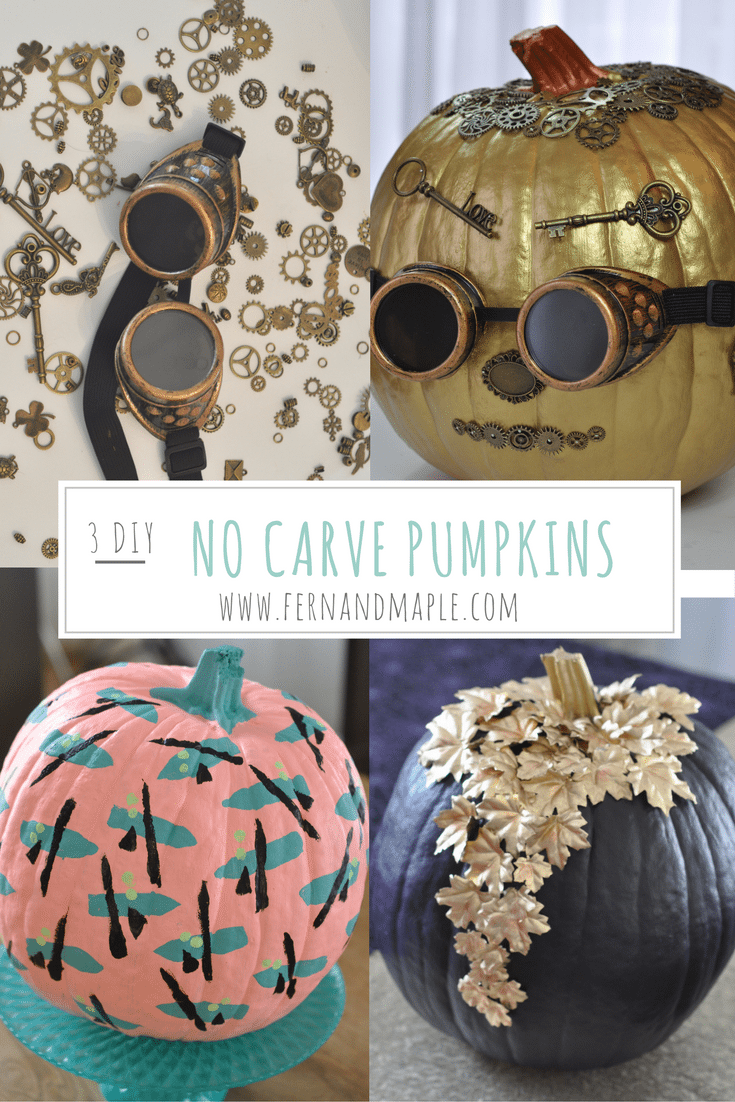
These pumpkins make a great centerpiece for a table, decor around the house and can survive the elements on your doorstep. Here’s what you will need for each one:
Steampunk:
- Gold metallic paint
- Steampunk glasses
- Mixed steampunk decorative accessories e.g. cogs, wheels, etc.
- 527 all-purpose adhesive & pins
80’s Funk:
- Pastel or Neon paint
- Foam & bristle paintbrushes (any craft store)
- Pencil with an eraser tip
Glam:
- Dark purple paint
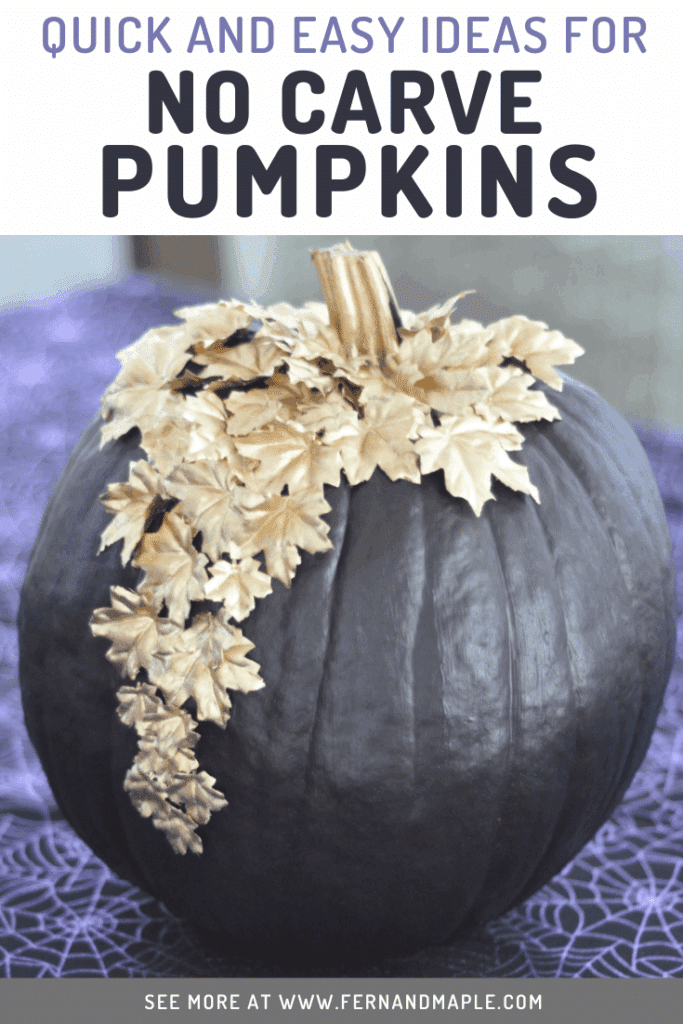
- Faux gold leaves (I got mine from Michaels)
- 527 all-purpose adhesive
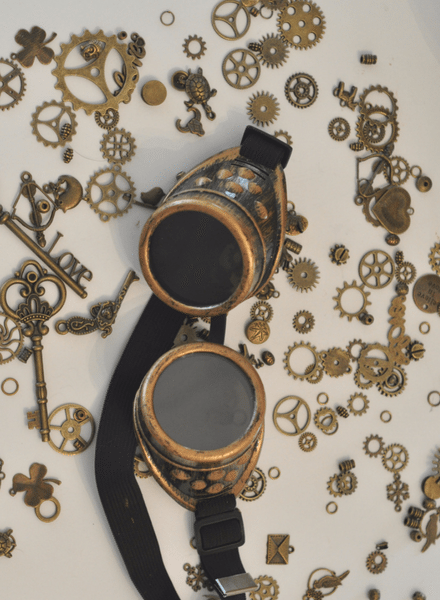
Let’s start with the steampunk pumpkin and get him ready to party.

Pick your paints, I chose gold metallic for the pumpkin & bronze for the stem
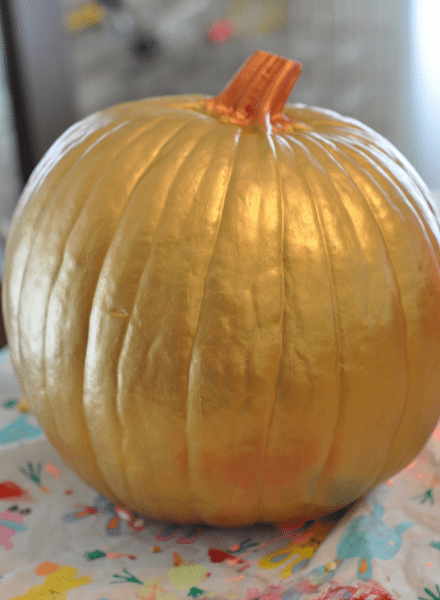
Paint the pumpkin, dry & paint again. You’ll need 2 coats.
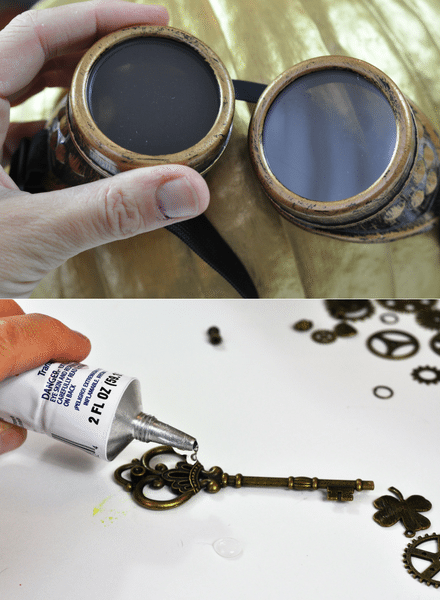
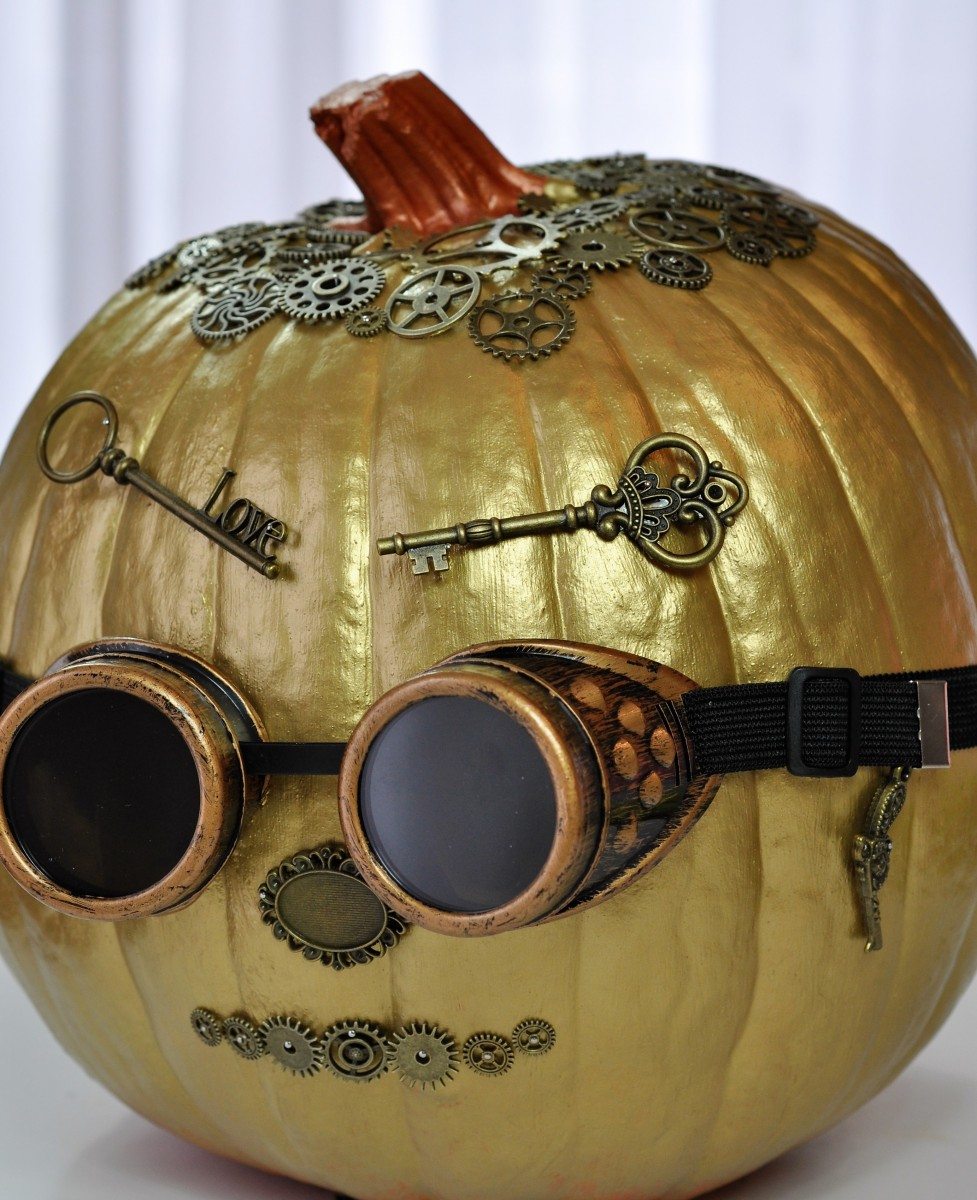
Stretch the glasses over the pumpkin and then attach the other accessories with glue (Tip: the paint needs to be totally dry)
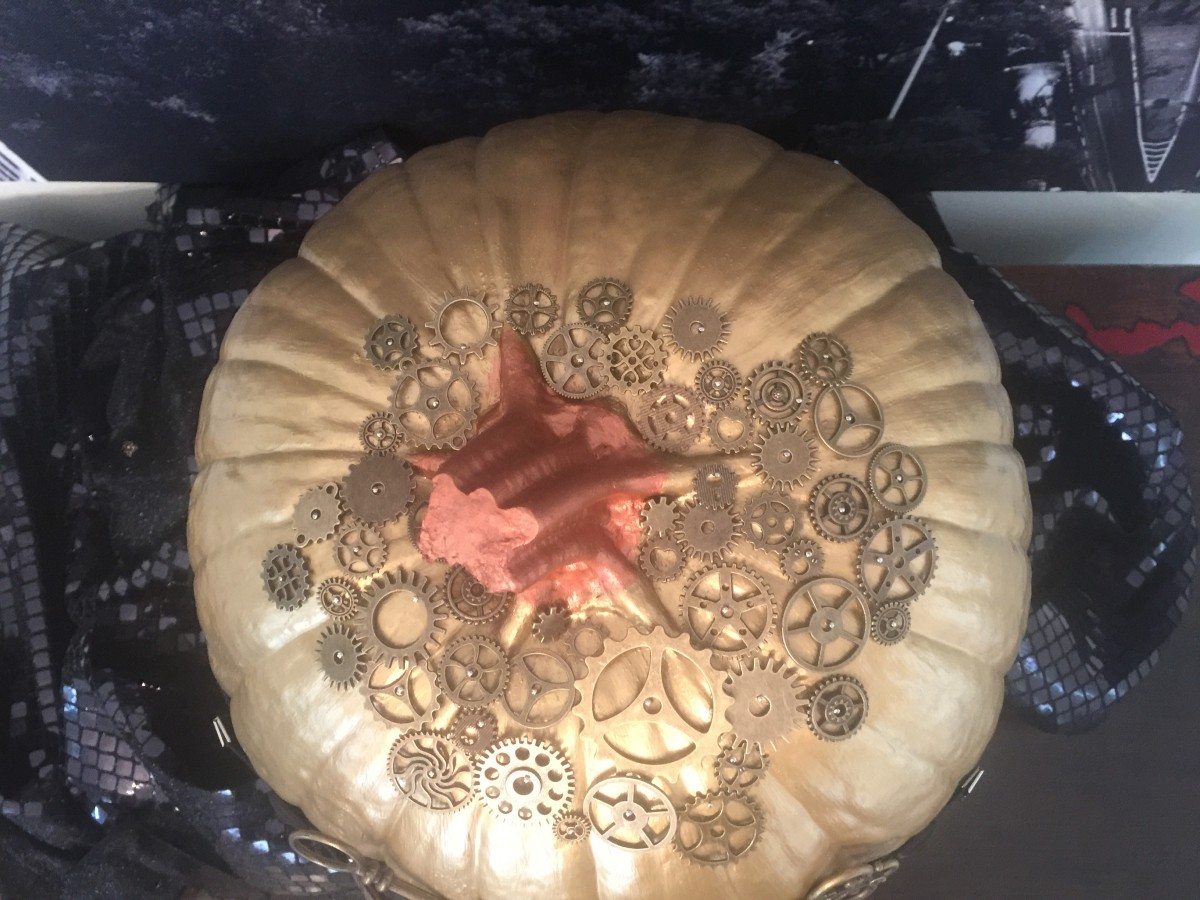
TIP: You can see from my birds eye view photo below I use pins while I wait for the glue to dry. These items are heavier so rather than wait for them to individually dry before progressing this meant by the time I was gluing the last wheel the others were dry and I could remove the pins. You could alternatively leave them in, they are not enough to hold on the accessories but they are a great addition as they look very steampunk!
Whatever you choose, have a little fun with your accessories. I used keys as eyebrows and this guy even had a little sidearm.
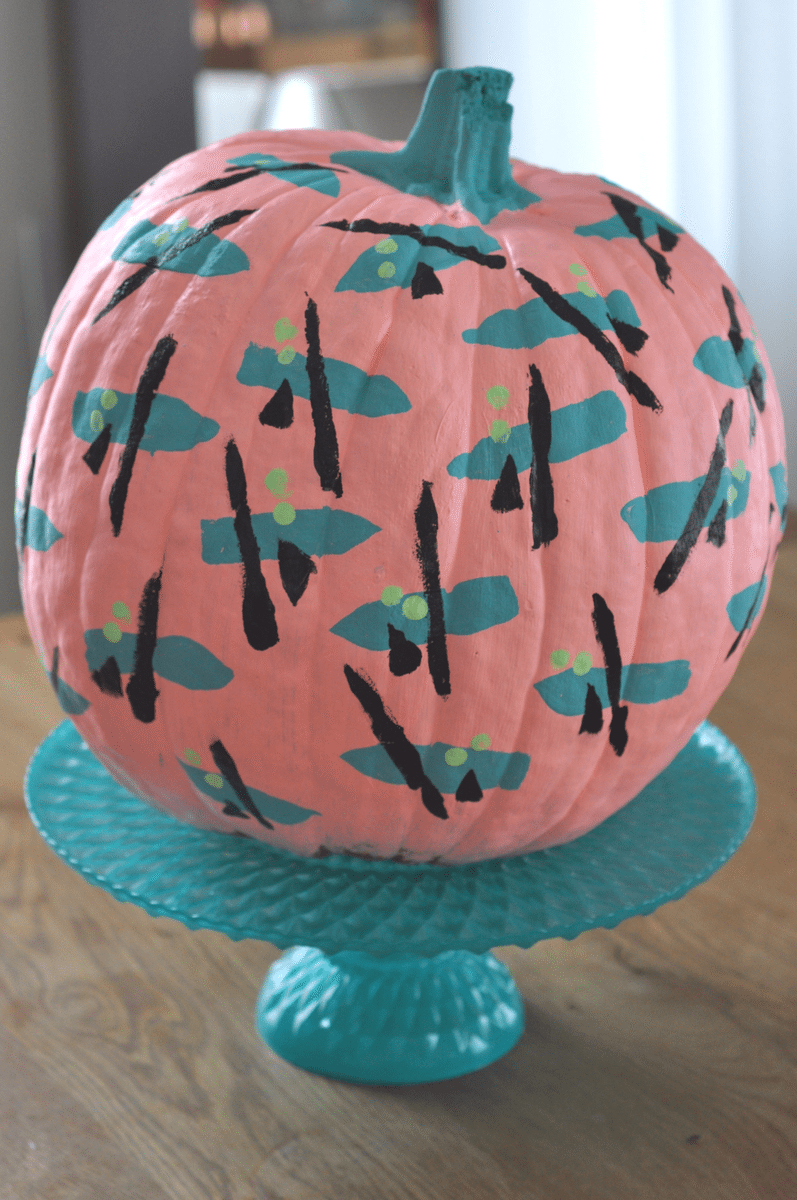
Next up is a funky retro 80’s print that’s super easy to replicate. There are 4 parts to the repetitive design I’ve used over the pastel pink pumpkin. A large rectangle blue, a long black dash, a black triangle and 2 mint dots.

Pick your colors and paint the pumpkin. You will need 2 coats.
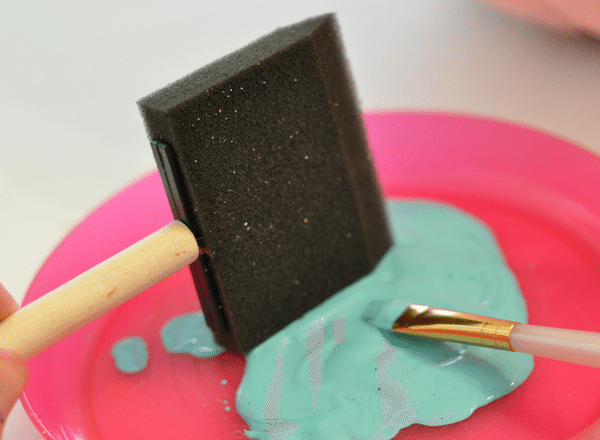
Dip the side edge of a large foam brush into the paint
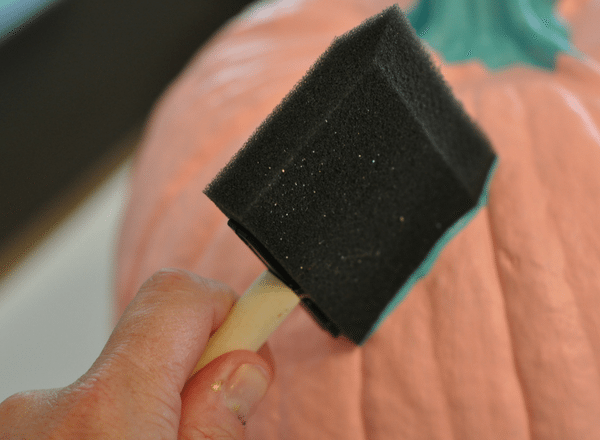
Apply gently (so you don’t get dribbles) to the pumpkin
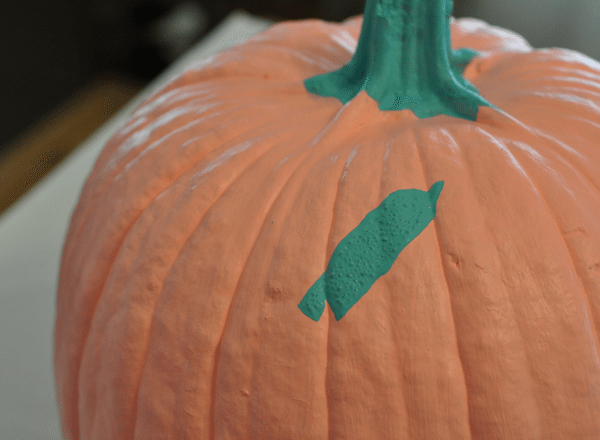
You may have slight gaps in the shape after application

Use a fine paintbrush to touch up

Use the pointed triangle on the other side of the foam brush to apply the black triangle pattern

Use the long edge top tip of the foam brush to do the long black stroke of the design

Use the eraser on the end of a pencil, dip in paint to make the 2 dots of the design
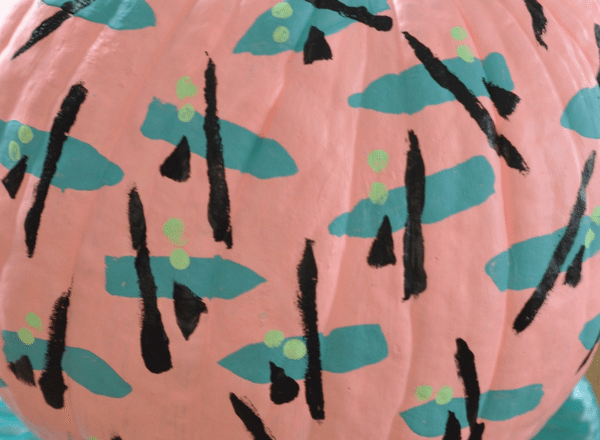
Repeat the pattern
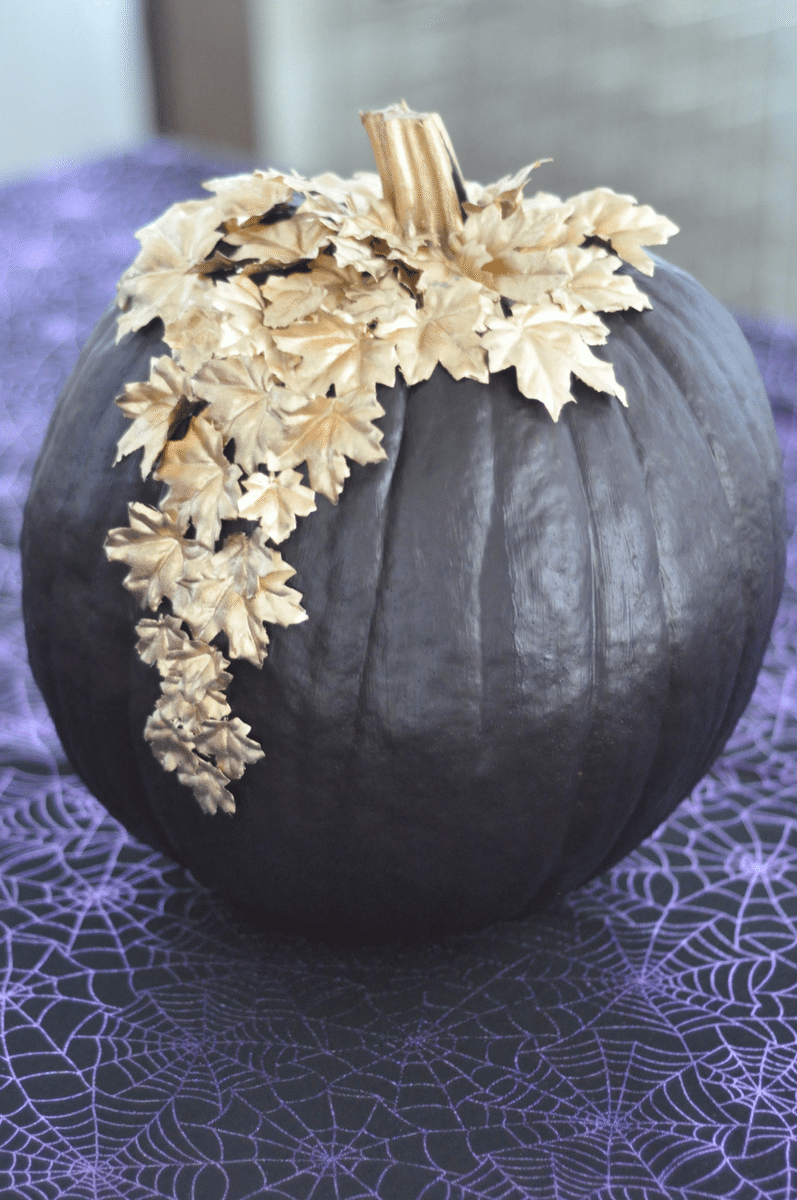
The last pumpkin is a glamorous take on fall. This one is the most simple of all of the projects. I painted the entire pumpkin a deep purple, 2 coats worked really well. I then took gold fall leaves and glued them onto the pumpkin from the top in a cascading pattern down one side of the pumpkin.
I hope you have fun working on your own no carve pumpkins, I’d love to see what you come up with!
Happy crafting, Nat x










What type paint did you use for purple one?
Hi Brenda, I used a dark purple acrylic paint by Deco Art. Thanks for asking, Nat
Thanks for the ideas. I was gifted a terra cotta jack-o-lantern, and I was looking for ideas to cover the cutouts to make it look like just a decorative pumpkin. Your one with the gold leaves should work beautifully.
That makes me so happy! Yay!
I love those! Especially the purple one! Thanks for sharing the how-to’s 🙂
Pleasure! thanks so much for reading and commenting. xx
Love your purple and gold leaf pumpkin! 😊
thank you so much! I’d love to see it if you try it out! Nat