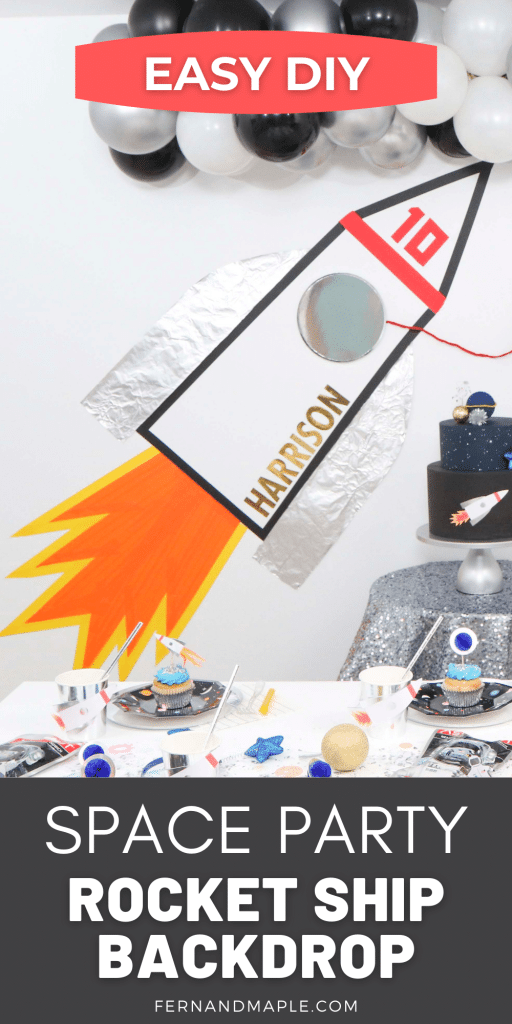
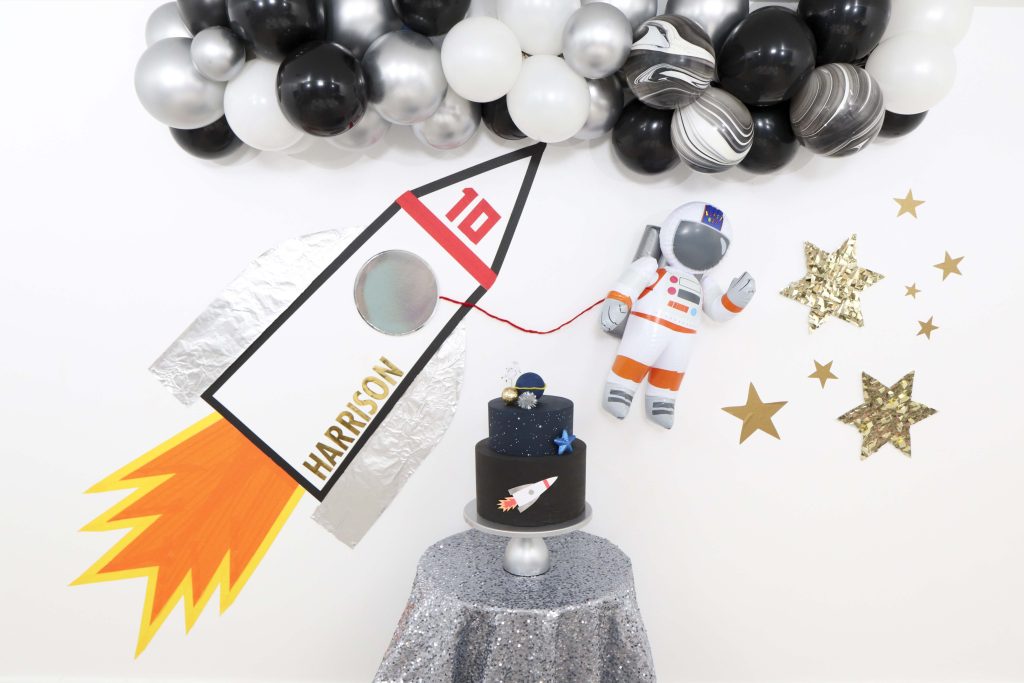
Recently, I styled a Space Themed Party for Kids using the Outer Space Birthday Box from Party Postess. To complement all of the amazing materials from the box, I created an easy DIY Rocket Ship Backdrop using – you guessed it – masking tape! I have really been into using this versatile (and cheap!) material for creating backdrops lately. Read on to see how I did it!
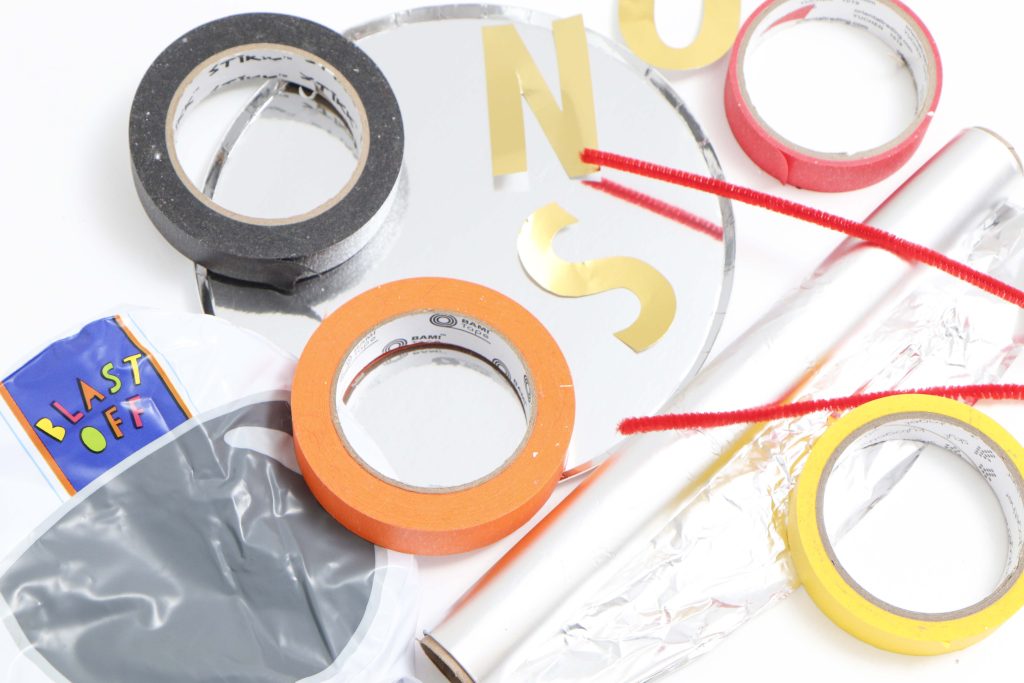
Rocket Ship Space Party Backdrop Materials
You will need:
- Black, Red, Orange and Yellow Masking Tape
- Red Pipe Cleaners, Ribbon or String
- Aluminum Foil
- Double Sided Poster Tape or Removable Glue Dots
- Gold Removable Vinyl or gold letter stickers
- Round silver foil party plate
- Inflatable Astronaut from the Party Postess Outer Space Birthday Box (or from Amazon)
- Scissors and /or a rotary blade
DIY Backdrop Instructions
Step 1
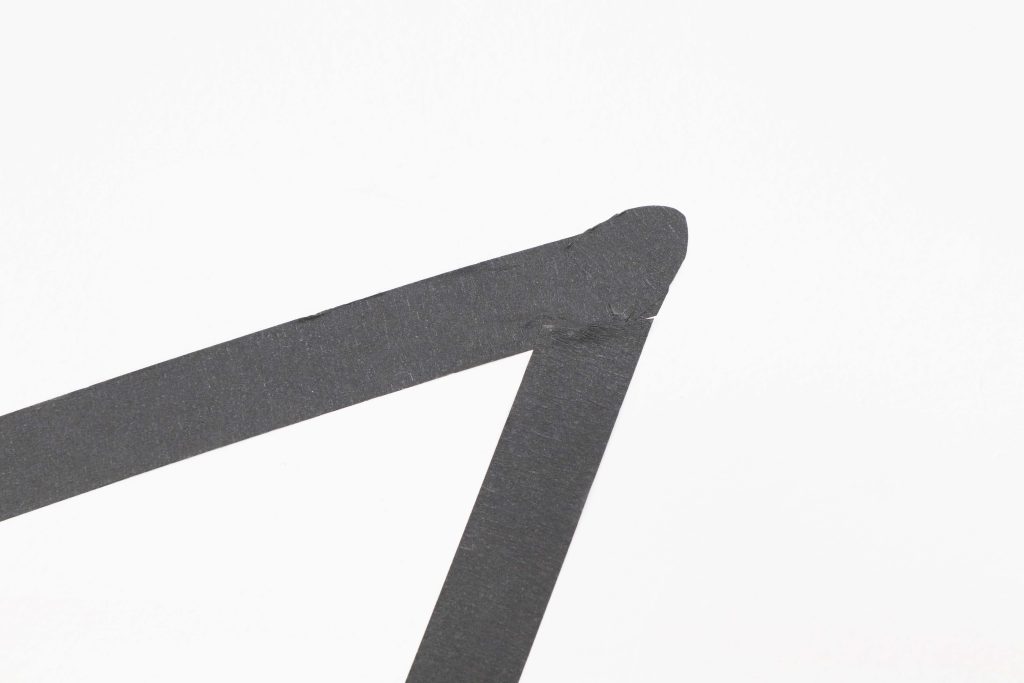
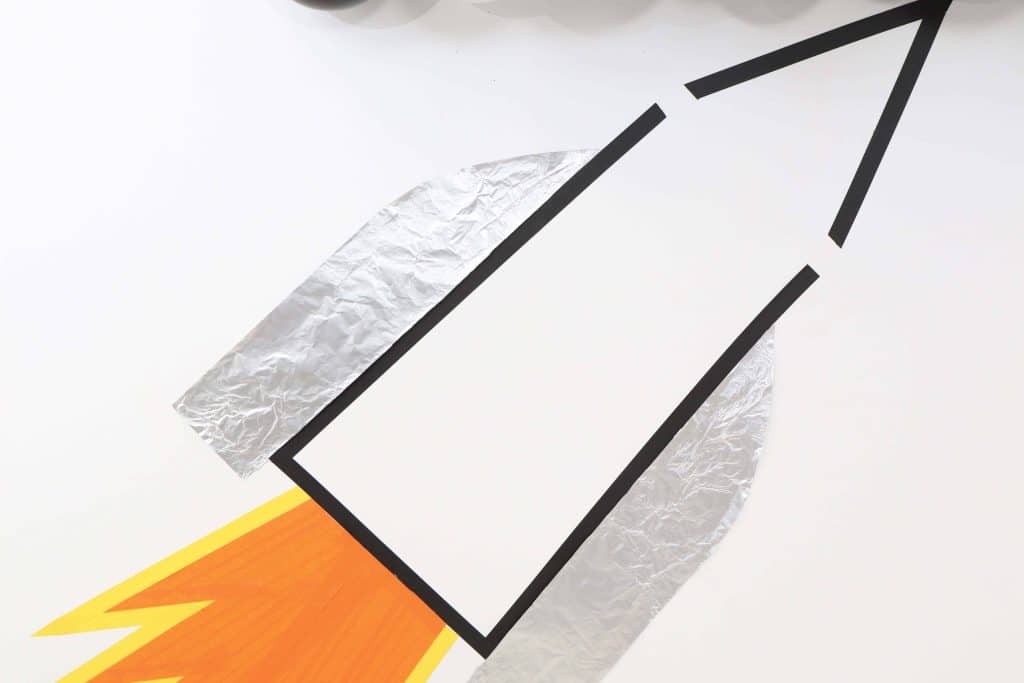
Use black masking tape to create an angled V shape on your wall pointing downwards. This will be the pointed end of the rocket ship. Make sure to leave ample room for the body of the ship!

Tip: Trim a small additional piece of tape in a rounded shape to create a more blunt nose for your rocket.
Step 2
Create the base of your rocket by creating three sides of a rectangle with black masking tape. Leave a 1-2 inch gap between the V and the base.

Step 3
Create thruster flames under your rocket by using orange masking tape. Create the outline first, cutting the ends at angles to create points. Then, fill it in with rows of more tape.
Tip: I crossed over the tape to create the points at the end. Then I used a fabric rotary blade to gently remove the excess ends

Step 4
Add a yellow border to enhance the look of the flames.
Tip: Again I crossed/overlapped the ends of the tape to create the points at the end. Then I used a fabric rotary blade to gently remove the excess ends

Step 5
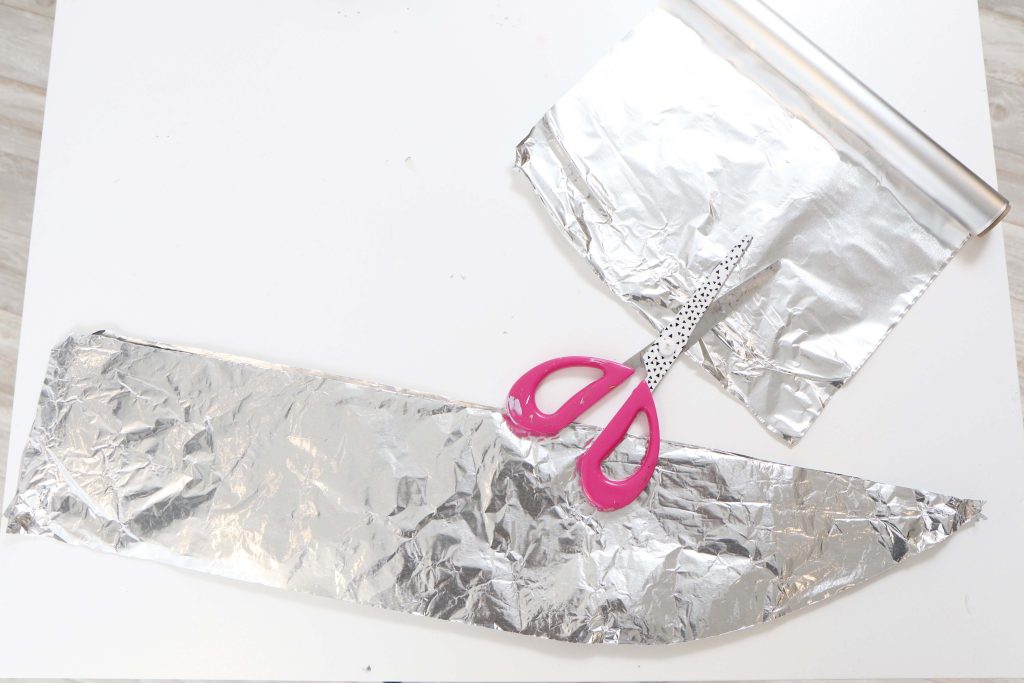
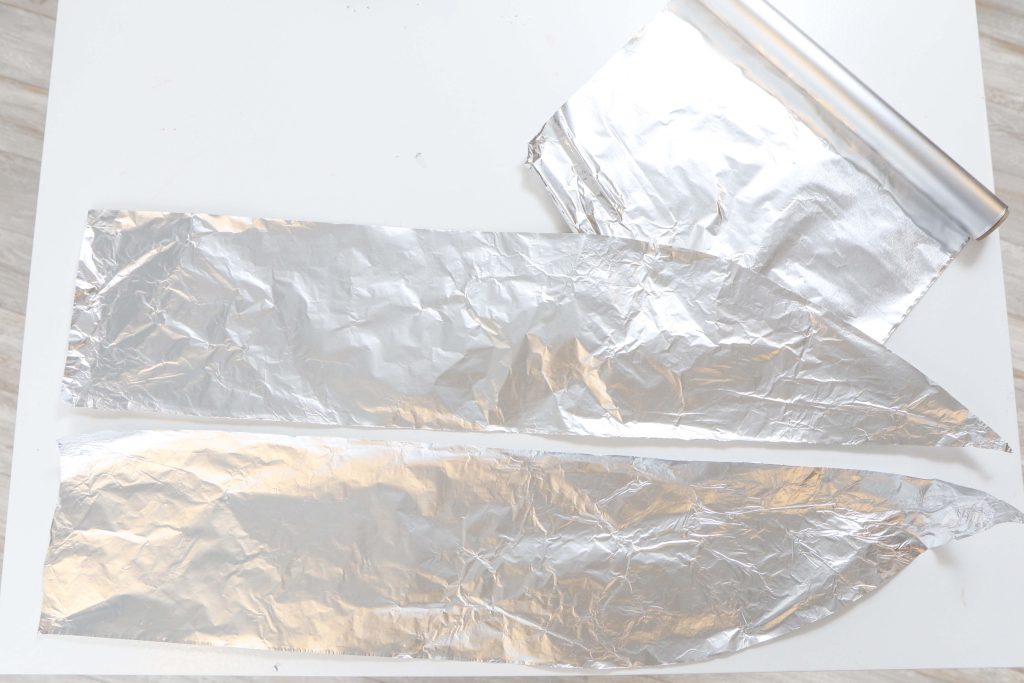
Unroll a sheet of aluminum foil about the length of the base of your rocket. Fold in half, and cut out a wing shape. Next, cut down the middle seam. This will give you two matching wings.
Step 6
Use removable double sided tape or glue dots to adhere them to the sides of your rocket ship.
Tip: Add the wings a little lower down the body of the rocket so that they extend a bit beyond the bottom for a more realistic look.
Step 7
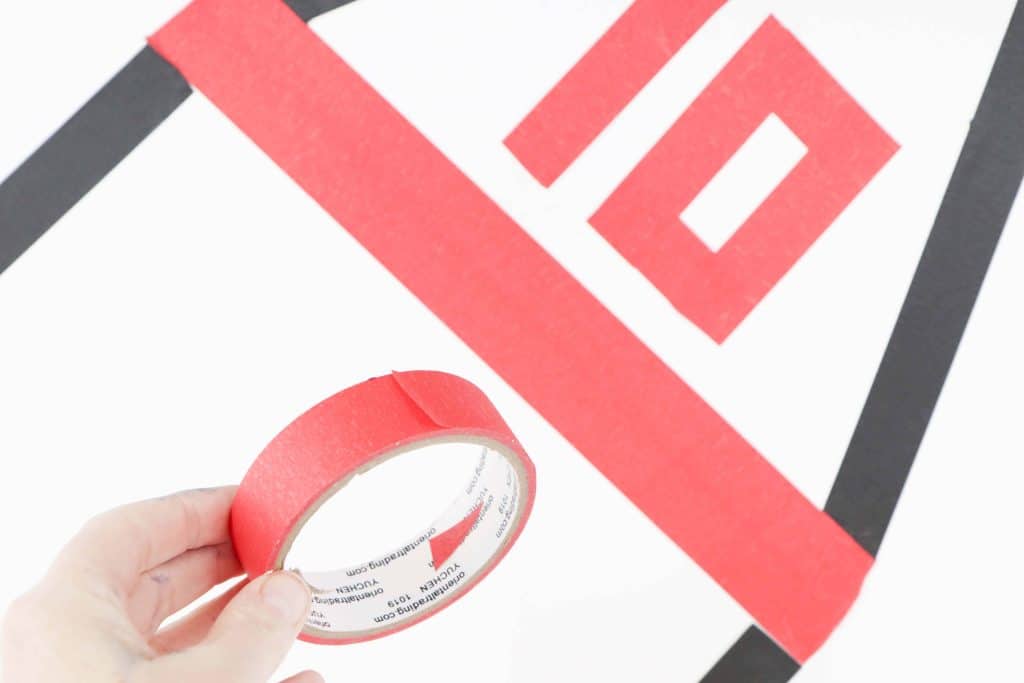
Add a red band and number to the rocket nose with red masking tape – if you’re using the backdrop for a birthday party, a fun idea is to add the age of the child as the rocket number!

Step 8
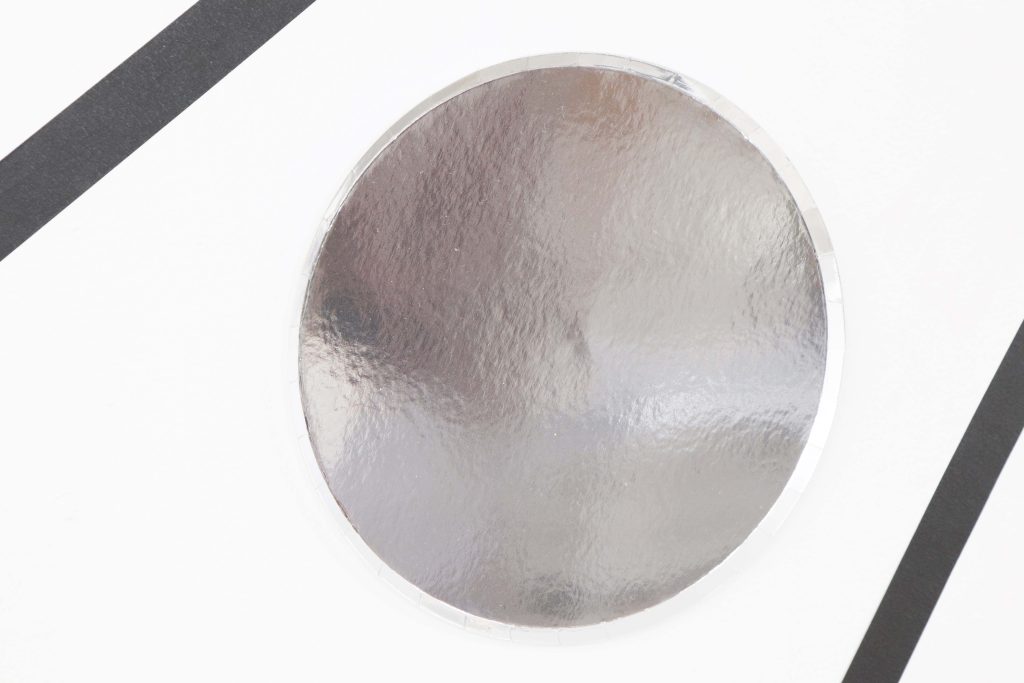
Use a round silver party plate as the window of the rocket ship. Adhere to the wall with removable double sided tape or glue dots.
Alternatively use scissors or a vinyl cutting machine to cut a circular window out of silver vinyl. Adhere it to the upper portion of the base of your rocket.
Step 9
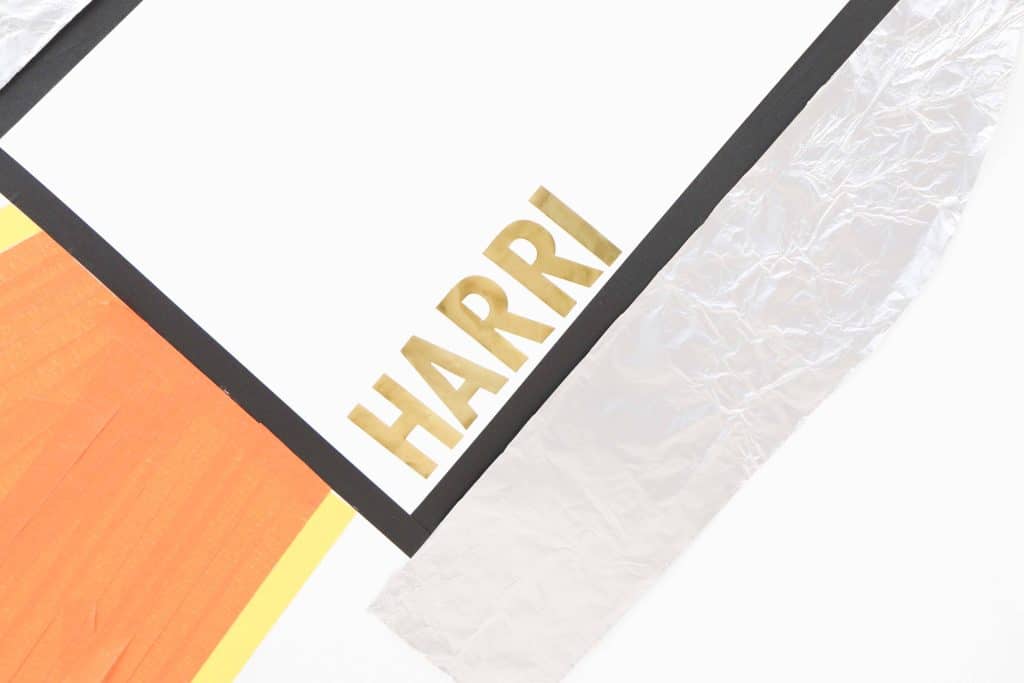
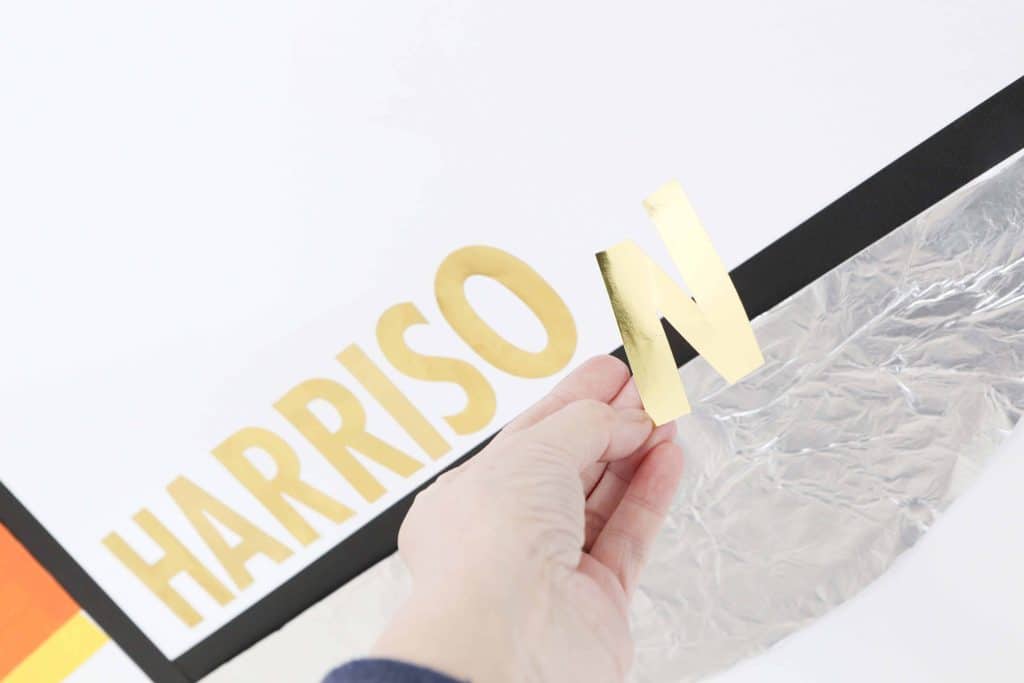
Cut the birthday child’s name out of gold vinyl or use gold letter stickers, and stick them to the bottom edge of your rocket ship’s base.
Step 10
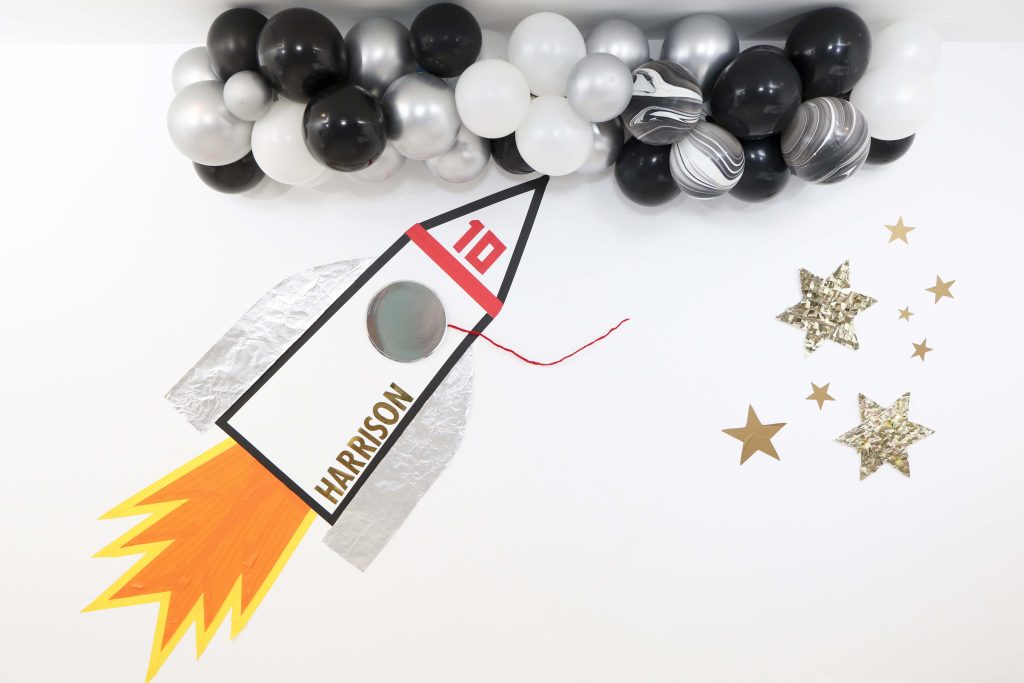
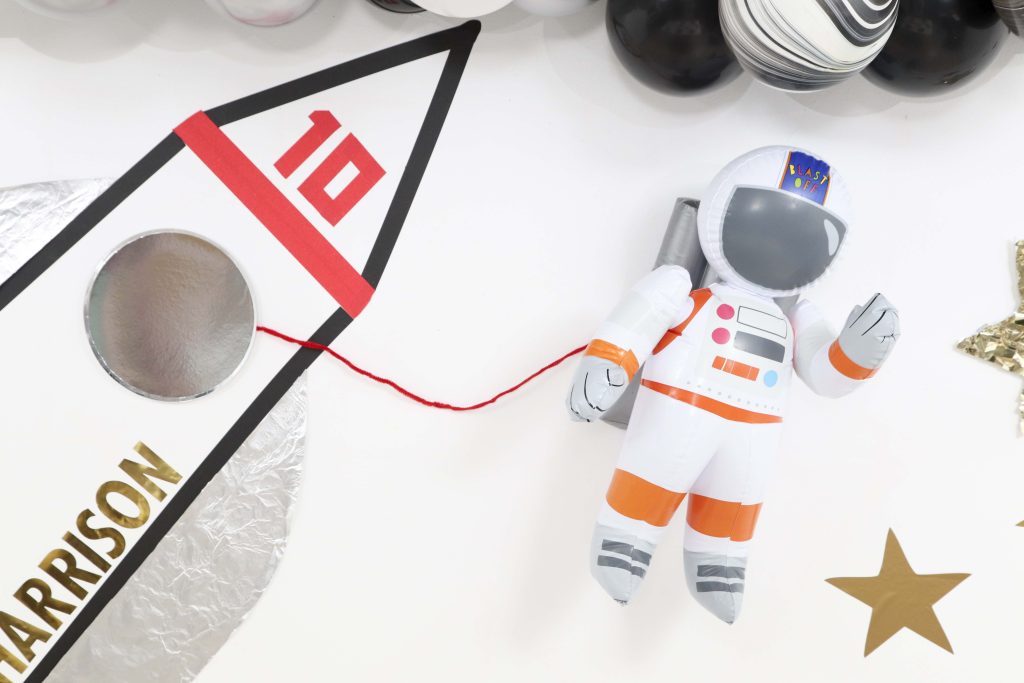
Use red pipe cleaners, ribbon or string to create a tether from your rocket ship.
Step 11
Inflate the astronaut and adhere it to the end of your tether using double sided tape or glue dots.
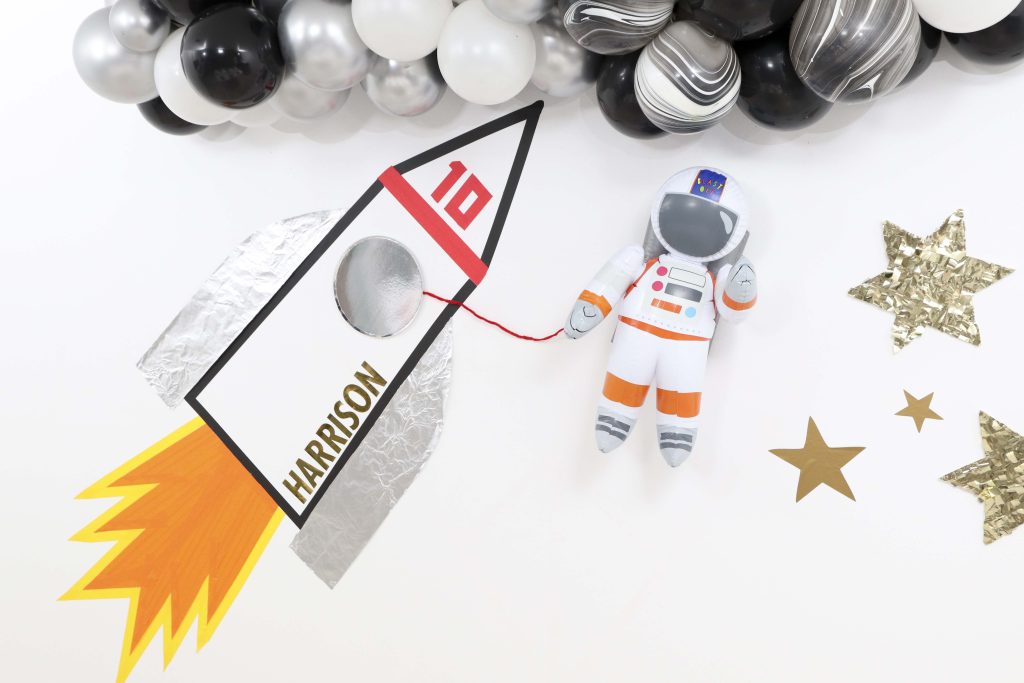
That’s it! I added gold stars and a balloon garland to mine for a little extra spacey oomph.
Don’t forget to check out the rest of my Space Themed Party using the Party Postess Outer Space Birthday Box. And keep an eye out on the blog for some Space Activities to keep kids entertained!
Happy DIY Decorating!
PIN FOR LATER:









Leave a Reply