My UFO Spotting & Outdoor Camping kids party was full of fun details and keepsakes for the kids to take home, but I also wanted to create a wearable keepsake for my little alien-spotters! That’s why I created DIY UFO Hunters t-shirts – a keepsake made to match the theme of the camping party, and wearable during the party for extra fun. I’m so excited to share how you can recreate this fun t-shirt applique and then use this technique for any themed party – from backyard camping to showers to Halloween parties and more!
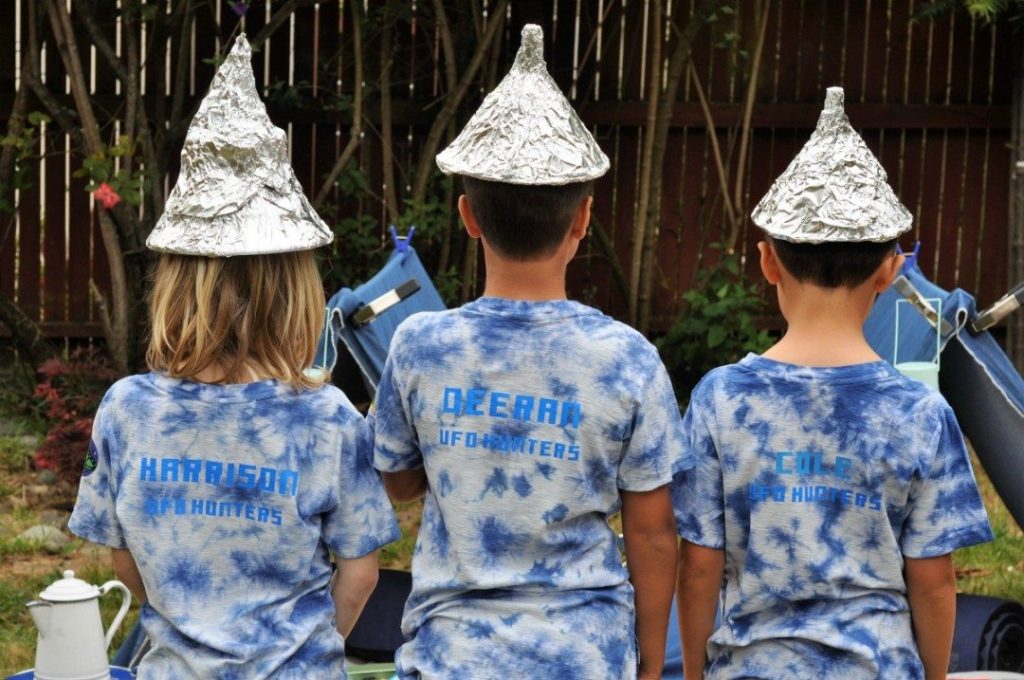
How to Create a DIY UFO Hunters T-Shirt for an Outdoor Kid’s Camping Party
As a blogger, I sometimes receive compensation and/or products in exchange for my styling and crafting services. I also may earn a small commission from any sales that result from affiliate links on this page. As always, all project ideas and any opinions expressed here are my own. For further information on our disclosure policy please check out our disclosure page.
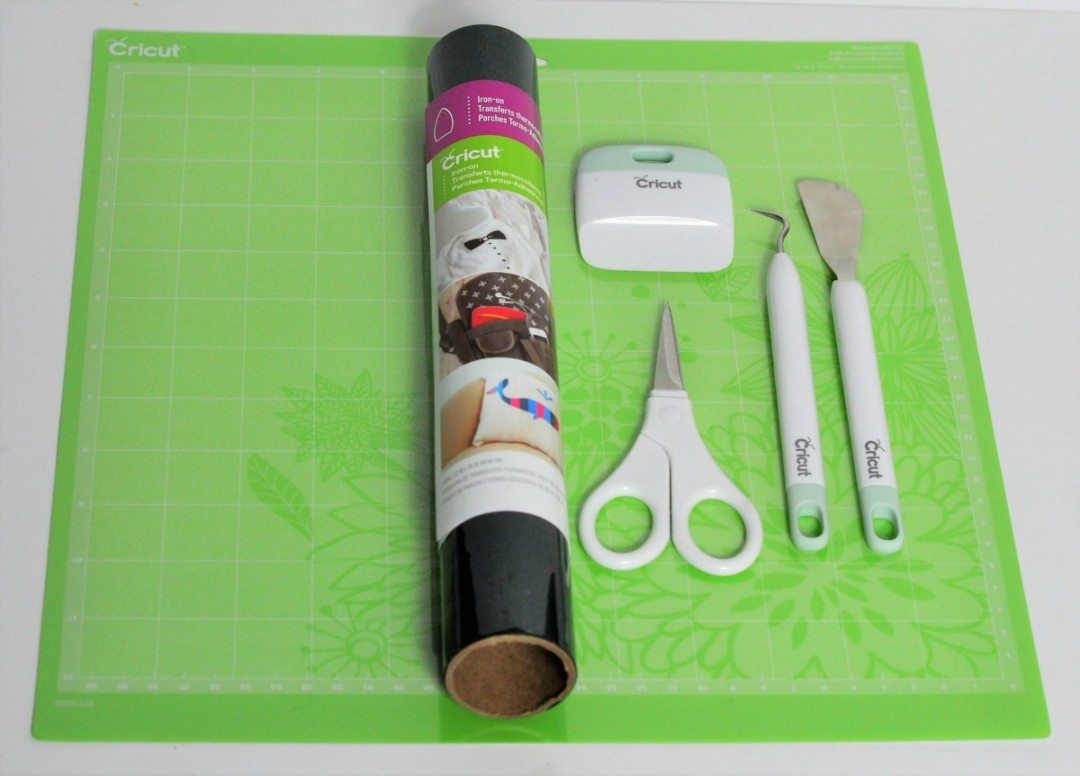
What You’ll Need:
- T-Shirt
- Cricut Machine
- Cutting Mat
- Cricut Iron On Vinyl
- Cricut Wildcard 2 font
- Cricut tools basic set
- Iron
- Scrap of fabric
Step 1: Create text
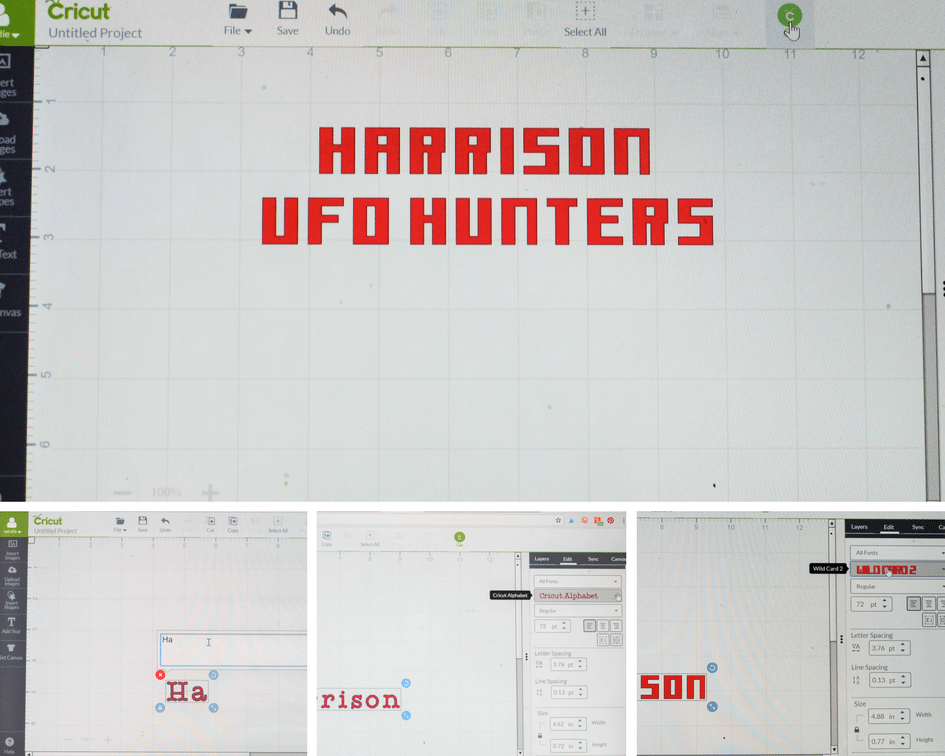
Start by creating the words you want to apply on your Cricut. Open the Cricut Design Space and start a new project.
Click on “Add Text”. Once you have added the UFO Hunters text (I personalized them with names as well), edit and change to the font of choice, in this case, “Wildcard 2”. On this screen, you can also edit the font size, either by dragging the text box to make it larger or smaller; or by updating the size dimensions on the right. (TIP: Measure the t-shirt to determine the size of the text to fit).
Step 2: Prepare text
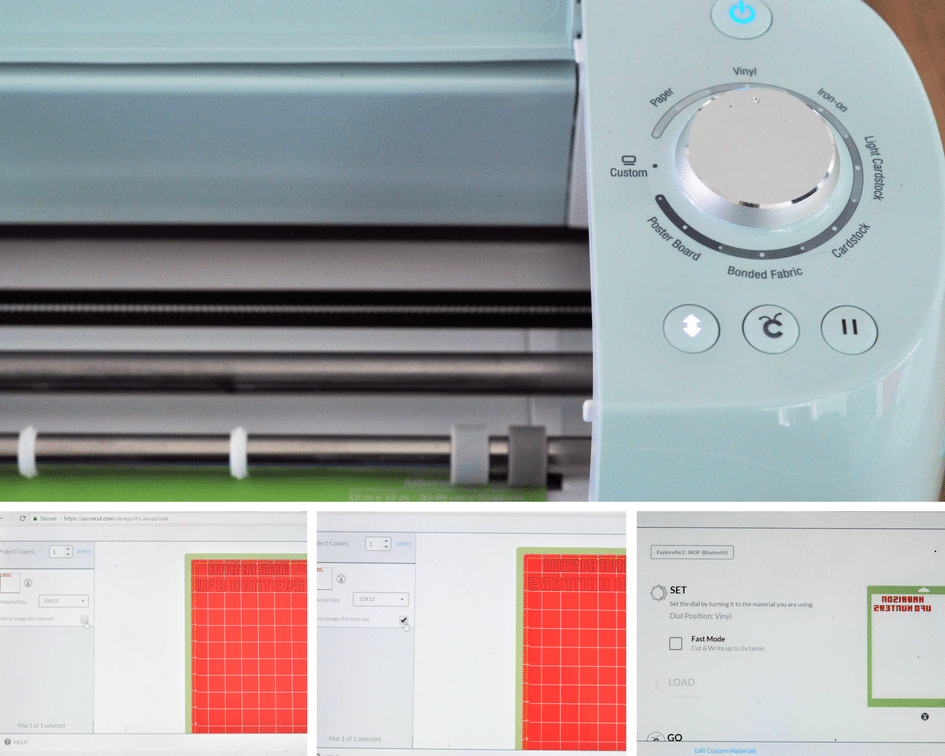
Now it’s time to prepare the text. Click the green GO at the top of the screen to open the preview screen. IMPORTANT: click “mirror image (for iron-on)” to flip the text (after wasting quite a bit of vinyl not doing this, I won’t forget again!). Also, something awesome I learned during this process is that Cricut will cut to save your vinyl. Even if you put the text in the middle it will cut to the top left first and maximize space for the size of mat you are using. This is great if you are cutting multiple units of the same text. It will cut them close to each other.
Click GO again. On the next screen, check you have the material set to vinyl (you can set this using the dial on the machine).
Step 3: Cut text
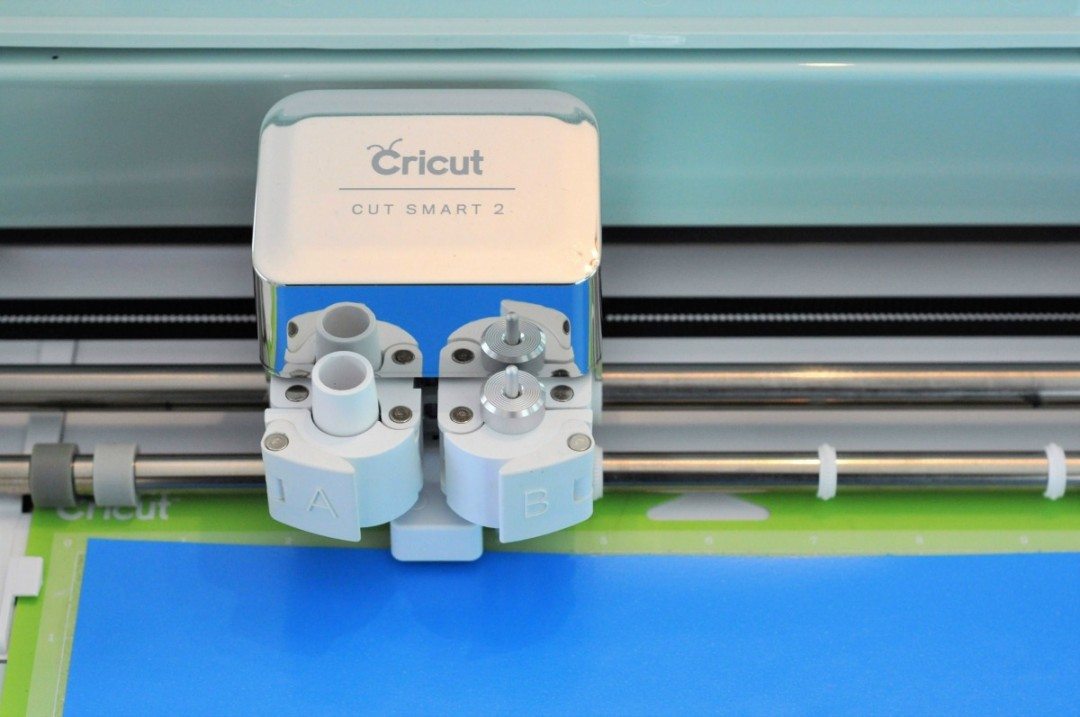
You are now ready to cut. Place your vinyl on your cutting mat plastic side DOWN (once again, if you forget, you won’t forget twice!). Load the mat into the Cricut by pushing the arrow button. Then press the blinking “C” on the machine and voila! it will cut it for you. Once finished, press the arrow button again to have the machine release the mat & vinyl.
Step 5: Weeding the Vinyl
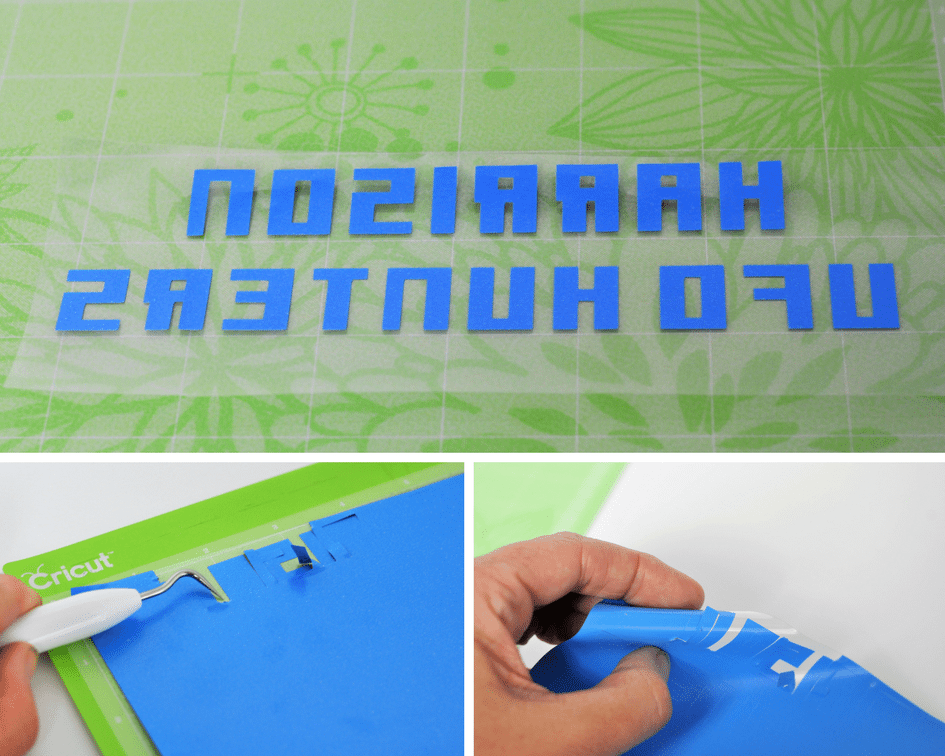
I heard the term “weeding” used by my friend Jessica a lot but never knew what she meant until I got the Cricut. It basically means, peel off the“negative vinyl” – anything that is not part of your design OR the space around your text.
For this project, only backward text should be left behind. There are 2 ways you can do this. One, leave it on the cutting mat and peel it off using your weeding tool; or two, take it off the mat so you can use your hands to roll parts of the vinyl slightly to make getting the hook under the vinyl a little easier. Use whichever method you find easier. I tend to use the latter.
If you left it on the cutting mat, once you are finished peel the plastic and vinyl from your cutting mat.
Step 6: Apply the design to your t-shirt
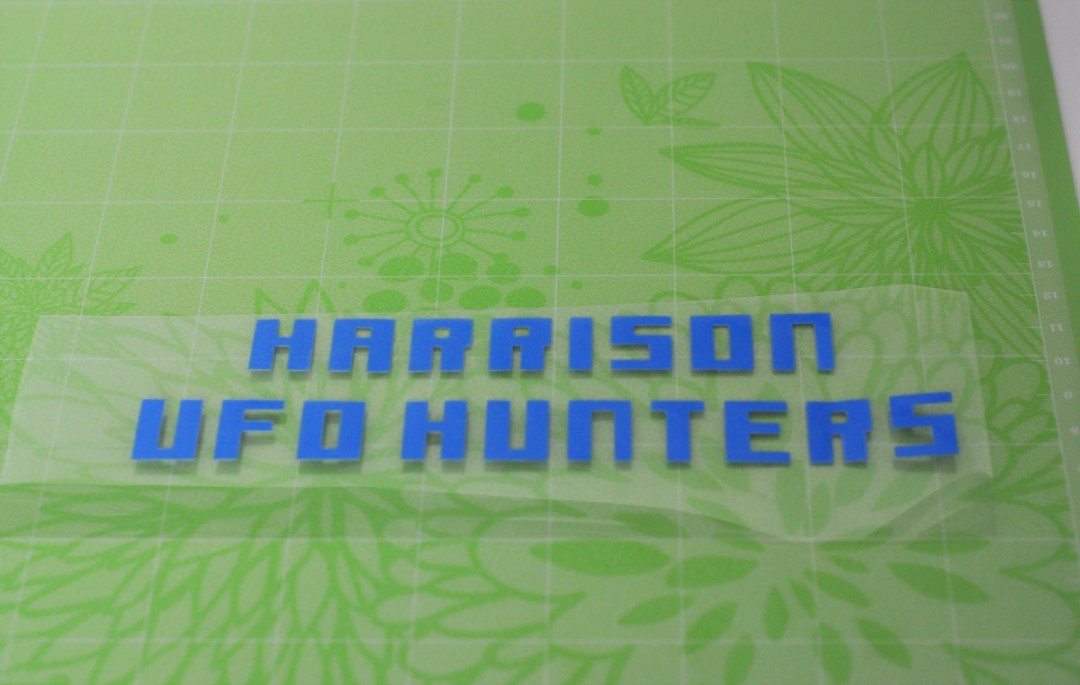
Flip the plastic & vinyl over. You’ll now see that you can read the text as it is facing in the correct direction. Place it where you want it to be on the t-shirt.
Step 7: Iron on the design to your t-shirt
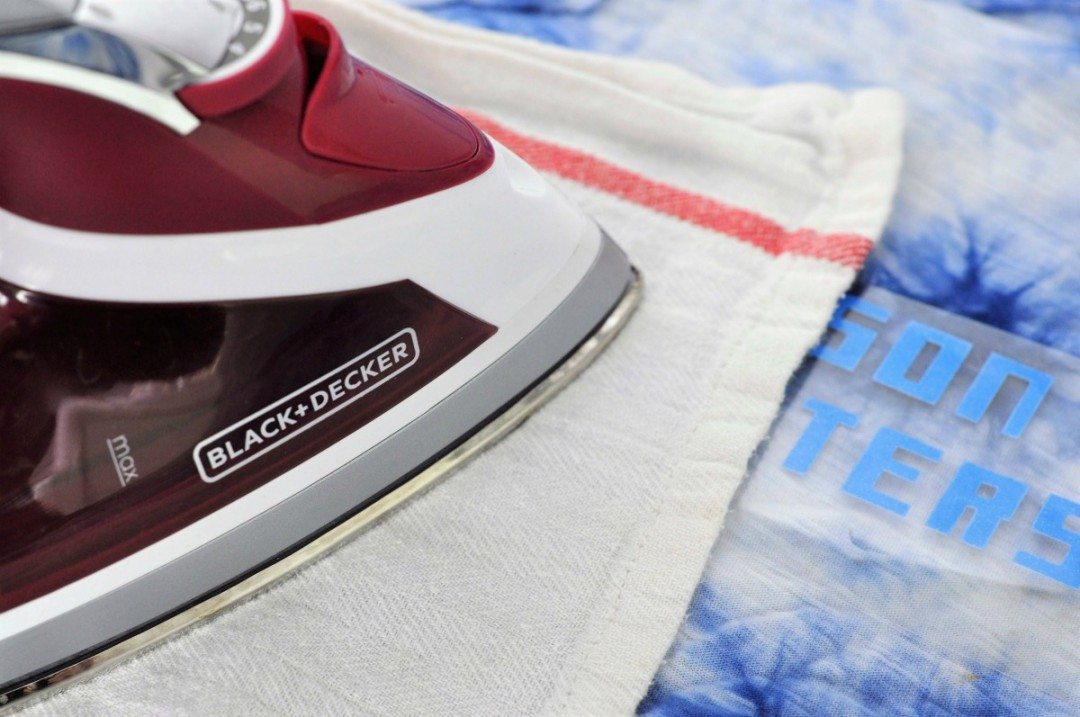
The next step is to iron on the vinyl. You can iron the plastic directly, but I like to put a thin piece of fabric (I used a kitchen towel) over the top before ironing.
Set your iron to hot, but not steam, and then hold firmly for 20 seconds on high heat. DON’T move the iron. Once done, peel the plastic gently from the design/text. The vinyl should stick but if you find it pulls up a little put the plastic back down and apply more heat. Once done, press again using the scrap of fabric only, and then let it cool down.
You now have fun, personalized t-shirts, as well as a “UFO Hunters” moniker as a fun club or team for the sleepover. I used this term throughout my UFO spotting party, which the kids loved. What do you think? Look like they approve?
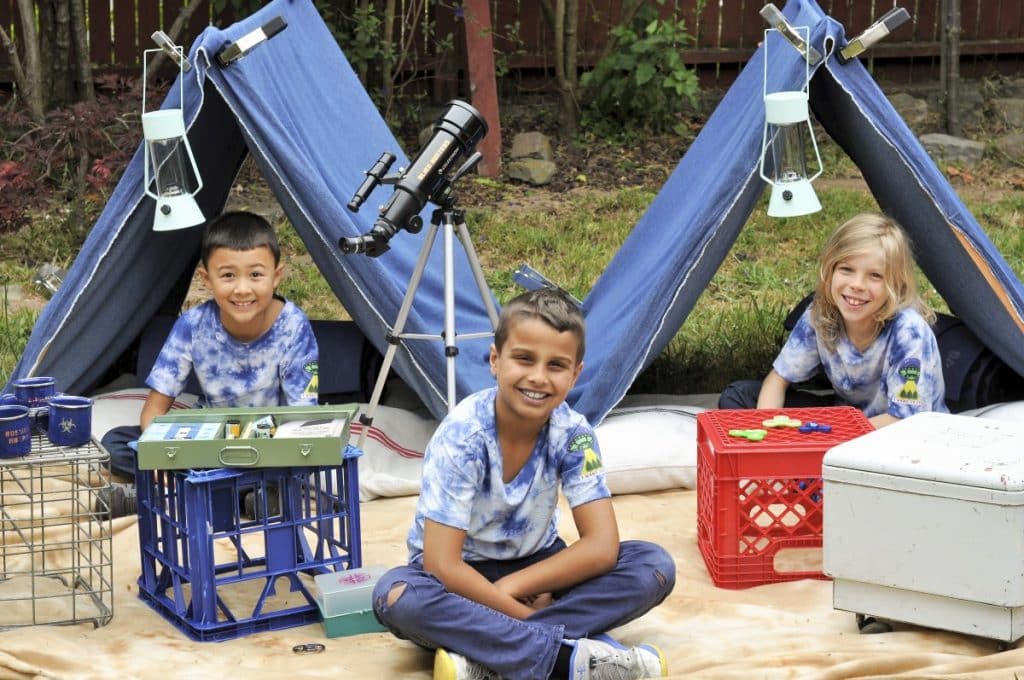
I hope you have fun creating your own personalized t-shirts, they make a great keepsake!
Make sure to check out my UFO Spotting & Backyard Camping kids party and other fun projects for this theme:
- DIY UFO Spotting Kit Invite
- DIY UFO Spotters Merit Badge
- DIY Alien Specimen Prop (this one makes a GREAT Halloween prop too!)
Happy Creating!
PIN FOR LATER:






Leave a Reply