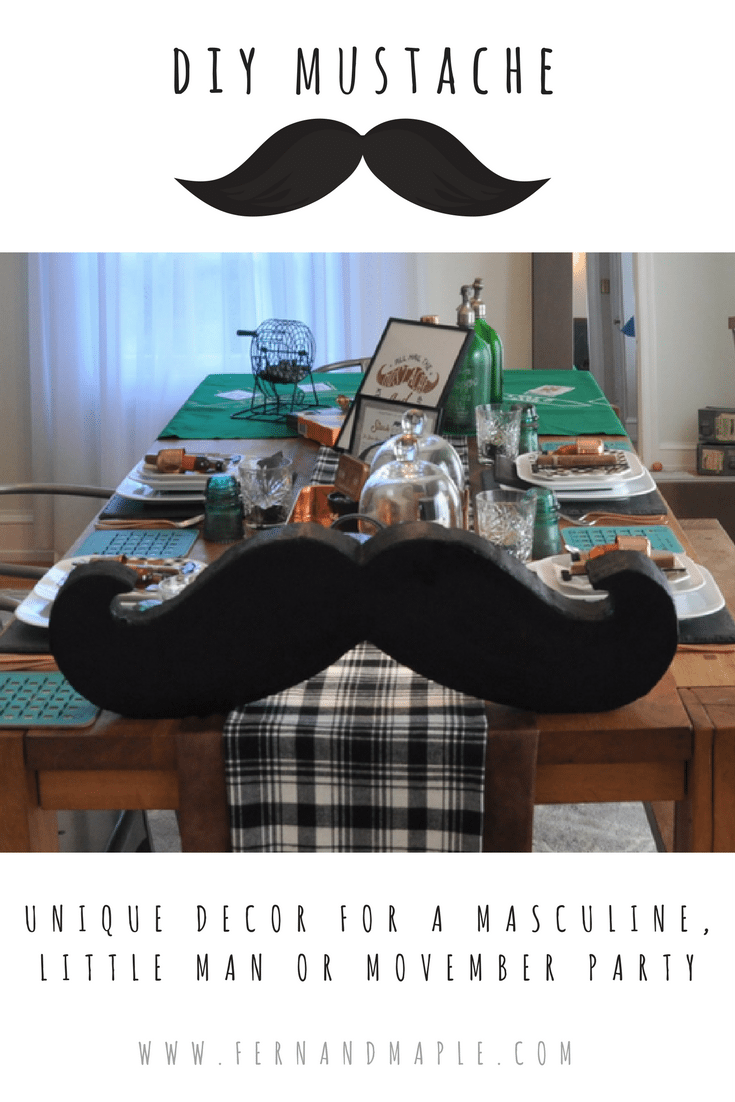
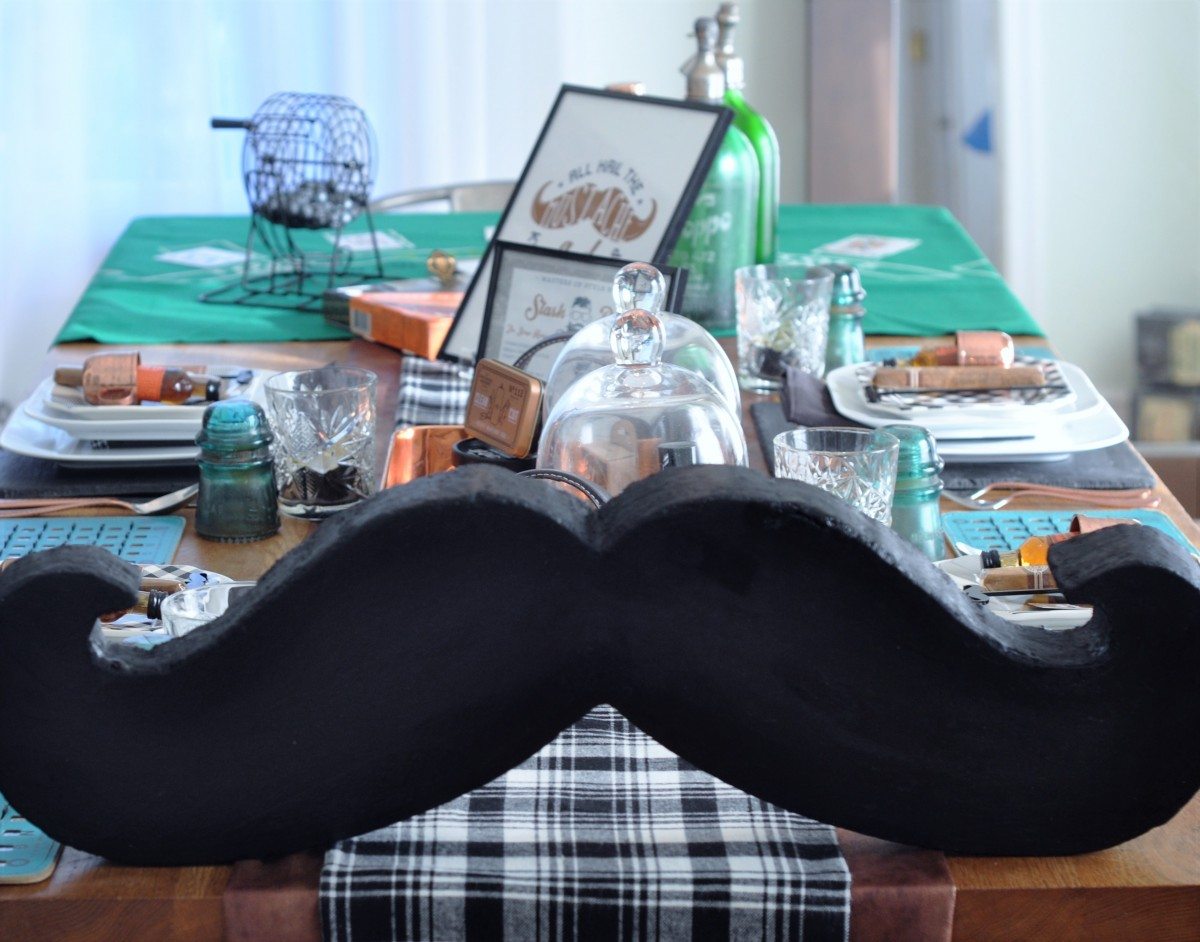
Ever wanted to make your own giant mustache? LOL! I didn’t realize I did until I hosted a Masculine Movember party and wanted a unique centerpiece. I couldn’t resist the idea of a gigantic oversize mustache. This party prop would also work with a “little man” themed 1st birthday, a spy party or a good old mustache theme for the man in your life.
I did NOT receive compensation for this post. I did receive some free products to review. All project ideas and any opinions expressed here are my own. For further information on our disclosure policy please check out our disclosure page.
Here’s what you need to make your very own giant mustache:
- 1 sheet of styrofoam (I used a 12″ x 36″ sheet, 2″ thick)
- 2 tubs of smooth finish & a spatula
- Sand paper (if needed)
- Black paint (I use Decoart Acrylics)
- 1 large sheet of paper & a marker
- Pins
- A Styro cutter
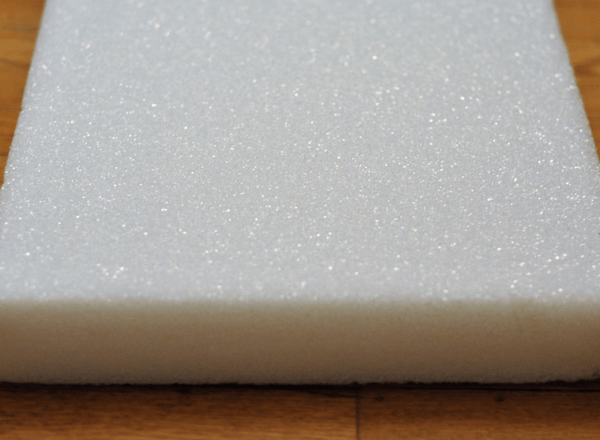
I love experimenting with foam. You can create giant versions of things that don’t weight too much so they can be hung up and used easily. I’ve had a couple of fails of late so was really happy to have a win as I love the way the mustache came out. Let’s get started on how to make it.
Lay out the large piece of foam ready to work with. Then decide on the mustache shape you want to use. You can either find an image online to print and enlarge it or freehand it.
I did mine free hand (after a few attempts!!). I had a mustache stirrer I liked so copied the shape of this. I only drew ONE side of the mustache to create the template. This was the easiest as I could then fold the paper in half to cut and both sides were exactly the same and matched.
Tip: Draw next to the foam so you don’t draw to small or too large. It needs to fit the foam once unfolded.
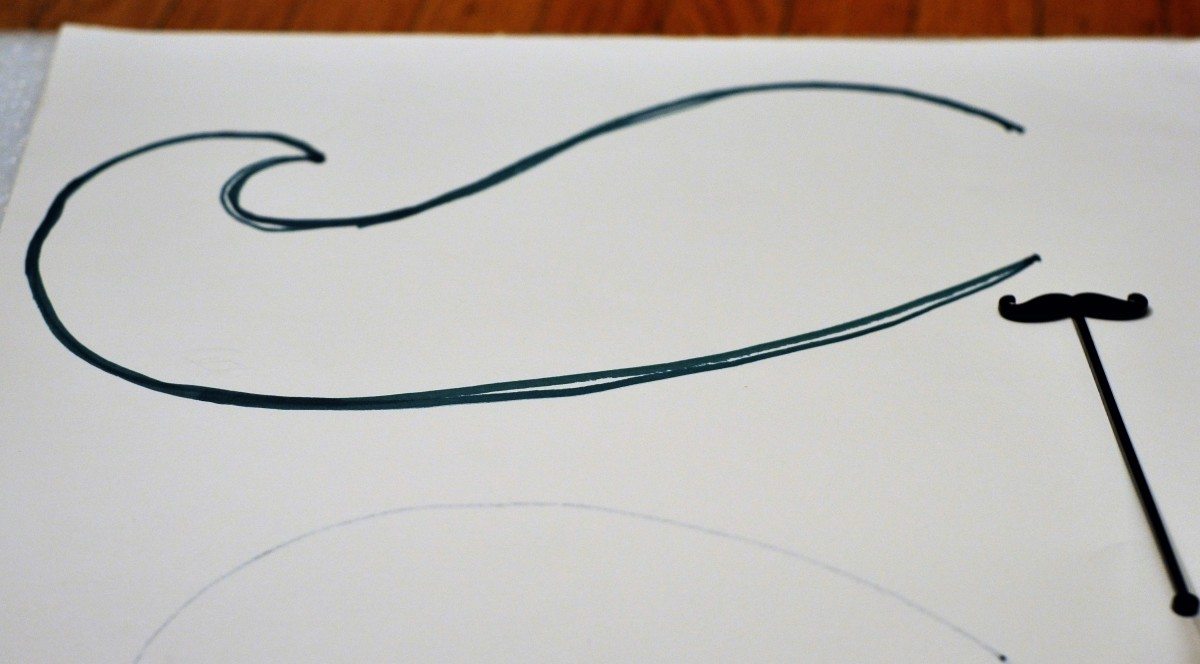
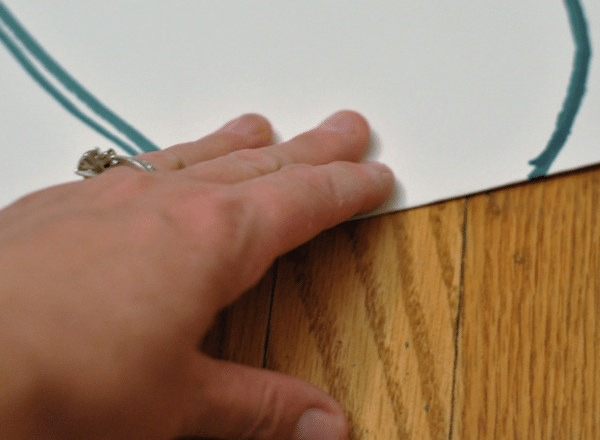
Draw 1/2 the mustache then fold the paper in half at the center
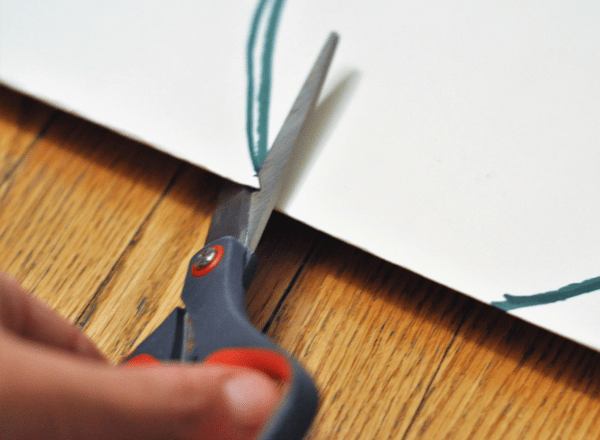
Cut the mustache out while folded so both sides come out the same
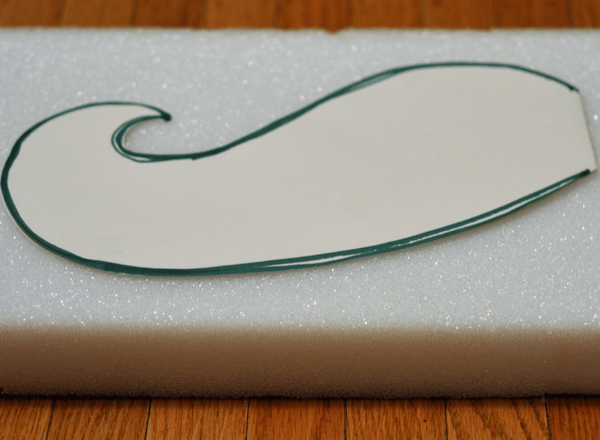
Lay the template on the foam
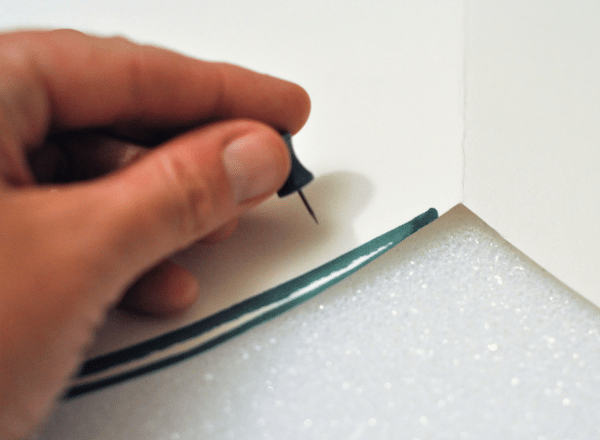
Unfold the template on top of the foam
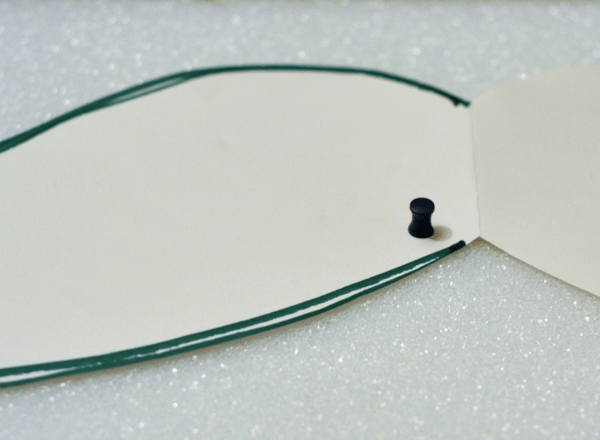
Pin it to the foam
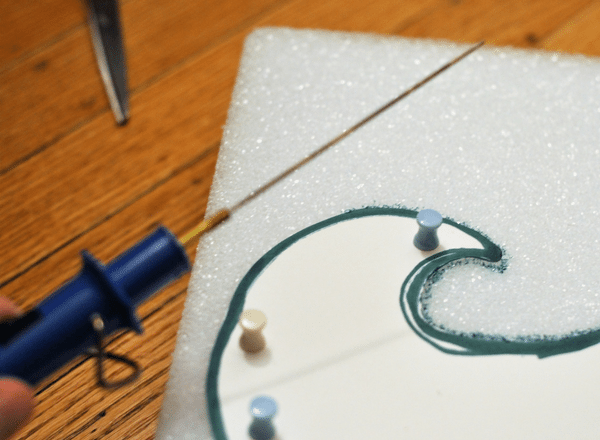
Once you’ve pinned it & it’s secure get ready to cut

Gently press down with the tool to cut, be careful I’ve broken one before by pushing to hard
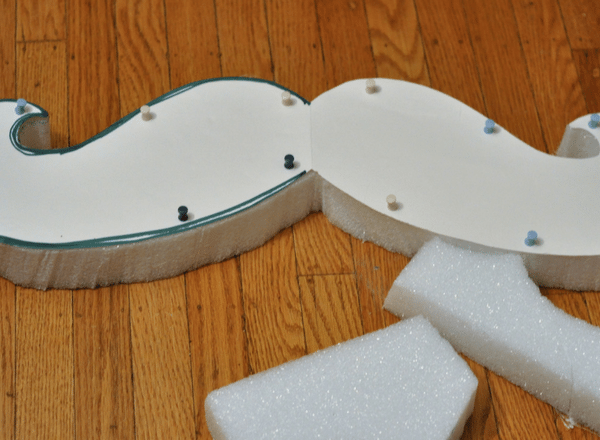
Keep cutting until done, this took me about 15-20min
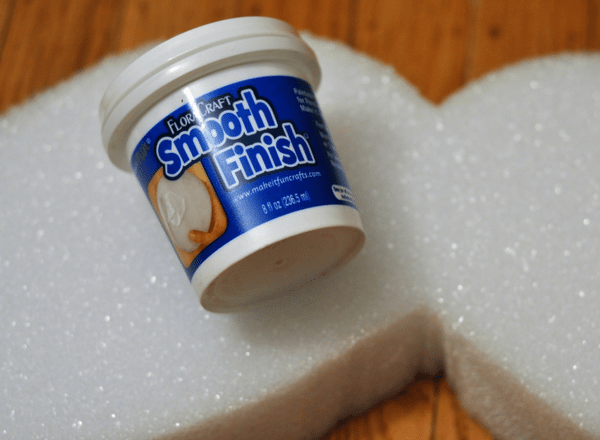
Once done, unpin the template and get ready to use the smoother
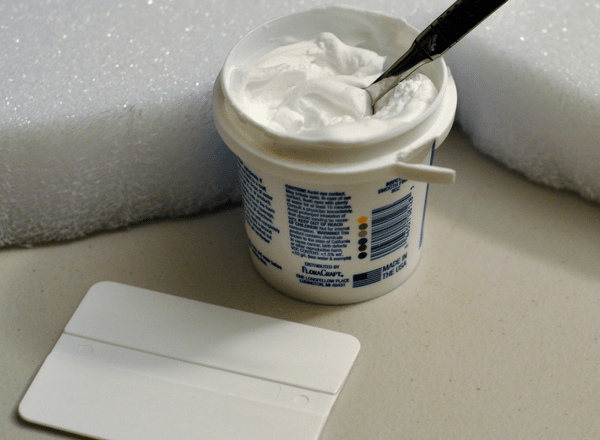
Follow the directions & add a little water
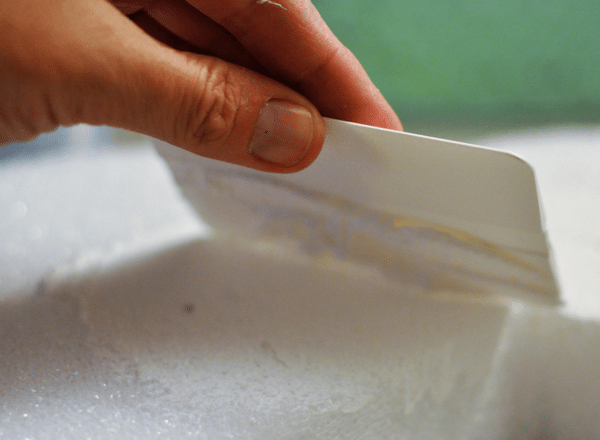
Spread the smoother & press into the foam to fill holes
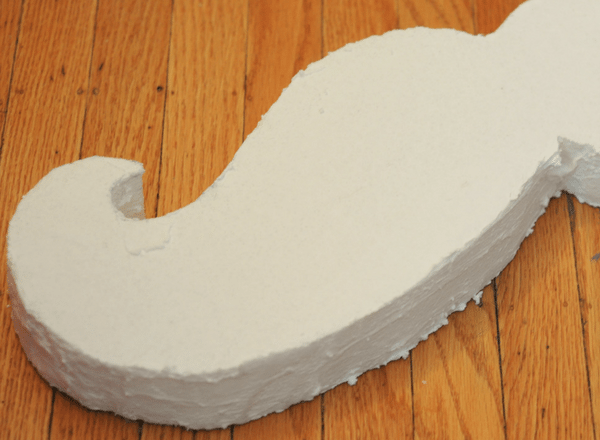
Leave the first coat to dry, then reapply a second coat
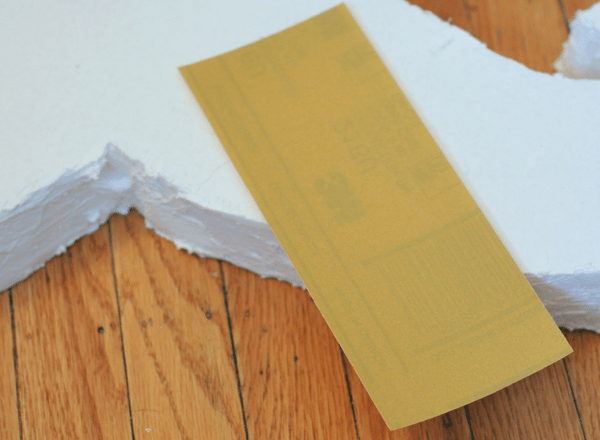
Once dry you’ll see the foam is really smooth. I did have some bumps around the edges that I wanted to remove. Sandpaper worked perfectly.
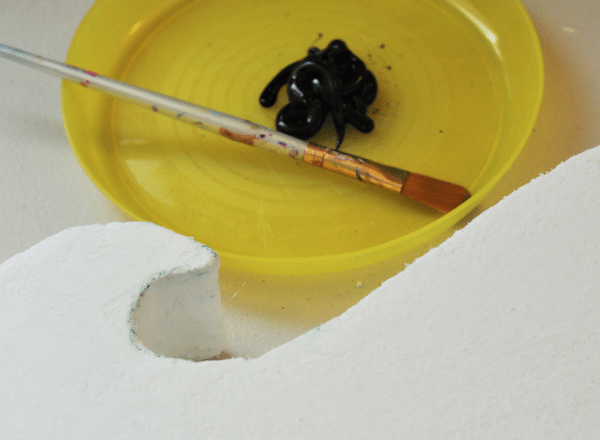
Wipe off excess dust and then you can paint it
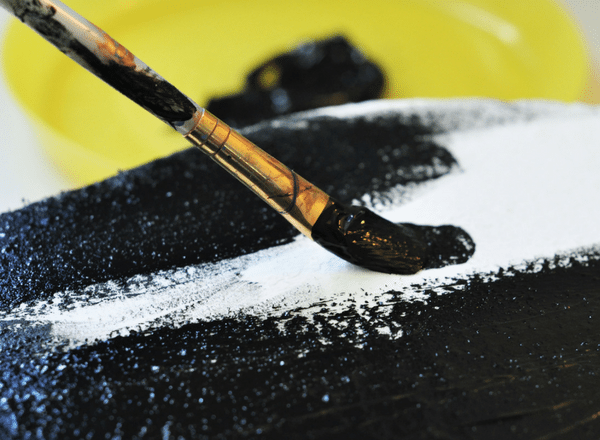
The paint goes on smoothly
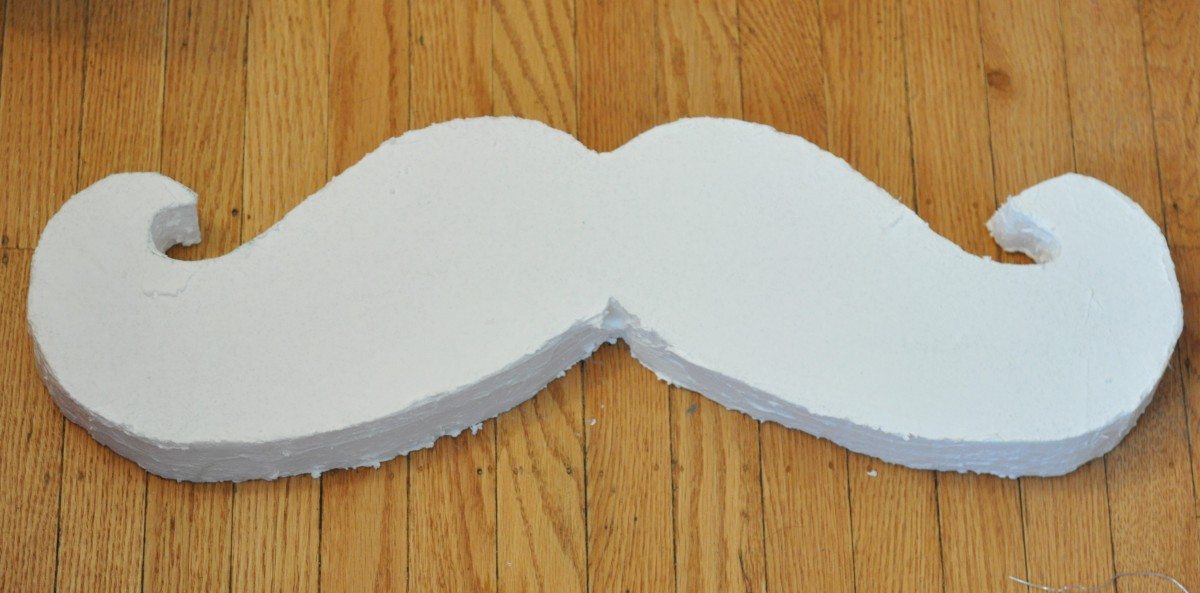
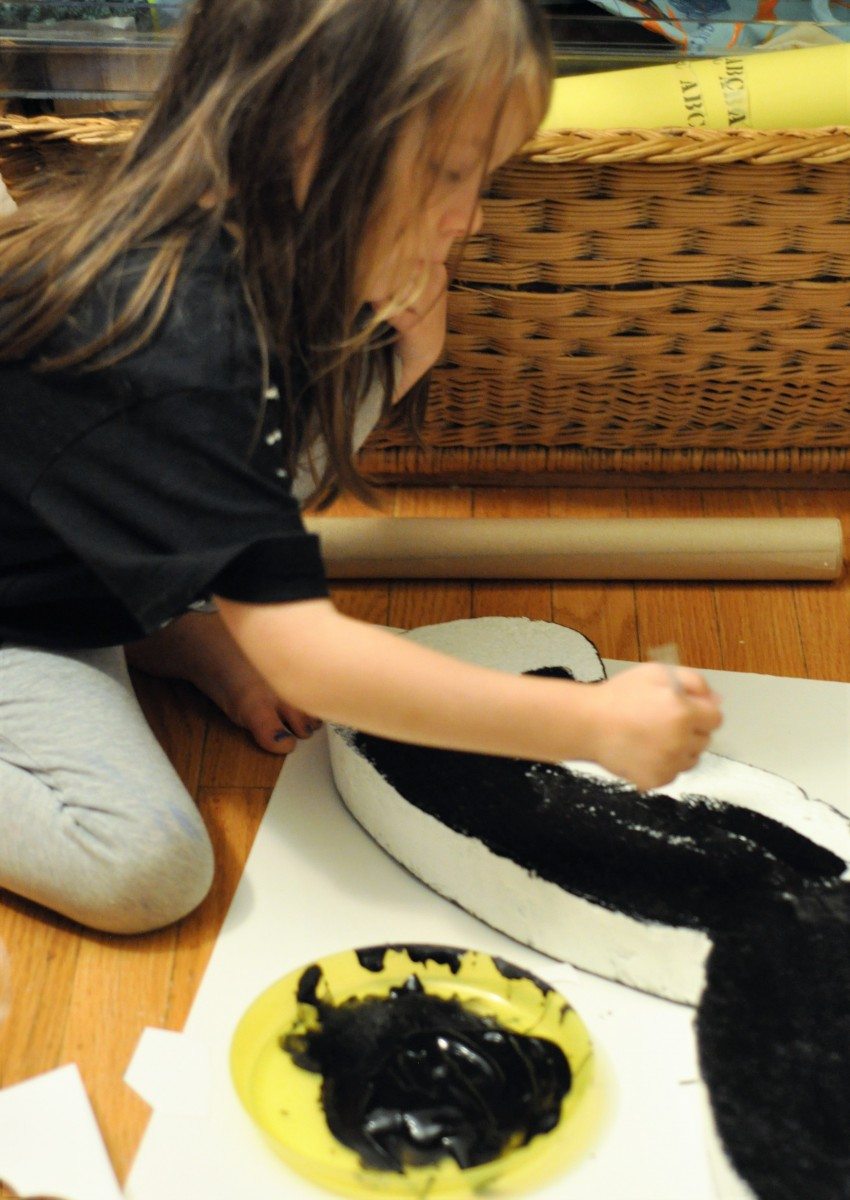
My daughter always wants to help me with the things I make. Some of them I try to give her something else to do (wink!) but this is the perfect craft for her to help with. It’s a great big painting surface. So that part she helped me with.
We let the mustache dry and I gave it an extra coat to give it some gloss and even out the strokes to look like hair that has been brushed – small curved upward strokes.
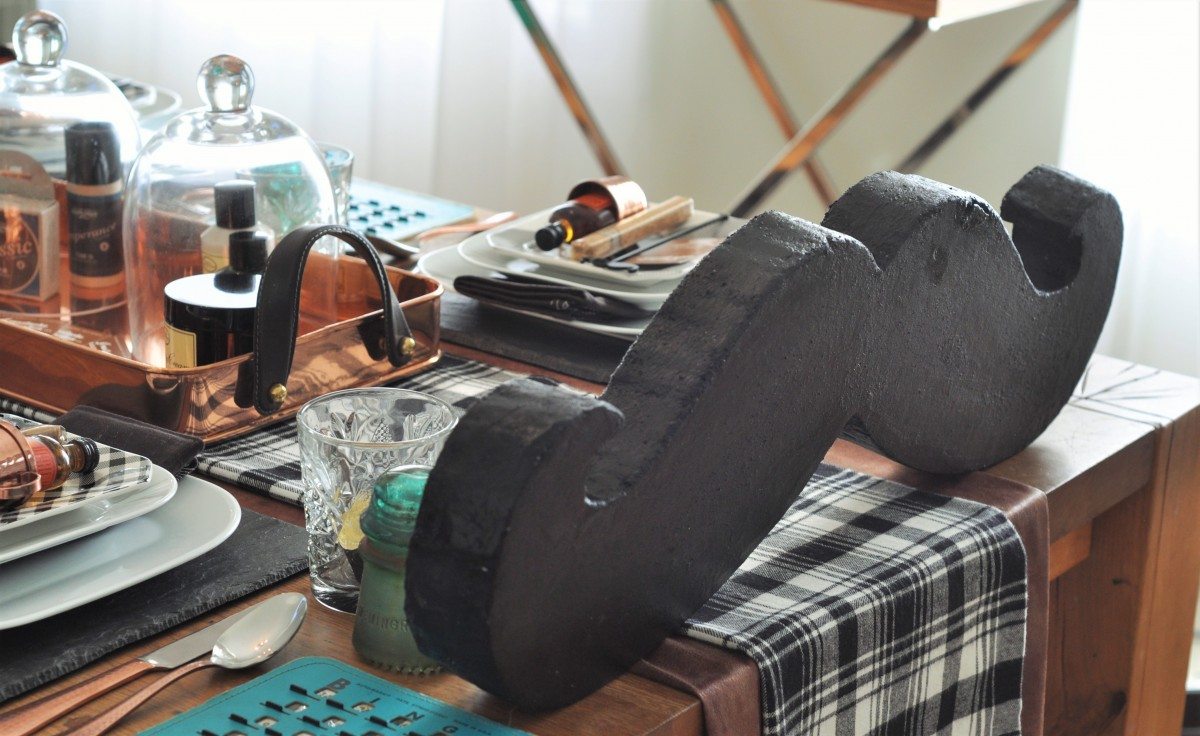
It was then ready to use, you could easily hang it on the wall as it’s so light but I choose to use mine as a table centerpiece.
Hope you enjoyed this DIY tutorial. Have fun! You can check out the rest of my masculine movember party here.
Happy crafting & partying! Nat x






Wow Natalie!!! You did a great job! Thanks for the tutorial!
thanks so much lovely! xx
Love this idea. So clever adding the smoother!
thanks so much love, lips ahoy huh?!
I never thought of this!!! Excellent!!
yay! so glad you liked it!