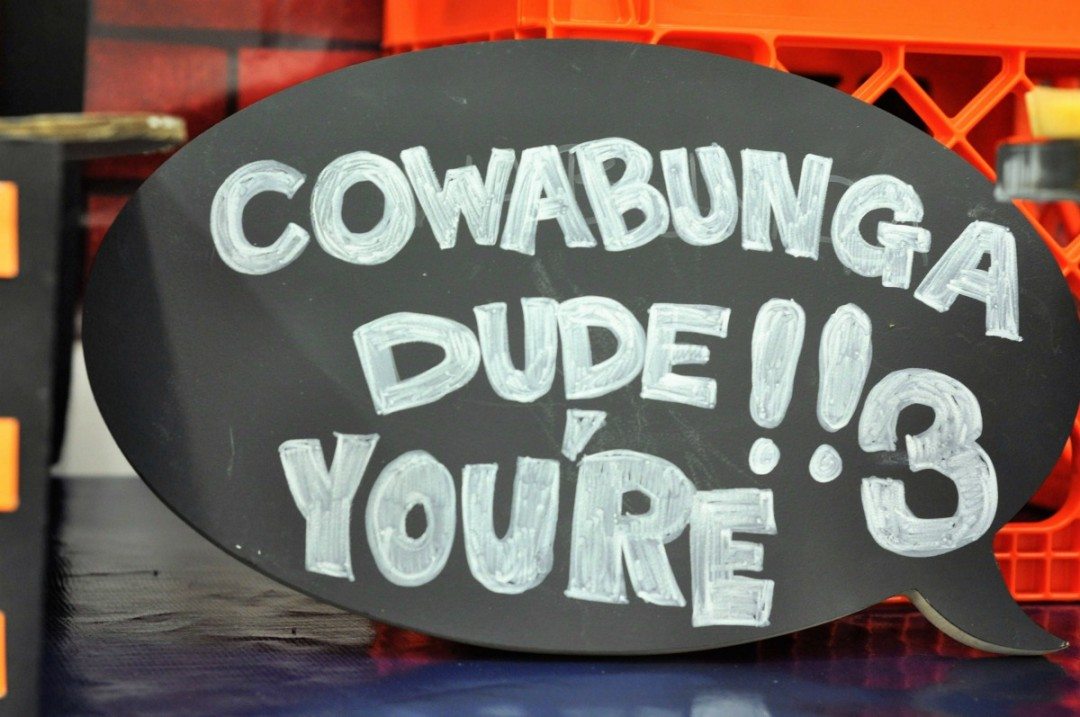
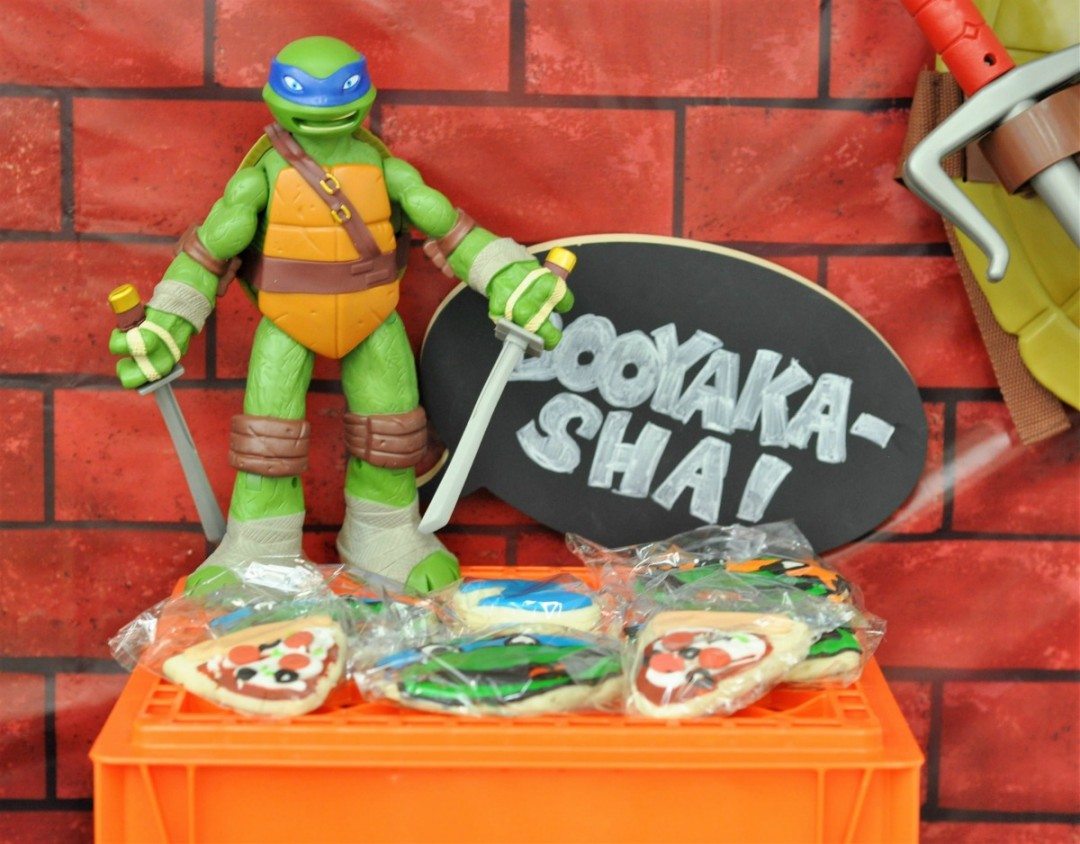
In a past and more youthful life (lol) I was a Teenage Mutant Ninja Turtles (TMNT) fan, old school retro style. It is so much fun seeing a new generation enjoy refreshed versions of these characters. So when I was asked to create a TMNT party for Preston who was turning 3, I was really excited to mix some old with new. One of the things I found out while researching the new TMNT was that they no longer say“Cowabunga Dude”, they now say “Booyakasha”.
I’m sharing my decor ideas and DIY tips to help you put together a fun pizza -loving slime-filled party for your very own Ninja turtle.
How to Throw the Best TMNT Party
I did NOT receive compensation for this post. I did receive some free products to review. All project ideas and any opinions expressed here are my own. For further information on our disclosure policy please check out our disclosure page.
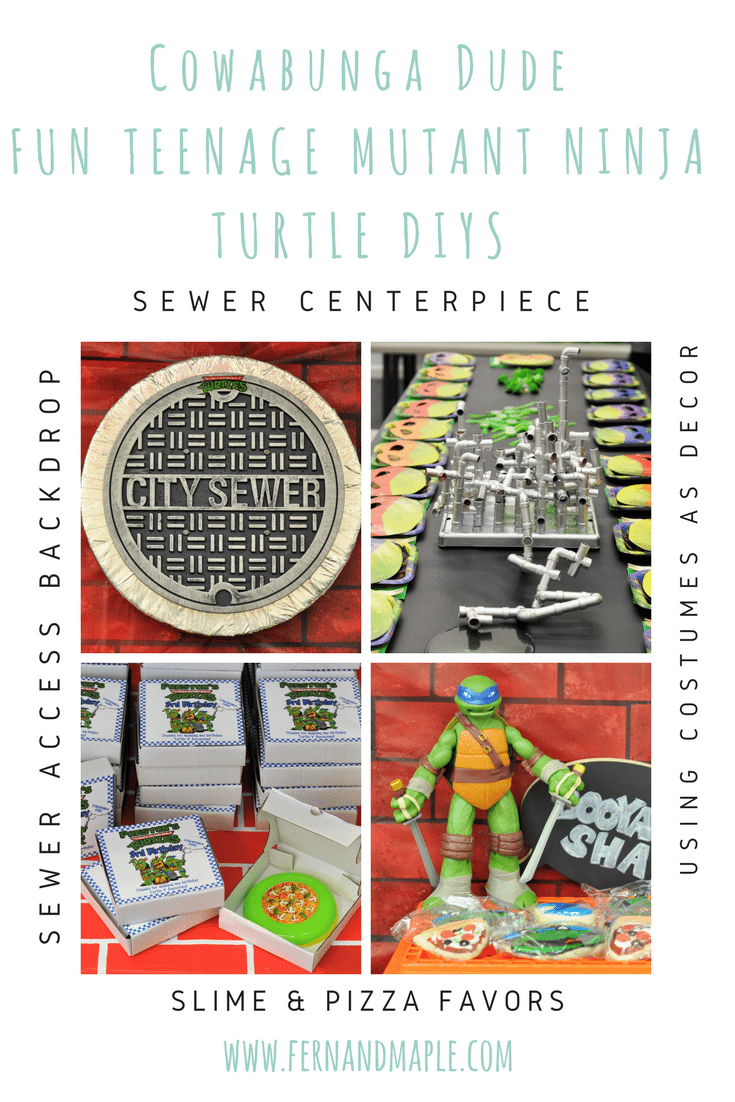
Create a DIY “Sewer” Backdrop
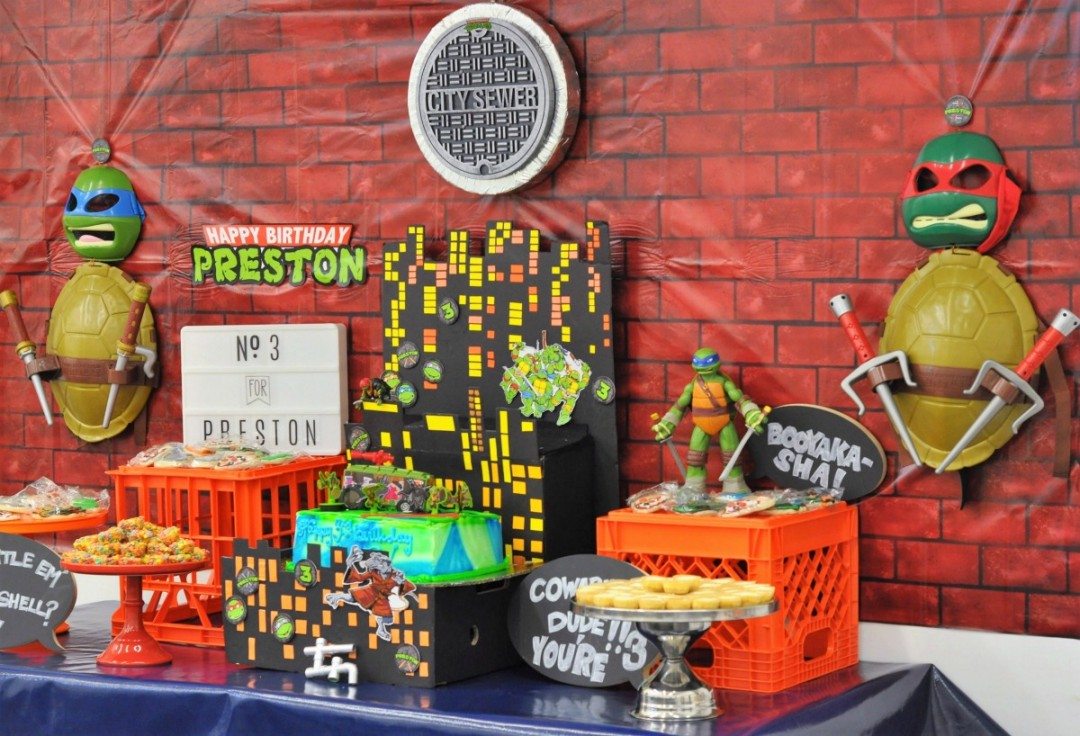
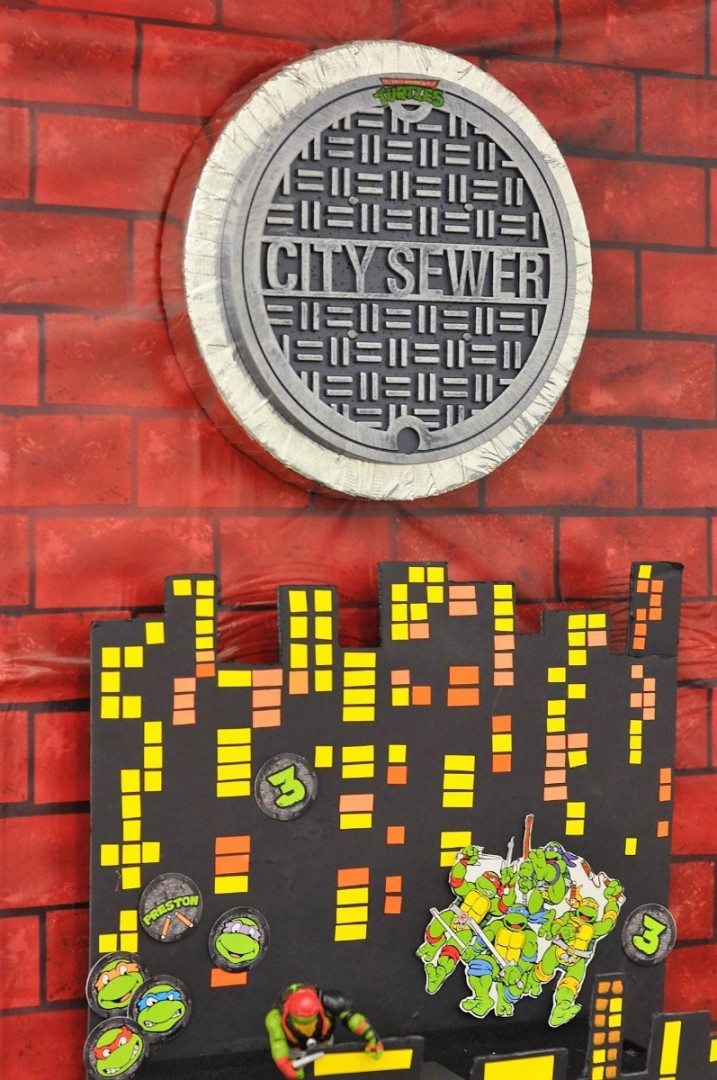
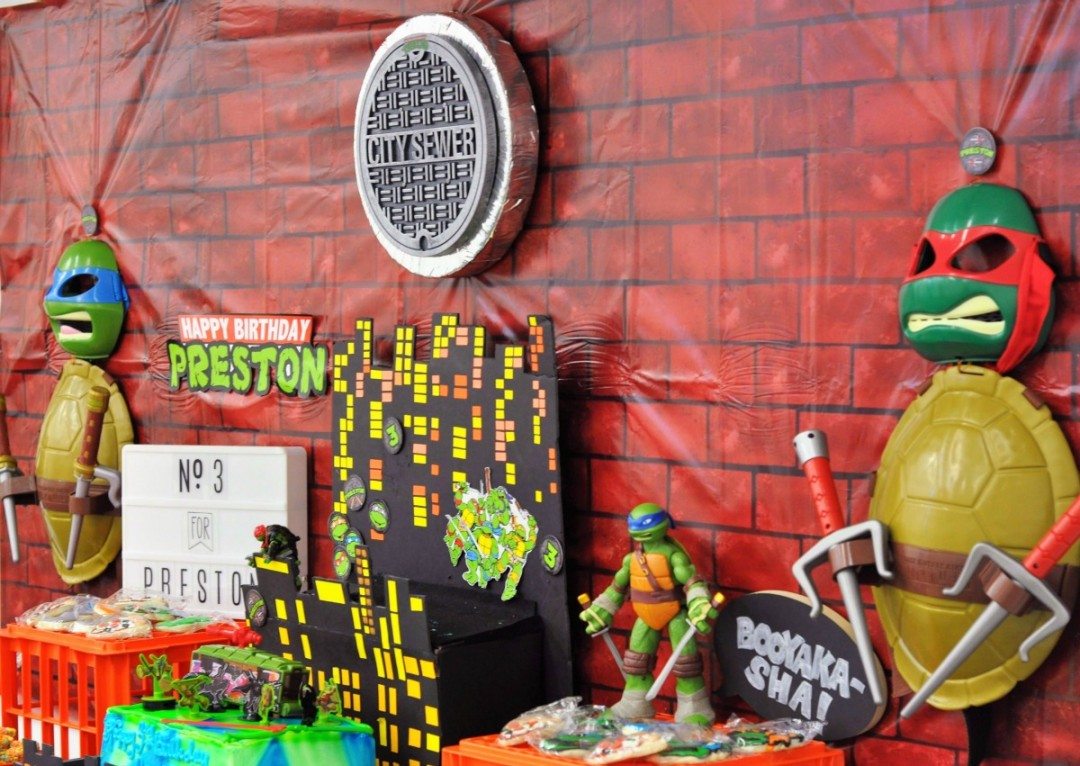
A large majority of TMNT is set underground in the sewers and then they climb up into the streets above. So I wanted the children to feel like they were in the city streets and could drop down into the sewers when they looked at the dessert table.
There are a couple of great options to do this, either the city scene backdrop or the brick backdrop I used, both on Oriental Trading.
These large plastic backdrops are HUGE so there is enough to make it feel like you really are in front of a brick wall. It’s quick to put up but I do suggest a couple of helpers to hold up each end while you cut the amount you need off the roll. Then you can get it straightened and attach it to the wall at the same time. It actually has a little static which makes it cling to the wall so you don’t need much to keep up this super light backdrop.
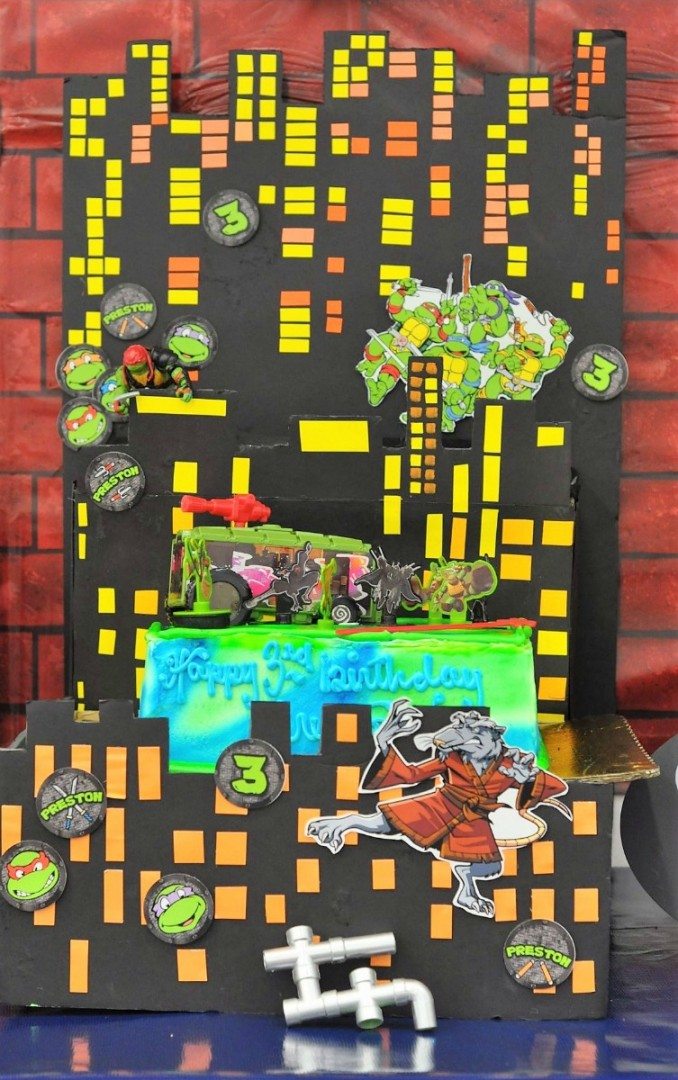
To give the scene a 3-D effect, I added some DIY buildings in front of the scene. The DIY buildings I made a few years back for my son’s birthday and you can find DIY instructions in my Superhero party blog post.
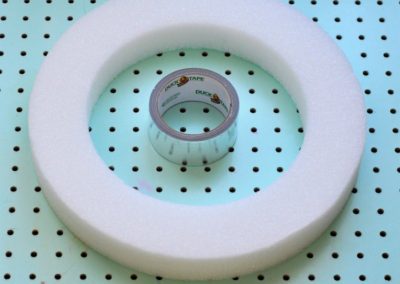
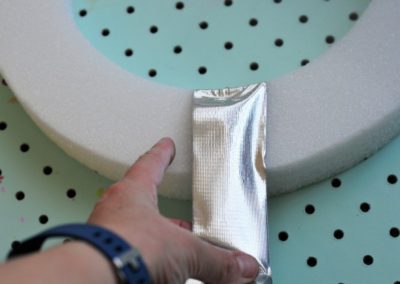
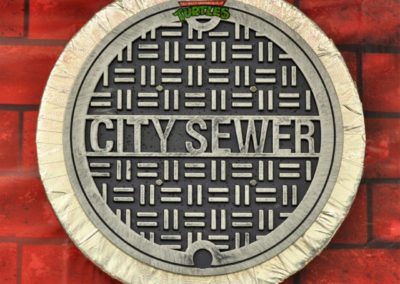
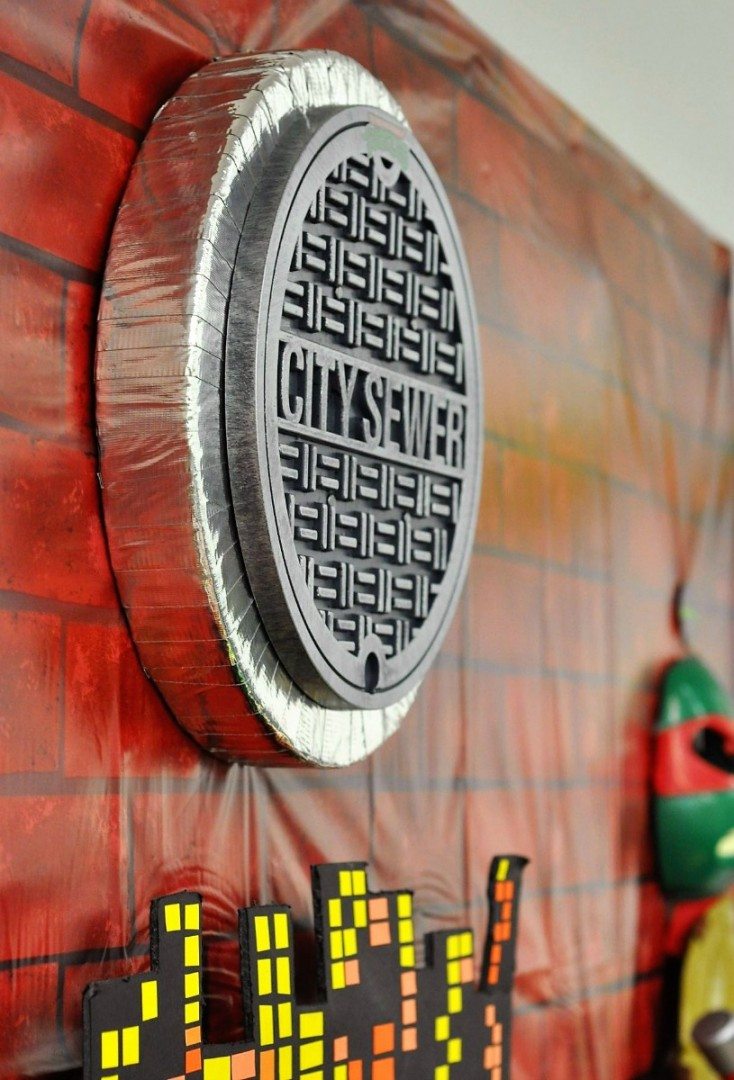
I also made a 3-D sewer access cover that I hung on the backdrop off a hole in the wall (I punctured a small hole in the plastic brick in order to use the hook). To make this I used:
- Styro foam wreath
- Chrome duck tape
- Child TMNT sewer cover costume shield (if you don’t have one of these black cardstock would work)
Invite the TMNT Along
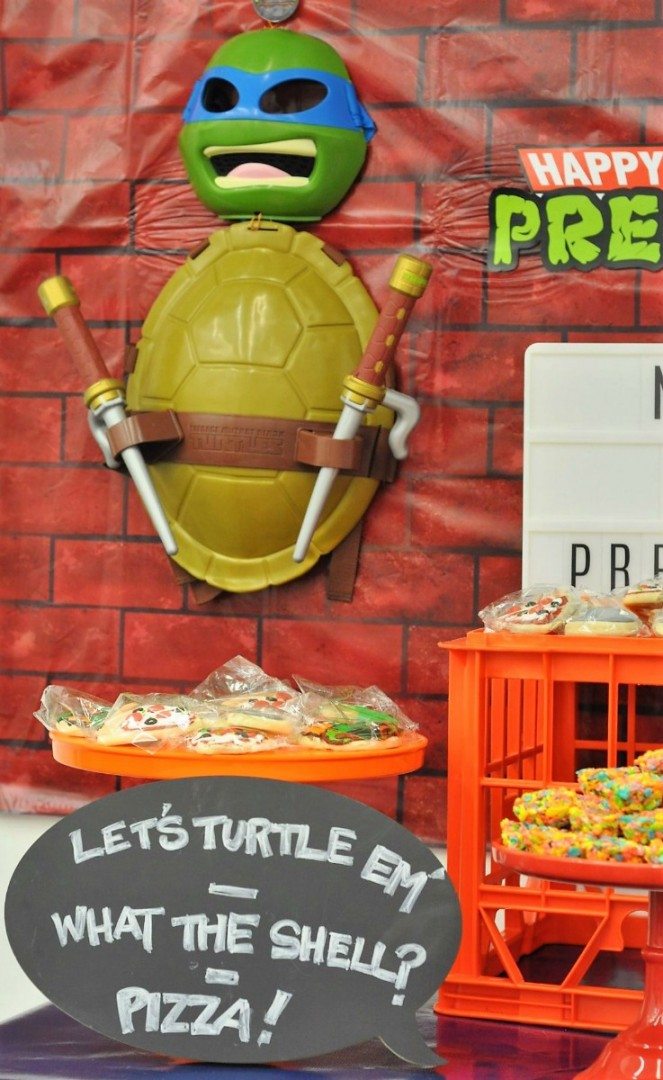
Kids costumes can double as party decoration. This means you can either use existing toys you have at home or purchase new ones that can double as gifts for your jr. ninja turtle.
I used a 2 TMNT costumes as side panels on the main backdrop. Then, I used a bit of wire (or use string or fishing wire) to attach the pieces together i.e. the mask to the shell and also to create a small loop which I was then able to use to hang the costume to the hooks on the wall.
I also attached the ninja weapons to the costume using wire so they couldn’t be easily removed during the party.
Create a Fun “Sewer” Centerpiece
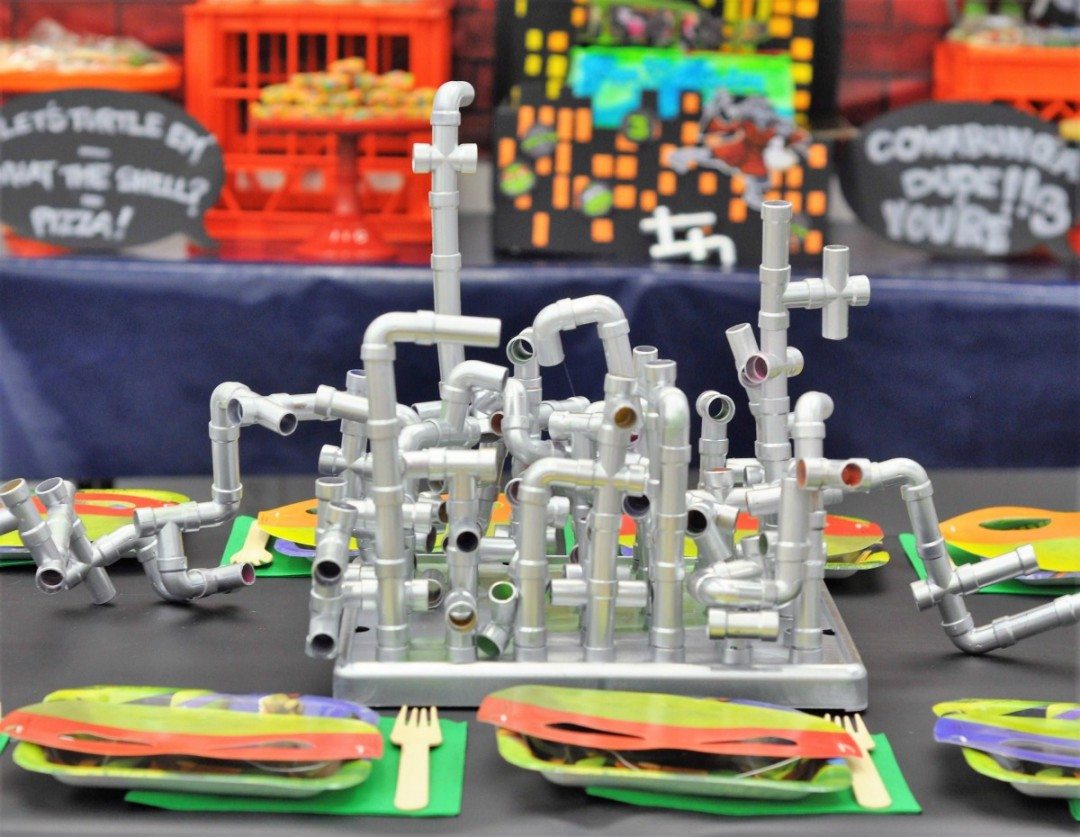
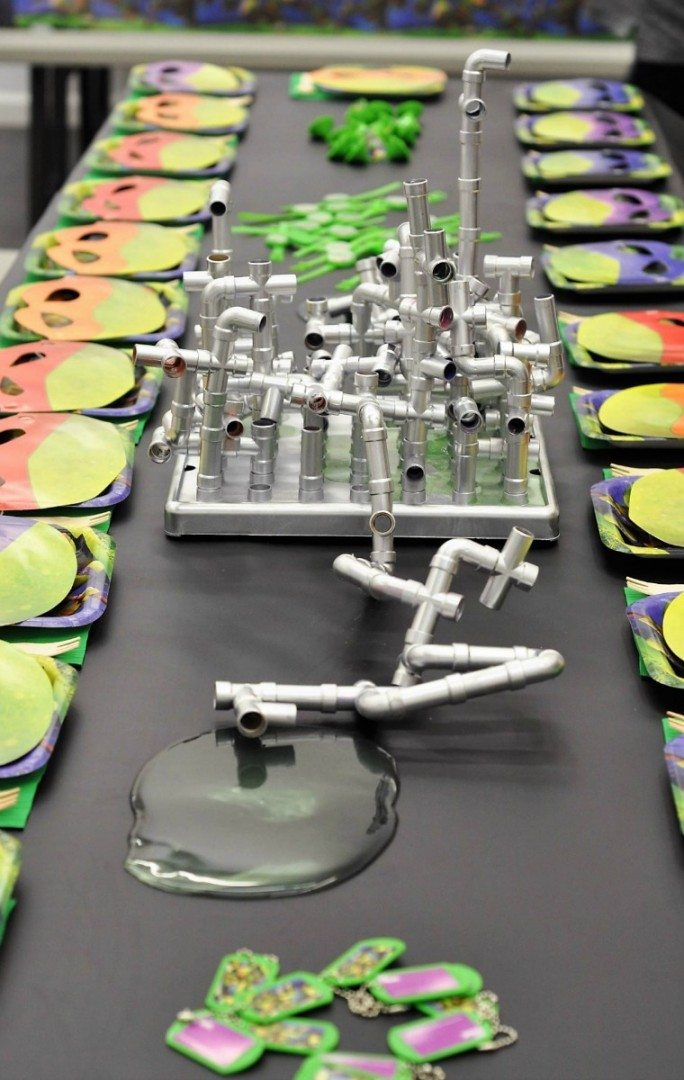
I couldn’t believe my luck when I found a fabulous set of plastic pipe connectors on Oriental Trading, There are 200 connectors that are usually used for imaginative play. Although they are a mix of super bright primary colors I just thought “sewer” when I saw them. Before you knew it they were, this was a very easy convert. I laid out a large tarp, spray painted them with silver metallic paint and once they were dry connected them in an abstract pattern.
The finishing touch…SLIME!!
Add “Industrial” Display Items
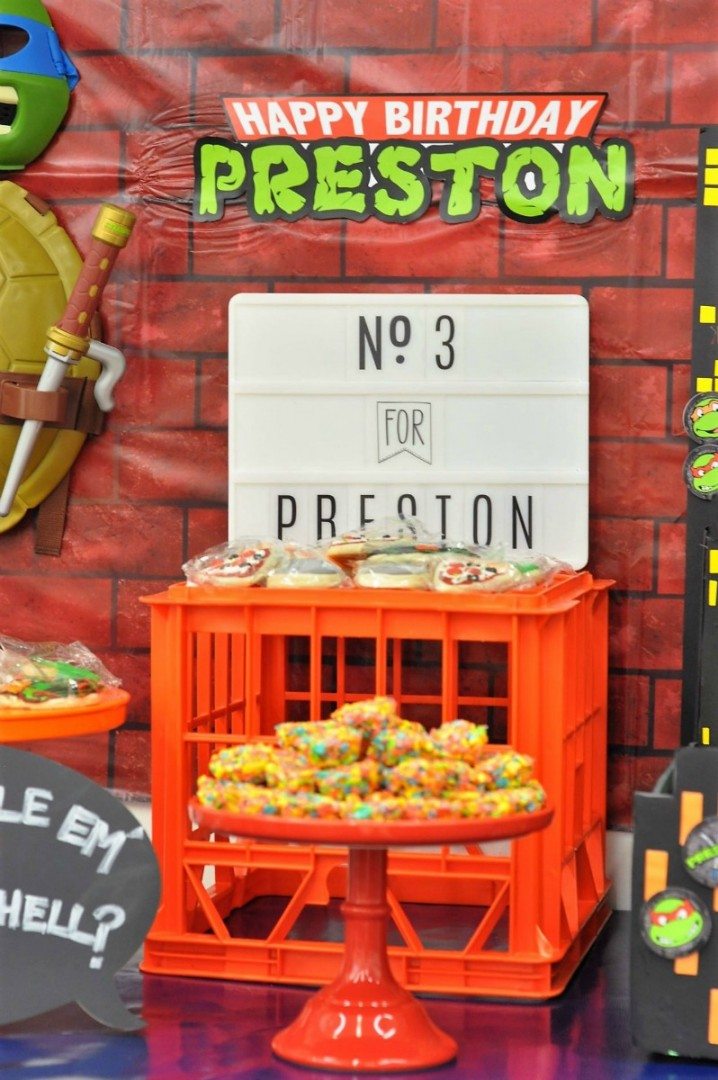
I used one of my 3-D boxes to put the cake stand in so the cake looked like it was part of the cityscape.
In addition other props were put on top of milk crates which give a great industrial feel. These are nice and flat so the perfect spot for your lightbox! I love the trend of lightboxes, a great addition to a city or industrial scene.
Incorporate Fun Favors
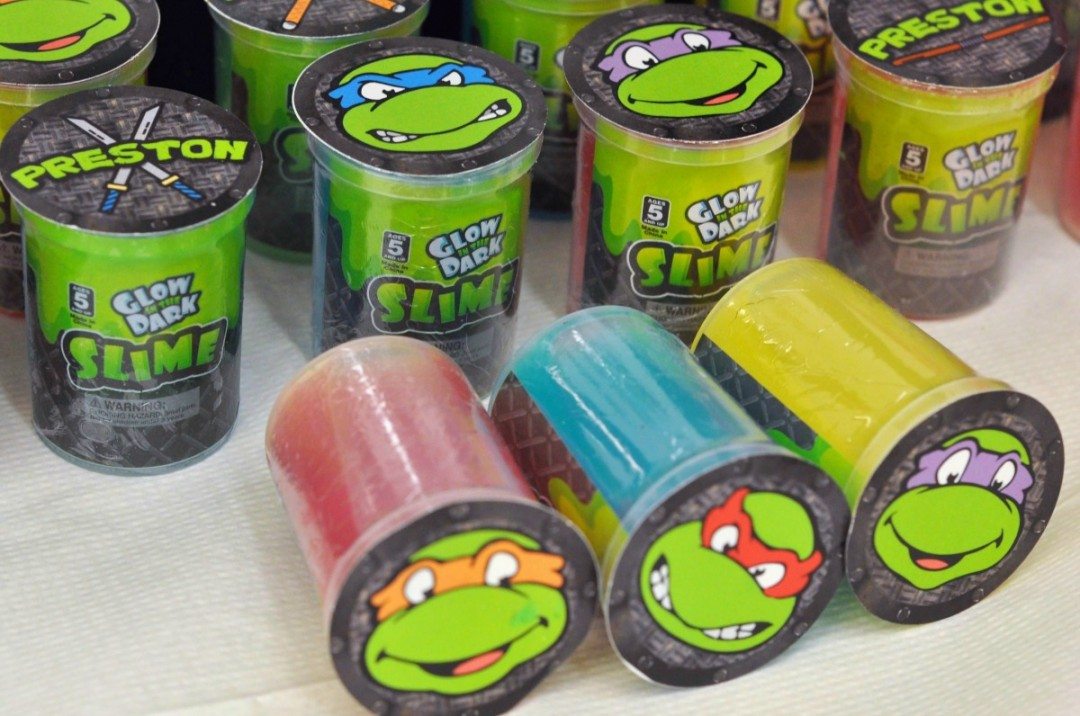
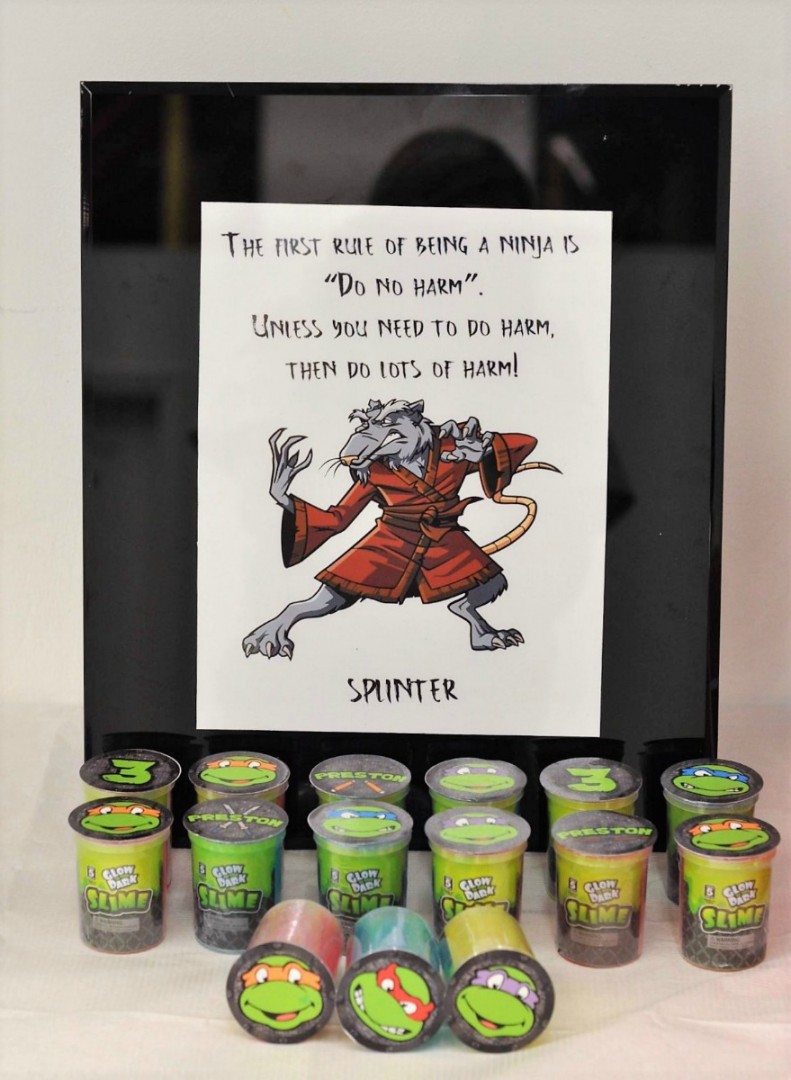
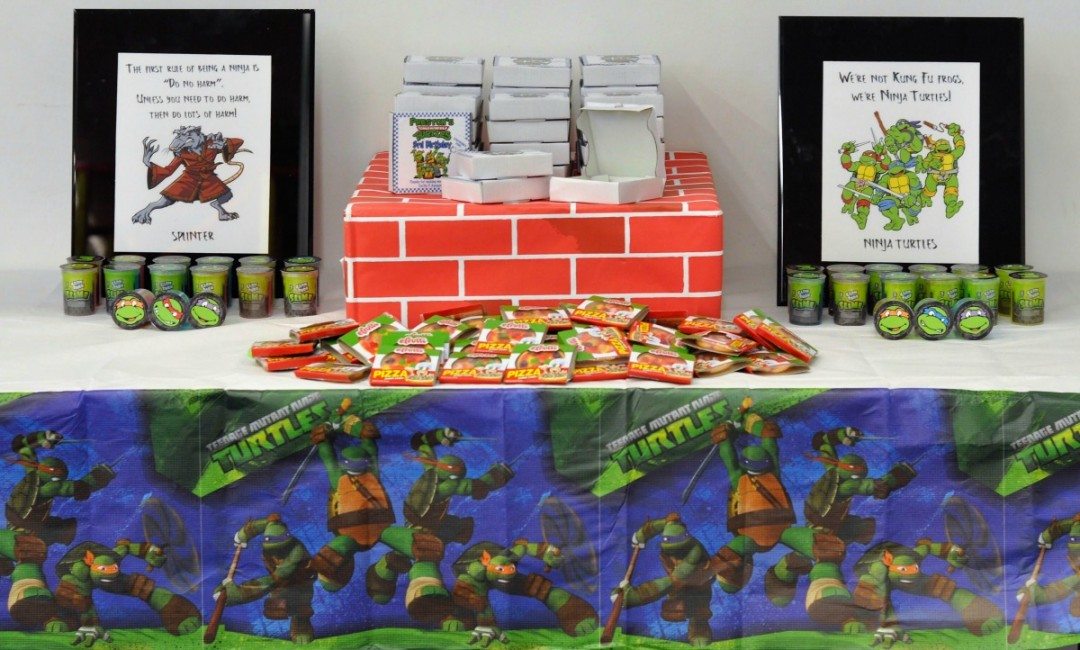
For this party I incorporated a couple of fun elements from TMNT when I created the favors. Pizza and slime!
Both options were very cost effective so I went with both, it came out at under $3.50 per child for 36 children. I’ve split it out below so you could pick one at an even lower cost.
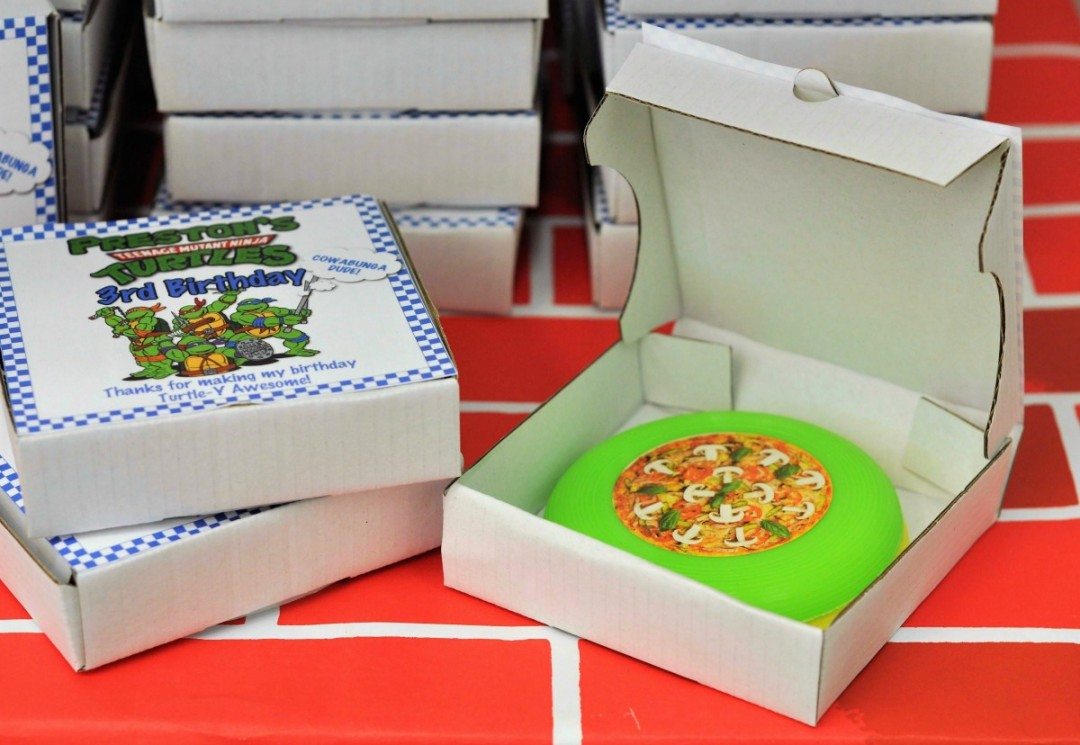
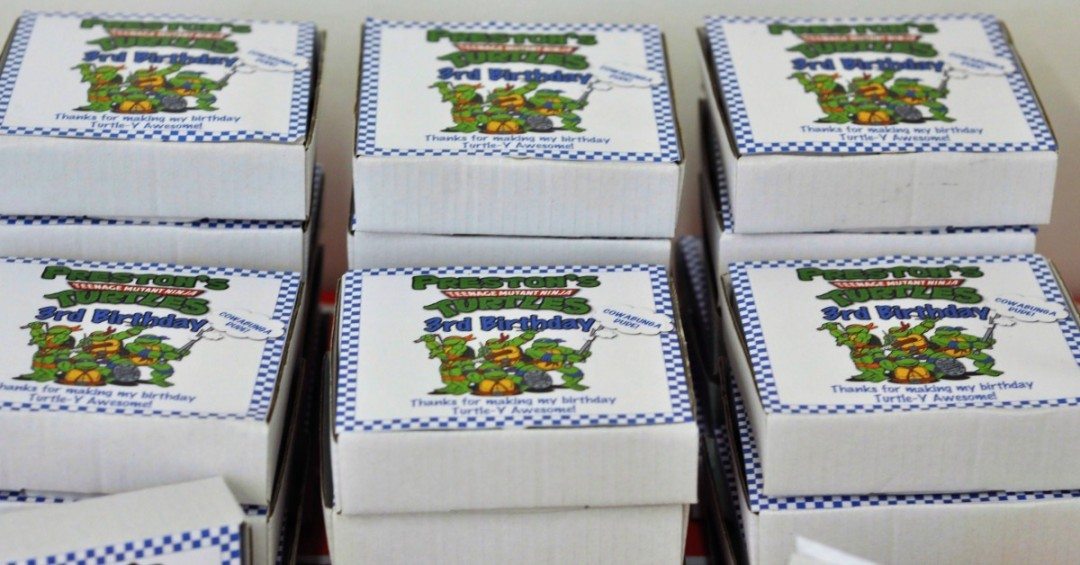
For the pizza favor I used fun flying discs (or frisbee’s as we call them in NZ) that come with a pizza sticker already attached. I put these inside mini 4″ pizza boxes with a personalized label. You can find the labels on Etsy from multiple vendors and all you need to do is print them, cut them out and glue them to the top of the box. The cost for 40 favors including printing costs was $2 per favor.
The slime favor involved attaching a circular personalized printable I found on Etsy onto containers of glow in the dark slime. Super simple and well loved! The cost for 36 favors including printing costs was $1.40 per favor.
I just loved these elements, so TMNT! so I also took the pizza and slime and incorporated them in other areas. A pizza pennant banner to hang above the dessert table and slime that I used on the centerpiece and main eating table.
Use Fun Catch Phrases
I’m always popping into our local scrap facility here in San Francisco. It’s our local reuse center that takes discarded items heading for landfill that are perfectly usable for artwork. Things such as paper with the wrong logo on it, fabric samples from interior designers, industrial discards, and other materials. The reuse center makes them available to the community. I was so lucky to stumble across a batch of speech bubble chalkboards. These were perfect for my “Cowabunga Dude” and other phrases! I used a chalk pen and put the phrases on in block letters.
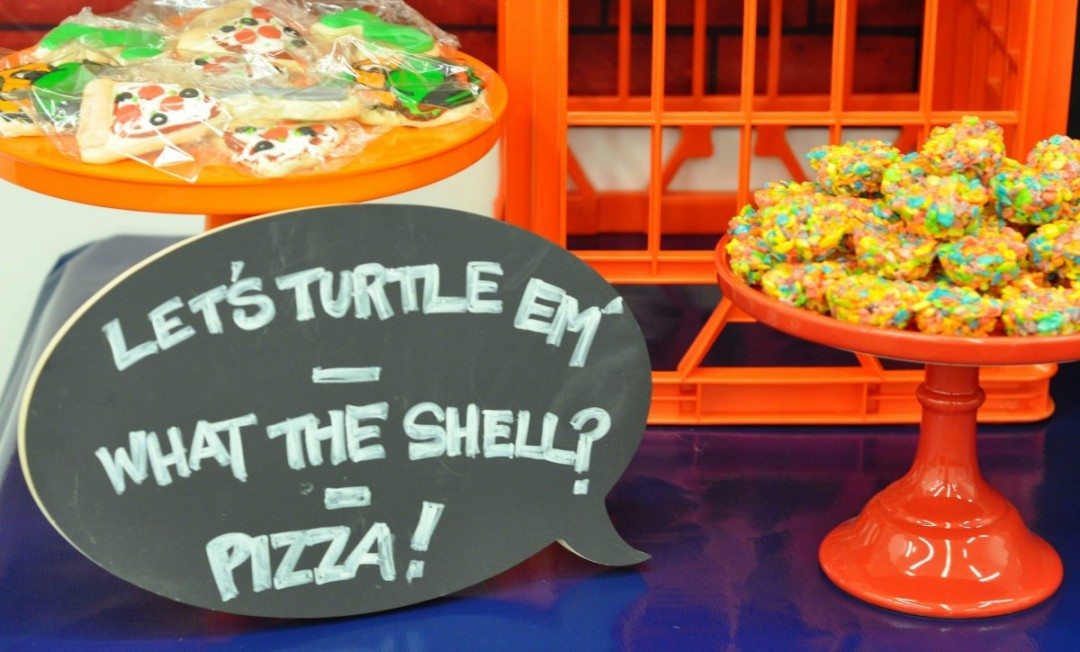
Party Time
Add your party plates and cutlery. I added TMNT masks for the kids to put on and then you are all set.
The kids are at their places finishing off the real pizza and fantastic pizza. They also enjoyed cookies and sweets Preston’s mom bought along. Preston and his friends loved the decor and were acting out ninja moves before you knew it.
I hope this gives you some inspiration for your very own Teenage Mutant Ninja Turtles TMNT party.
Have fun, & happy partying!
PIN FOR LATER:





Leave a Reply