Jamie is one of my best friends here in San Francisco, she is a fellow event planner with her own company but funnily enough we met at the dog park. Our puppies fell in love! And a friendship began.
We often help each other out for set-up and take-down of our respective events. It’s fun to get to work together every now and then. Her beautiful daughter Sophie’s Bat-mitzvah was coming up and I was so looking forward to helping Jamie and her business partner Julie with on the day set-up so that they could relax and enjoy rather than deal with the details. Unfortunately the date of the party turned out to be when I was going to be out of the country.
Now what to do? Well I did what comes most naturally, I made her something from my heart that could take my place on the day. I knew I had to create something special, beautiful and of course totally in theme.
The next question is what do you make when your friend happens to be an amazing event planner who has the design details well and truly nailed..!
As the theme was a western, outdoor barn theme, complete with BBQ, smores and even a riding bull, I couldn’t think of anything more perfect than a steer skull that could be hung on any wall of the event space; an amazing mini western “town” complete with a candy store.

I have been wanting to use a steer skull as a canvas for some time and still hadn’t tried out some watercolors I had from Signature Crafts so this was the perfect opportunity to try it out. The skull is such a fantastic blank canvas, you really can do so many things with it. In this blog post I am going to show you how I decorated mine and give you a shopping list with DIY instructions to try yourself.
I did NOT receive compensation for this post. I purchased the steer skull myself. Disclosure: I did receive some free craft products to use to try out and create this watercolor skull art. All project ideas and any opinions expressed here are my own.
DIY WATERCOLOR STEER SKULL WALL ART:
Materials you will need:
- 1 Steer Skull, I bought mine on ebay from a seller with a large range in both sizes and prices (Tip: Make sure the seller includes the hardware to attach the horns and has created pre-drilled holes to save you time drilling)
- A selection of faux florals
- A selection of beads & jewellery pieces
- Fake body tattoos
- Watercolor paint
- Thick twine
Optional Materials (examples of things you may find beautiful and want to add):
- Feathers
- Gemstones
- Ribbon or leather twine
- Chain
- Glitter
- Fabric or Paper (to decoupage)
- Acrylic or spray paint
- Lace
- Fur
- Tape
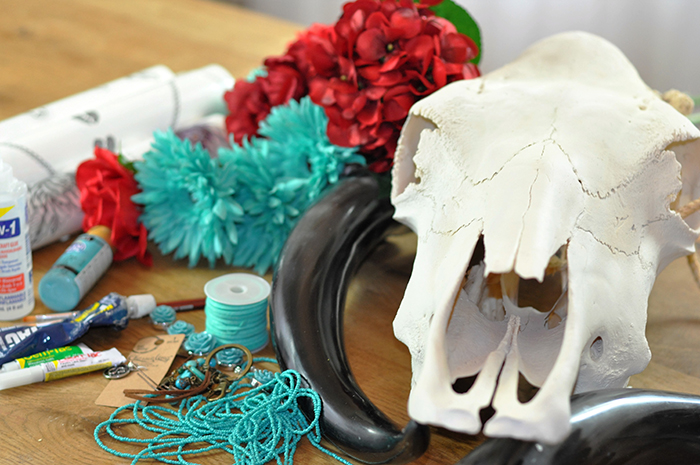
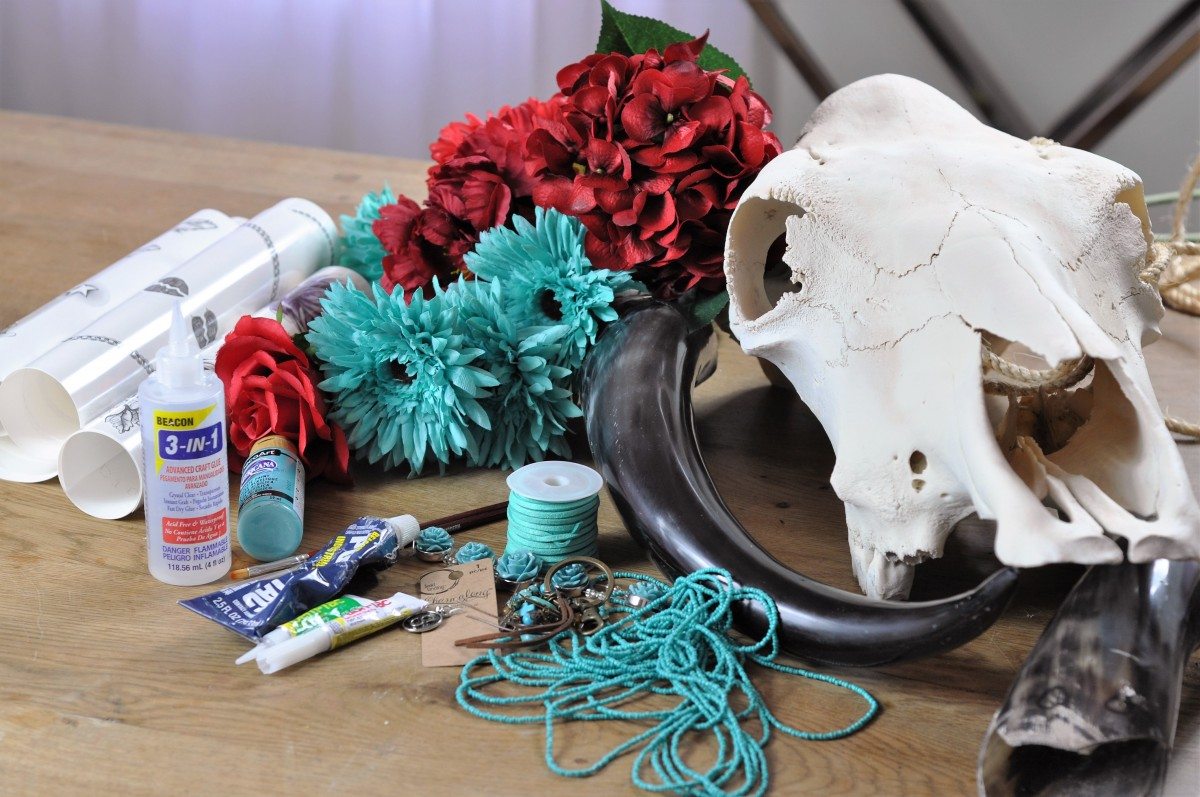
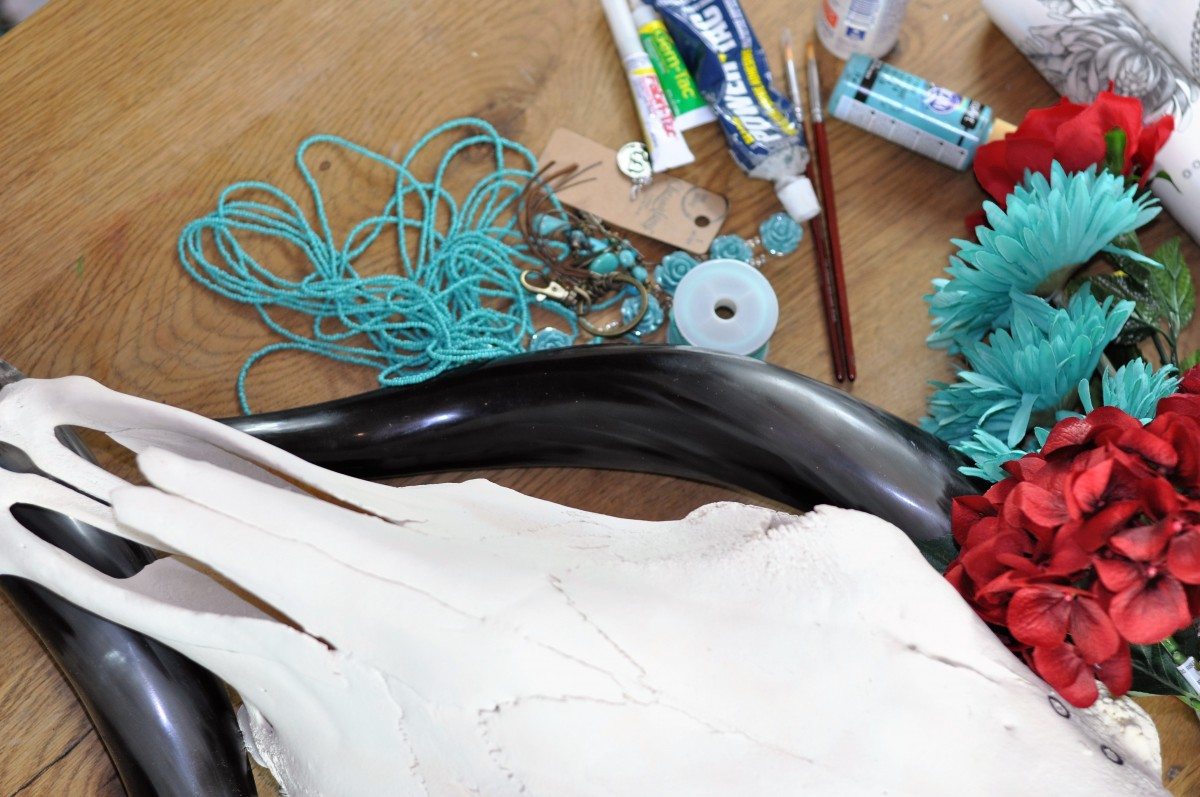
Tools:
- Adhesive, lots of it! – I used both Power-Tac (perfect in strength & no glue gun required so no burns!) and Gem-Tac from Beacon Adhesives (you may also find 3-in-1 or Fabric-Tac handy depending on what you have selected to decorate your skull with)
- Brushes, sponges and a cup of water
- Scissors
- Screw Driver
- Hammer
Step 1 – Attach the horns to the skull
TIP: Ask what is included before you buy.
Make sure you buy from an experienced seller such as mine, this way you’ll be provided with everything you need to assemble the skull and horns including clear instructions and pre-made holes. The labels will help you attach each horn to the correct side of the skull and if the holes are pre-made then you just use the enclosed hardware to attach each horn.
I was able to follow the instructions easily and line up the skull and horn holes, insert the provided screws and attach. 4 screws per horn.
Once each horn is screwed in I used the pre-attached twine & wound around each of the skull/horn joins (where the horn attaches to the skull). This levels/evens out the holes around the socket and also covers the edges, hardware and markings. Nails should also be provided, 4 mini size and I used these to nail in the twine tightly together (pre-marked spots to nail into).
To make extra sure there was no twine slippage I used power-tac under the twine on the horns and then attached the twine and nails.
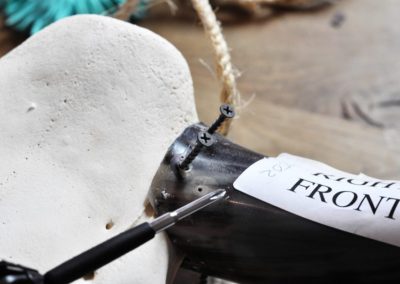
Line up holes between skulls & horns
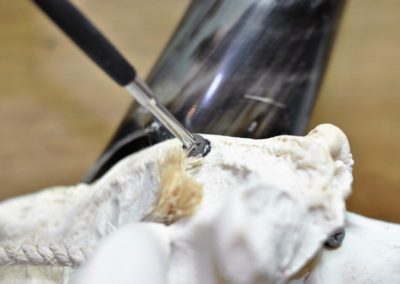
Screw the pieces together
Step 2 – Attach the non-paint decorations
Across the top of my skull between the horns I attached the faux flowers. You can use a bit of tape first to get the arrangement as you want it and then remove the tape and attach the flowers with the power-tac. It won’t damage the skull and there is no paint yet.
I connected the fans by putting a hole into the lower middle of one fan (using the scissors to make the hole and hold it open while I threaded the twine through) and then tying it to the handle of another fan. So they were staggered as you go down.
TIP: I cut up one of the flower garlands with large palm leaves (these are also strung on twine) and randomly tied these to fans to add some color to the raffia.
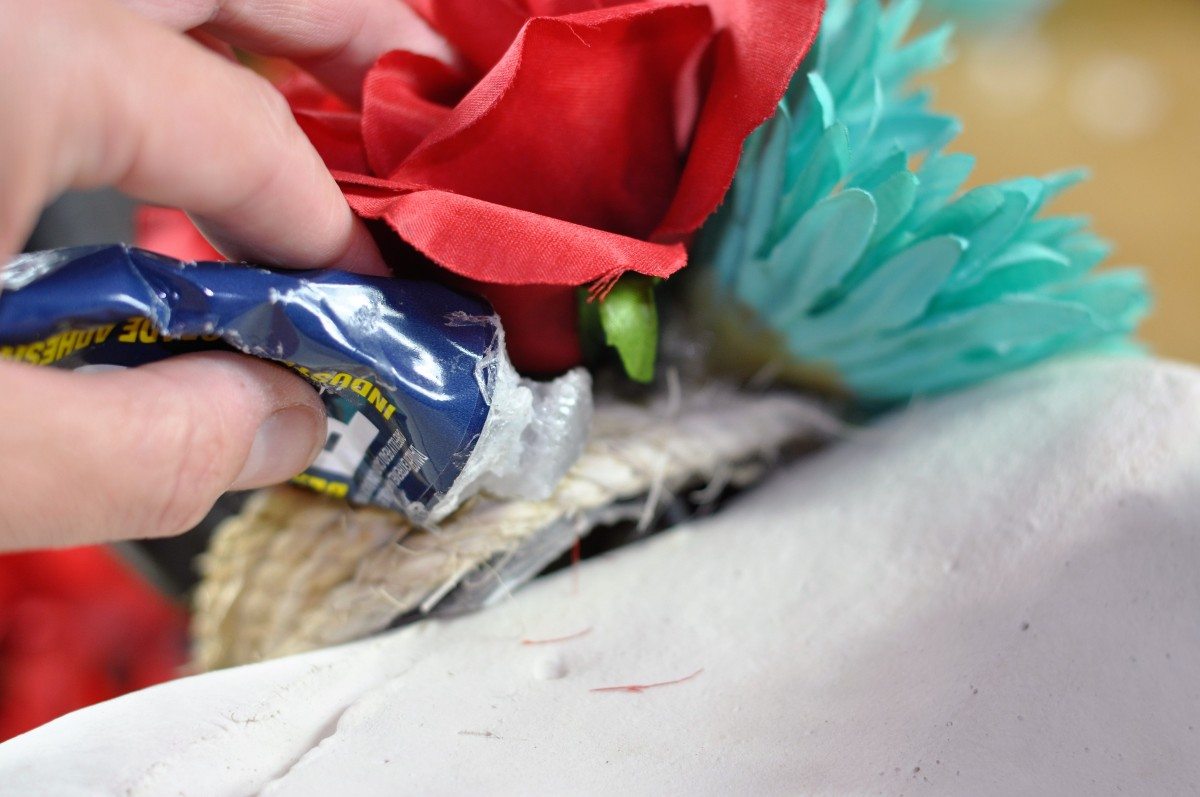
Snip off the flower stems & use power-tac to attach to the skull, horns or the twine
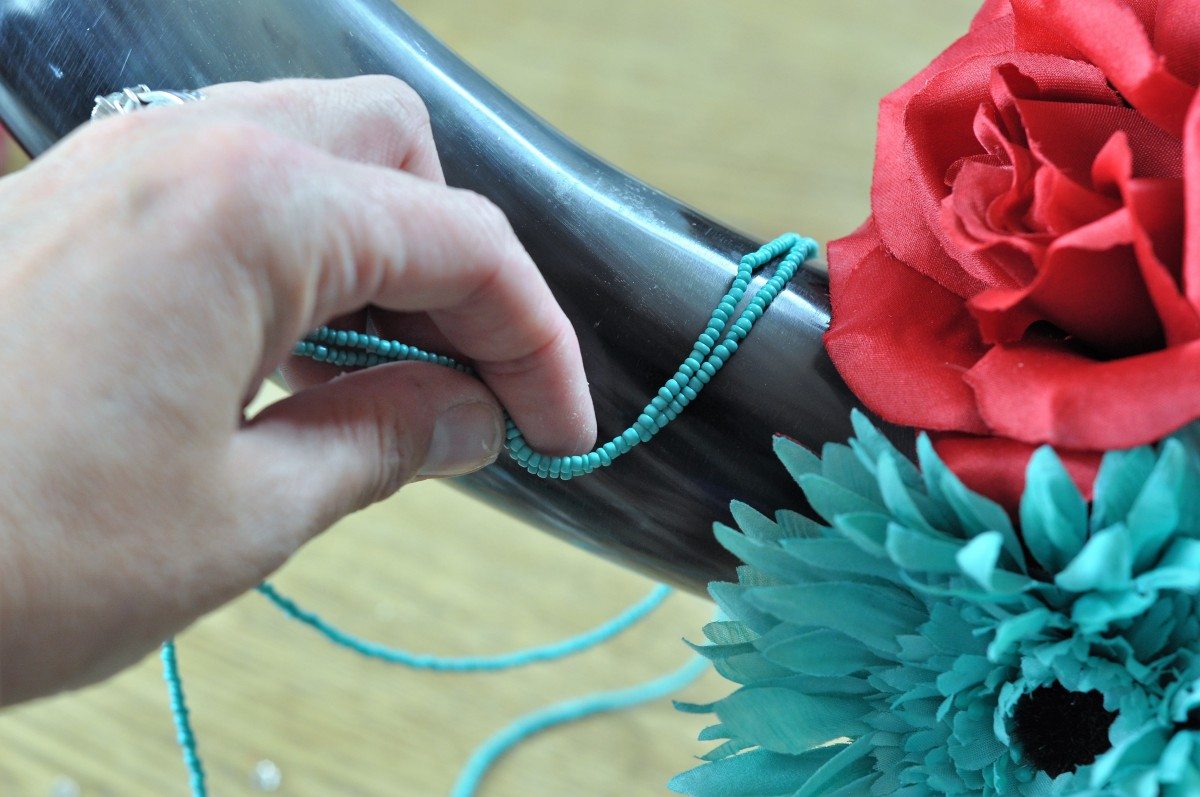
Wrap beads around the tops of the horns
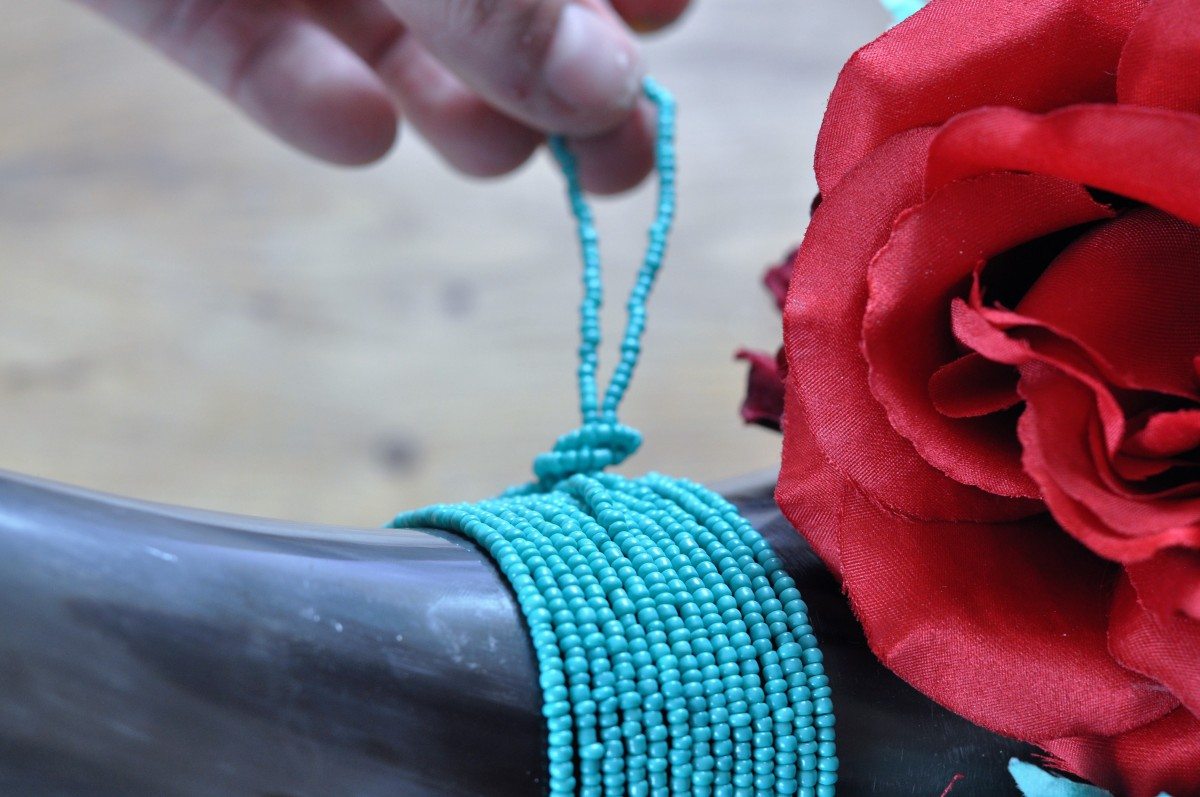
Tie off any excess bead and glue to the back of the horns
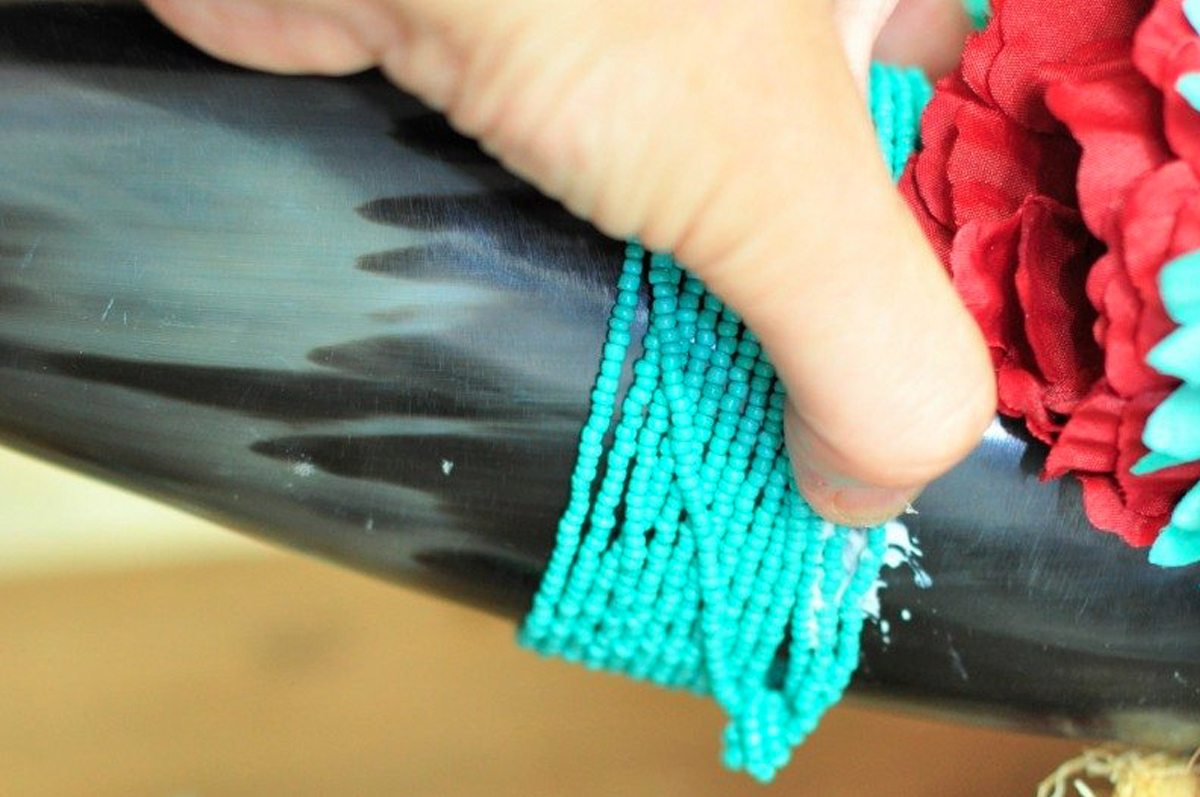
Adhere the excess beads at the back (I didn’t cut the beads as I used prestrung beads)
Step 3 – Apply a tattoo design
I had a beautiful set of floral body tattoos I thought would look work under the faux florals. I cut them out and then checked the best one for size and played around with placement. Then applying the tattoo is the same process as that for skin – remove the clear film, place face down on the skull, add water and apply pressure.
TIP: For an intricate design like this I did find that I needed to hold down longer and then lift very gently with a pair of tweezers handy to catch anything that wasn’t attaching well and push back down.
The outline of the tattoo then makes a great base for the watercolor painting.

Try out different size tattoos

Apply with water once you decide on position
Step 4 – Paint with water colors
Here you can use paint brushes or sponges. I used both! I didn’t focus just on the floral design but extended the watercolor to the rest of the skull. I concentrated the darker color in the flower and around the eye sockets, then graduating the color down the skull. This is fun and easy. If the paint goes on in such a way that you don’t like it – wipe it off and try again! It takes a bit to soak in so you can change your mind!
TIP: The skull is quite porous so sucks up the water & pain in some areas. I found wiping down with a sponge and reapplying several times worked really well to deepen the areas I wanted to be darker. This also gave a great layered approach.


Step 5 – Attach remaining decorations
This part is super fun! Add on those extra bits of bling or decor that you’ve picked out.
As you can see I was working with red & aqua, the theme colors of Jamie’s daughter Sophie’s Bat-Mitzvah (cutely named a “Barn-Mitzvah” I might add).
I found some beautiful ceramic aqua flower beads that I glued to the horns and at the top of the nasal cavity. Also on the top of the nasal cavity I used items that hung down (you could use feathers, beads etc). I took apart a handbag charm I had found with a great combination of aqua and leather and glued those on under the beads. Here glue is your friend, you can attach on top of other decorations and textures and give varying levels of height.
The final item was a silver “S” (for Sophie) charm that I placed in the middle.


Hang on your wall or give it as a gift!
Jamie & Sophie loved the steer skull and I’m so looking forward to seeing the photos from her Bat-Mitzvah, I’ll be sure to share with you. For now here are some images of the final product. I can’t wait to make one for myself and hope you have fun creating one for yourself.

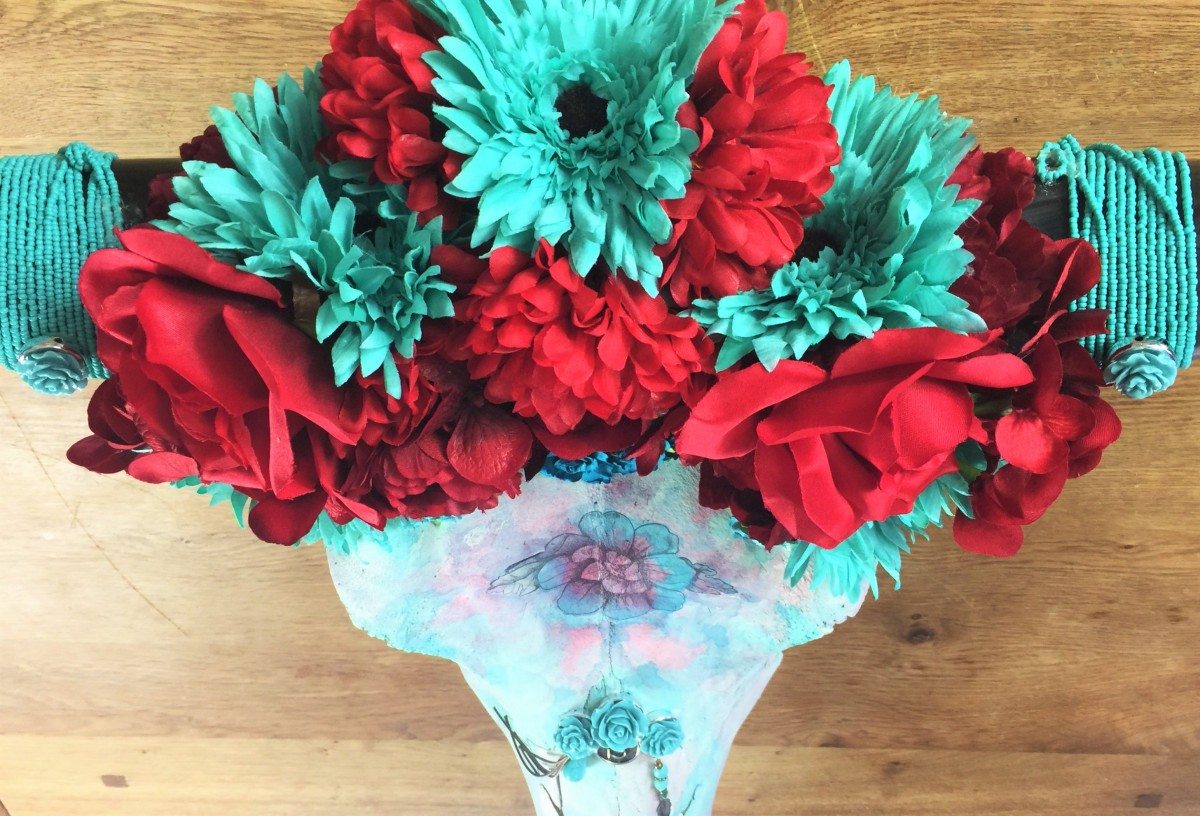
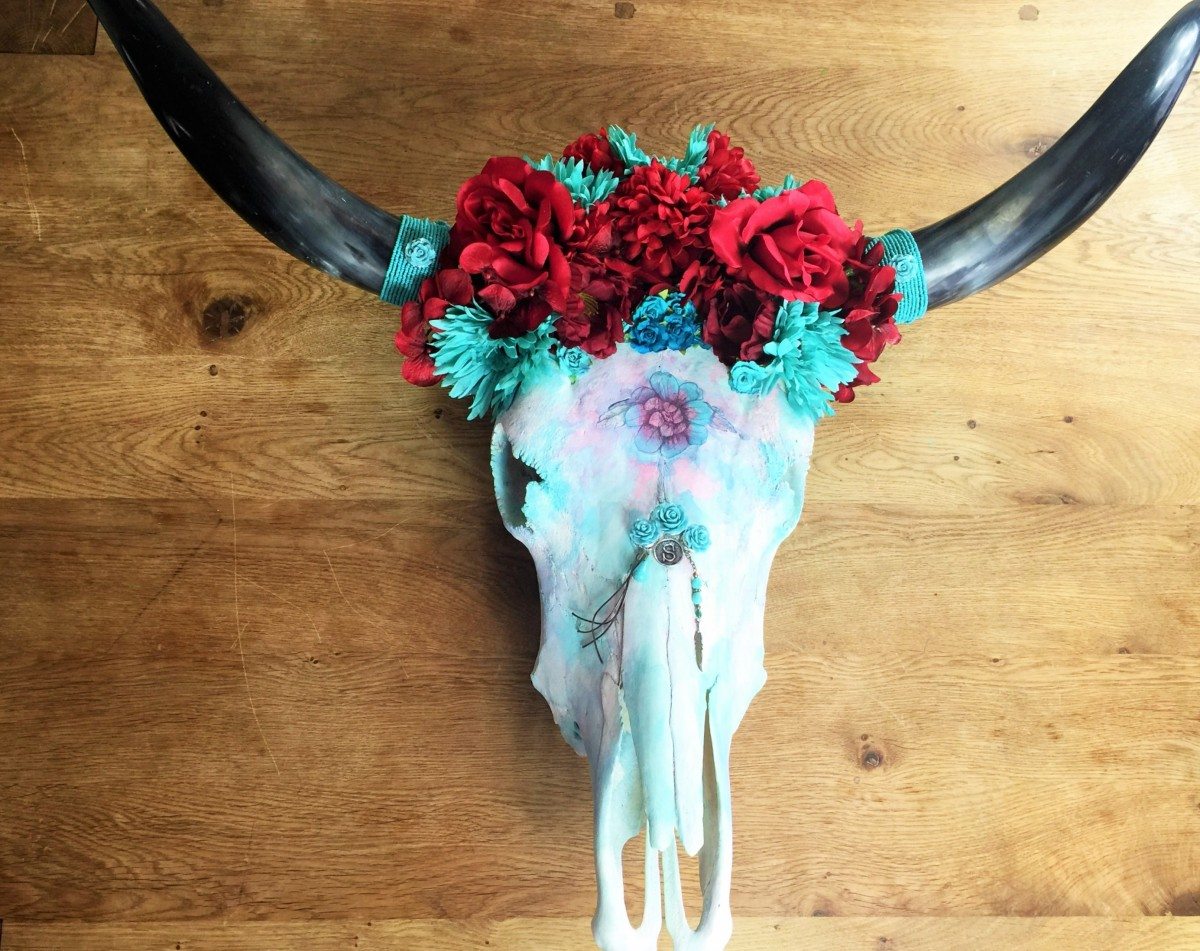
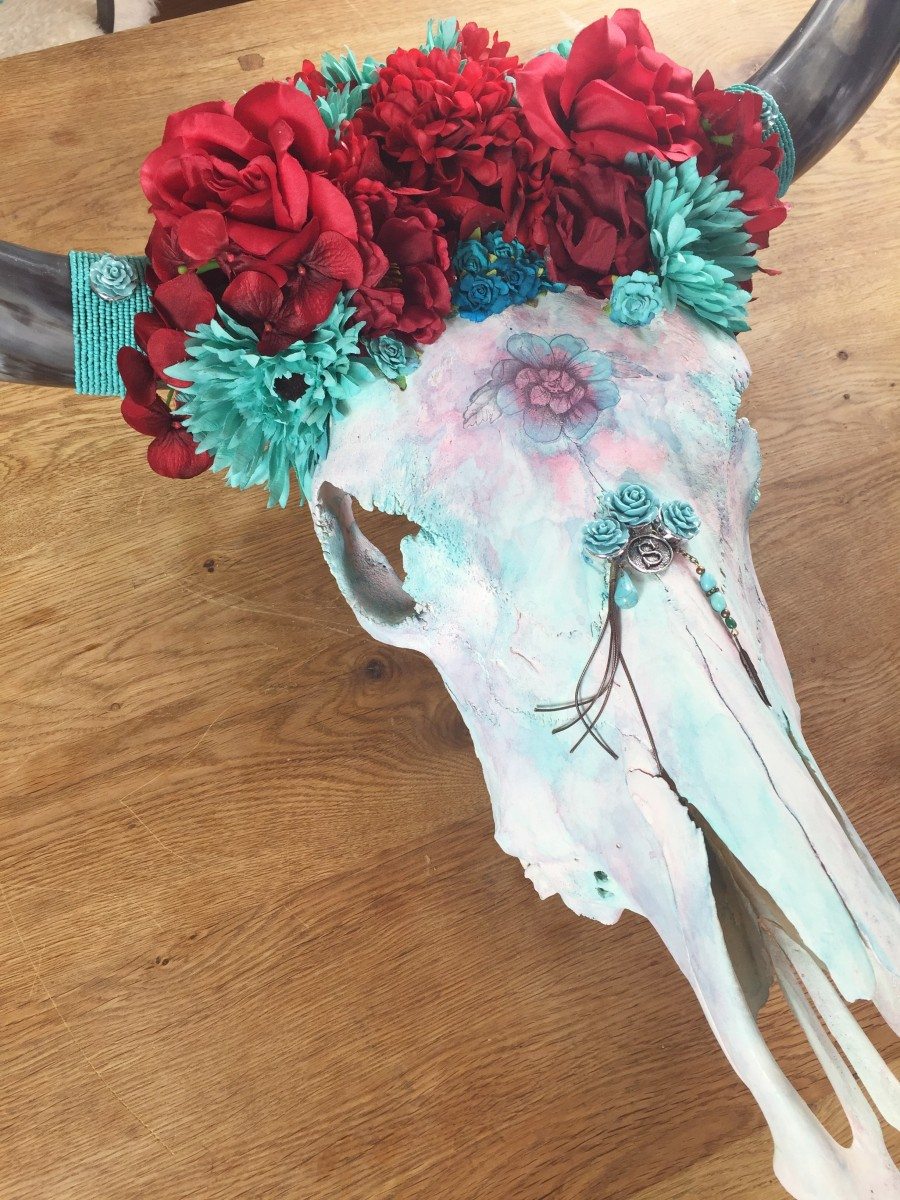








Oh my goodness, this is amazing! She will treasure this beautiful, heartfelt gift forever.
Yay! thank you, I hope so very much. x
Very beautiful! Love the tattoo idea, genius.
ahhh thank you my friend!