The Toy Story movies, they just never go out of style. Classic characters, bright colors and a touch of magic make this such a fun party theme.
I recently put together a Toy Story party for Joaquin who was turning 2. He simply adores Woody and Buzz and he was so excited to see the characters come to life at his birthday party.
I’m sharing my decor ideas and DIY tips to help you put together a Toy Story party for your very own fan.
I did NOT receive compensation for this post. I did receive some free products to review. All project ideas and any opinions expressed here are my own. For further information on our disclosure policy please check out our disclosure page.
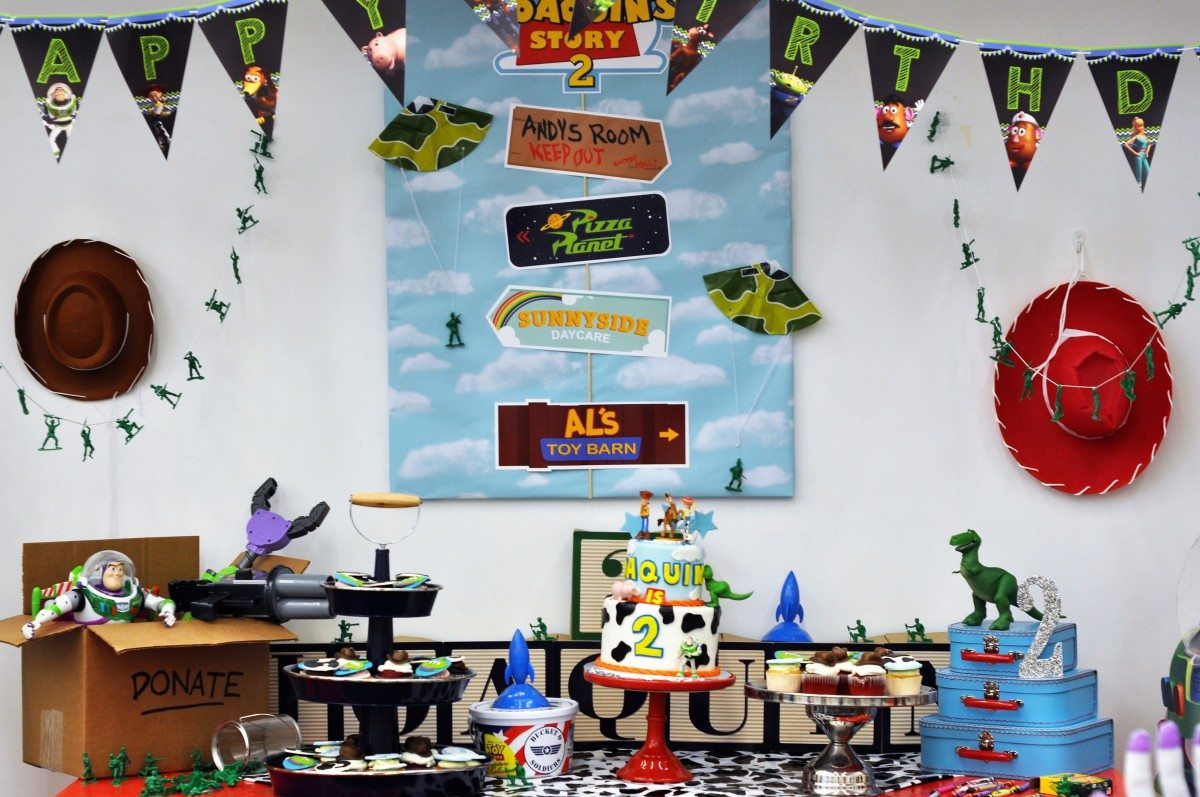
Step 1 – The Backdrop
Tip: Use Printables To Personalize & Emphasize The Theme
The backdrop really sets the scene for the whole party. It draws you in and catches your attention. I love starting right here.
This party was held at Peek-A-Boo Factory here in San Francisco. Here they use a standard format for every party for ease of turnaround. The team have 15 minutes to clean up after the party, so I use a single hanging backdrop that is supported by the hook they have on the wall. This is super quick to put up and take down and is sturdy.
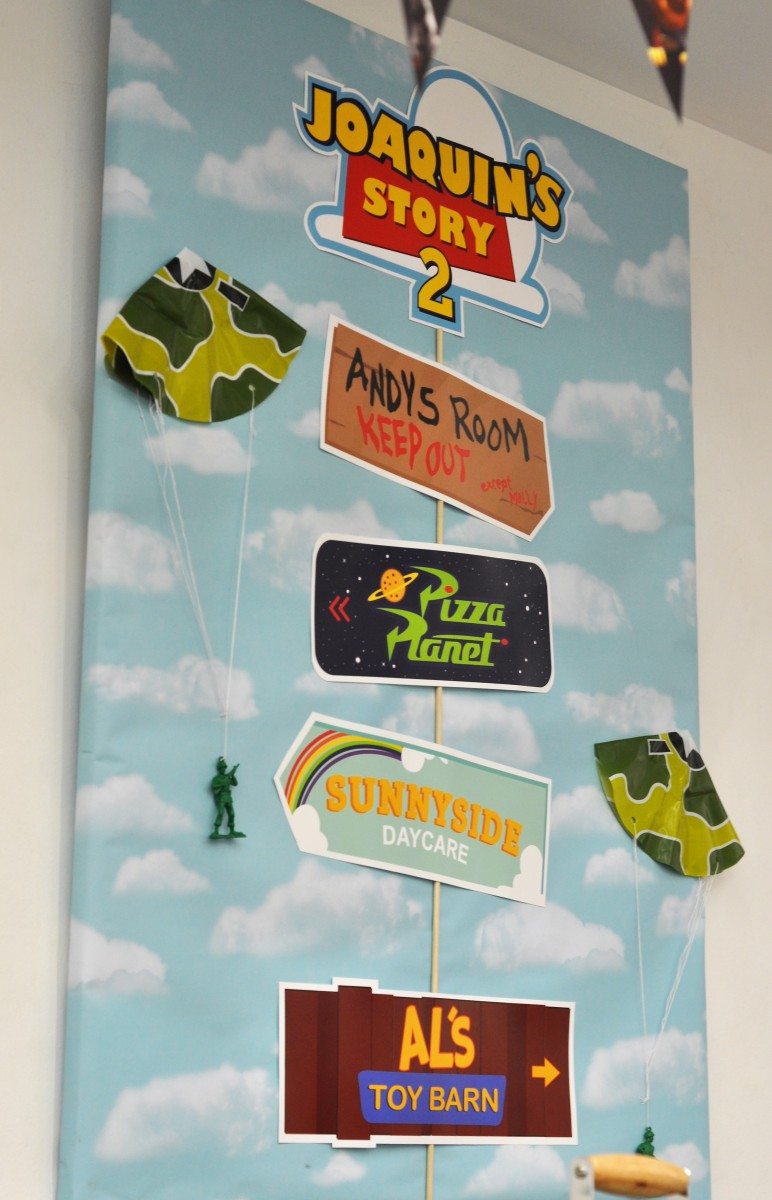
I used a 24×36 canvas and attach/paint/cover the backdrop depending on the theme. For this one I covered the base canvas with a blue sky paper. The blue cloud background is used heavily in the Toy Story movies. This canvas format is an easy one for the home as it can easily be hung on an existing picture hook.
If you are not restricted by the size, you can easily expand on this canvas size using the paper on a larger scale. It comes in large rolls that are 12 ft long! Lots of room to move.
To personalize and bring in more of the theme I went onto Etsy and bought graphics that had signs for places in the movie – e.g. Andy’s room, The Toy Barn and Sunnyside. Check it out, you’ll see lots of options.
Don’t forget the coordinating Happy Birthday banner!

Step 2 – Create a Wow Factor
Tip: Use Cardboard Cutouts For Big Impact
I got both characters from Oriental Trading (it’s my first stop for parties – visit their coupon page for the latest in sales, older themes tend to get coupons more often). They also have the option of a Woody & Buzz together. The added benefit to using the large cutouts is they cover a good area of a room, so lots of bang for your buck! And they also double as photo props. You can take photos of the children with the character of choice.
If you have seen Toy Story you’ll know that it is all about the toys in Andy’s room coming to life when Andy is not around. I really wanted to give Joaquin the feeling that the characters were larger than life, that he was part of the movie. I did this by using 2 large cardboard cutouts, one of Woody and one of Buzz.
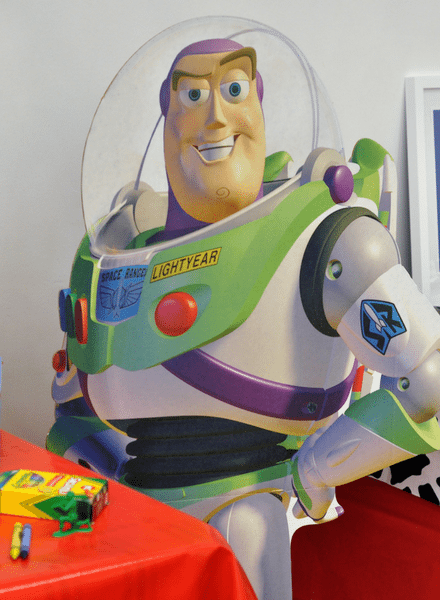
Buzz Lightyear to the rescue
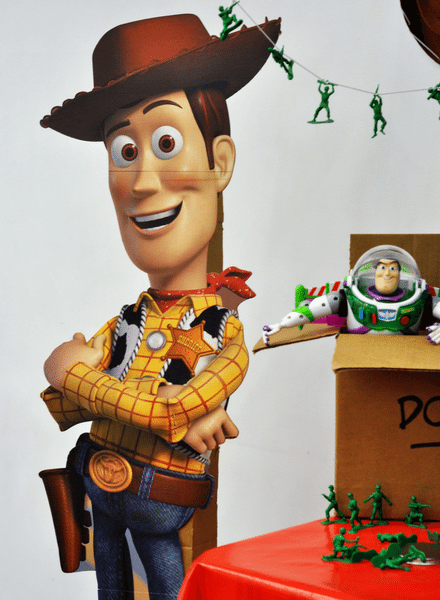
Everyone’s favorite guy Woody
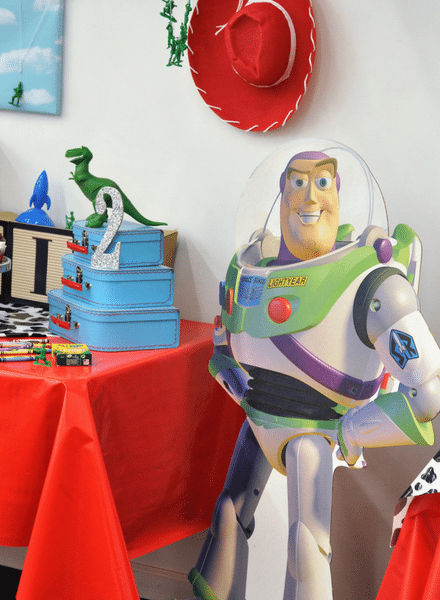
Stand-ups are tall enough to double as a photo opportunity for the kids
Step 3 – Incorporate props into your dessert table design
Tip: Use Character Toys as Decorations
Toy Story toys can double as party decoration. This means you can either use existing toys you have at home or purchase new ones that can double as gifts for your Toy Story fan.
Using the toys can be a lot of fun and I don’t just mean the actual characters of the film like the dinosaur, the aliens, Mr. Potato head, Slinky, Buzz & Woody. Think about the wooden blocks, mini rockets, crayons, themed guns, lasers and even claws in this case!
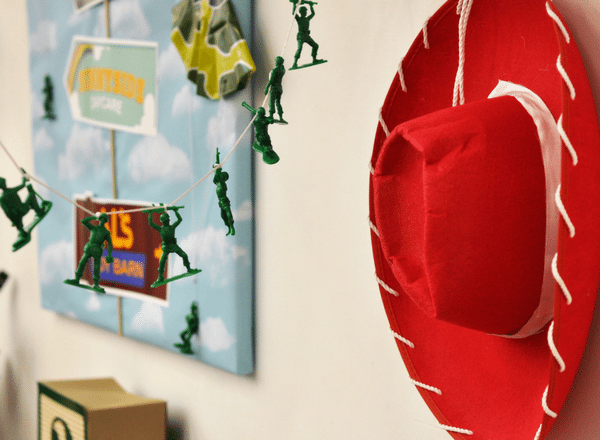
Apart from placing the characters on the dessert table, think up and over. I took the soldiers out of the bucket of soldiers and used them in place of a bunting. I lay out a white twine then took the soldiers and tied them onto the twine at even intervals. The strings of soldiers can then be hung from different vantage points and look like they are climbing over and across the dessert table.
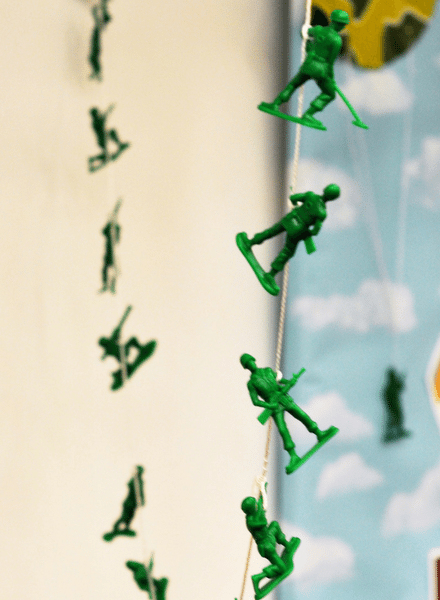
Hup hup hup hup
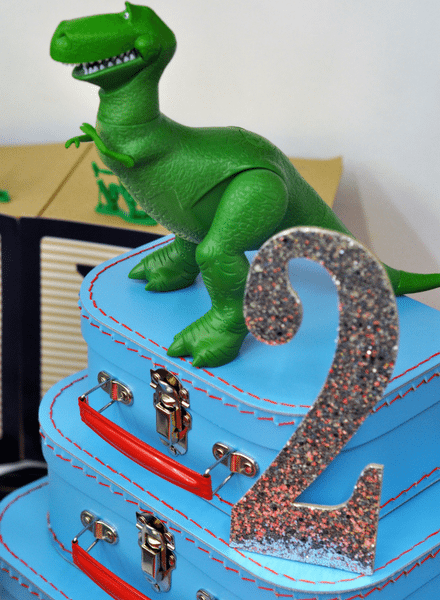
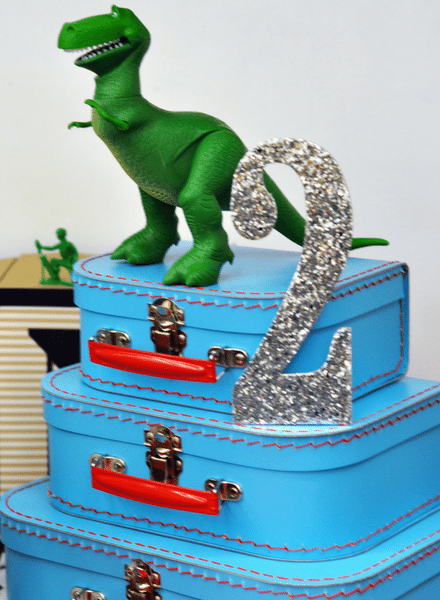
Rex is overlooking the party
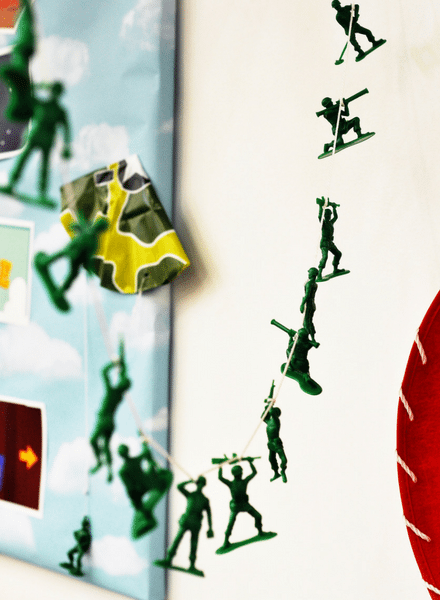
Sir, Yes Sir

Step 4 – Elevate items on the dessert table to give visual interest
Tip: For this theme use old cardboard boxes
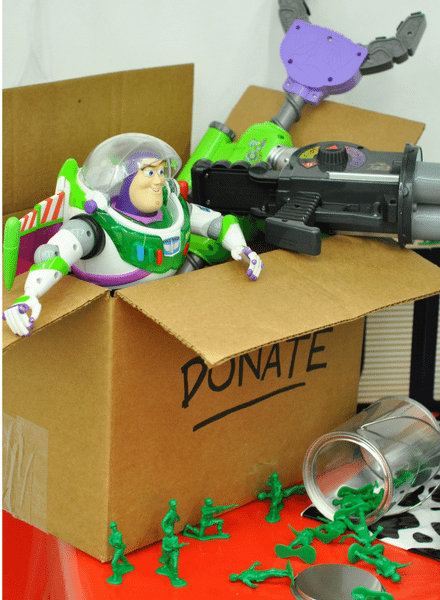
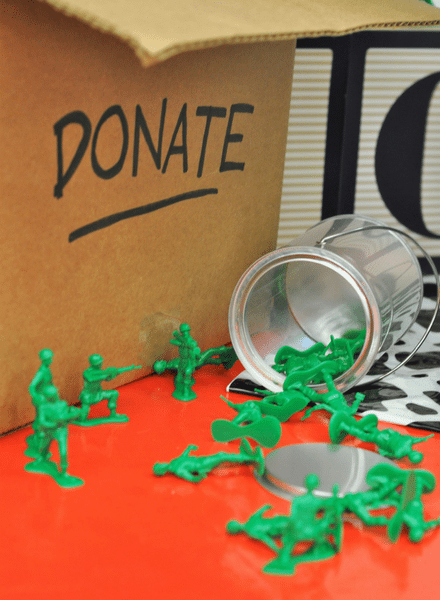
If you’ve seen the Toy Story trilogy you’ll know that there comes a point in Andy’s life that he is ready to part with his toys. He sorts them into “Attic”, “Donate” etc. These boxes are a really easy way of raising the height of some of the toy props. All you need is a box and a black marker, you can then write the word “Donate” for example and you are done.
I also used mini suitcases in Toy Story blue to hold Rex up and give him a bit more prominence.
Step 5 – Creating table centerpieces
Tip: Use Your Child’s Costumes
Do you have a little one who takes any opportunity to travel to infinity and beyond in full Buzz Lightyear gear? If you do, you’re in luck. There are so many parts of a child’s character costume that can also be used as party decor.
One of the easiest options is taking things like helmets, or in this case I took Woody’s hat and used it as wall decor.
Even adult costume accessories can be used. I took a plain red cowboy hat from the dollar store and punched single holes (evenly spaced around the rim). Then I threaded white rope/twine through the holes and tied off at the back. Finally a length of white ribbon around the base of the hat peak. I then had Jessie’s hat, which I used to hang on the symmetrical side of the dessert table.
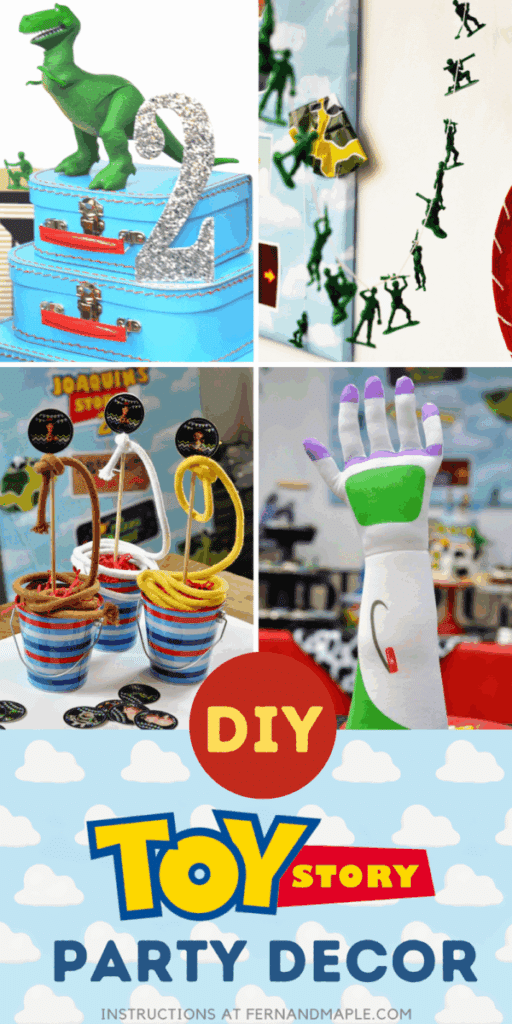
Even the most unusual parts of a costume can be used as decor. Here are the DIY instructions for a Buzz Lightyear and a Woody or Jesse centerpiece using gloves and costume belts respectively.
The Buzz Lightyear Centerpiece
What you need:
- 2 x Buzz Lightyear gloves
- Fake snow or stuffing
- 2 x small tin tubs
- Pliers
- Wooden stick / dowel (optional)
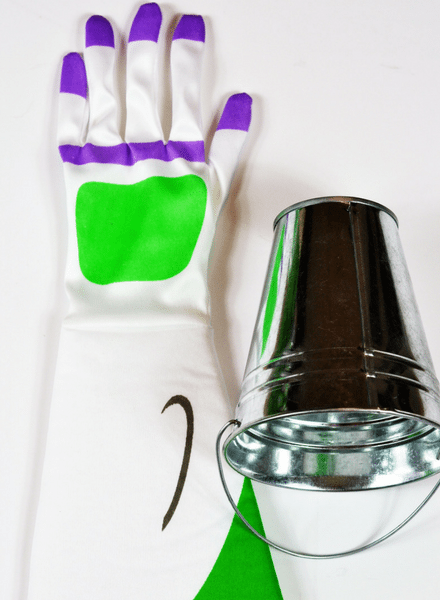
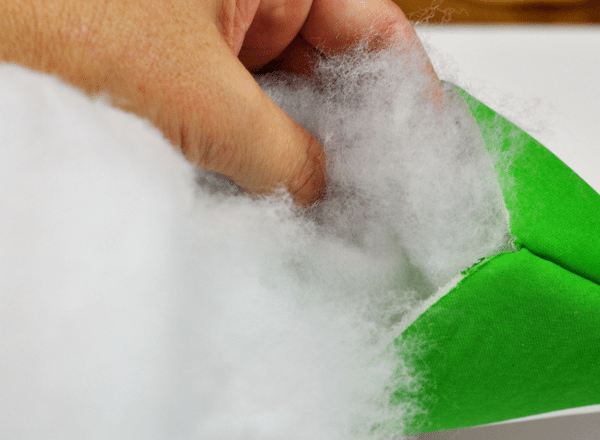
stuff the glove full of cotton batting / fake snow
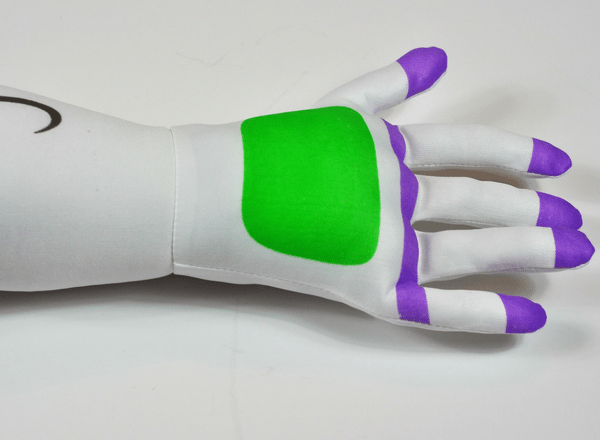
When you fill the “arm” leave a gap at the bottom of the glove the height of the tin pail
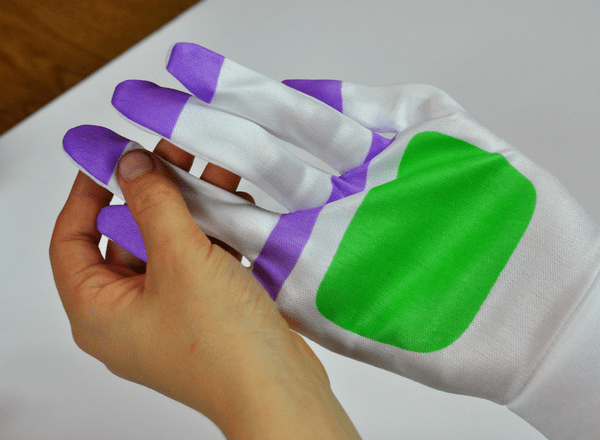
push stuffing right up into the fingers
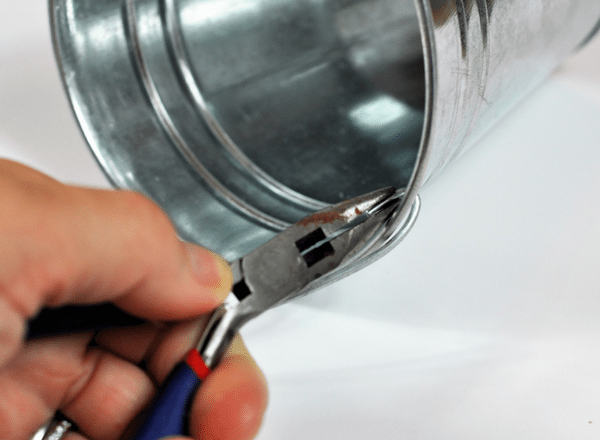
Remove the handle from the tin pail

Use a stick if you cannot get into the fingers
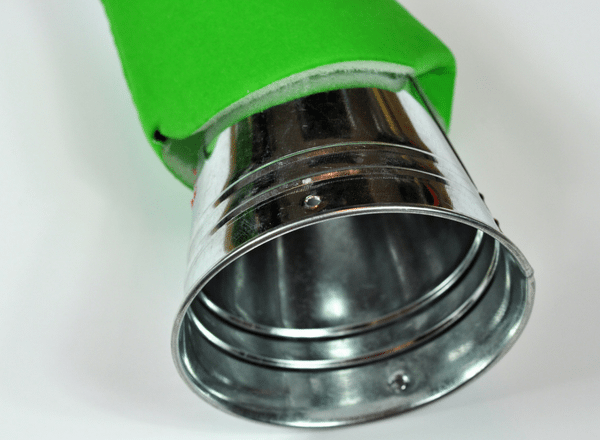
Push the tin into the glove until it cannot be seen

The Woody & Jesse Centerpieces
What you need:
- 3 kids rope belts
- 3 x tin pails
- Floral foam (or extra paper shred)
- Paper shred
- Wooden craft sticks
- Glue (I use Beacon 3-n-1)
- Printable cupcake toppers

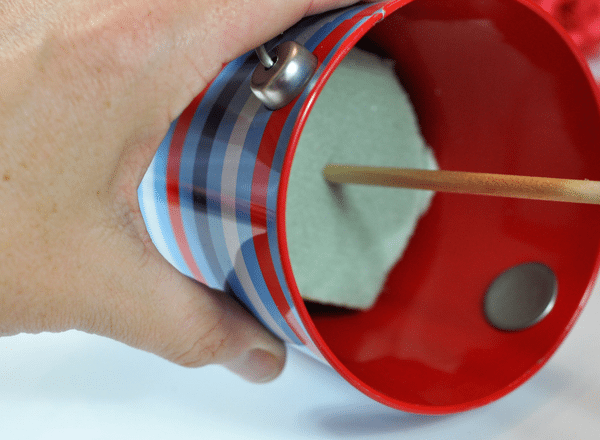
Insert floral foam into pails (or extra paper shred) & push the wooden craft stick into the foam
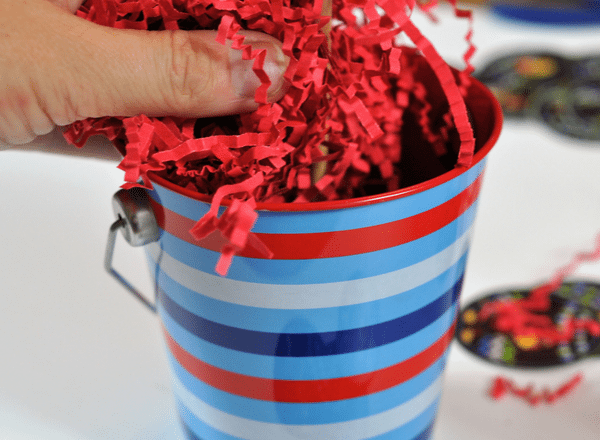
Cover the floral foam with paper shred
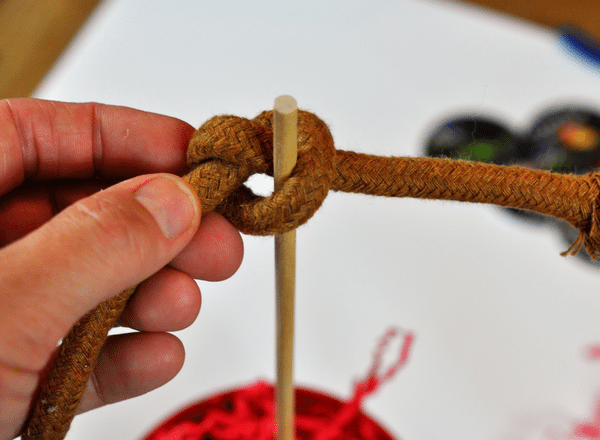
Tie the rope belt to the top of the stick & wrap the remaining length of the belt around the length of the stick, it can rest on top of the shred

Glue a printed cupcake topper onto both sides of the stick (at the top)

Step 5 – Add the Cake & Desserts
Tip: Use those toys again!
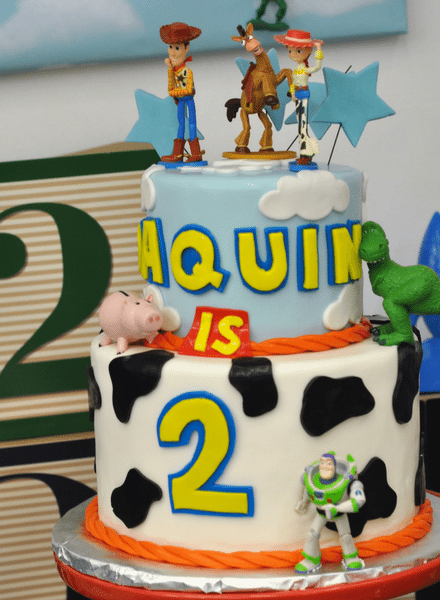
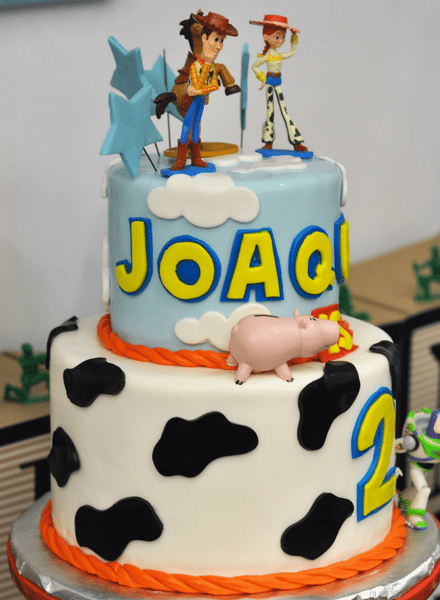
Apart from the birthday child (of course!) the cake is going to get a lot of attention. It’s the centerpiece of your dessert table and the part the kids can’t wait to get stuck into! Incorporating the theme into the cake for me is a must! This cake was created by Cake Coquette here in San Francisco. I love what they do with their cakes. Amazing! The use of the Toy Story cloud and the cow skin patterns are just perfect!
You don’t have to go out and get a custom cake made to capture the party theme though. You can use a simpler base cake from the supermarket or a bakery and add small character toys onto the cake to get a similar effect as you see here, of Woody and the gang clinging to the cake. Consider themed candles and you can now buy sparklers and stars that you can put into the top of the cake.
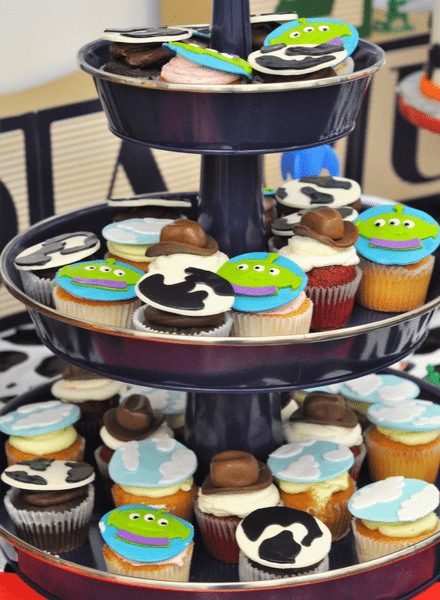
You can also incorporate the theme into other parts of the dessert table, like the themed cupcakes for this party, cookies or jars of candy in the party colors.
Step 6 – Table Covers & Place Settings
Tip: They don’t have to be expensive licensed party sets
I used simple red plates which you can buy in bulk cheaply. I then added yellow napkins with stars (you could go with plain yellow too) and used white rope twine (just like a lasso) to wrap around the napkin and fork. This was much more cost effective.
These went on top of plain red oilcloths. I use oil cloths for Peek-a-boo Factory parties as they are so easy to wipe down and can be reused. They last forever. I then used a cow skin pattern plastic table cover as an overlay to give the table a bit more oomph!

Step 7 – The Favors
Tip: Use those printables again
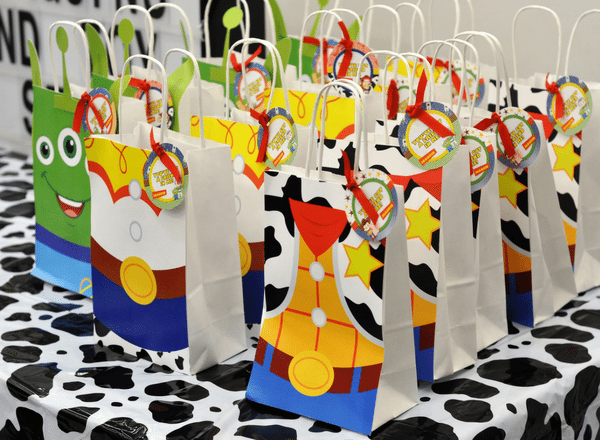
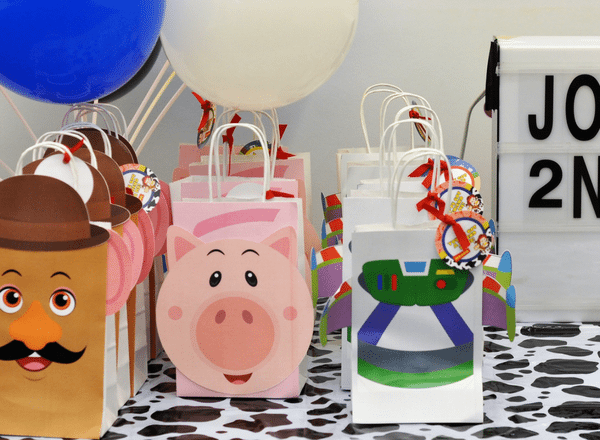
Adding a cute printable to a plain white paper bag can make a big impression! These character prints looked fantastic displayed next to my trusty lightbox. This lightbox is a staple for all of my kids parties, quick and easy personalization.

PARTY TIME
You are all set, the kids are at their places finishing off that pizza and the candles are ready to be lit. Joaquin and his friends loved the bright happy decor and seeing their favorite characters around the room. Later they go crazy playing and then head home with their own piece of Toy Story!


I hope this gives you some inspiration for your Toy Story party.
Have fun & happy partying!





What a great party and so many great tips!!!! My first stop when working on decor is my daughter’/ playroom. I love including toys into the decor.
I can’t wait to see what you come up with!