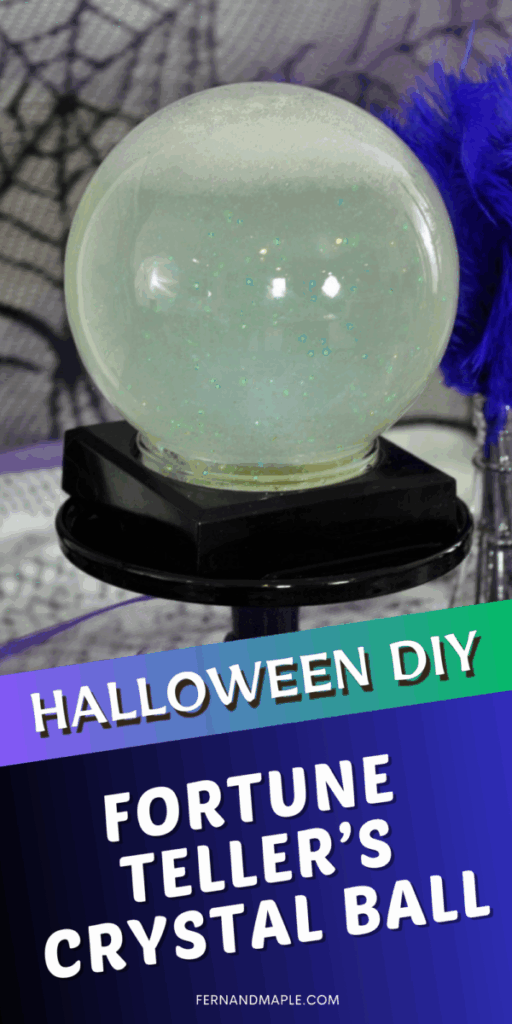
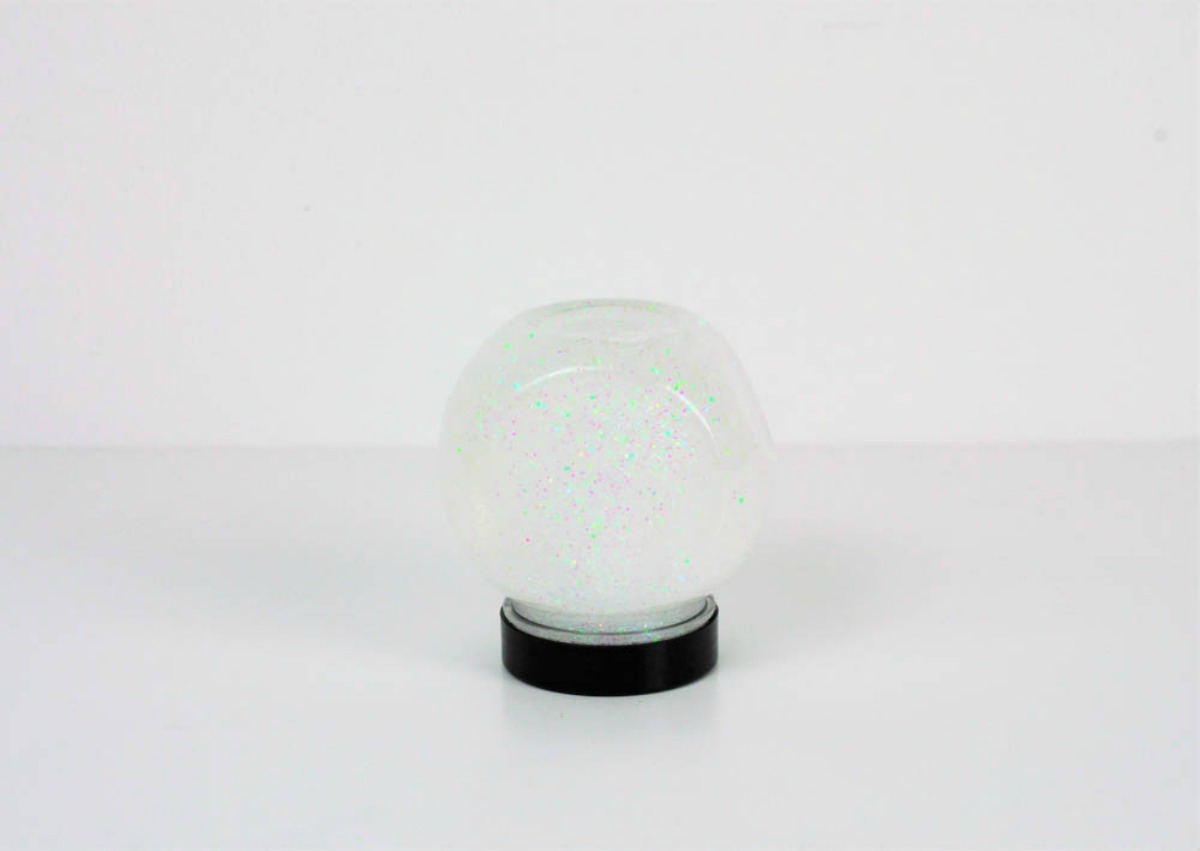
My kids are loving having fun lights in their rooms. We have had stars on the ceiling, torches in the bed and more. This time we tried something new and created a light that they could have a little “Magic 8 Ball” type fun with. We loved making this DIY Crystal Ball craft for them to use in their rooms as night lights as well as giving each other fun future predictions.
I even made a large glass version of the kid’s non-breakable crystal ball for myself!. I found a large glass display globe and used the same DIY steps to create my “Madam Fortuna’s” crystal ball for predicting the future. Check out the rest of the party details HERE.
I did NOT receive compensation for this post. I did receive some free products to review. All project ideas and any opinions expressed here are my own. For further information on our disclosure policy please check out our disclosure page.
How to Create the DIY Crystal Ball Craft
You’ll find all of these supplies on Oriental Trading in the Halloween section.
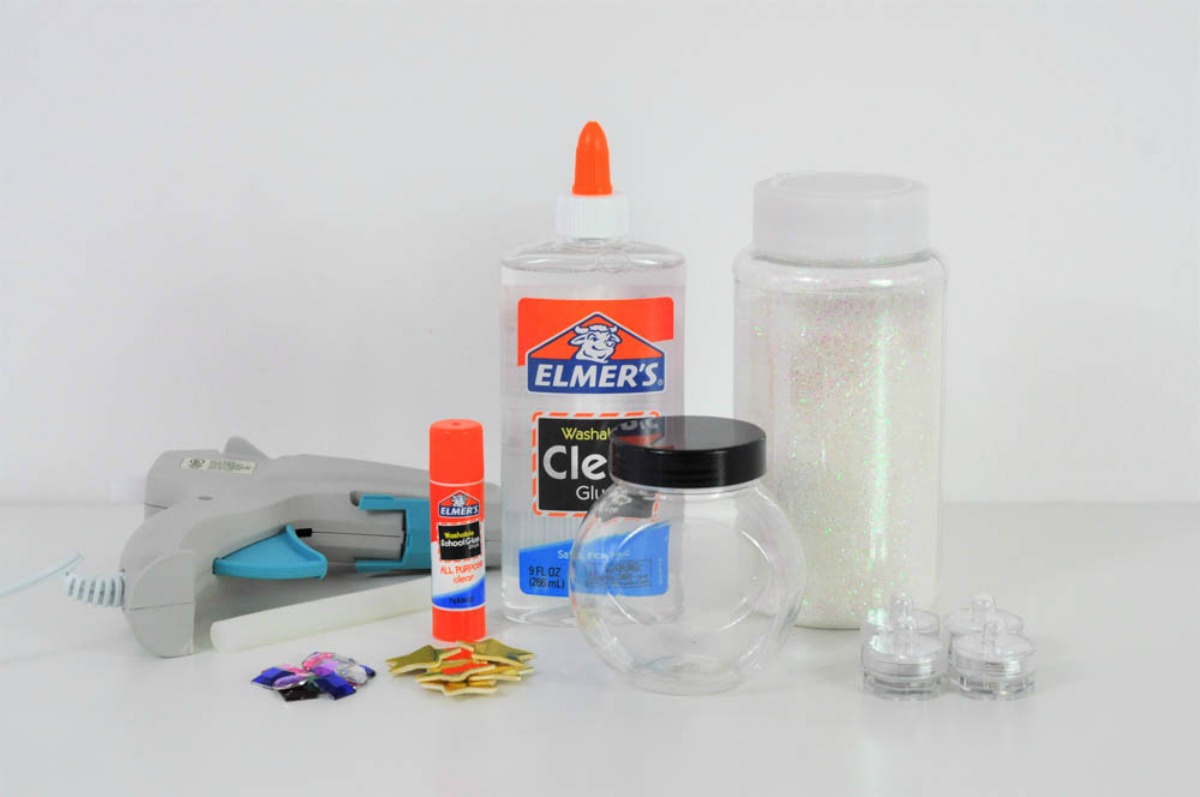
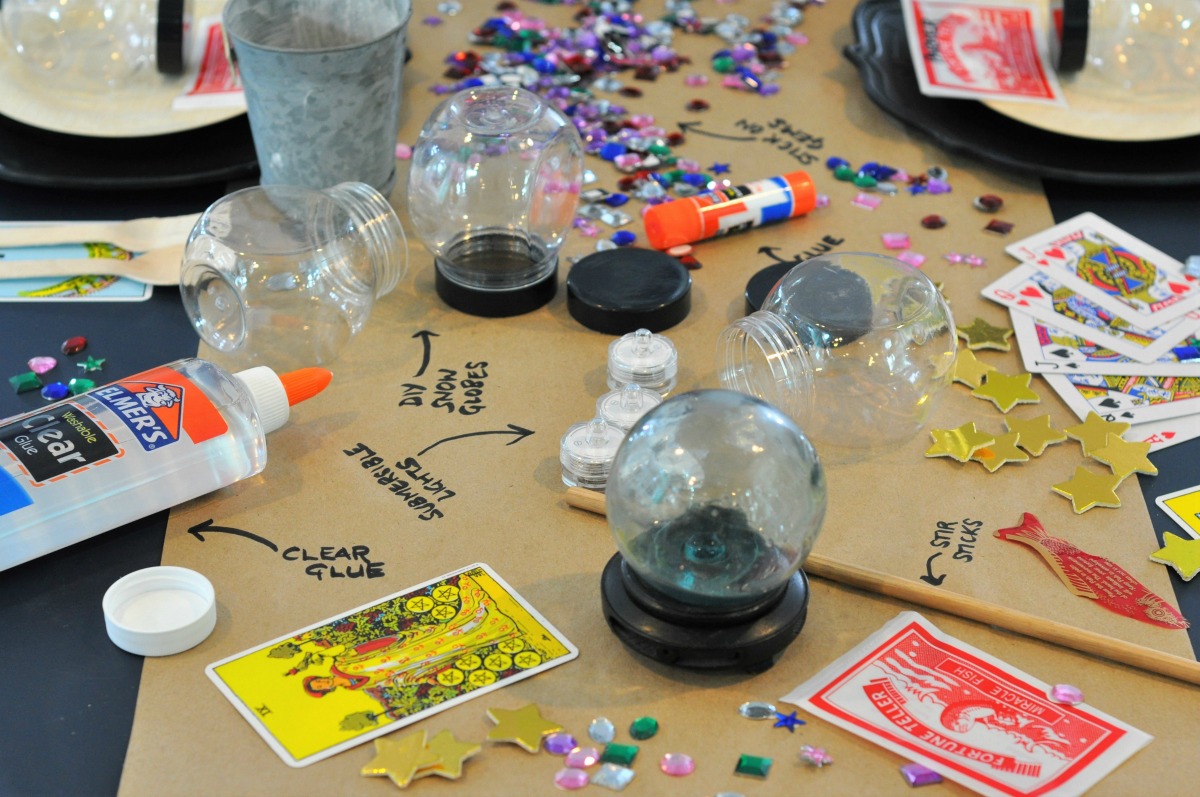
What you will need:
- DIY Snow Globes
- Iridescent Glitter Jar
- Submersible White LED Lights
- Adhesive Wooden Gold Stars
- Self-Adhesive Jewel Assortment
- Elmer’s CraftBond® Extra Strength Glue Sticks (optional)
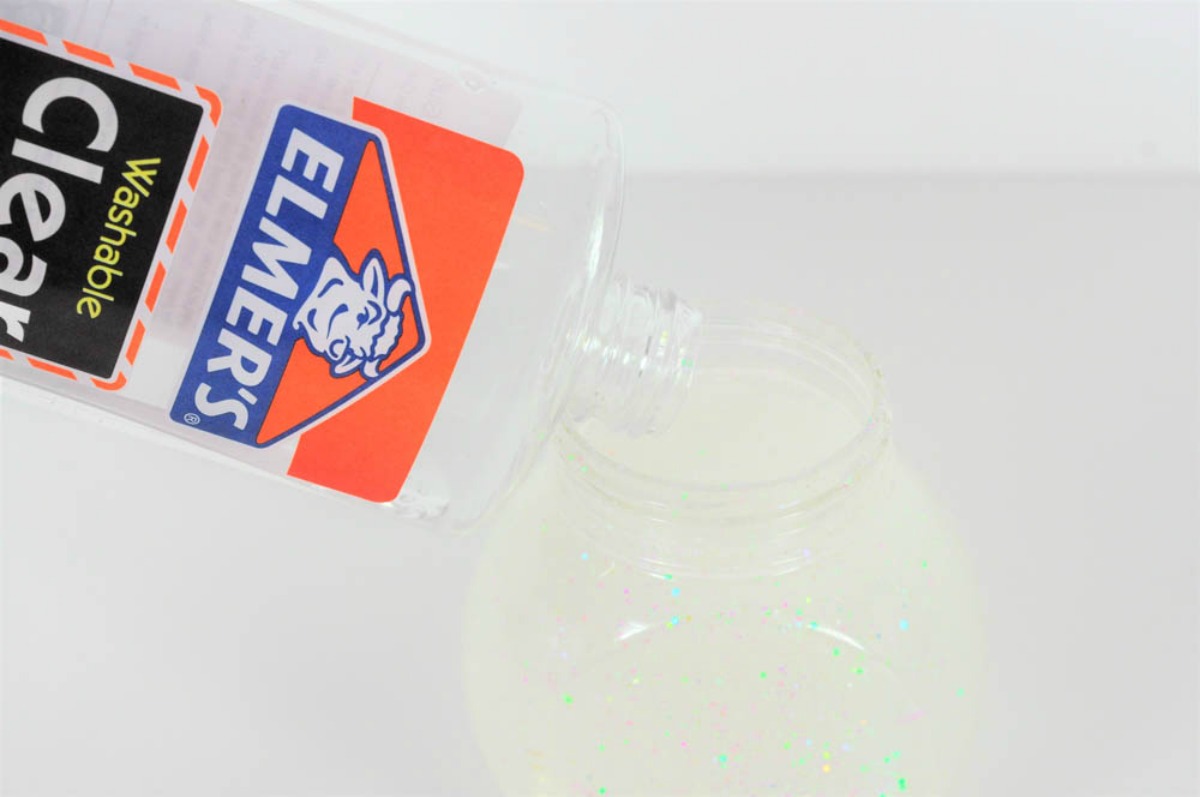
- Elmer’s Washable Clear Glue
- Glue Gun & Glue Sticks
Step One:
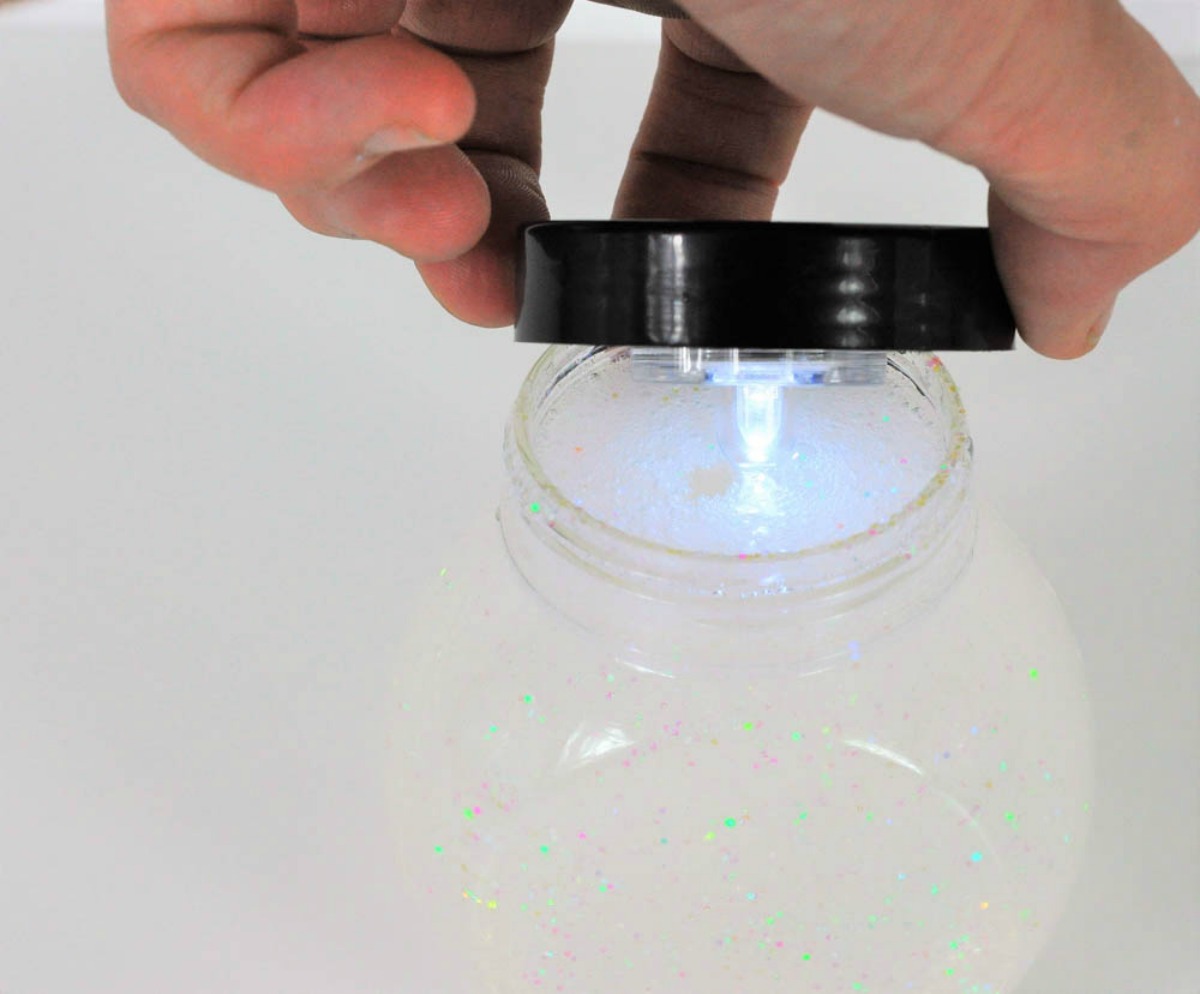
Adhere the Submersible White LED light onto the inside of the lid of the DIY Snow Globe. This step should be done in advance by an adult or supervised if the children are younger.
Step Two:
Pour the clear glue into the DIY Snow Globe.
Step Three:
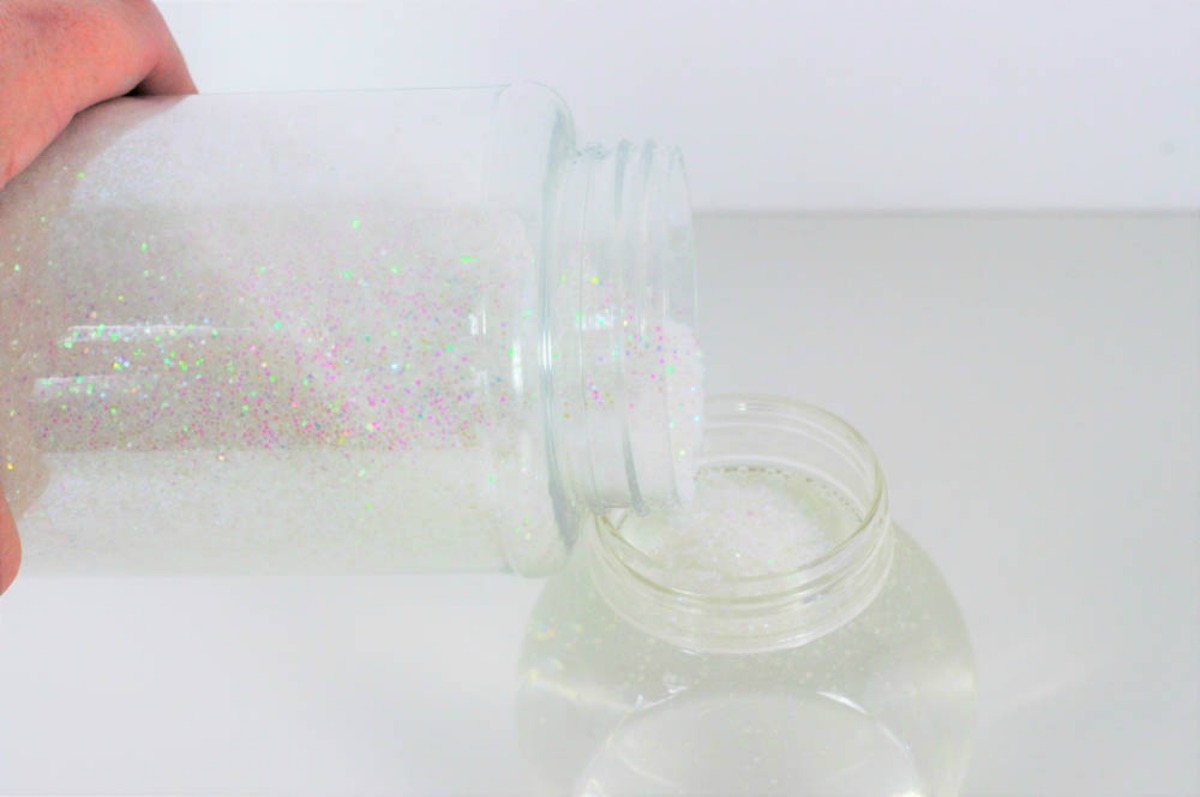
Pour the glitter into the glue and stir together.
- Tip 1: Keep wet wipes or paper towels close, there may be overflow.
- Tip 2: Once the glue and glitter are mixed together you may need to top up the glue.
Step Four:
Twist on the LED light so that the light is on. Replace the lid on the DIY Snow Globe and give it a gentle shake.
Step Five:
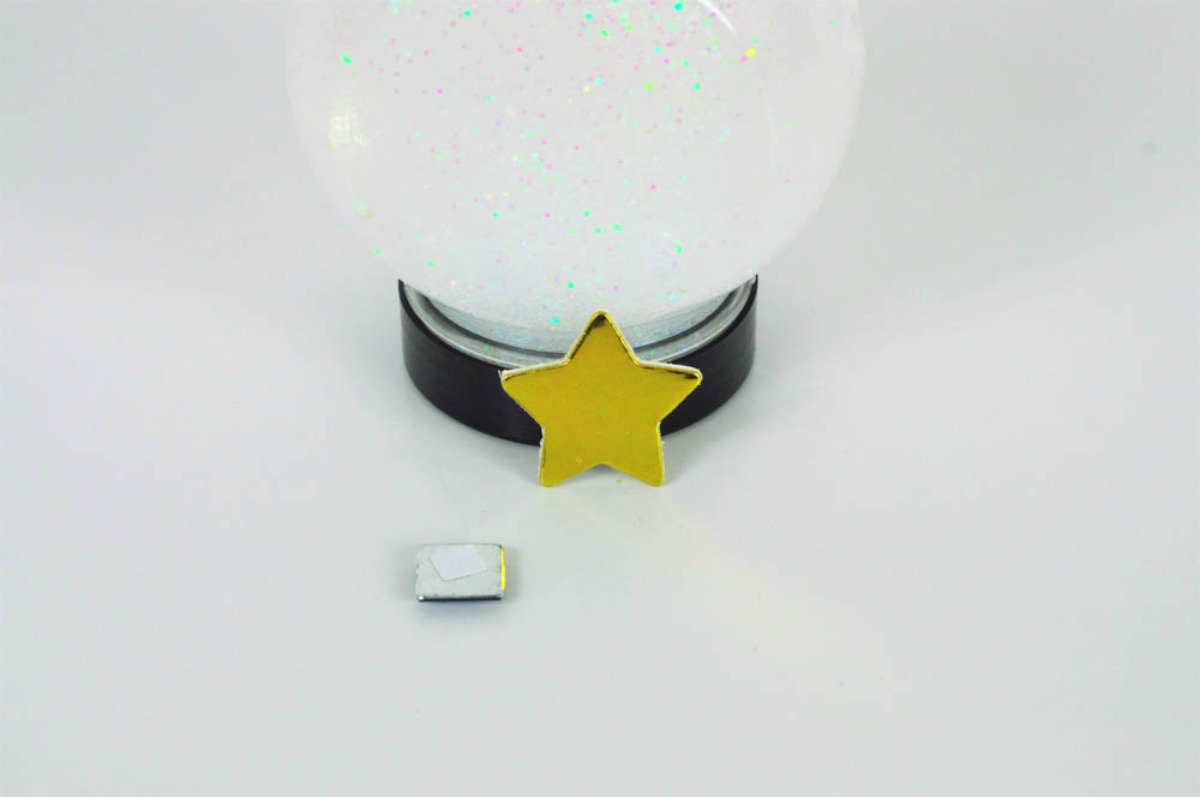
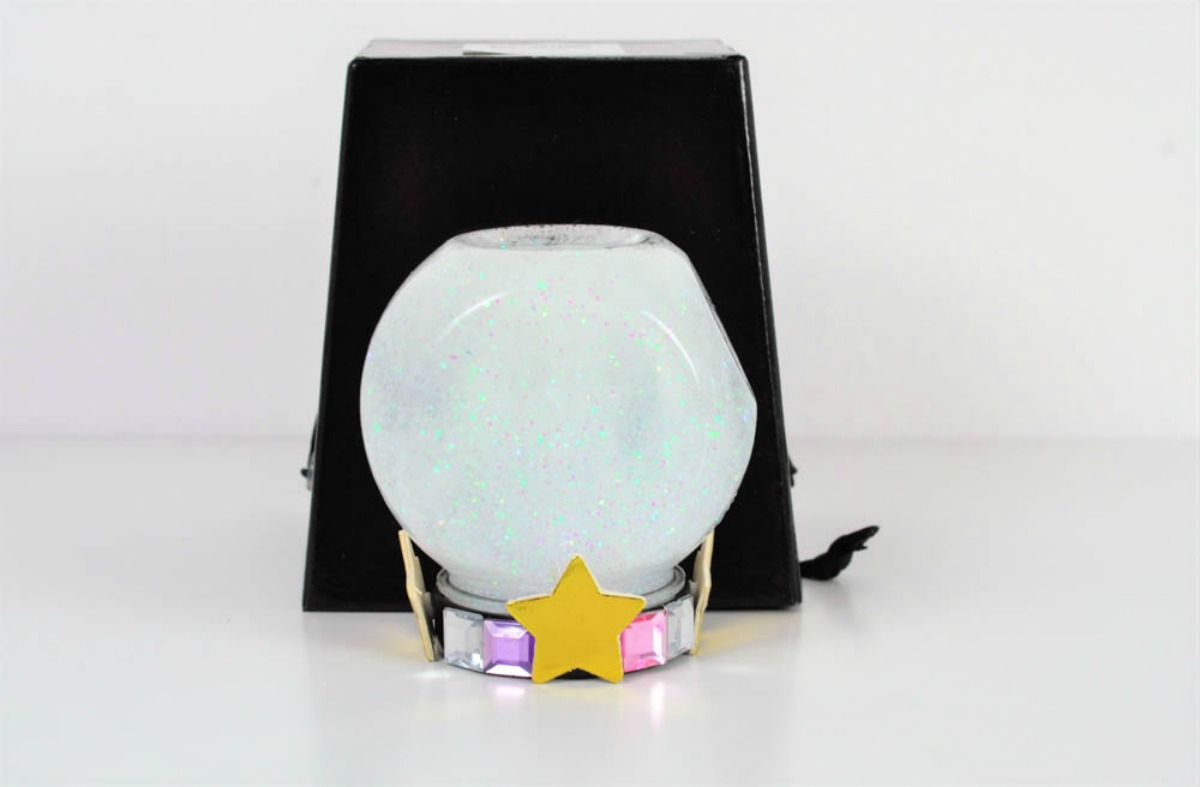
This is the “freestyle” step! Make sure the kids have access to all of the fun decor and let them go for it! They can use Adhesive Wooden Gold Stars,Self-Adhesive Jewel Assortment and any other decorative items you have available to decorate their crystal balls. Keep the glue sticks handy!
Once they are finished the kids can take them home in their Fortune Teller Party Favor Boxes.
Fun Craft Tips & Ideas
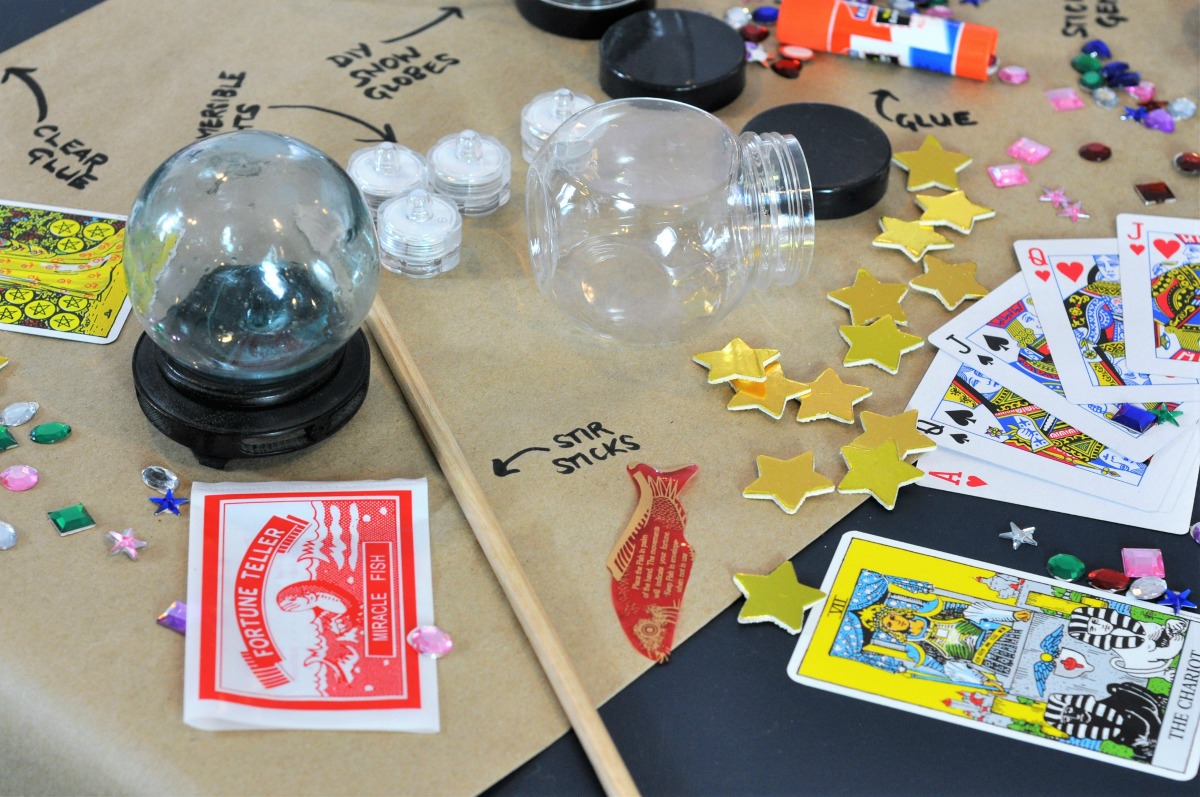
When it comes to the crafting, it’s going to get messy! That’s the bit I swear kids love the best, lol. Why not set it up so it’s easy to clean up? I put kraft paper out on the table and spread the craft supplies out for them to get to easily. You can write instructions or the names of supplies directly onto the paper for the kids and let them go for it! Kraft paper is fun to write
I hope your children enjoy this craft as much as mine did. I had fun too, listening to their predictions for each other. It can be quite “illuminating”! Don’t forget to check out our other ideas and inspiration in our Host a Halloween Fortune Teller Craft Party post.
Happy Crafting!
Pin for Later:








Leave a Reply