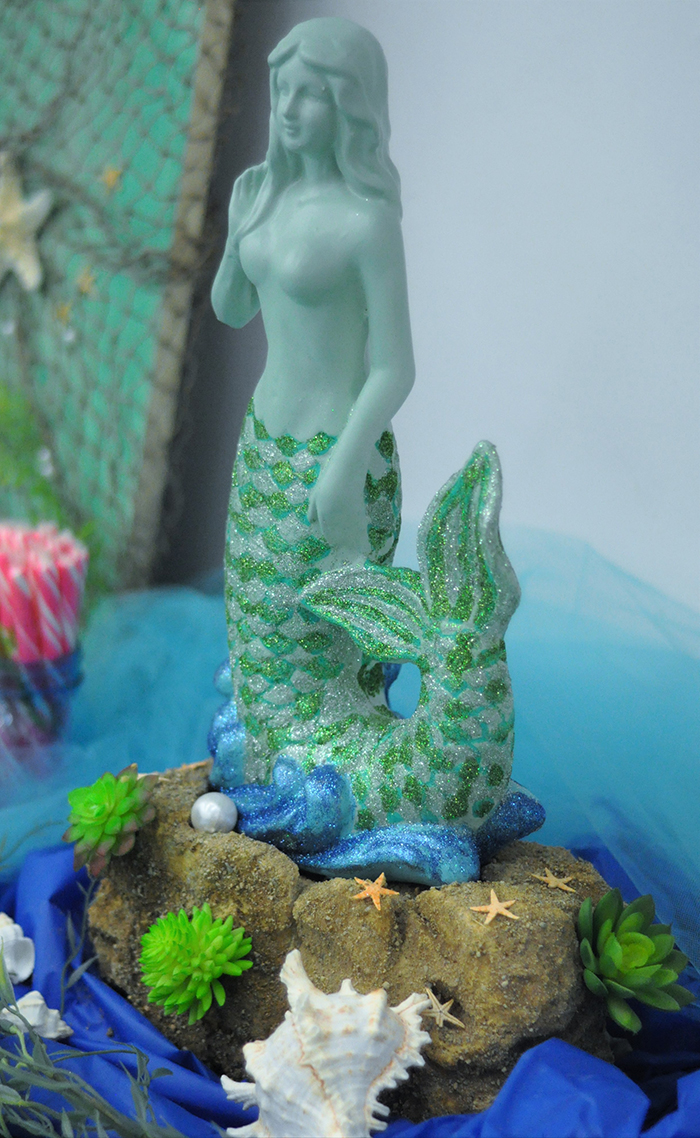
In my last post I told you about how excited I was to work on a mermaid party for Mia who was turning 5. I also shared some fun DIY on how I decorated a mermaid and made siren rocks for her to sit on top of.
Well the fun doesn’t stop there. Once I started I couldn’t stop making things for this party! How cute is nautical?! In this second post I will focus on the DIY for the mermaid party backdrop and a treasure display box for mermaid jewels and shells. I will also walk you through the set-up and accessories I used on other tables.
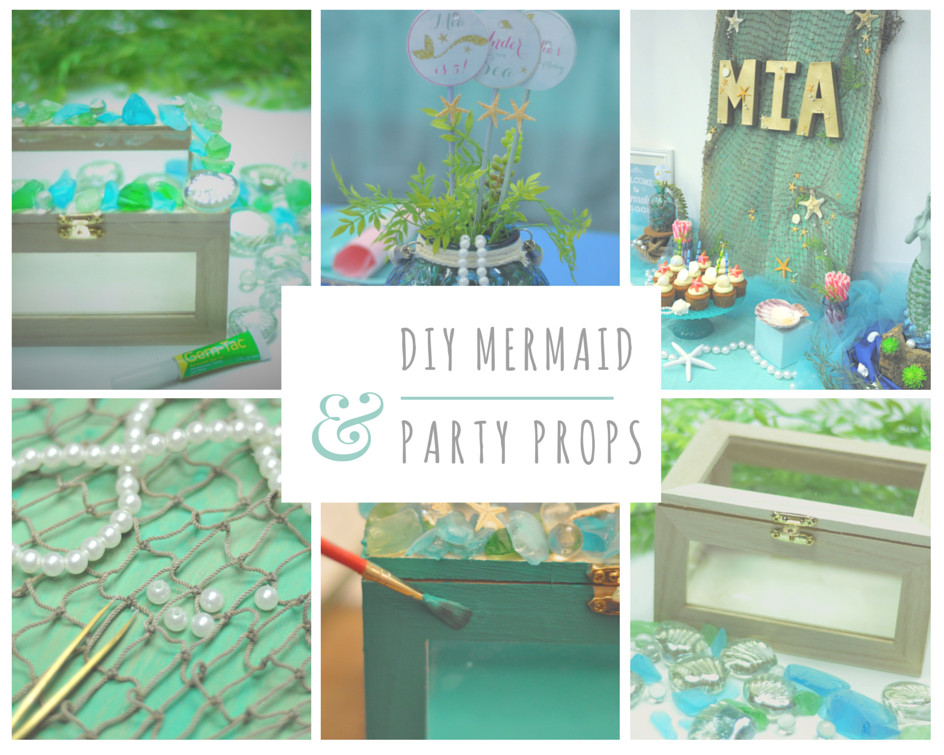
After finishing Miss Mermaid, I started work on her backdrop. I decided to go with a real wood backdrop – a good solid piece of wood that I could paint and throw some fish net over with sea themed accessories. I also wanted to use gold letters on it to make a “splash” (I do love a good pun!) with Mia’s name.
I love using gold letters and you now know I’m addicted to painting and spray painting! Gold is so easy to do and really “glams” things up quickly. I picked up paper mache letters and spray painted them a metallic gold first, followed by a glitter gold. I’ve found the glitter gold paint over the top gives such a lovely finish on letters. It gives the bling you need when using paper products. I sometimes find the gold paints just don’t come off glossy on paper based products. So now I have the bling I need for a 5 year old’s party. The gold also went really well with the colors I was going for: blues & greens of the ocean.
After the paint had dried on the letters I had all the things I needed to put together a backdrop. Here are the steps I took:
DIY BACKDROP:
Materials you will need:
- Large cut of wood (I used 24×36 which is a good size for a standard 6 foot dessert table);
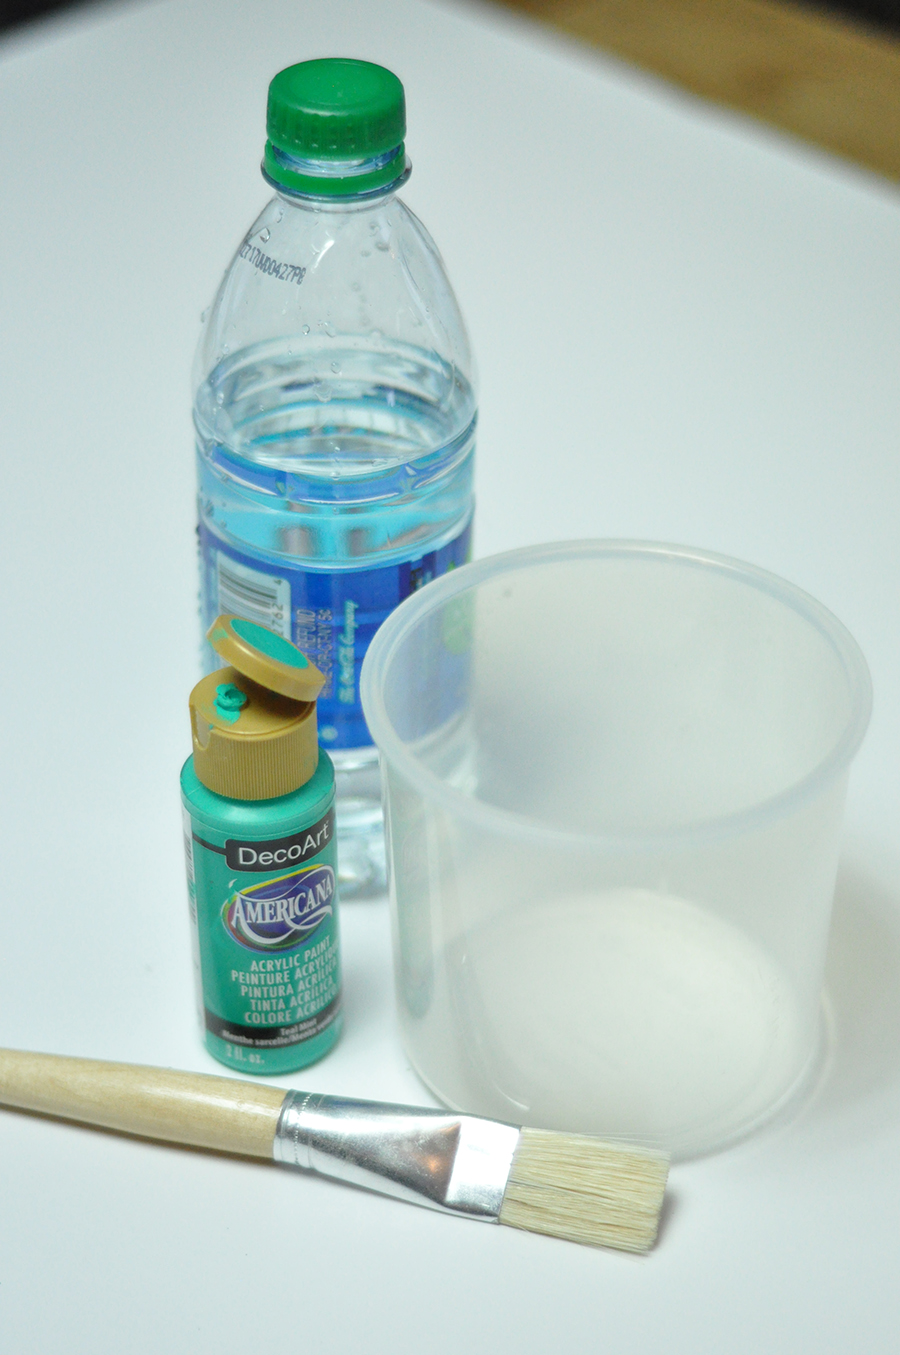
- Paint (I used Aqua Blue. Aqua Blue is one of the new 2016 colors from Decoart. I also received a sample of this when I was at Snap (it’s acrylic but I watered it down to give it a washed-out effect);
- Decorative fishing net;
- Decorative shells, starfish (varying sizes) and pearls;
- Staple gun (or a stapler that bends back);
- Glue (I used a glue gun for the letters and Beacon Power-tac for the small items. It’s strong and seriously, I am so over glue gun burns…arghhh!)
- Sponges, paintbrushes & water
Step 1 – Paint the wood
First I watered down the paint to about 15 parts water to 1 part paint. I wanted a more washed-out look with inconsistent brush strokes – to give the impression the wood had been drifting for a long time or lying out in the sun.
To achieve this look I used sponges which I dipped into the mixture, spreading the paint in random downward strokes…this took a while to get right, but the best thing about mistakes when you are using this mixture is you just take a paper towel and wipe it off! If it is too thick, rub it in more….play around to get the look you want. I also used a thick, coarse paintbrush to rub blobs of the paint mixed with water into the wood, as well as to have areas with a more concentrated color but still rough. Finally I also used the paintbrush to flick paint at it, randomly like rain drops.
After some experimenting I got the look I wanted, a great color, the color of ocean waves, a blue/aqua in a great wash.
A blank wood canvas
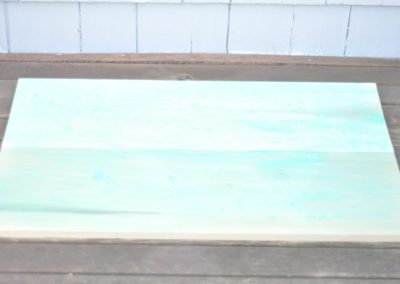
Layering paint wash
Step 2 – Attach fishing net
First lay out the netting. Then lay the board right side down and staple the netting into the board. Leave some slack (i.e. don’t pull it tight) if you want more of a draped look like I have. I then turned the board back over and, because I had left some slack in the net, I was was able to bunch up pieces of net on the front and staple. It’s at these points that I put sea creatures in, as if they are tangled in a net that has been thrown over the wood.
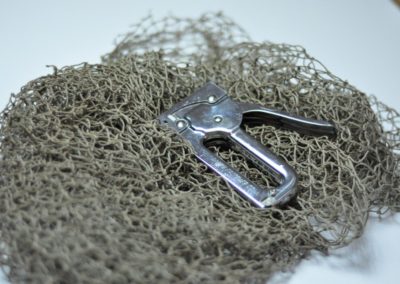
Fishing net & a stapler
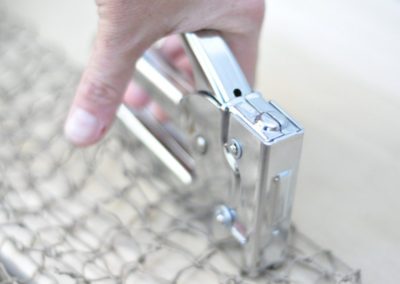
Turn wood over & staple
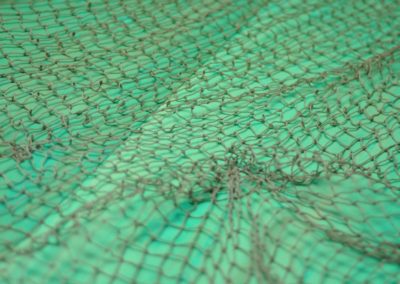
Turn back and staple waves
Step 3 – Attach letters & sea accessories
Firstly, I took some of the starfish, sand dollars and pearls and glued them to the gold letters I had made. (Tip: To glue the pearls on I held them with tweezers, squeezed glue on, and then placed them on the wood. The tweezers saved my fingers from getting REALLY strong glue on them!). I wanted the letters to fit in with the theme more, so this little detail looks like the letters have been in the sea too.
I then got the letters into position and glued them down. What I found though, was that because of the netting, the letters stuck well to that but not the wood. This meant that if I put the board up the letters would dangle on the netting as they weren’t sticking to the wood. This meant they were not staying in the right place. After experimenting, I found that the staple gun was the answer. Once the letters were glued in place I stapled the netting at the top and sides of the letters down. This removed the slack and the letters hung perfectly despite not being attached to the wood.
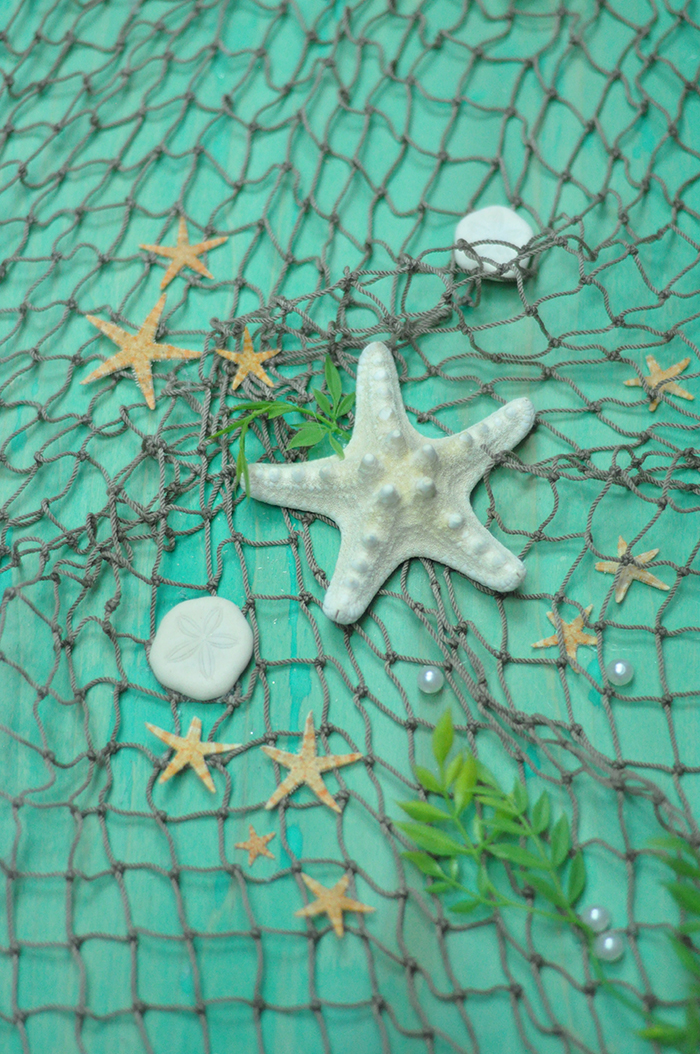
I then started gluing the pearls, starfish etc to the pieces of netting and the wood. I randomly glued them to mimic them being caught up in the net which wouldn’t be perfect. To get a random look I made sure I had a couple of larger groupings and multiple small groupings. The glue I used was power-tac by Beacon so there was no chance of these babies falling into the cake.
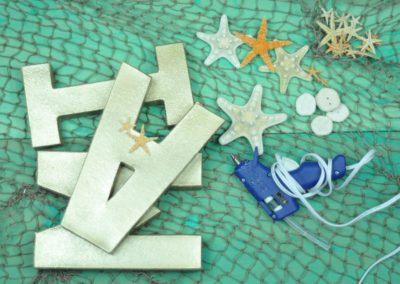
Letters, shells & starfish
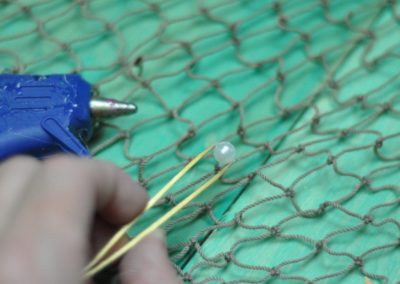
Use tweezers to glue pearls
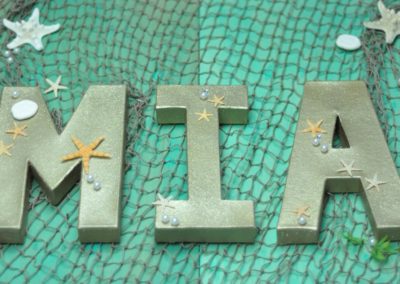
Glue onto the backdrop
DIY TREASURE DISPLAY CASE:
Materials you will need:
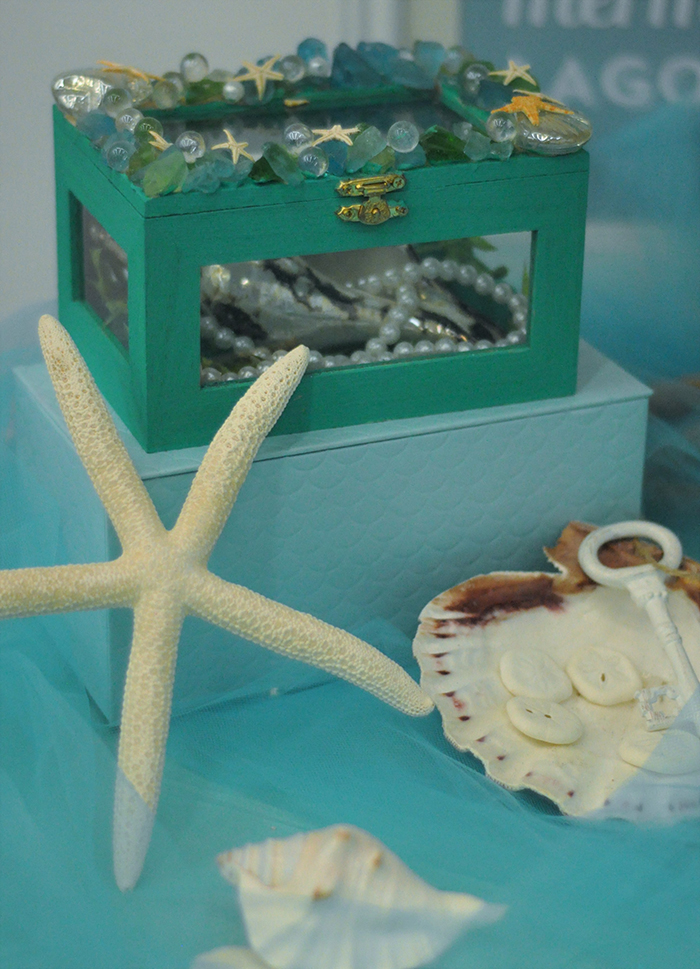
Step 1 – Glue the glass onto the top of the display box
Ok, so DIY doesn’t always go as planned! When I first started this project I was planning on keeping the display box natural, so I started with gluing on the sea glass. By the time I had done this I realized I wanted to paint it a bright color to offset the glass. So next time I do a box like this (and if you want yours painted too) I would paint first and attach the sea glass second. Why? Well it’s pretty tricky filling in the little gaps (where you can see the wood) between the glued glass with paint! Needless to say I did it, lol!
So I started with gluing the glass, pearls and starfish around the top rim of the box. I used Gem-Tac by Beacon. This worked really well. The glass is very gem-like and it was great for the pearls and glass balls. This process of placing the pieces of glass around the rim is a bit like doing a jigsaw with no guide! I had to put a piece down and move it to fit into place, trying out several pieces to get the right fit. The gem glue is perfect for this as it takes a couple of minutes to dry so I could move it around as needed. It is also really safe so my 4 year old helped me with this one. She looooooved putting the glass clam shells on in particularly, “so pretty mommy”, now she wants to make another box for herself.
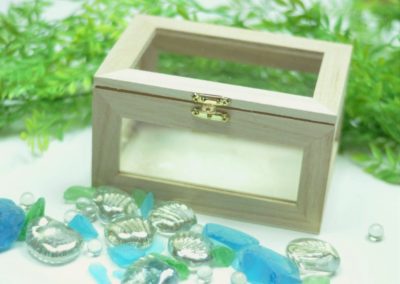
Blank canvas display box
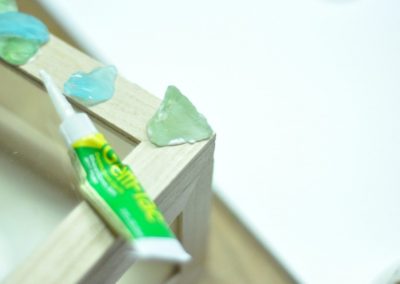
Sea glass & gem tac
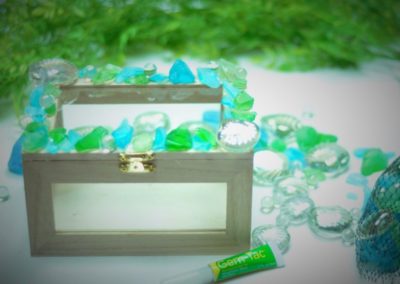
Get gluing! Mix it up…
Step 2 – Paint the box
As I mentioned above, you may want to do this step first before you start gluing on gems. I changed my mind half-way through and ended up doing this second, but it still worked great. I love this new color – it totally pops! Remember to use a fine point brush though as it is a pretty narrow edge around the box.
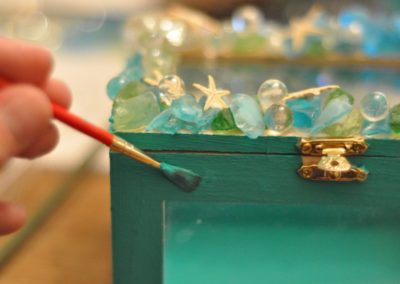
Fine paintbrush
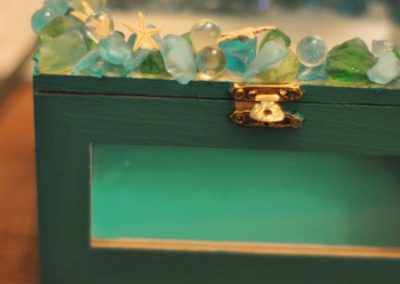
A nice bright color
Step 3 – Scrape excess paint (if needed)
You might be able to skip this by using painters tape before you start. I, however, was a bit of a fumble-fingers and really struggled to get the painters tape close to those tiny edges on the inside. Needless to say I had a few tiny flakes of paint on some of the glass.
Luckily acrylic is really easy to gently scrape off. I scraped off the extra flecks of paint. I didn’t have a proper scraper so would you believe this is a cheese slicer?! I totally sterilized it afterwards of course! You could also use a wet paper towel or cloth with the non brush end of the paint brush inside to run it along the edges.
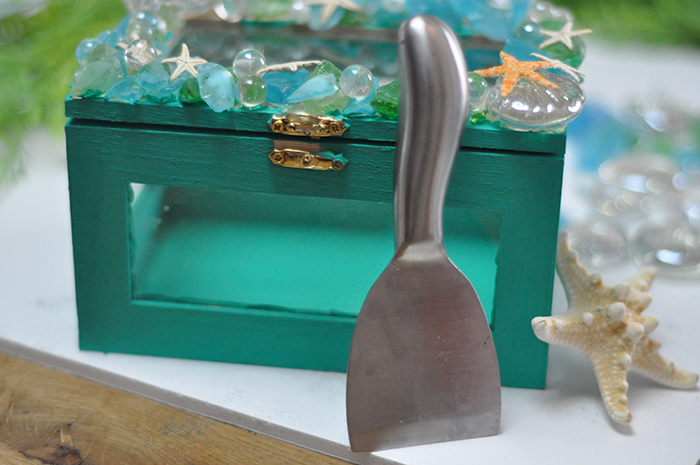
Step 4 – Put treasure inside
Next comes the treasure! I found a gorgeous, shiny shell which I put inside with a string of pearls. Shiny, sparkly, pretty….anything goes!
Step 5 – Time to party
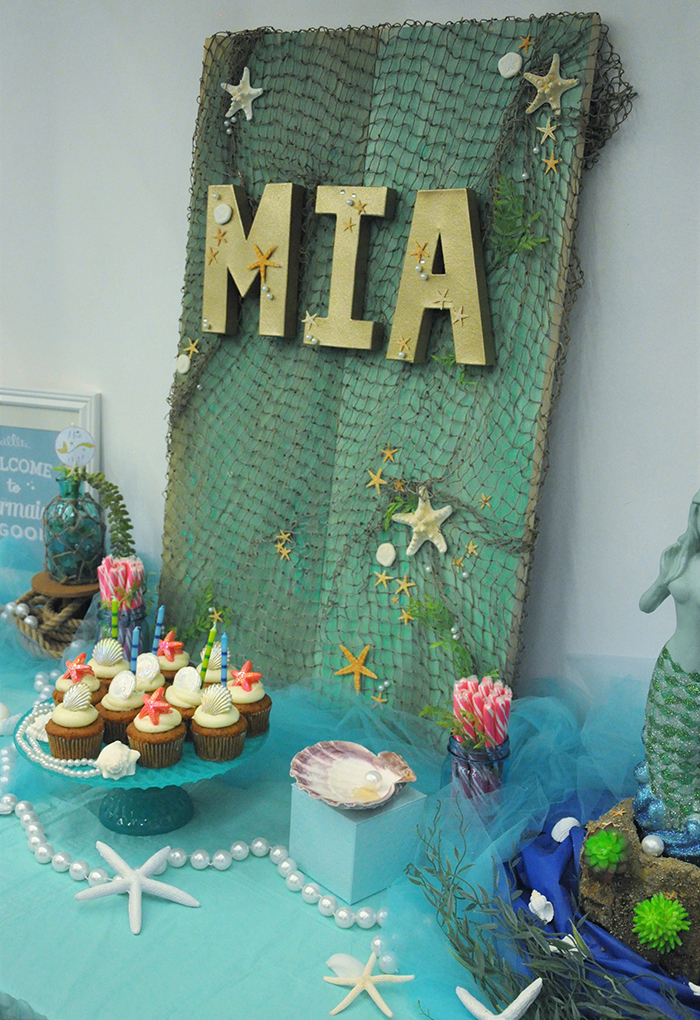
Now that I have the main party props ready it’s time to set-up for the party. On the main dessert table the backdrop goes in the center of the table with the cake (or in my case a plate of cupcakes) in front of it. This is a wooden backdrop so heavy. In this case, I lean it against the wall rather than hanging it.
I then have the mermaid on rocks feature on one side of the table and the treasure box on the other side. The mermaid fits well as the main feature on the right once I add a sea of blue with extra tablecloths and tulle.
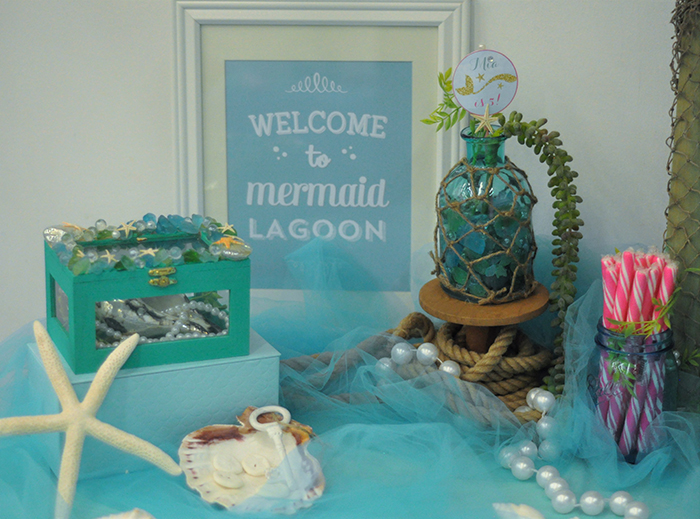
The treasure box however is smaller, so to feature it I have it up on a blue box, this gives it some height. I then use the same blue tulle on this side and add some shells, a string of oversize pearls I found at a scrap store (find!!) and starfish. I had a smaller backdrop for this little area, a framed printable saying “Welcome to Mermaid Lagoon”. Once I added a sea-glass bottle with kelp and some other accessories in this area it really did start looking like a little lagoon. Perfect!
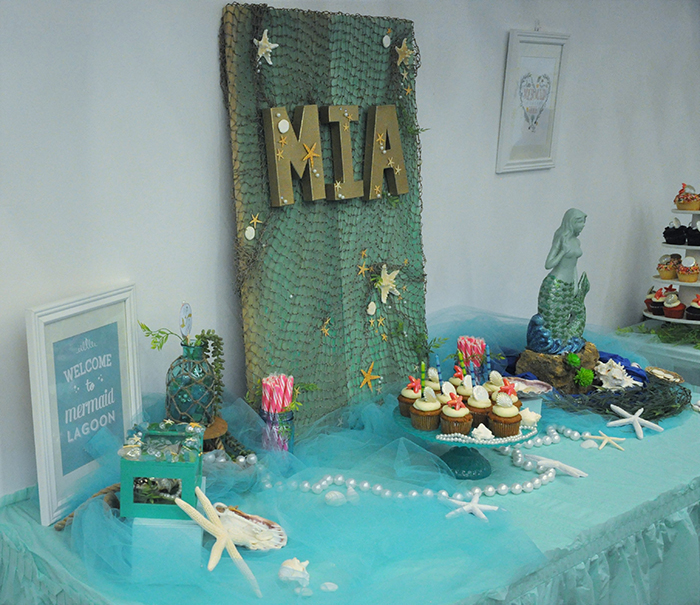
Step 6 – Set-up the dessert table
Now I have the main party props ready it’s time to set-up for the party. On the main dessert table the backdrop goes in the center of the table with the cake (or in my case a plate of cupcakes) in front of it. This is a wooden backdrop so heavy, in this case I lean it against the wall rather than hanging it.
I then have the mermaid on rocks featuring on one side of the table and the treasure box on the other side. The mermaid fits well as the main feature on the right once I add a sea of blue with extra tablecloths and tulle.
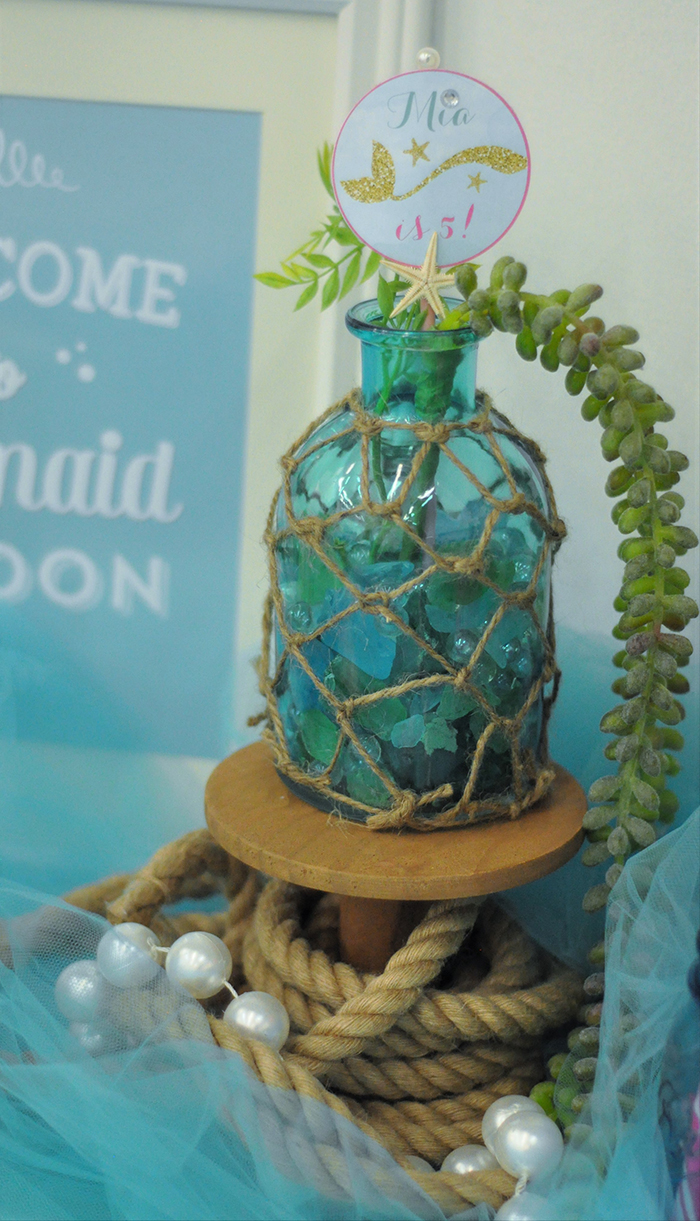
The treasure box however is smaller, so to feature it I have it up on a blue box, this gives it some height. I then use the same blue tulle on this side and add some shells, a string of oversize pearls I found at a scrap store (find!!) and starfish. I had a smaller backdrop for this little area, a framed printable saying “Welcome to Mermaid Lagoon”. Once I added a sea-glass bottle with kelp and some other accessories in this area it really did start looking like a little lagoon. Perfect!
Finishing Touches
Now that the dessert table is complete, I can’t forget to decorate the table the kids will eat at. I keep this really simple at Peek-a-Boo as I know the staff have limited take down and cleaning time. Also you can’t forget little fingers! lol
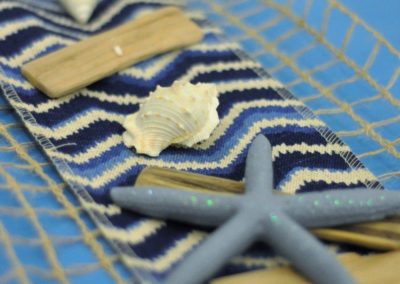
I use oilcloth which is REALLY good as it is durable and easy to clean off. Then I use a runner and add 3 table centerpieces. For this mermaid party I found a great twine based runner that I put a blue wave/geometric pattern runner on top of. I scattered driftwood pieces, shells and starfish.
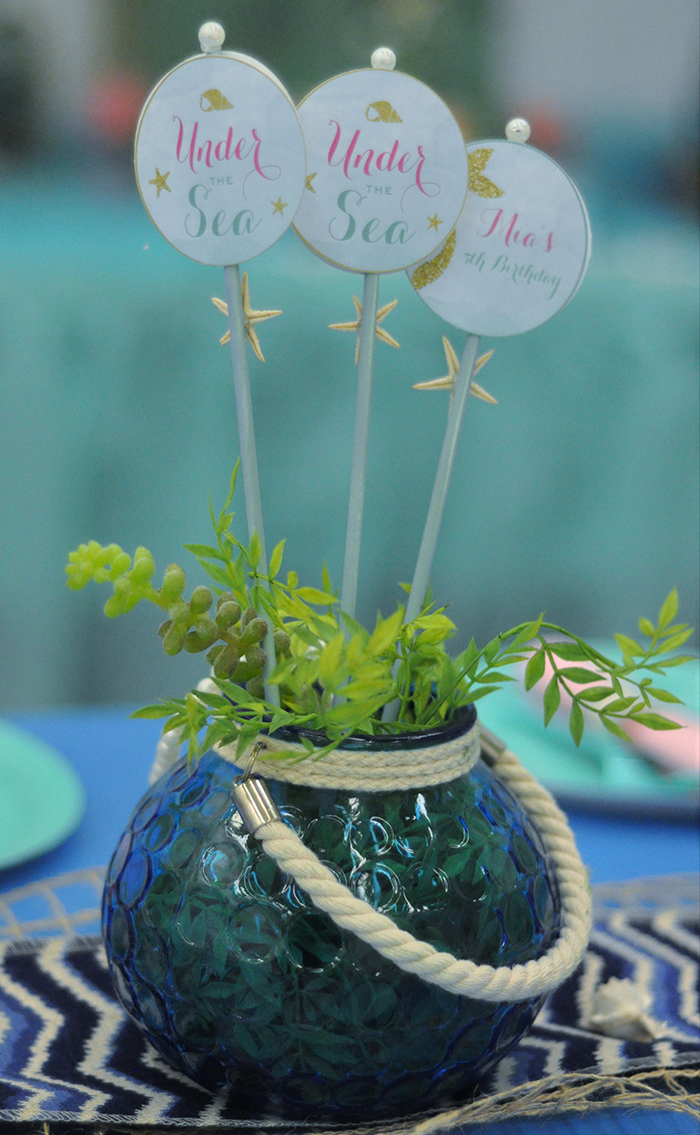
The centerpieces I used for this party were blue glass vases that I filled with fake greenery and a string of pearls. I managed to find some greenery that looked a lot like seaweed which was great. Then I added 3 lollipop sticks with cupcake toppers and mini starfish glued on top to each one. The cupcake toppers are great because they always have the birthday child’s name and age so they tie in the printable’s used in the banner and around the room. If you have trouble getting the sticks to stand upright try adding a little bit of foam to the bottom of the vase, you can stick the sticks into the foam and they will stand perfectly.
Its now time to madly dash around the room to straighten, move and make sure everything is where it should be. I added some extra greenery and shells around the bottom of the cupcake stand and around the favors but other than that I was good to go! Now let’s PARTY!
Driftwood & shells
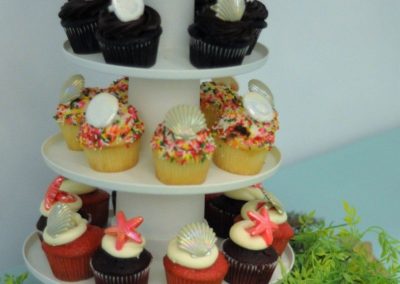
Cupcake decor
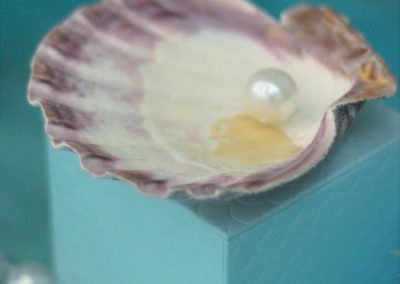
Clams & pearls
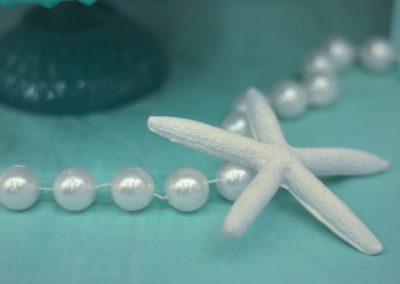
Pearl & starfish accents
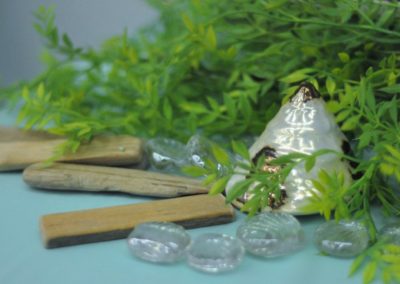
Driftwood & shells
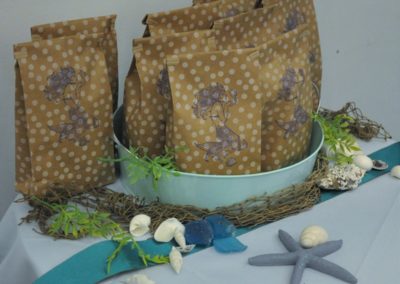
Accents around the favors
Vendors:
- Cupcake toppers & birthday banner – Little Birdie Prints
- Mermaid lagoon printable – HH Paper Co
- Mermaid printable – Sunny Rain Factory
- Mermaid is spoken here printable – Pretty Print Shop
- Glue – Beacon Adhesives
- Paint – Deco Art
- Wood – Home Depot
- Other Props – Michael’s and Party City
I was NOT compensated for this post. As a 2016 Beacon adhesives makers team member I receive select products free of charge so that I can share inspiration projects and tutorials with my readers. My creations, experiences and opinions are, of course, 100% my own.




Leave a Reply